How to Replace Samsung Galaxy S4 Screen
If you have a cracked or non-working screen on your Samsung Galaxy S4, you can replace it by yourself using the following instructions.
Before starting the procedure make sure you have the following tools which are recommended for the screen replacement procedure:
- Phillips #00 screwdriver
- Plastic opening tool (Safe pry tool or guitar pick)
- Tweezers
- Spudger
- Exact blade (or similar tool)
- Double-sided tape.
- Screen replacement or Screen + Frame replacement for Samsung Galaxy S4.
The Disassembly Procedure
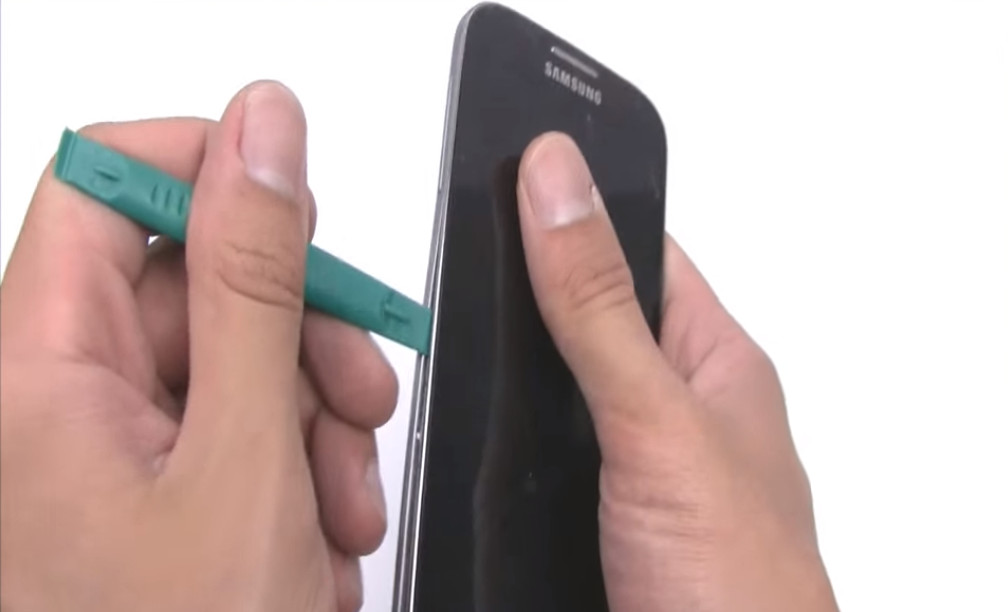
- Remove the back cover (you can do it using your safe pry tool or your nails).
- Remove the battery, the sim card, and the memory card if present.
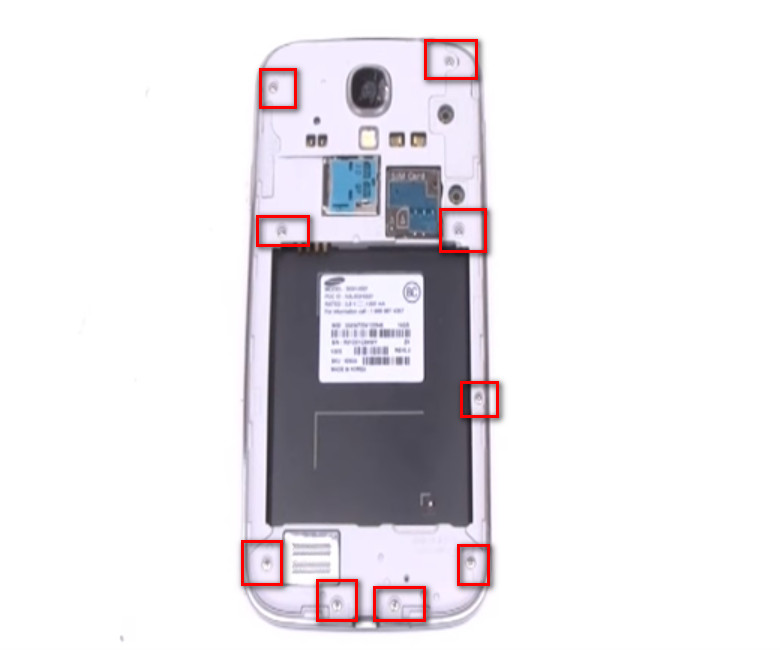
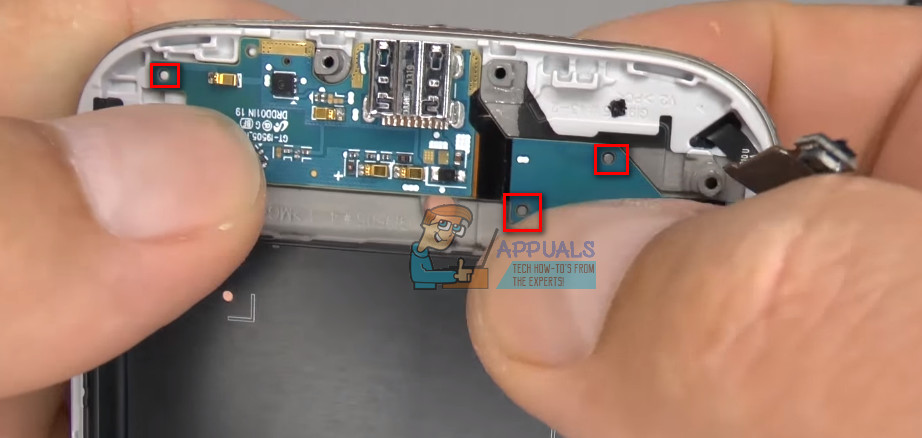
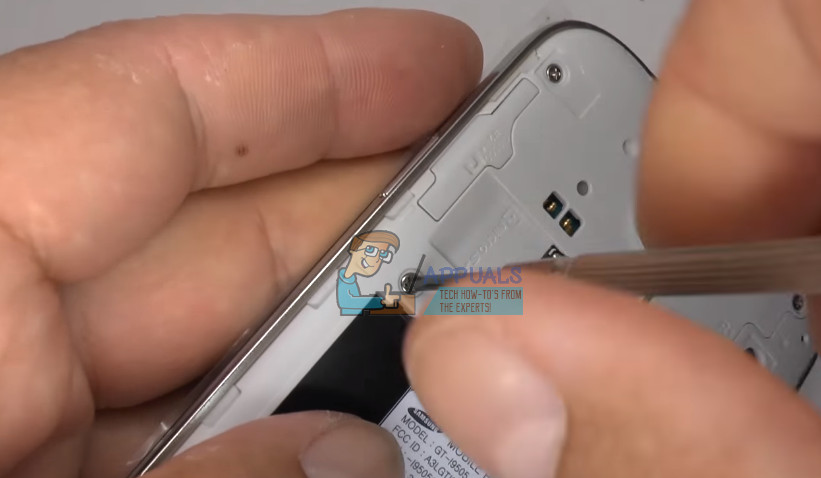
- Using your Phillips screwdriver remove the 9 screws on the back side. (check the picture below)
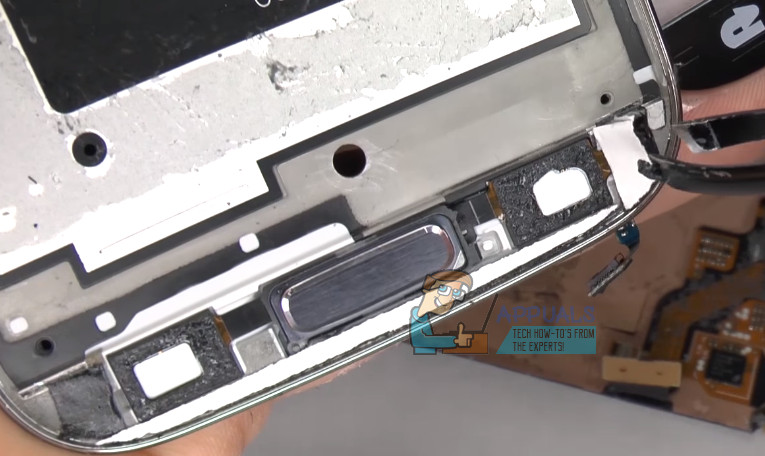
- Using a plastic opening tool remove the loudspeaker bottom part from the housing.
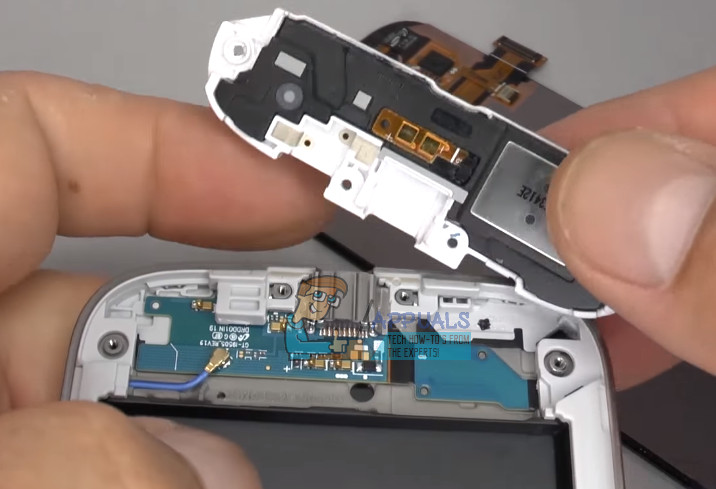
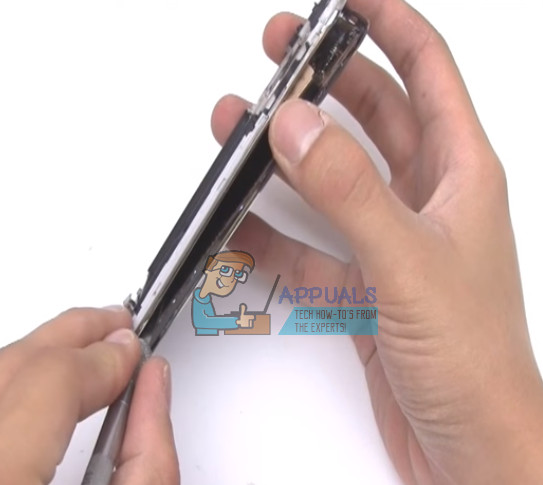
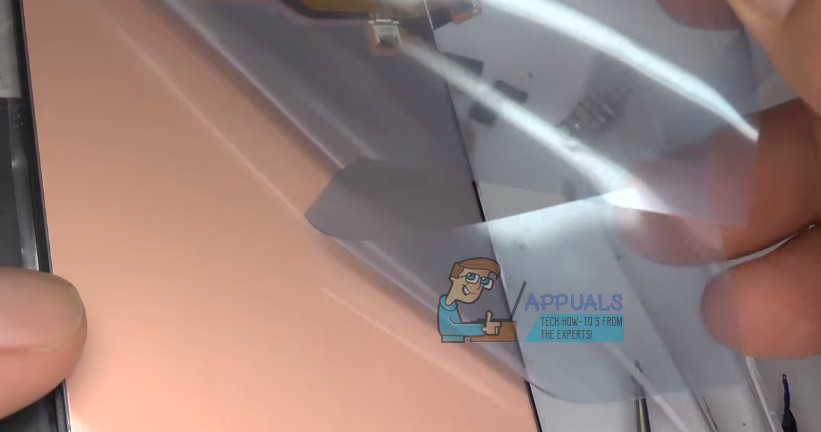
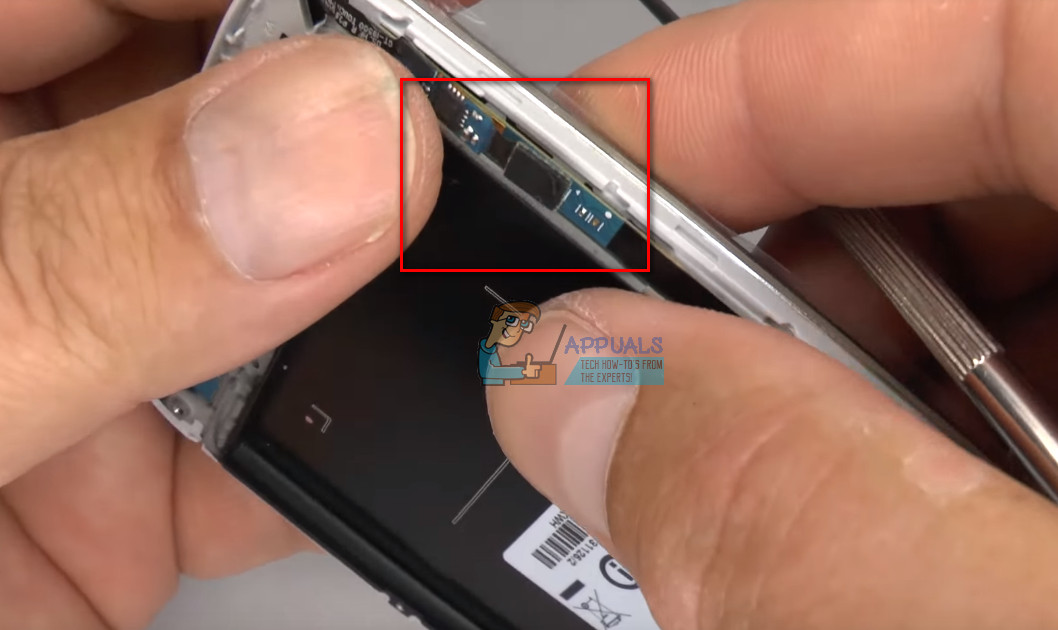
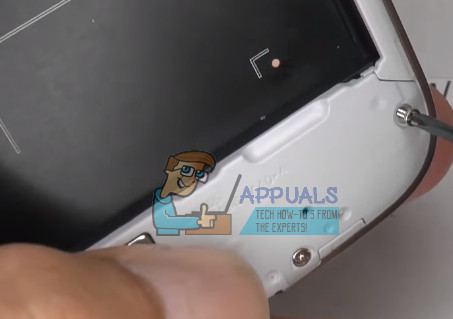
- Using your safe pry tool and the spudger separate the back housing from the screen. These two holds each other with small clips. Be careful not to break any of them. (check the picture below)
- Remove the Phillips screws that hold the motherboard.
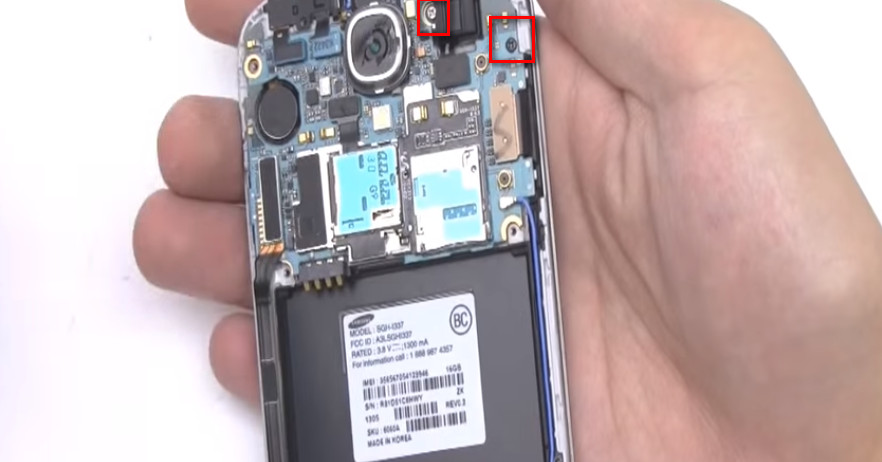
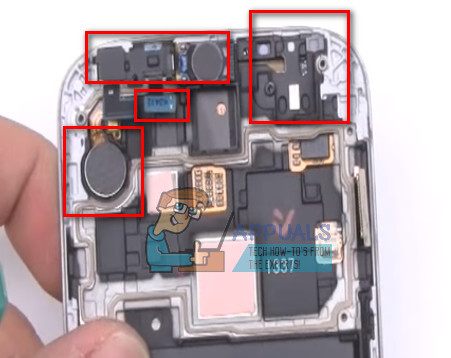
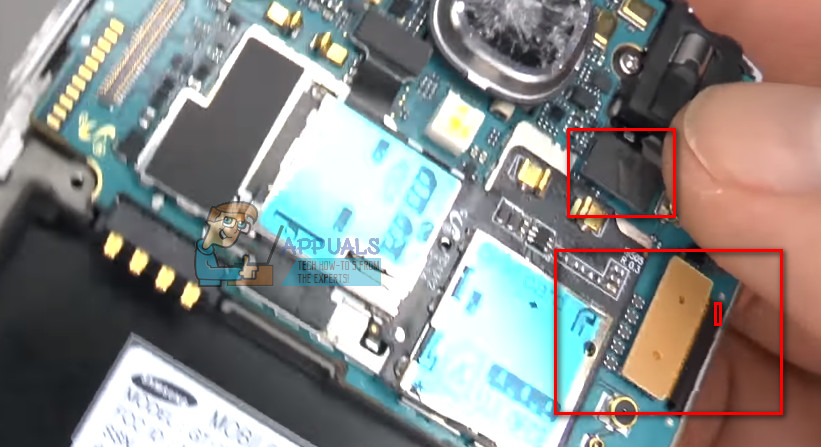
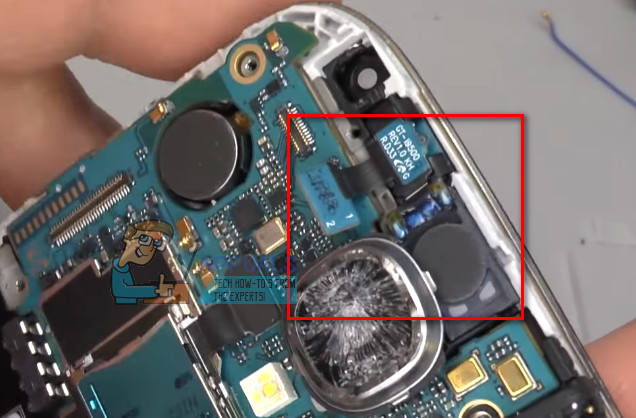
- Using the safe pry tool and the tweezers, disconnect all the connections from the motherboard.
- Charging port
- Headphone jack
- Rear-facing camera and front-facing camera
- Earspeaker
- Proximity sensor
- Screen connector
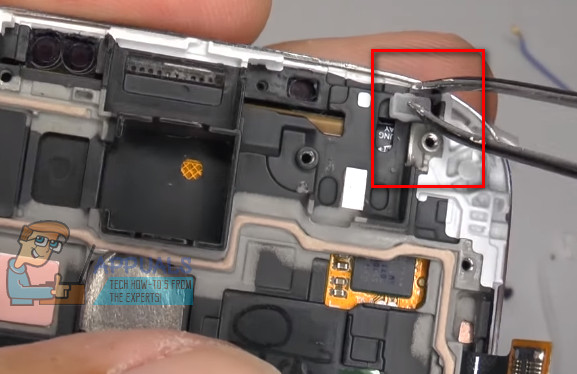
- Antenna cable

- Once you are done disconnecting all of them, make another check if there are any unreleased connections. When you are sure that there aren’t any, carefully separate the motherboard from the housing.
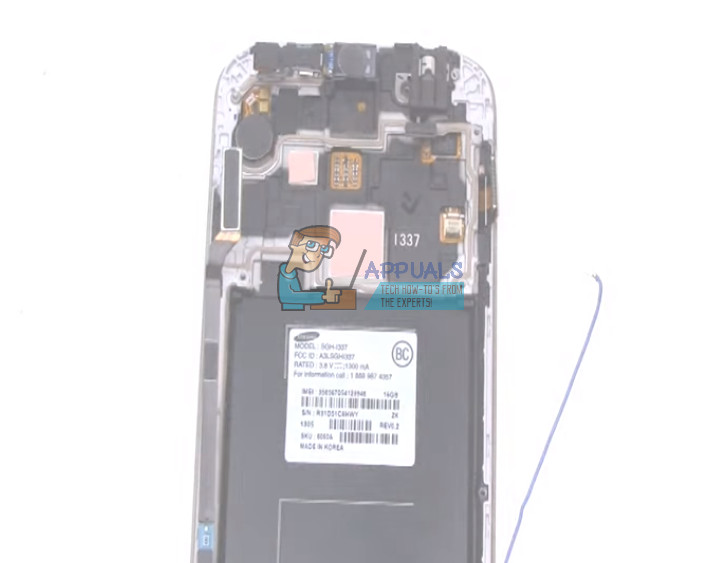
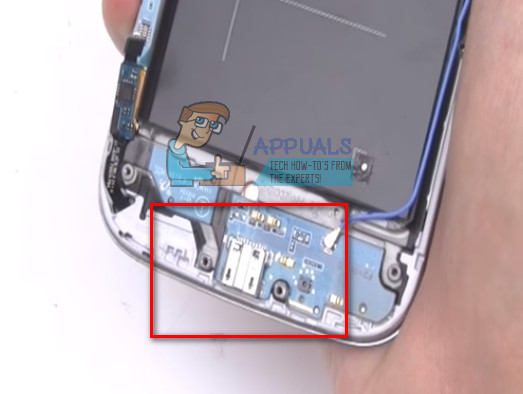
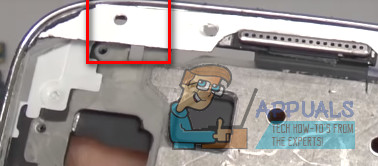
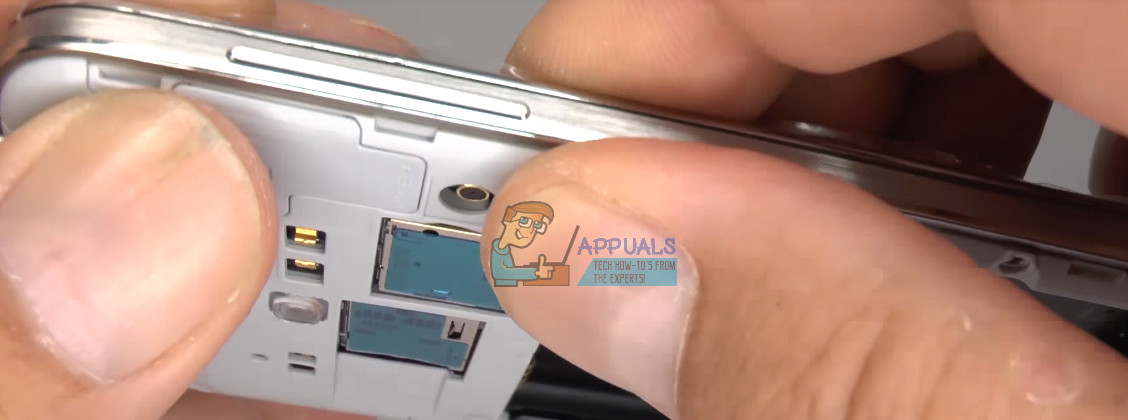
- Remove the small metal plate covering the charging port at the bottom of the housing, then remove the charging port using the safe pry tool.
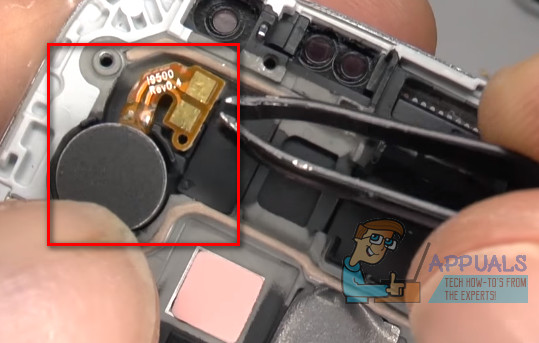
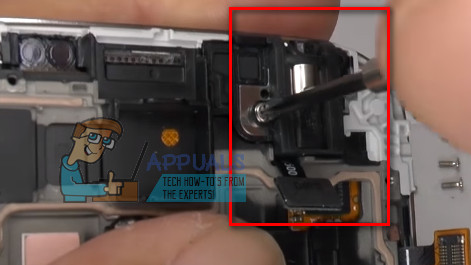
- Unattach the headphone jack, rear-facing camera, vibrator, and ear speaker from the housing using the safe pry tool.
Note: If you are replacing the whole front panel of your phone you should go to Step #26 and skip the ones from #11 to #26. If you are replacing only the screen of your Galaxy S4, without the plastic frame, you should do the Step #11 next.
- Using a heat gun, heat the front screen (the best temperature for releasing the glue is 60-70 C degrees)

- Get your exact blade, the spudger, and the plastic removal tool. Now, remove the screen from the frame. Be careful not to tear the buttons ribbon cable at the bottom of the housing.
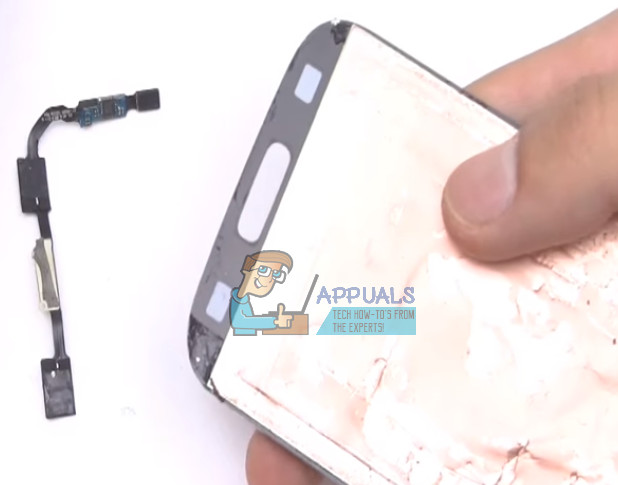
- Remove the buttons ribbon cable and the home button from the old screen.
- Now, remove any black tape leftovers from the housing. Or, if it is complete and non-damaged, leave it on the frame and reuse it.

The Assembly Procedure
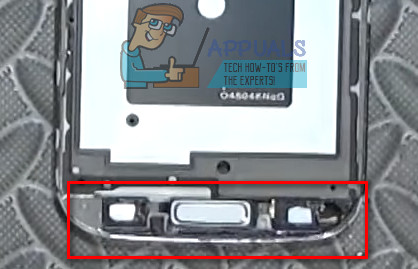
- Place the buttons ribbon cable and the home button on the housing.
- Put double-sided tape on the upper side of your frame front.

- Cut accurately to fit in place.
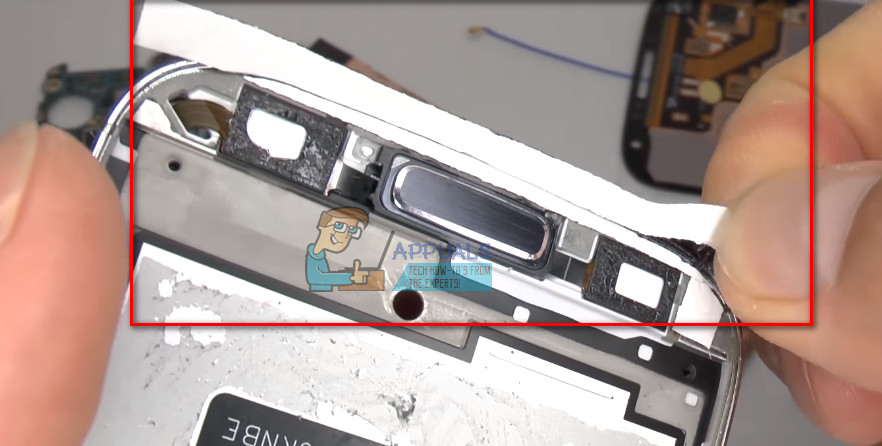
- Make sure you create holes in the double-sided tape for the proximity sensor, the front-facing camera, and the light sensor. (the picture is made from the back side of the front panel)
- Create a hole for the notification LED. (the picture is made from the front side of the front panel)
- Put double-sided tape on the chin of frame front.
- Once you are done with the double-sided tape it is good practice to do a dry try – put the screen in place (without removing the protective film from the double-sided tape), and make sure all fits perfectly.
- When are done with the test, and everything fits in place, remove the screen from the frame and peel off the protective film from the double-sided tape.
- Remove any protective film from the screen replacement.
- Place the screen replacement into the frame. Make sure you start with placing the ribbon cable through the opening of the frame.
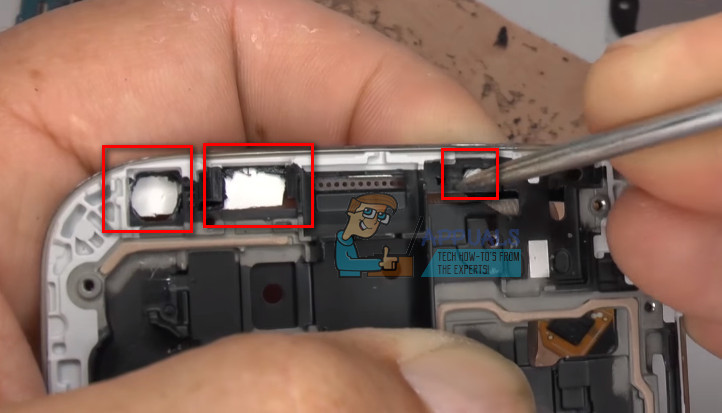
- Once you place the screen into the frame, make sure you check for any double-sided leftovers on the sensors. Remove any extra particles using a wooden toothpick or something (the picture below is made from the back side of the frame)

- If your screen replacements come without a speaker grill (which should not be a case), remove the speaker grill from the top of your old frame (push it gently from the back side), and place it in the new housing.
- Place the vibrator in place.
- Place the LED light diffuser.
- Put in place the headphone socket and screw the Phillips screw holding it.
- Place the motherboard into the housing, and screw the Phillips screw holding it.

- Connect the screen cable as well as the headphone socket cable to the motherboard.
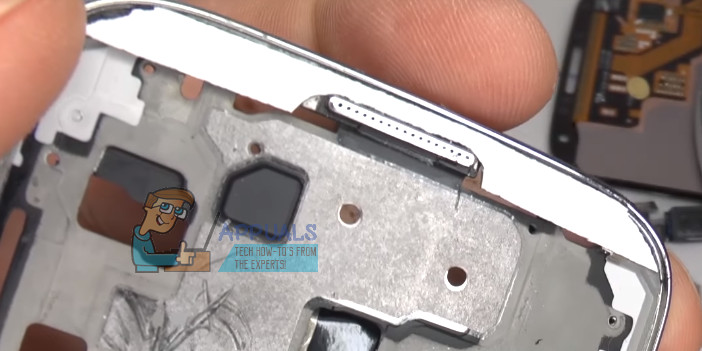
- Place the earpiece, proximity, and the gesture sensor. (Make sure you put the gesture sensor all the way to the screen.)
- Place the front-facing camera into the motherboard.
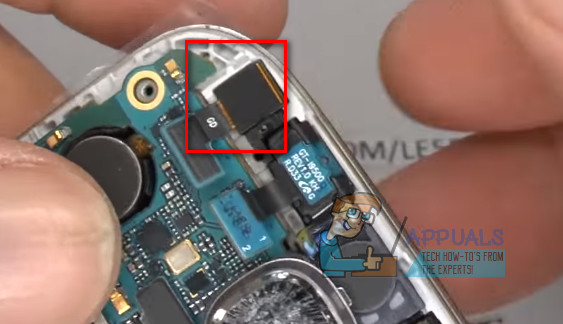
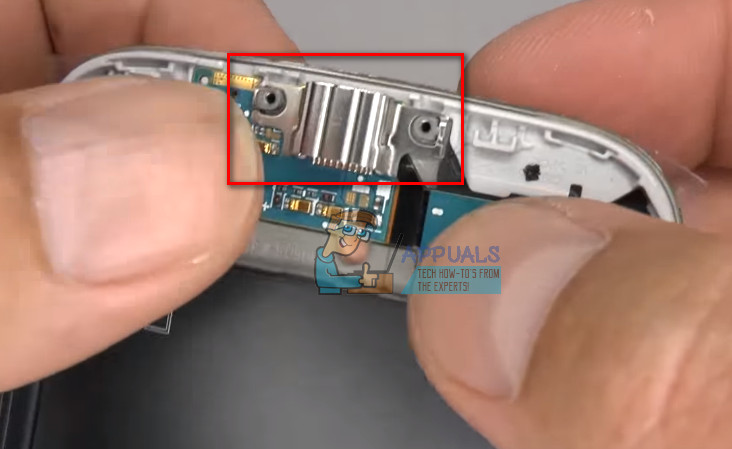
- Replace the retaining clip holding the camera and the proximity sensor.

- Attach the ribbon cables to the motherboard.

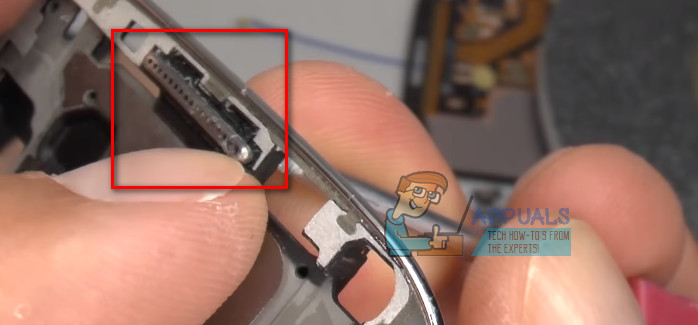
- Attach the charging port USB flex cable.

- Place the charging port on the bottom of your housing (push it gently and try to avoid pushing on the gold connections). Make sure you set properly (all the small holes should be right in place).
- Connect the home and touch keys ribbon cable.
- Place the metal plate on the micro USB port.
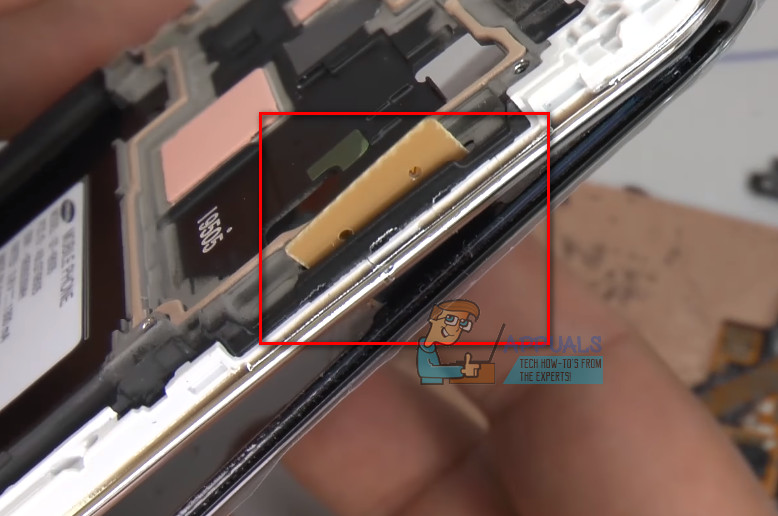
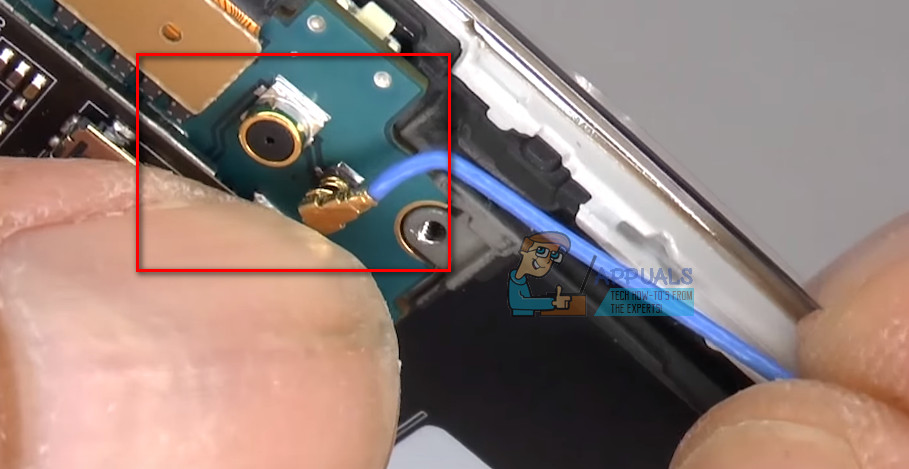
- Reconnect the antenna cable (on both ends) and set it in place into the side of the housing.
- Replace the rear housing (make sure all the clips lock down into place).
- Put back in place all the Phillips screws on the top half of your phone.
- Place the loudspeaker part at the bottom of the housing.
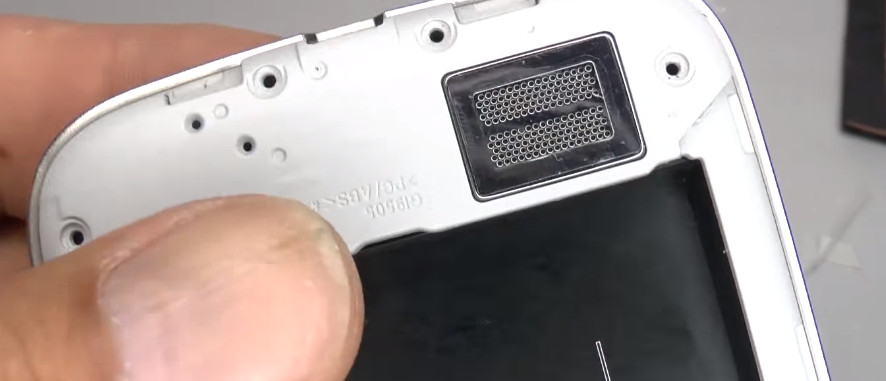
- Place the final 4 screws holding the loudspeaker part.
- Place your sim and micro SD card as well as your battery into the phone.
- Put back in place the battery cover.
- Turn on your phone.