How to Fix DCOM Error 10016 on Windows 7, 8 and 10
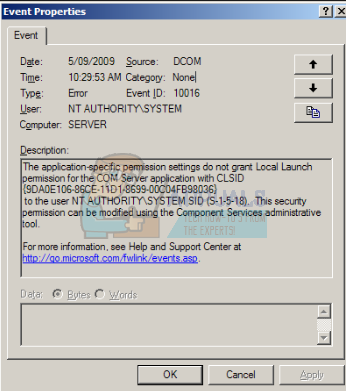
Getting a DCOM error with an Event ID 10016 means that a program tried to start the DCOM server by using the DCOM infrastructure, but the user doesn’t have the necessary permissions to do so. This is a known error that remains from older Windows editions, but it isn’t actually solved when you upgrade to a newer version of the OS and is also seen in Windows 8 and 10.
You will receive this in the form of a system error, and you will also get a message which contains a CLSID and APPID. This DCOM error may be completely harmless, but seeing it and having to deal with it all the time can be annoying.
But before moving on with the troubleshooting process, make sure your system’s power supply is up to the mark and is not faulty. If you are using any type of overclocking (CPU, GPU or RAM) then either lower it down or remove it. Also, make sure that your system’s drivers especially GPU drivers are up to date and then check if your system is clear of the error under discussion.
There is a solution that has been proven to work for a lot of users, and to do that you will need the CLSID and APPID from the error message, and you should follow the steps in the method below.
Method 1: Give the Sufficient Permissions to the App Causing the Error
The CLSID and APPID are unique to an app – and having them both can help you in identifying the app causing the issues. Even if you know which app is causing the problems, all you need to do is give it sufficient permissions so it doesn’t cause problems every time it needs them. The steps to do so are very simple.
- Press simultaneously the Windows and R keys on your keyboard, and type RegEdit in the Run Press Enter or click OK to open the Registry Editor.

Running the Registry Editor - From the Registry Editor, expand the HKEY_CLASSES_ROOT folder, and the CLSID folder inside.
- Find the folder with the CLSID you received in the error message.
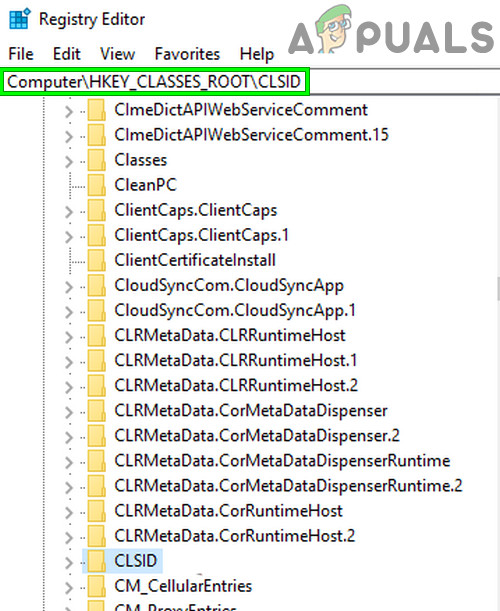
Open CLSID in Registry Editor - Now right-click on it and select “permissions” and click on “Advanced“.
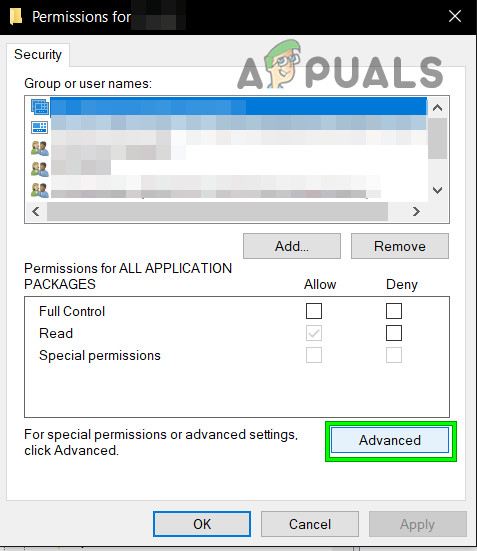
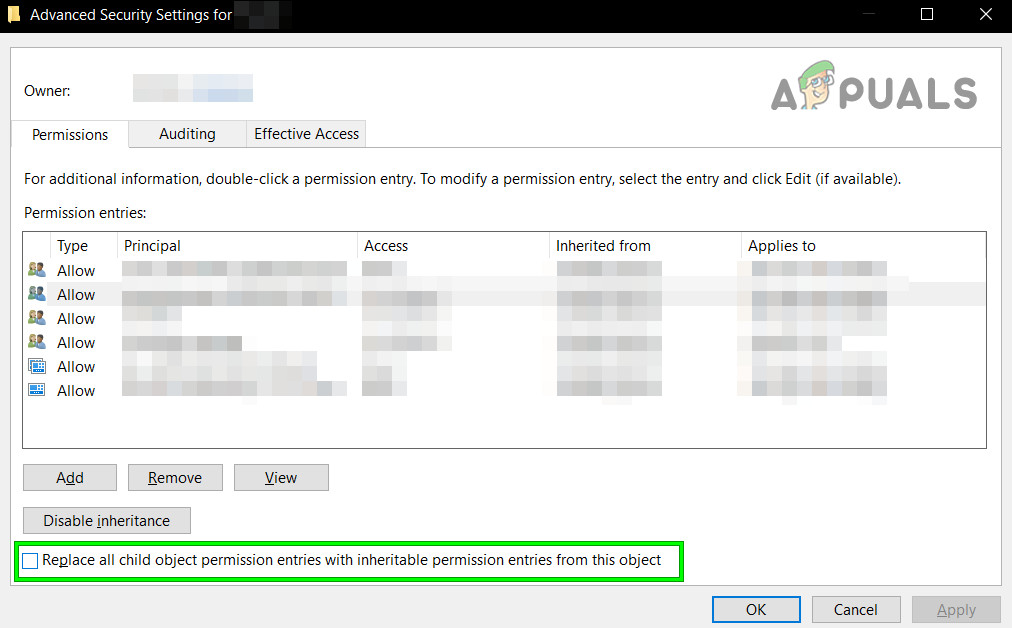
Open the Advanced Tab in Permissions - Click At the top, you will see the owner – change it to the Administrators group.
- At the bottom of the owner window, also select Replace all child object permission entries. Click OK, and then select Yes to the Windows Security warning.
Replace All Child Object Permission Entries - Back in the main permissions window, click Add, enter Everyone and click OK. Again in the main permissions Window, select Everyone from the list of users in the top, and select Full Control from the Allow column in the bottom half. Click OK.
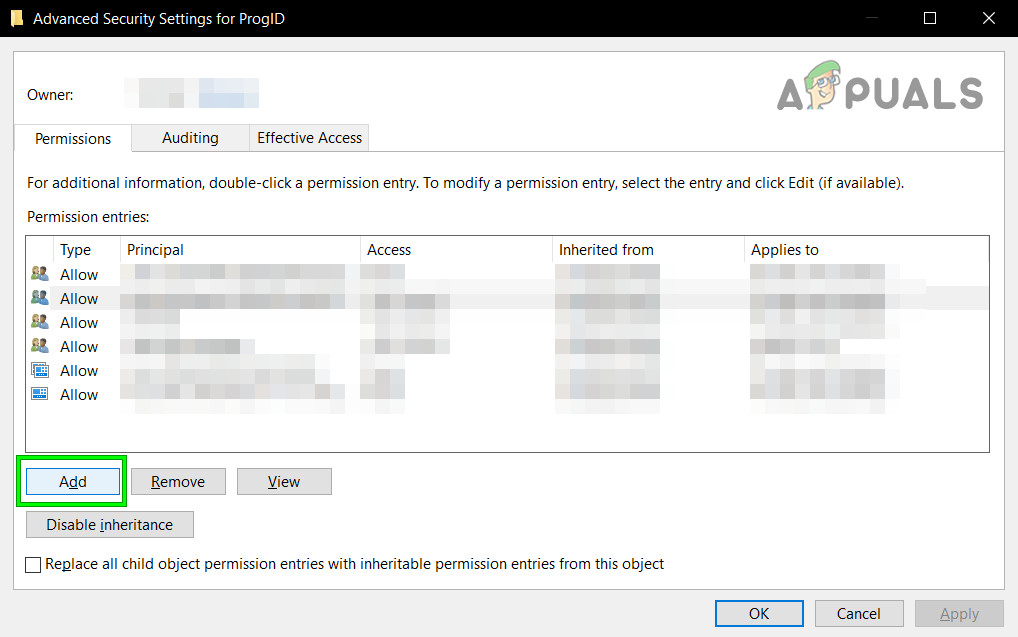
Click Add in Advanced Permissions - Apply full control.
- Once you’re done, expand the HKEY_LOCAL_MACHINE Inside, expand these folders: Software, then Classes, then AppID.
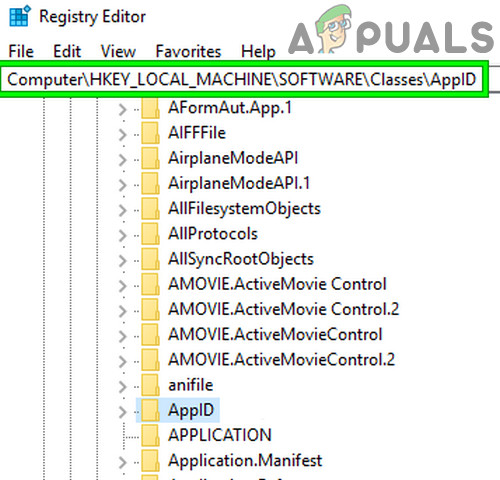
Open AppID in Registry Editor - Go to the folder which has the same APPID you received in your error message. Right-click and choose permissions and select “Advanced“.
- Using steps 4 through 6, give the app sufficient permissions.
- Note that when you’re looking at the folders with the CLSID and APPID, you will see a registry key with the name of the service causing the issue.
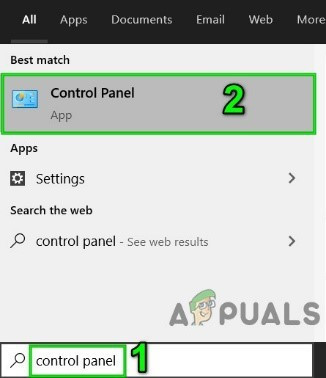
- Press the Windows key, and either type Control Panel and open the result, or open the Control Panel from the Start menu, depending on which version of Windows you’re using.
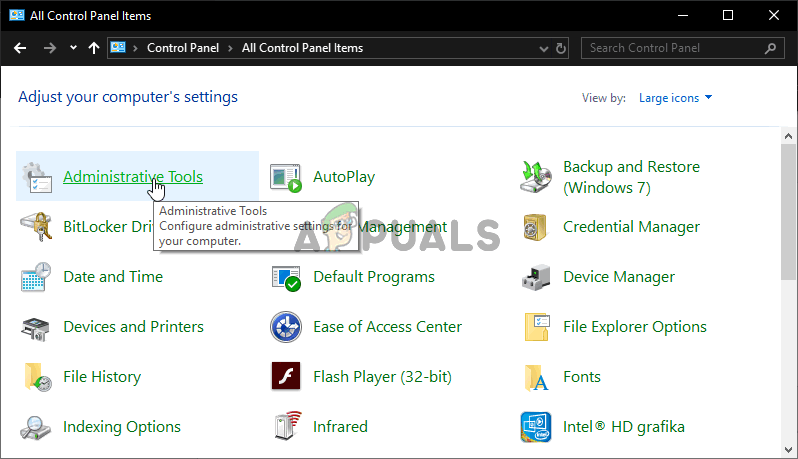
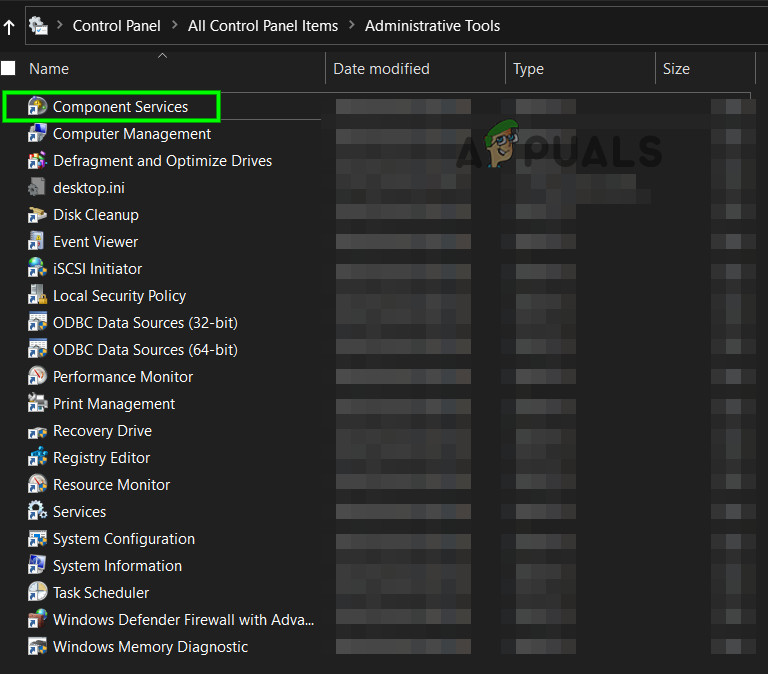
Open Control Panel - Switch to icons view at the top right, and open Administrative Tools.
Running Administrative tools - Open Component Services.
Open Components Services - Click Computer, followed by My Computer.
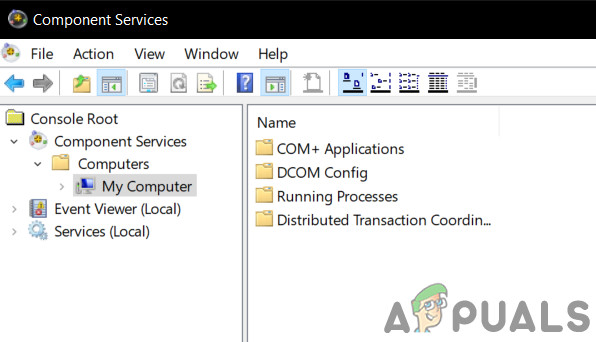
Open My Computer in Components Services - Now finally find the service that’s causing the issue, right-click it, and select properties. Then click the Security tab.
- If permissions were properly set in the registry you should be able to select Customize on all three categories in this window (Launch and Activation Permissions, Access Permissions, and Configuration Permissions). If any of these items are greyed, repeat the previous steps for setting registry permissions to verify those settings.
- Once Customize has been selected on all three categories, select Edit on Launch and Activation Permissions. If you receive a warning that one or more permissions entries attached have an unrecognized type, click Remove. This just means that permissions in the registry were set to a non-default value, which is necessary to complete the fix.

Customized Permissions - In the new window look for System in the list of users at the top. If it does not exist click Add. Type System and click OK. Select System from the list of users in the window. In the bottom half of the window, place a check in the Allow column beside Local Launch and Local Activation. You may also see Local Access instead, just be sure there is a check for this item in the Allow column. Click OK. Repeat the steps for the other two items, Access Permissions, and Configuration Permissions.
- Repeat steps [numbered] for other ClSID and AppID values listed in event logs.
- Rebooting after performing the steps above is required for the changes to take effect.
Even though this might seem like a long and exhausting way to solve the issue, it is the one that has been reported to work for a vast majority of the users having this problem. Follow it carefully step by step, and you will have the DCOM error gone in no time.
Method 2: Delete Registry Keys
Some conflicting registry keys can cause this problem as well. Registry keys are a form of instructions in binary for the system to follow. There are a few registry keys present in your registry which even though belong to Microsoft sub-category itself, are known to cause problems. Deleting these keys may solve the issue at hand.
Warning: Changing the system’s registry needs technical expertise and if done wrong, you may damage your system beyond repair, so, proceed at your own risk. Also, do not forget to create a backup of your registry if you are going to make changes in the registry.
- Click on the Windows button and in the search box, type Registry Editor. Now in the results shown, right-click on the Registry Editor and click on “Run as Administrator“.
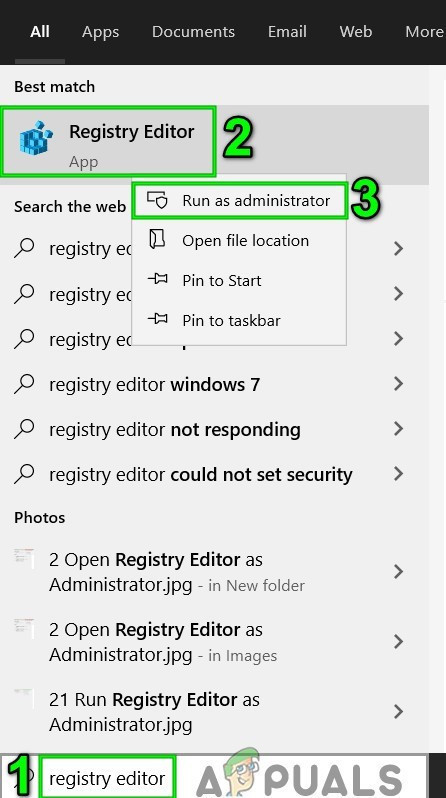
Open Registry Editor as Administrator - Navigate to the following key:
HKEY_LOCAL_MACHINE\SOFTWARE\Microsoft\Ole
- Now delete the following keys
1. DefaultAccessPermission

2. DefaultLaunchPermission

3. MachineAccessRestriction

4. MachineLaunchRestriction
- Save changes and restart your system.
- After deleting the above-mentioned keys from the registry, the default permissions will be written for the system. As a result, the apps that require access to the DCOM Server will have access to it.
So after reboote i have to do step 1 to 20 again ?