How to Fix Access Denied for User ‘root’@’localhost’ Error on MySQL
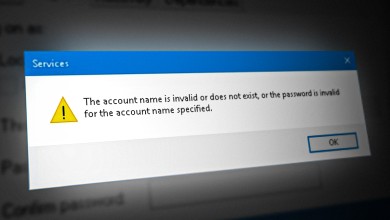
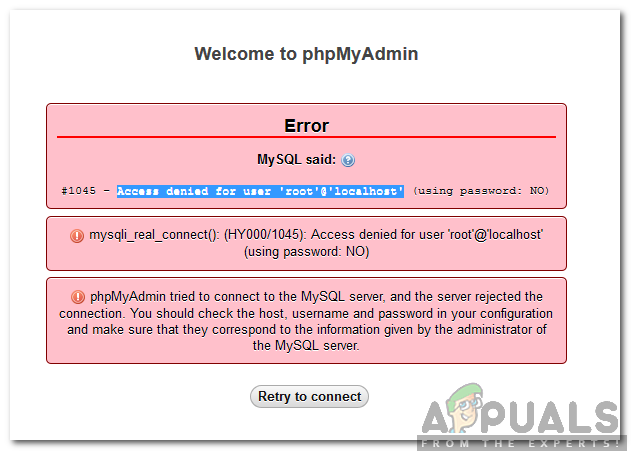
MySQL is an open source Database Management system based on the “SQL” language. MySQL comes bundled with the XAMPP Control Panel which is also an open source and free to use application. However, quite recently a lot of reports have been coming in of users who are unable to access their “MySQL” database from their browser and the “Access Denied for Use ‘root’@’localhost‘” Error is displayed when doing so.
In this article, we will guide you with the easiest way to fix this problem and also inform you of the reason due to which this error is triggered. Make sure to follow the guide carefully and in order to avoid further issues.
What Causes the Access Denied for User ‘root’@’localhost’ Error on MySQL?
After receiving numerous reports from multiple users, we decided to investigate the issue and devised a solution after experimenting with many known troubleshooting processes. Also, we looked into the reason due to which this issue is triggered and listed it below.
- Invalid “.ini” Configuration: The “.ini” file stores certain launch configurations for the “MySQL” server. It acts as a gateway in the way of loading the database. In some cases, it was seen that a certain sequence of code was missing from the “.ini” file due to which this error was being triggered.
Now that you have a basic understanding of the nature of the problem, we will move on towards the solution.
Solution: Re-configuring “.ini” File
If the “.ini” file for XAMPP control panel isn’t configured properly, it can prevent the establishment of a secure connection with the MySQL database. Therefore, in this step, we will be reconfiguring the file by adding an additional command. In order to do that:
- Open XAMPP control panel and click on the “Stop” button for both “Apache” and “MySQL“.
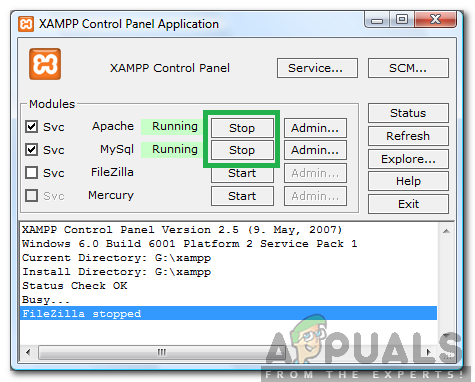
Pressing the stop buttons for both MySQL and Apache - Navigate to the installation directory for “XAMPP” and double click on the “MySQL” folder.

Opening the “MySQL” folder - Double click on the “bin” folder and right-click on the “my.ini” file.
- Click on the “Edit” option.
- Locate the words “[mysqld]” in the list.
- Add the following command below the “[mysqld]” line and above the “Port=….” line.
skip-grant-tables
- Click on “File” and select “Save“.
- Close the document and open the XAMPP control panel.
- Click on the “Start” button for both “Apache” and “MySQL“.
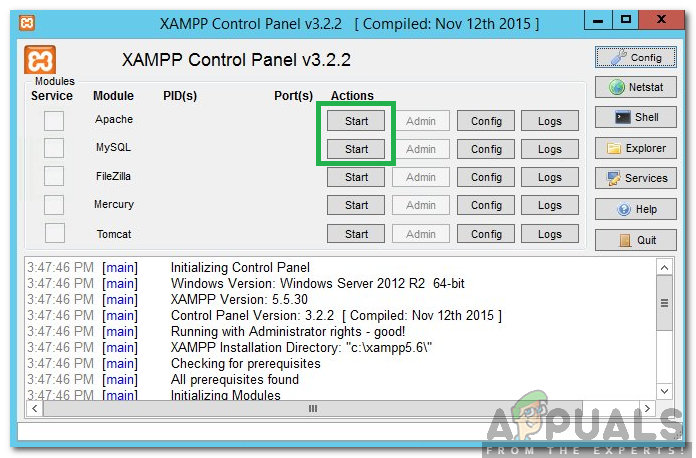
Clicking the start buttons for both MySQL and Apache - Open the browser, try to login to MySQL and check to see if the issue persists.