Accessing a USB Flash Drive in Oracle VM VirtualBox
Understanding how to work with virtual hard disks and external storage inside of the virtual machine is important. We already explained how to create primary and secondary virtual hard disk and how to assign to the virtual machine. In case you have missed these articles, we highly recommend you to check on our website.
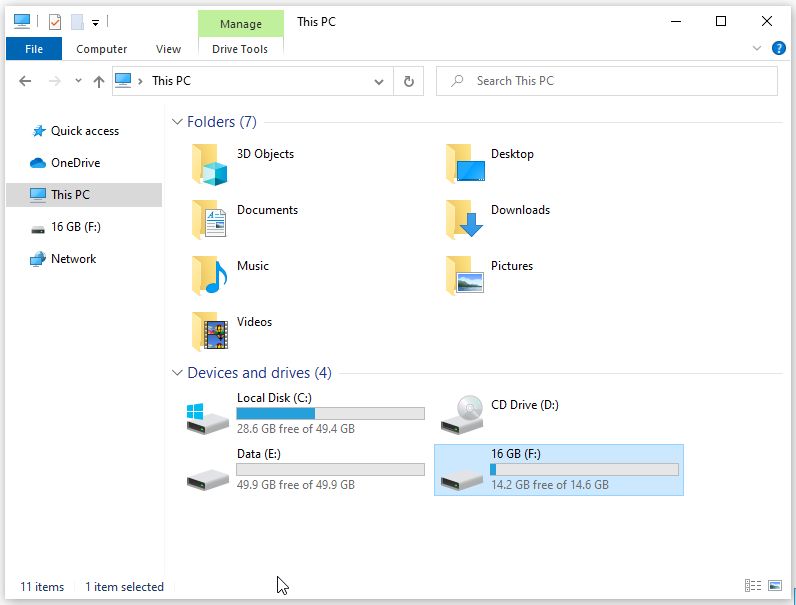
In this article, we will show you how to access a USB flash drive in the virtual machine. In order to show you how to do it, we will attach 16 GB flash drive into the USB port of our host machine and then load it within the virtual machine. The name of the USB flash drive will be USB 16. So, let´s start.
How to Access a USB Device in VirtualBox VM?
The process of accessing a USB device through VirtualBox is pretty simple and straightforward. It can be accessed after installing a few drivers and making changes to the VM.
- Login in the Windows 10
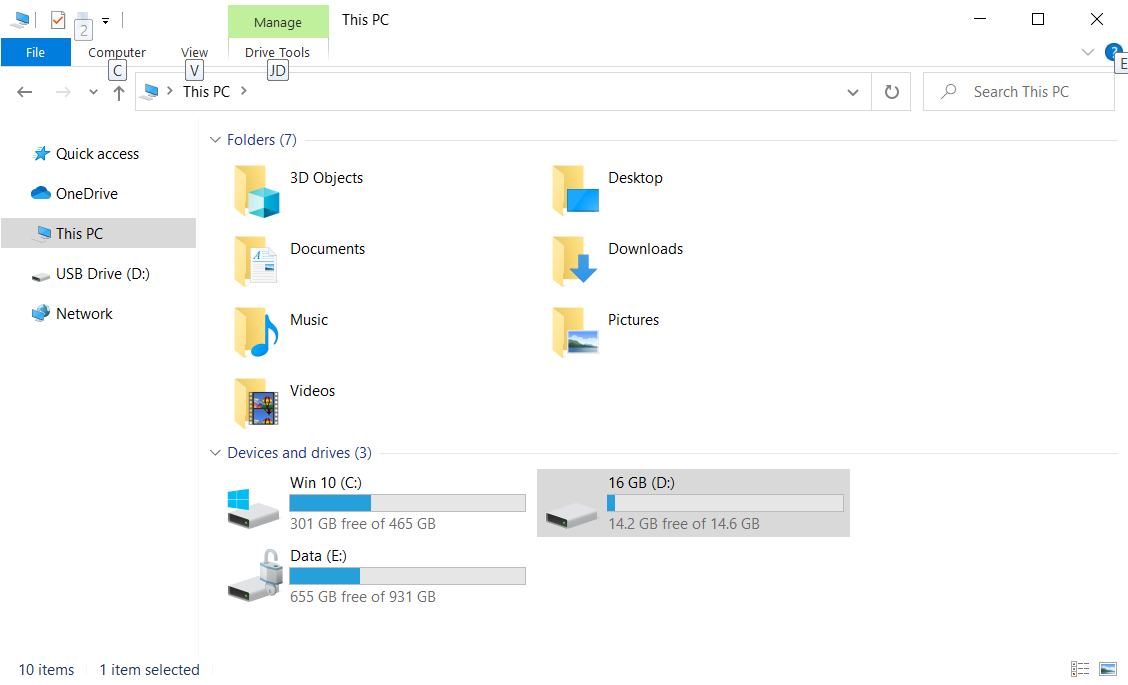
- Insert the USB Flash drive into the USB port (2.0 or 3.0) of your host machine.
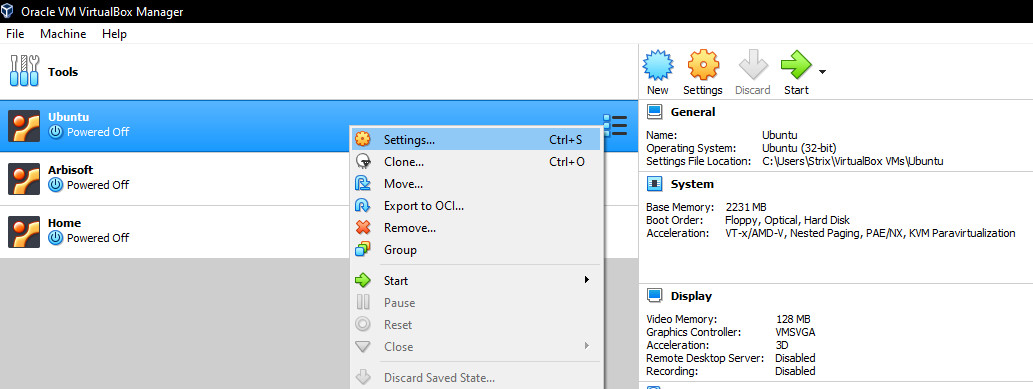
- Open Oracle VM VirtualBox
- Select the virtual machine and shut it down from Oracle VM VirtualBox or from the guest operating system
- Right-click on the selected virtual machine and then click Settings and click on the USB.
Settings – Virtual Machine - Select the Enable USB Controller and then choose USB 2.0 (EHCI) Controller. The using of USB 2.0 requires the Oracle VM VirtualBox Extension Pack to be installed. Please install the Extension Pack from the VirtualBox download site or disable USB 2.0/3.0 to be able to start the machine.
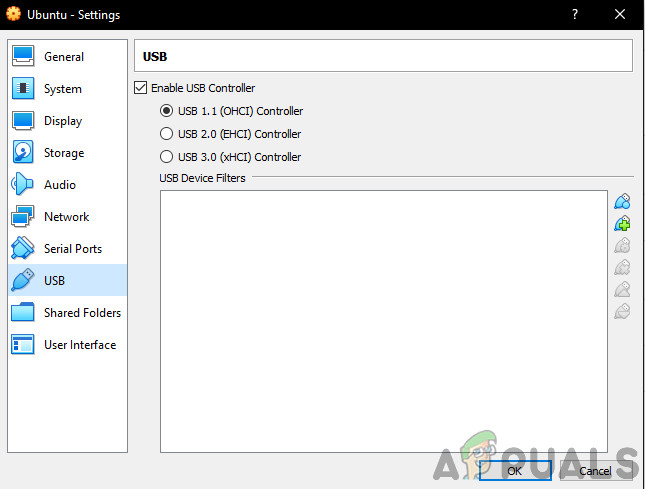
USB Settings – Virtual Machine - Open the Internet browser (Google Chrome, Mozilla Firefox, Edge or other)
- Open the VirtualBox website and download VirtualBox 6.1.4 Oracle VM VirtualBox Extension Pack from the link. That will download a file named Oracle_VM_VirtualBox_Extension_Pack-6.1.4, which is around 10 MB. Please be aware that the version of the extension package must be compatible with the version of the Oracle VM VirtualBox. Extension packs complement the functionality of VirtualBox and can contain system-level software that could potentially harmful to your system. Please review the description and proceed if you have obtained the extension pack from a trusted source. The Extension pack supports for USB 2.0 and USB 3.0 devices, VirtualBox RDP, disk encryption, NVMe, and PXE boot for Intel cards.
- Click on the installation file and click on Install
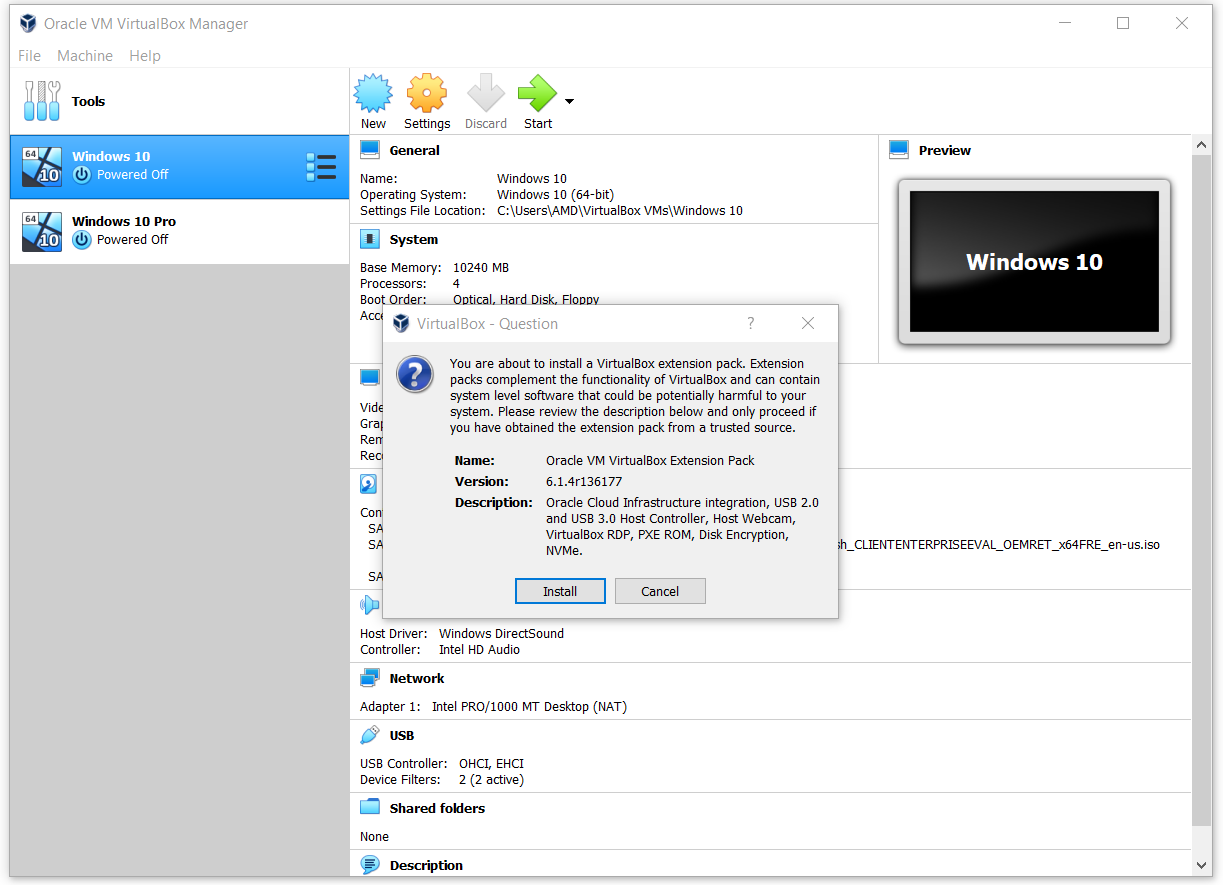
- Click on Install
- Read the VirtualBox license agreement and then click on I Agree
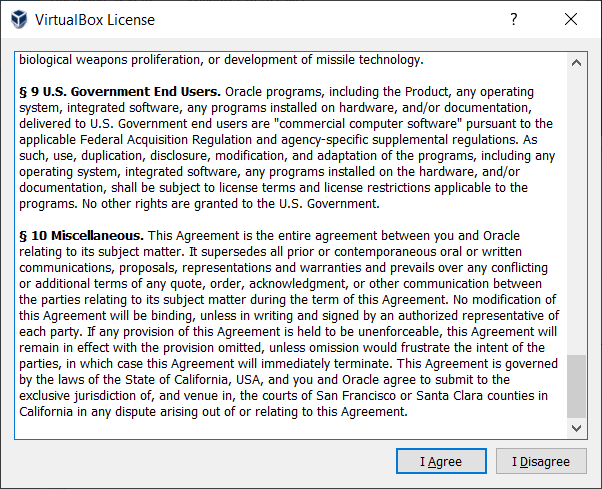
- Click Yes to confirm the installation of the extension package. It is required to use an account with Administrator permissions.
- If everything was fine, you will see a confirmation window that says The extension pack Oracle VM VirtualBox Extension pack was installed successfully. Please click on OK.
- Select the virtual machine in the virtual machine list and Start it by clicking on the Start button or do the following procedure – Right click on the virtual machine – Start and then click Normal Start
- Right-click on the selected virtual machine and then click Settings
- Click on the USB
- On the right side click on the button. If you hover over the button, you will see Adds new USB filter with all fields set to the values of the selected USB device attached o the host PC.
- Select your USB flash drive. In our case it is JetFlash Mass Storage Device (1100)
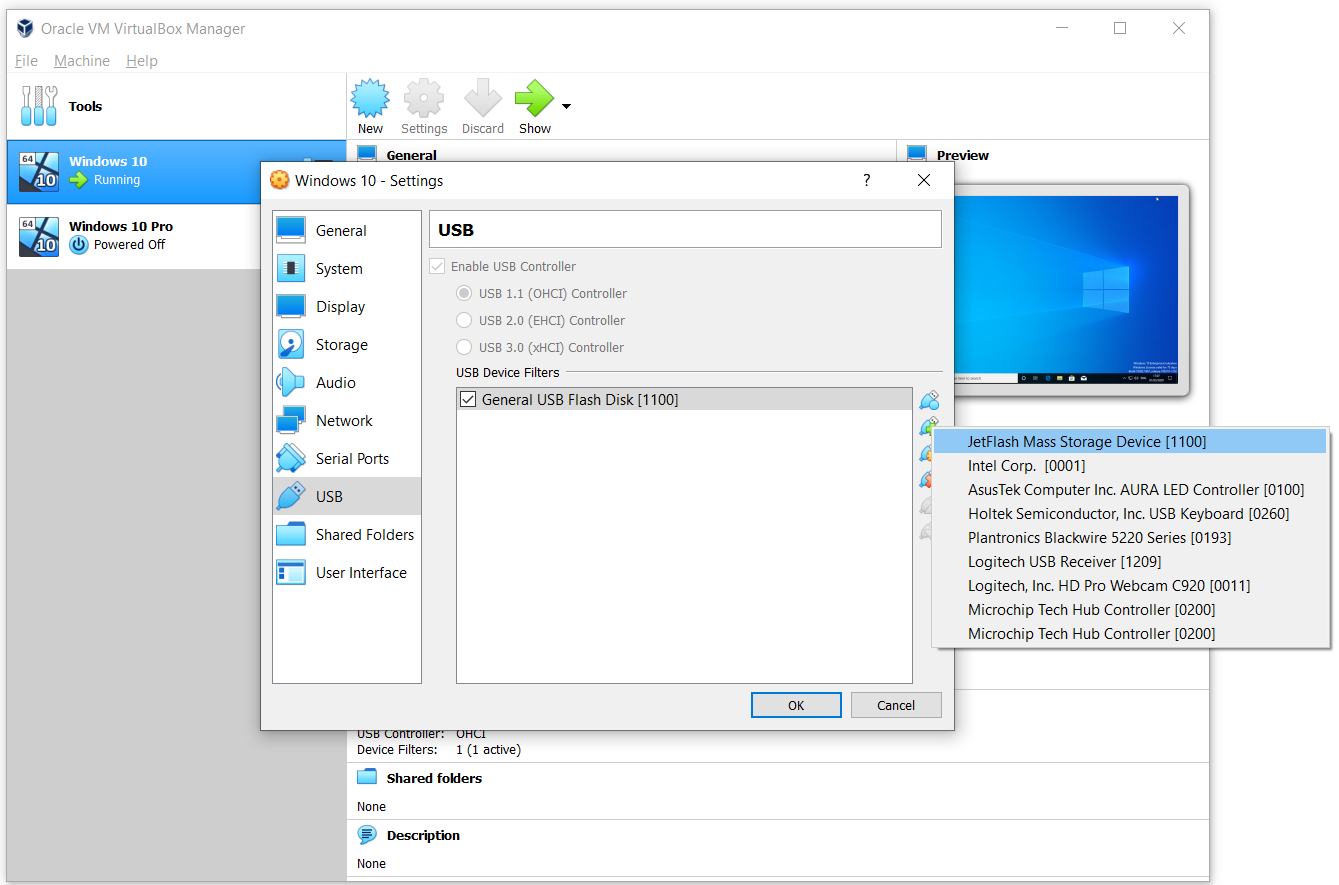
- Once you select the USB Flash drive it will be shown in the USB list. Please click on OK.
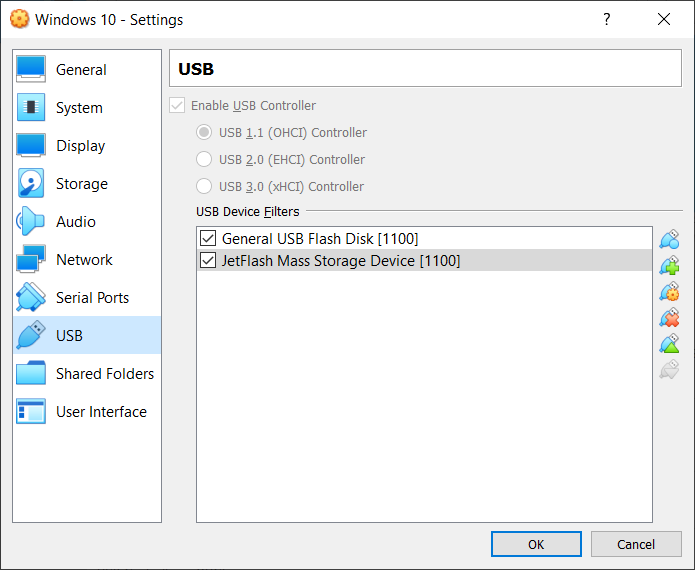
- Click on OK.
- Login in the guest operating system, in other words, login in the virtual machine
- Open File Explorer (Hold Windows Logo and press E)
- Verify if USB flash disk is available as the storage device. As you can see, the USB flash drive is available and can be used for access, sharing, or moving the data.
