Fix: Steam Link Setup ‘No Host Computers Found’
The Steam Link allows users to stream their games from their Steam library to any TV in their home. The audio and video data is transferred from your computer to a remote computer or TV. All the information related to your game input will be sent from your main computer to the remote computer. However, some users are getting ‘No host computers found’ error when connecting through the Steam Link. In this article, we will show you how to resolve this problem.
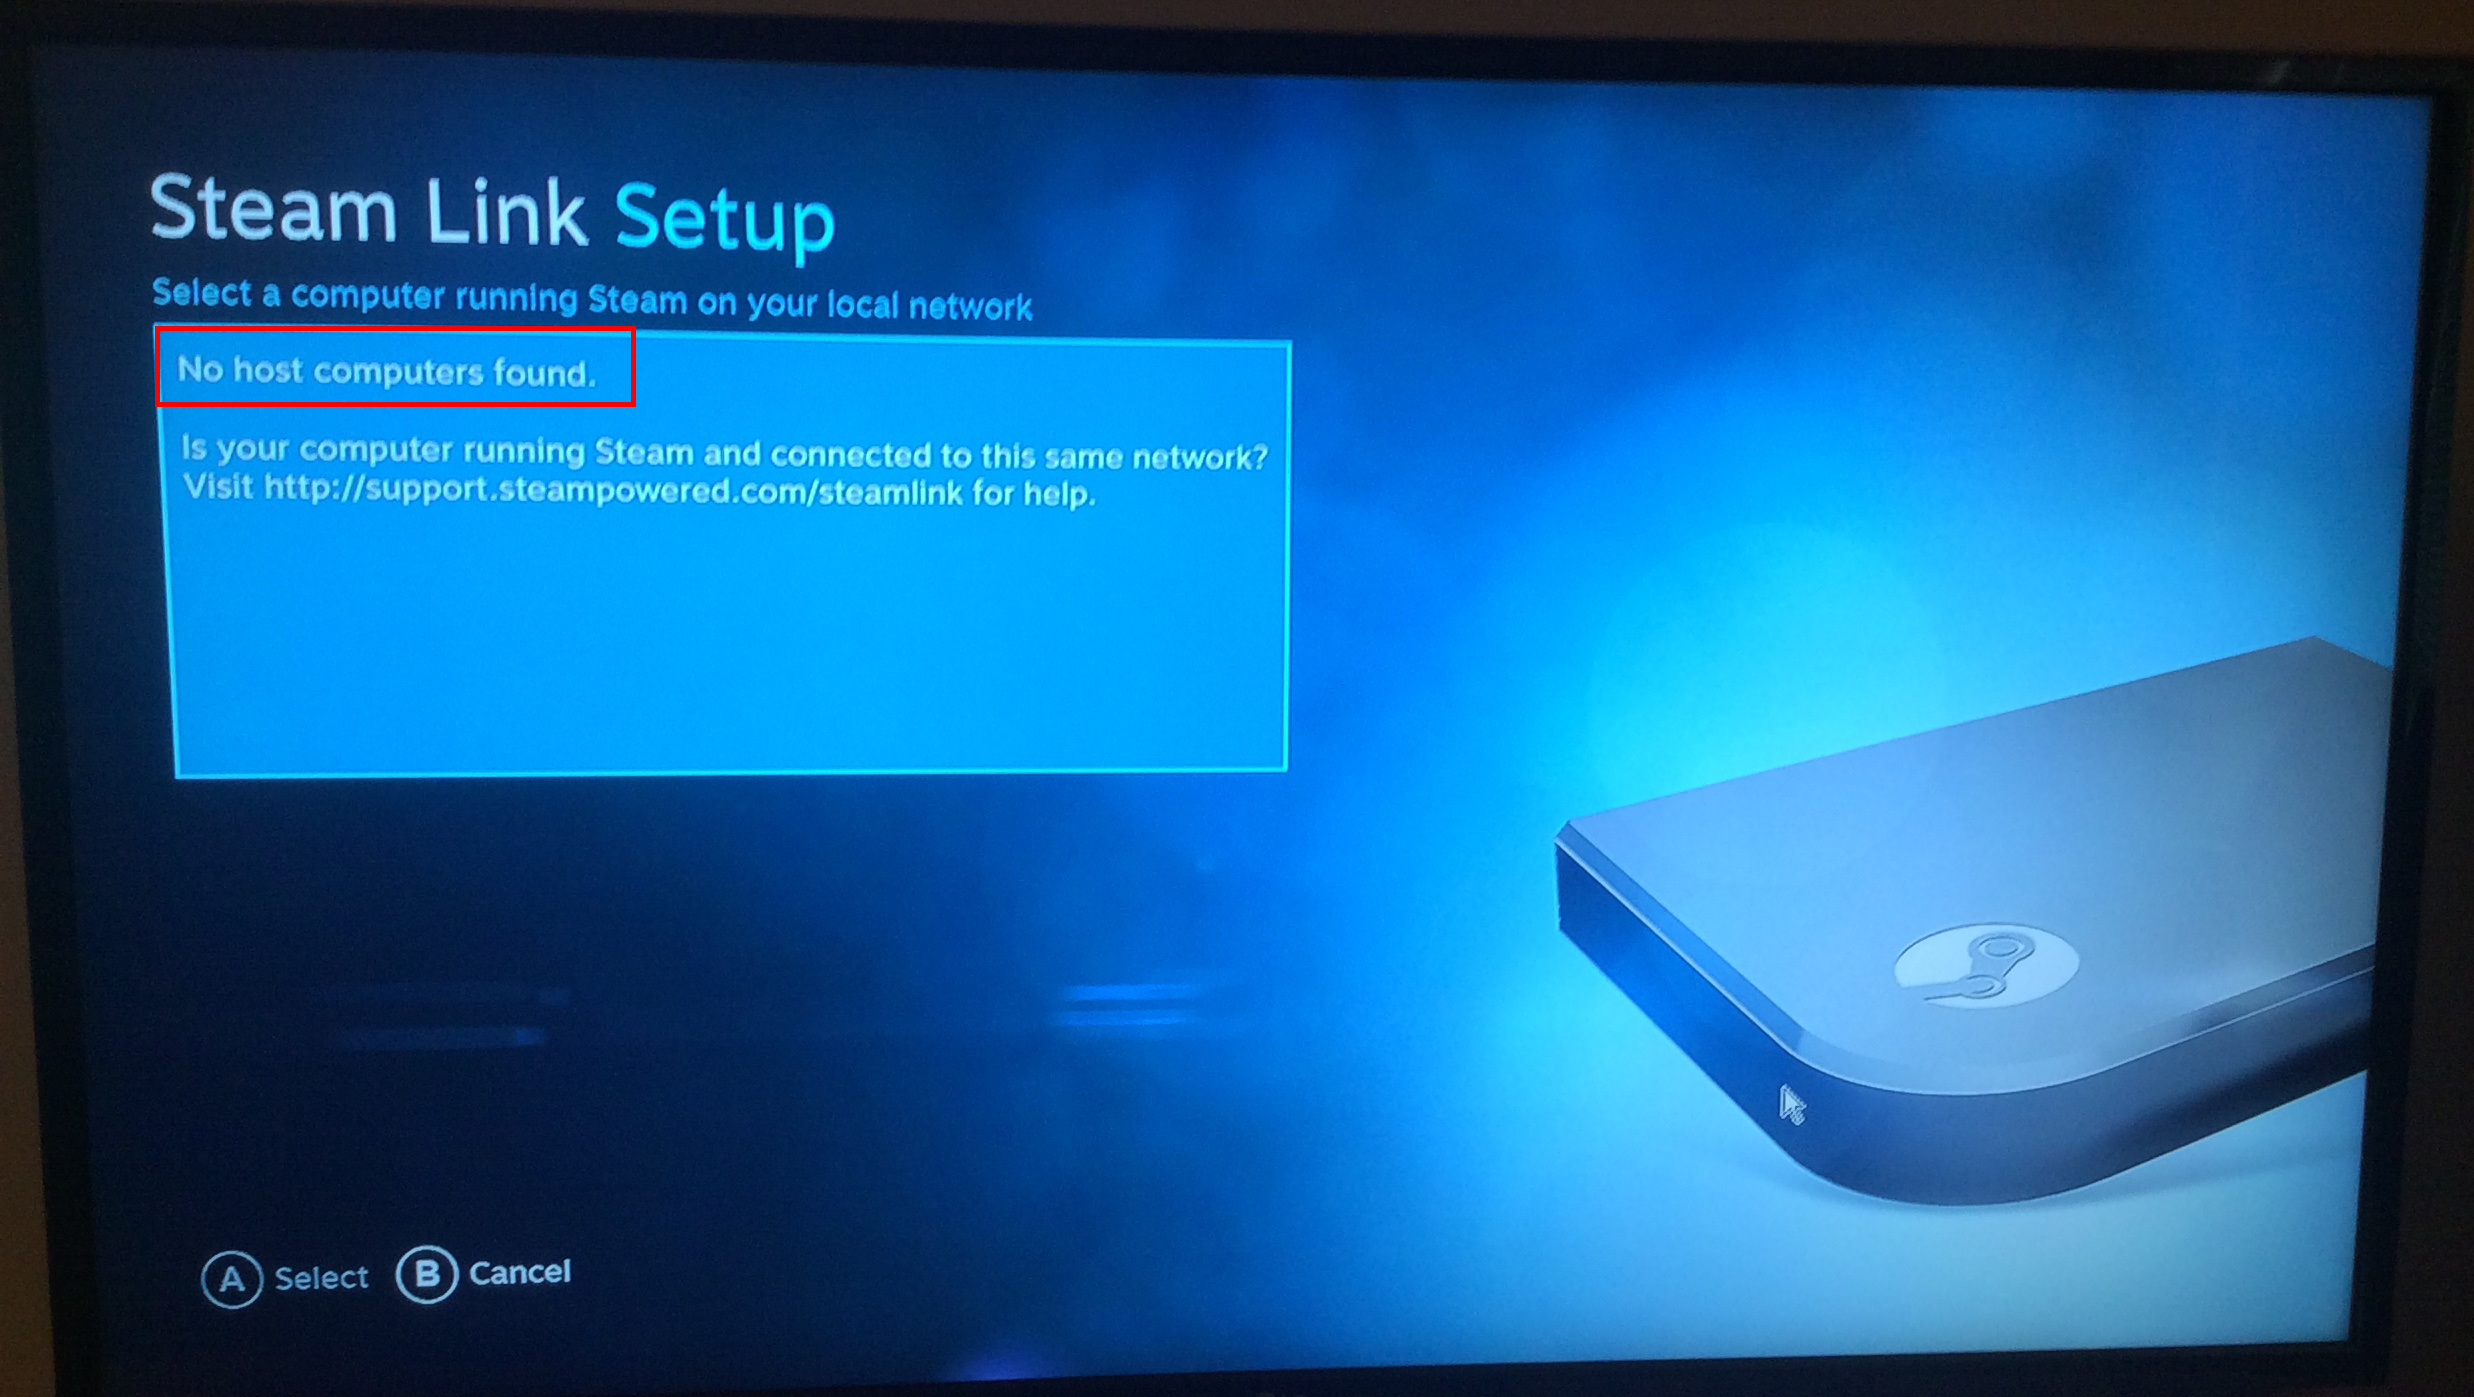
Most commonly, the ‘No host computers found’ error is caused by the wrong configuration of the Steam Link. In this case, make sure you follow the right steps for configuring your Steam in-home streaming to resolve the issue.
In some cases, after configuration and connected everything, restarting your applications or devices will be required to make it work. Sometimes the settings will require to be configured again (uncheck and re-check the Enable Streaming option in method 1).
The network connection plays a great role in your Steam Link. Make sure you are connected to the same network on the main computer and remote computer. Wi-Fi will work, but you will have greater experience with a wired connection.
Method 1: Enabling In-Home Streaming in Steam
This is the most common and simple mistake that most users make when trying the Steam Link. You must enable the In-home streaming option to make it work. Sometimes even if it’s already turned on, you will need to disable and enable it again to make sure it’s not bugged. Follow the below steps to Enable Streaming:
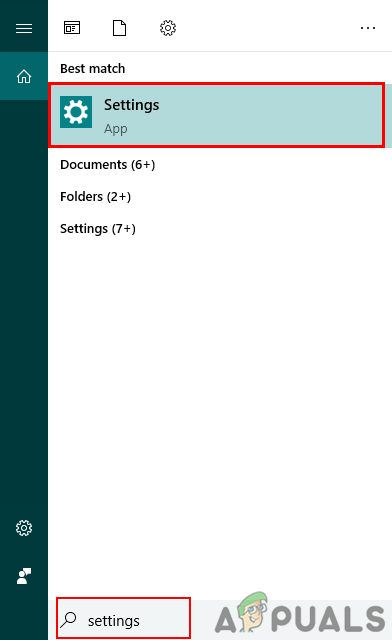
- Open your Steam by double-clicking the shortcut or searching it in the Windows search feature.
- Click on the Steam menu on the top menu bar and choose the Settings option.

Opening Steam settings - Select the In-Home Streaming option from the list on the left side and tick the Enable Streaming option.
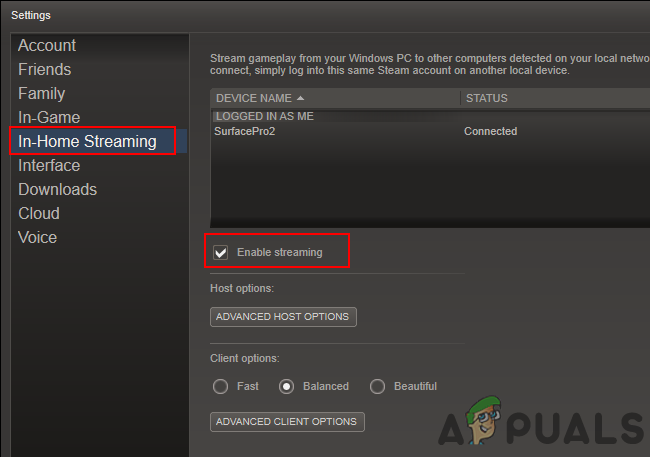
Checking the Enable Streaming option - Click the Ok button and now try your Steam Link again.
Method 2: Changing Network Connection to Private
If your network connection is public then it will probably give the ‘No host computers found’ error. The public network profile will hide your PC from other devices on the network for security purposes. Turning it into Private will allow your PC to be discovered by home networks. Follow the below steps to change the network profile:
- Hold the Windows key and press I to open the Windows settings or you can just search for Settings in the Windows search feature.
Opening Windows settings - Click on the Network & Internet option in the Windows Settings.

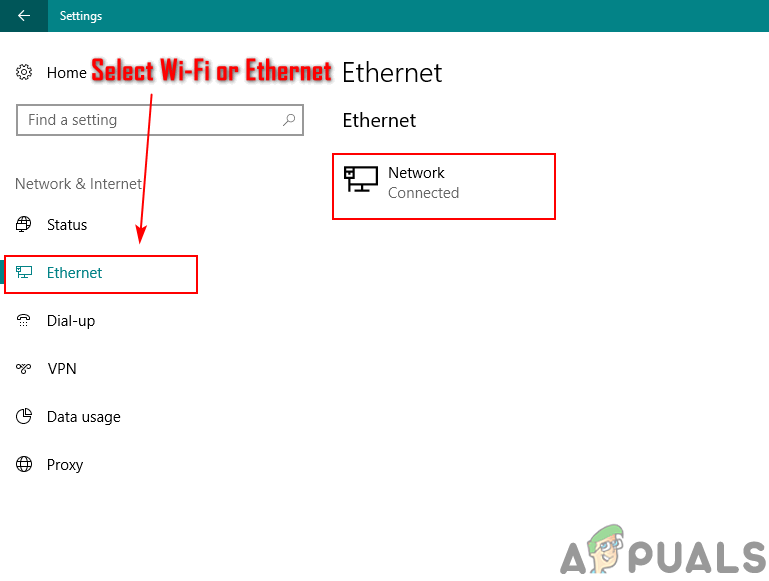
Opening Network & Internet settings - If you are using Ethernet then click on the Ethernet option on the left side. If you are using Wi-Fi then select the Wi-Fi option from the list on the left side.
- Click on your network name to open the settings.
Opening your network settings - Change your network profile to Private.
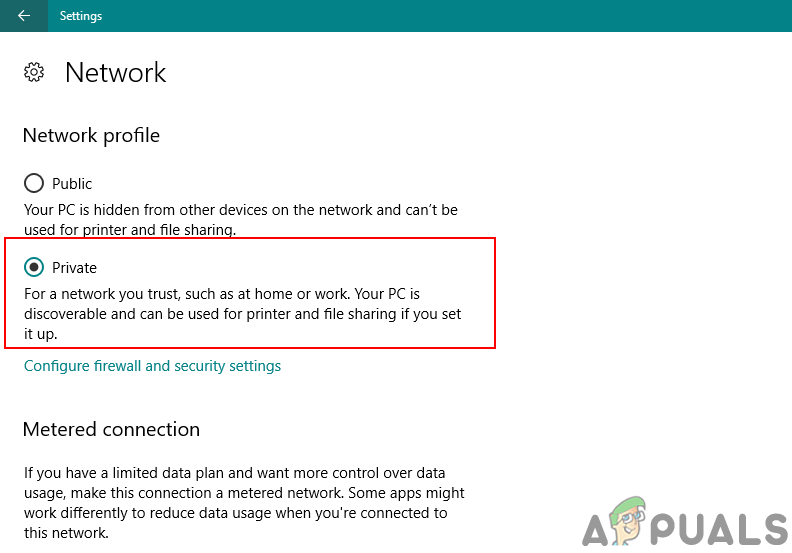
Changing network profile to Private - Now you will be able to find your computer.