Troubleshoot Hogwarts Legacy Not Launching and Starting
There are several reasons that can result in Hogwarts Legacy failing to launch on your computer, which often includes the graphics drivers installed on your computer, any third-party antivirus program running in the background, and missing or even damaged game files along with others.

More often than not, the third-party antivirus program installed on your computer can intervene with the game process preventing it from launching because of a false positive. Such an issue can be mitigated by simply disabling the antivirus program.
We will be taking you through a number of methods you can use to resolve the problem in question, so just follow through.
1. Run Hogwarts Legacy as Admin
The first thing you should do when starting to resolve the issue is to run the game with administrative privileges. Doing this circumvents any permission issues faced by the game process which allows it to run smoothly in your Windows environment.
To run the game with administrative privileges, you will have to open your respective platform, Steam or Epic Games Launcher, as admin. After that, you will need to edit the game’s executable properties to ensure the game is run with administrative privileges on each launch.
Follow the instructions below to do this:
- First, open the Start Menu and search for Steam. Click on the Run as administrator option. If you are using Epic Games Launcher, search for that instead.
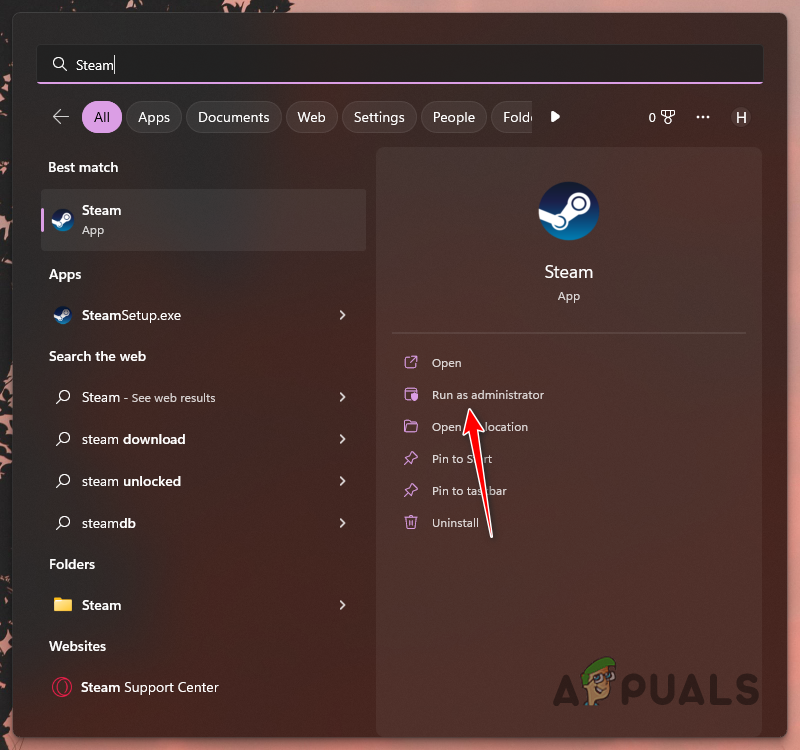
Running Steam as Admin - Navigate to the installation folder of Hogwarts Legacy. On Steam, you can do this by right-clicking your game and going to Manage > Browse local files.
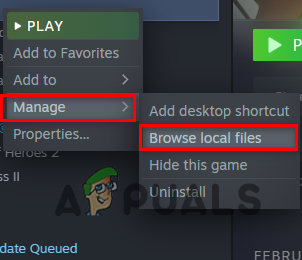
Navigating to Game Installation Directory - Right-click on the game executable file and choose Properties from the drop-down menu.
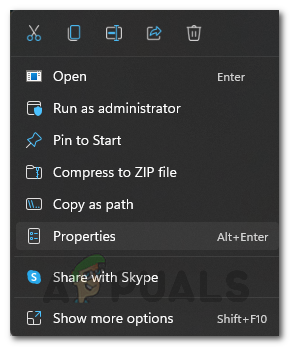
Opening Properties - Switch to the Compatibility tab on the Properties window.
- Tick the Run as administrator checkbox.
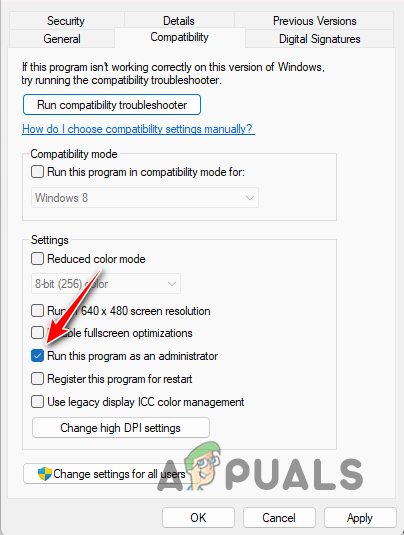
Enabling Run as Admin Functionality - Click Apply and hit OK.
- Open the game to see if the issue is still there.
2. Run Compatibility Troubleshooter
In some scenarios, the issue can occur due to a compatibility issue on your computer. This can happen when the system requirements of Hogwarts Legacy are not met. To help you in such scenarios, Windows has a built-in troubleshooter that scans for any compatibility issues and tries to fix them.
The compatibility troubleshooter for the game can be run through the properties window of the game executable file. Follow the instructions below to do this:
- Navigate to the installation directory of Hogwarts Legacy on your computer. On Steam, you can right-click on the game and choose Manage > Browse local files.
Navigating to Game Installation Directory - There, right-click on the game executable file and choose Properties.
Opening Properties - Then, switch to the Compatibility tab on the Properties window.
- Click on the Run compatibility troubleshooter option.
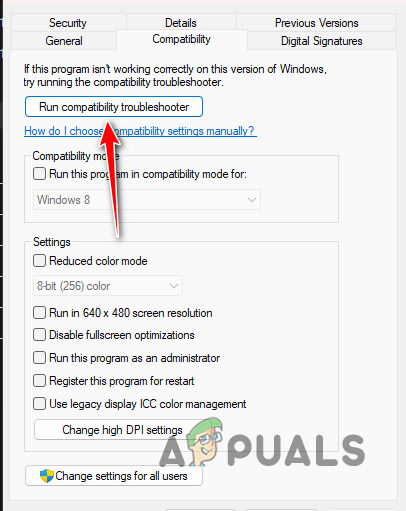
Running Compatibility Troubleshooter - Wait for it to finish and see if that resolves the issue.
3. Disable Fullscreen Optimizations
Fullscreen optimizations is a Windows feature that allows you to use the game in windowed mode with the benefits and performance of Fullscreen exclusive mode. This makes tabbing out of the game a smooth process.
However, in some instances, using Fullscreen optimizations can cause specific games to not function at all in which case you will have to disable them. This can happen when the game is running into an issue with the optimizations applied by Windows.
Follow the instructions below to disable Fullscreen optimizations:
- Start by navigating to the installation directory of the game. You can right-click on the game and use the Manage > Browse local files option on the Steam client.
Navigating to Game Installation Directory - In the installation directory, right-click on the game executable file and choose Properties.
Opening Properties - Then, switch to the Compatibility tab.
- Finally, tick the Disable Fullscreen optimizations checkbox.

Disabling Fullscreen Optimizations - Click Apply and hit OK. Open the game and see if the issue has gone away.
4. Disable Third-Party Antivirus
The third-party antivirus program on your computer can also prevent the game from launching. This happens when the game process is deemed in conflict with the policies of the antivirus program to keep your computer safe. This is the result of a false positive, which is quite common with third-party security programs.
If this case is applicable, you can resolve the issue by disabling the antivirus program. Once disabled, open the game to see if the issue goes away. In case the problem no longer persists, you can whitelist the game executable file in your antivirus to prevent any false positives in the future. Doing that will allow you to turn on the antivirus program.
If the problem exists even after disabling your antivirus, move to the next method below.
5. Use a Different Network
In some instances, the network connection you are using can also trigger the problem in question. This happens when the game is not able to establish a connection with its servers due to a network anomaly.
In such a scenario, you can try to resolve the issue by using a different network connection. We would recommend connecting to your mobile hotspot temporarily, just to launch the game. After the game has launched, you can revert to your old connection. See if that fixes the issue. In case it does not jump down to the next method.
6. Verify Game Files
Another potential cause of the issue in question can be the game files on your system. Oftentimes, the game files might be corrupted or you can be missing specific files from your installation altogether.
Such an issue can be mitigated via the verify the integrity of game file features on the Steam and Epic Games Launcher. Follow the instructions below for your respective platform.
Steam
- First, open the Steam client on your computer and navigate to Library.
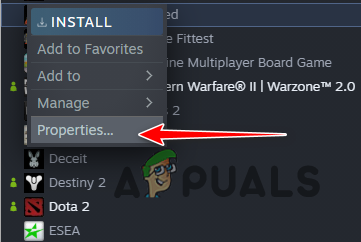
- Right-click on your game and choose Properties from the drop-down menu.
Navigating to Properties - After that, switch to the Local Files tab.
- Finally, click on the Verify the integrity of game files option.
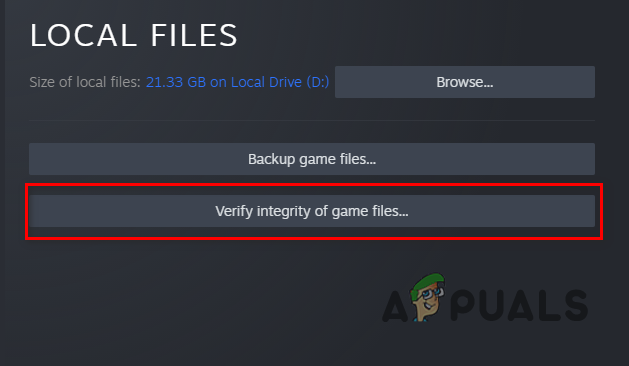
Verifying the Integrity of Game Files on Steam - See if that fixes the issue.
Epic Games Launcher
- Open the Epic Games Launcher client on your PC.
- Navigate to your game library and click on the three-dots option on your game.
- Choose Manage from the drop-down menu.
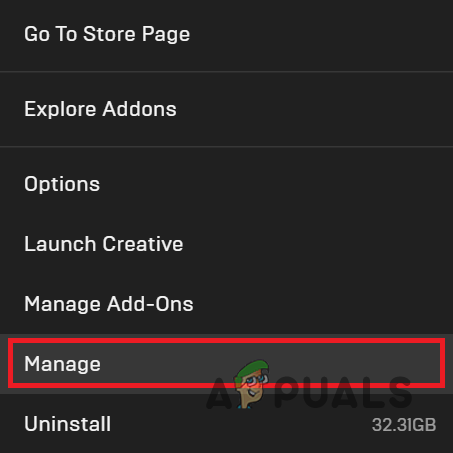
Manage Games on Epic Games Launcher - Finally, click on the Verify option and wait for it to complete.
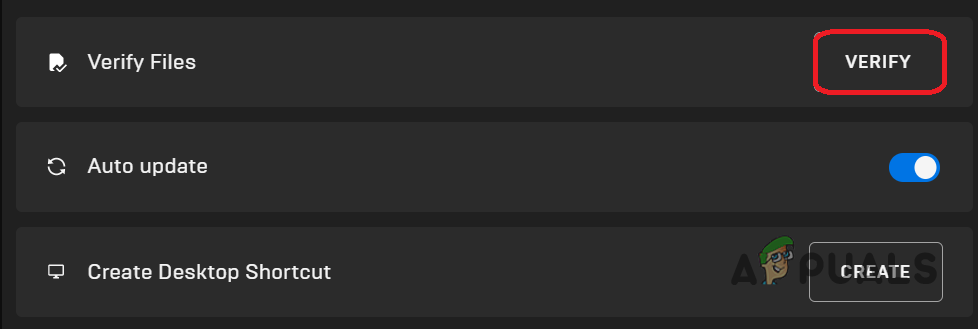
Verifying the Integrity of Game Files on Epic Games Launcher - Open the game to see if the problem is still there.
7. Move the Installation Directory
In some instances, the problem can also occur due to the location of the game on your computer. There are occasions where installing a game outside your system drive can cause it to not open. In addition, if you have installed the game into a custom games folder on your computer rather than the default installation directory of the client you are using, that can trigger the issue.
To mitigate the issue, you will have to move the installation directory of the game to your computer. We would recommend moving it to a different partition on your system to see if that resolves the issue.
Epic Games Launcher
If you are using the Epic Games Launcher, you will have to manually copy the game files to a different location. After that, uninstall the game via the Epic Games Client. Once the game has been uninstalled, start downloading it into the new location. Cancel the installation and move the copy of the game files to this directory. Finally, resume the installation and wait for it to verify the game files.
Steam
On Steam, you can simply use a built-in feature to move the installation directory. Follow the instructions below:
- Start with opening the Steam client on your computer.
- Click on the Steam option in the top-left corner and choose Settings.
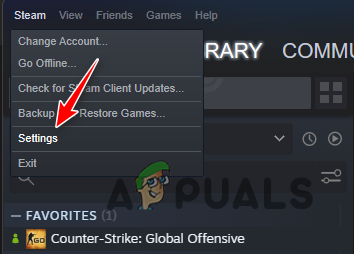
Navigating to Steam Settings - On the Settings window, switch to Downloads and click on the Steam Library Folders option.
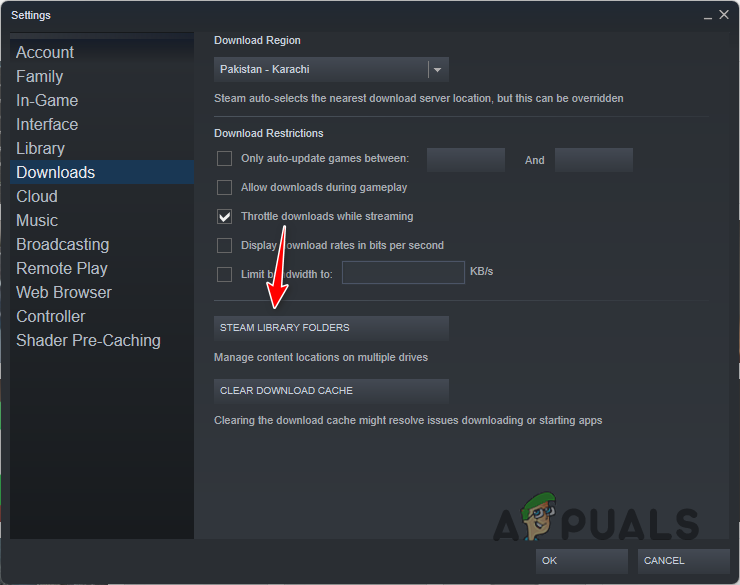
Navigating to Steam Library Folders - To move your game files, you need to have a second Steam library folder created on a different partition. Click on the + icon to create a new Steam library folder.
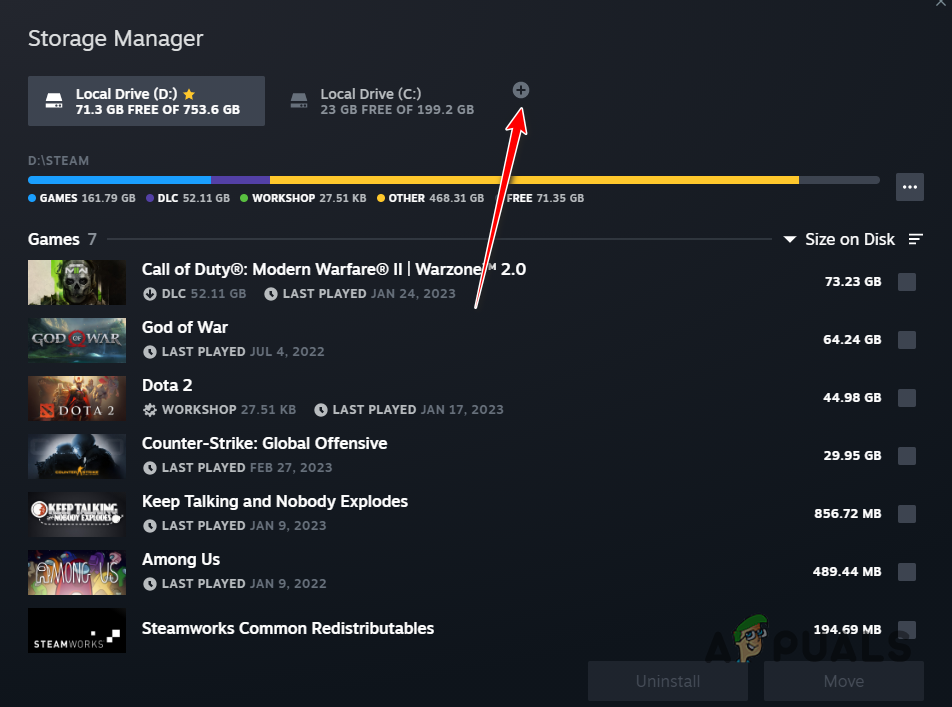
Adding New Steam Library Folder - After that, tick Hogwarts Legacy from the list of games and click on the Move button.
- Finally, choose the second Steam Library folder and click Move.
- Wait for it to complete. See if that fixes the issue.
8. Reinstall Graphics Drivers
Finally, if none of the above methods has fixed the problem, it is likely the issue is caused by the graphics drivers on your computer. Graphics drivers are a vital component of any operating system since it allows communication with the graphics card on your motherboard which is relied upon heavily by games.
Obsolete or damaged drivers can often cause such issues in which case you will have to reinstall the graphics drivers on your computer. For this purpose, you can use a third-party utility called Display Driver Uninstaller which removes the graphics drivers from your computer thoroughly.
Follow the instructions below to do this:
- First, download the Display Driver Uninstaller (DDU) utility from the official website here.
- Then, extract the downloaded file to any location.
- Navigate to the extracted location and open the Display Driver Uninstaller.exe file.
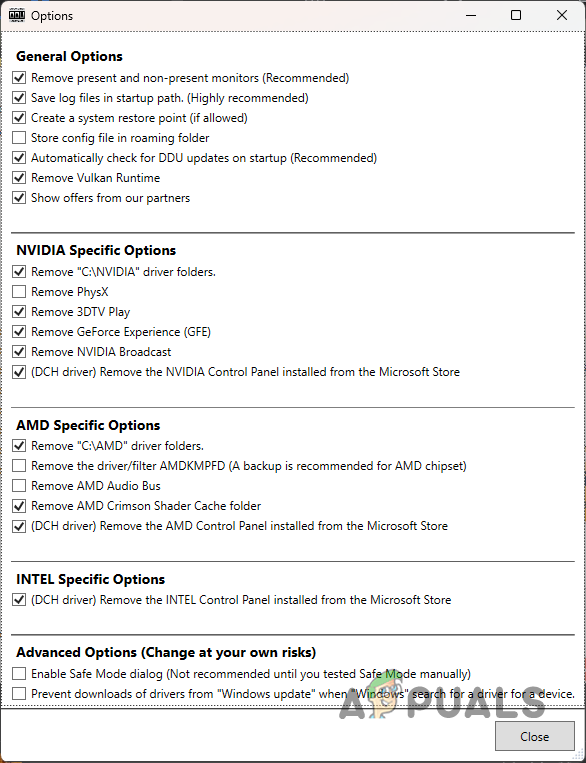
- Once DDU is open, you will be shown the General Options window. Click Continue to proceed.
DDU General Options - Choose GPU from the Select device drop-down menu.
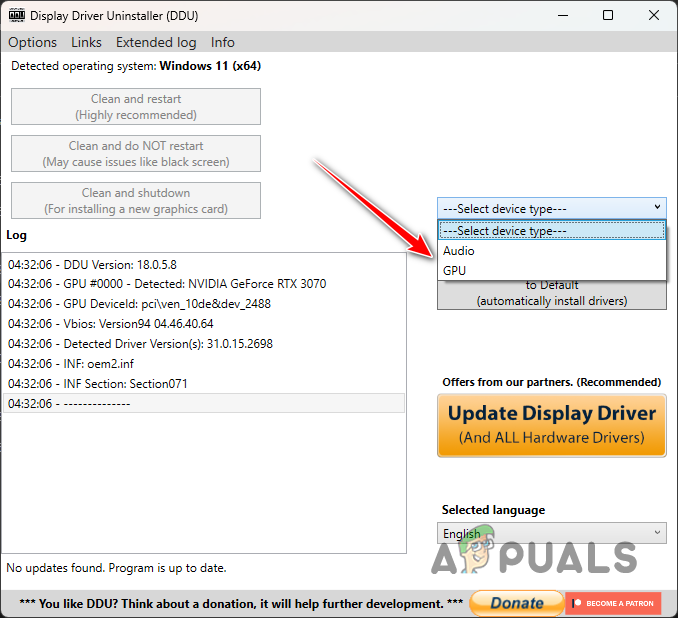
Selecting Device - After that, follow it up by selecting your graphics card manufacturer from the Select device type menu.

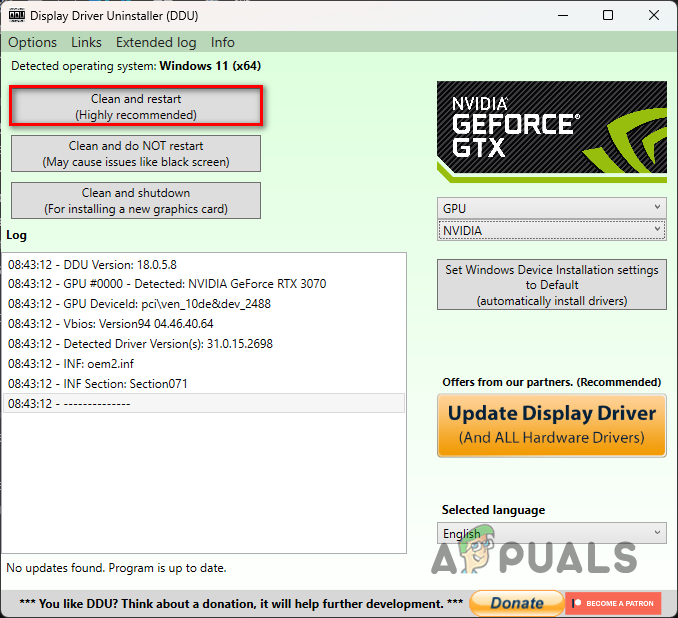
Selecting Graphics Card Manufacturer - Finally, click the Clean and restart option to uninstall the graphics drivers.
Uninstalling Graphics Drivers - Once you do that, navigate to your graphics card manufacturer’s website and download the latest drivers available for your card.
- Install the new drivers on your computer.
- See if that resolves the issue.


