5 Ways to Show FPS Counter for Games in Windows
 Reviewed by Huzaifa Haroon
Framerate, also known as FPS (frames per second), is the number of frames shown on your screen each second. Most gamers and PC users want to know their system’s FPS in different games for various reasons, such as performance testing or making sure their computer runs smoothly.
How High FPS and High Refresh Rate Impact Gameplay
FPS helps measure the performance of your system, benchmark your GPU, and can highlight if there is any bottleneck or instability. Many people think that a monitor’s refresh rate and the framerate are the same, but that’s not correct. In reality, your PC can produce a much higher FPS than your monitor’s refresh rate — you just won’t actually see the smoother visuals unless your screen supports it.
Low FPS means your system is struggling to keep up, and this slowdown is quite noticeable. On the flip side, CPUs can sometimes limit very high framerates because every frame needs to be processed before it appears on your screen.
While having more FPS won’t always make you a better gamer, it does make gameplay feel smoother and more responsive — even on standard 60Hz monitors. This is because FPS is directly tied to input delay, so more frames per second usually means lower latency.
Some gamers lock their framerates to 144 FPS or 165 FPS to match their monitor’s refresh rate. This helps avoid putting extra stress on the system once the FPS goes beyond what their monitor can display.
There are many applications and built-in tools that let you track your framerate in real time. Thanks to modern software, the readings are usually consistent between different programs.
How to Display Your FPS in Games?
Depending on your game and launcher, you might already have built-in options to show performance stats like FPS. If your game doesn’t offer this, you can still use third-party tools.
1) Use Steam’s Built-In FPS Counter
Steam hardly needs an introduction — it’s the biggest game launcher for PC. It comes with lots of customization options, including an easy-to-use FPS counter that works in any Steam game.
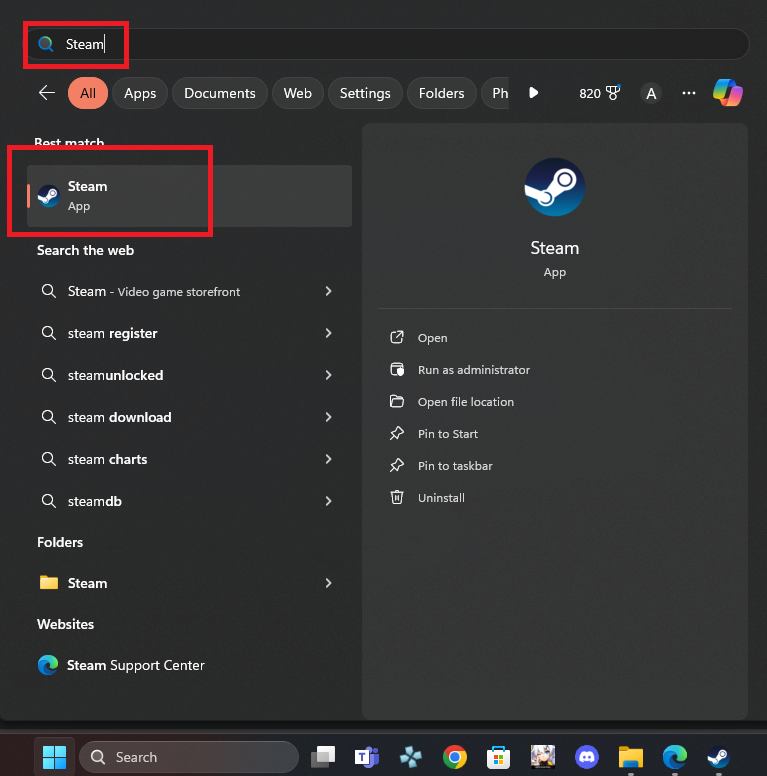
- Open Steam by searching “Steam” in the Windows Search Bar.
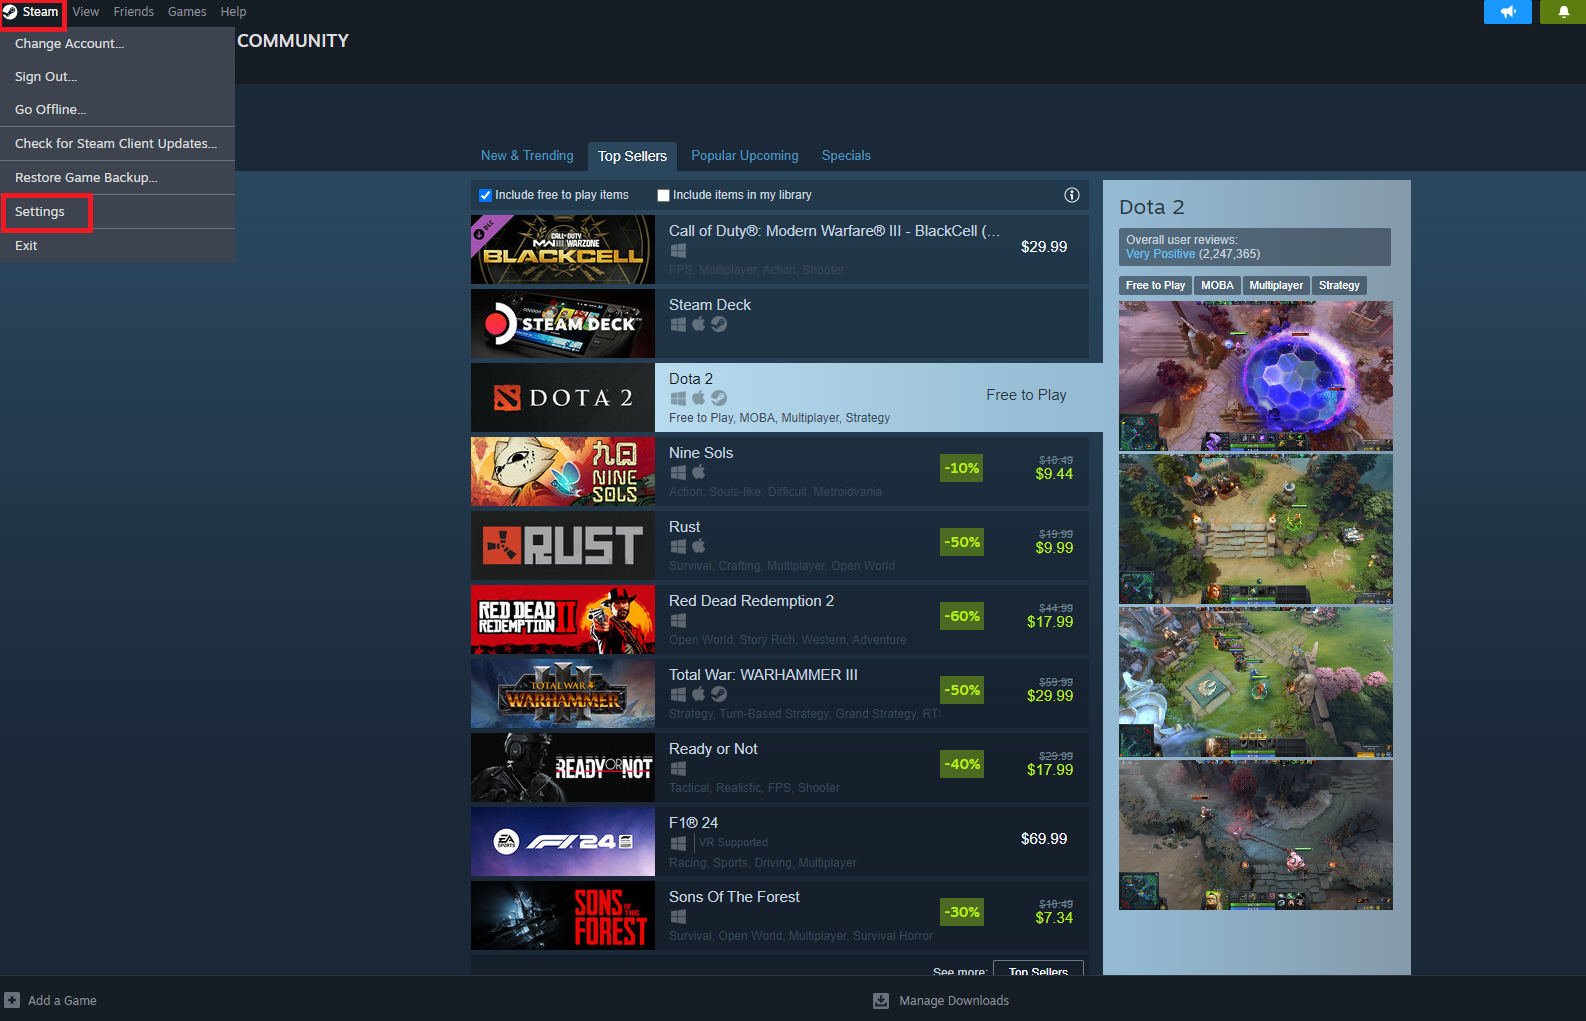
- Click the Steam icon at the top-left, then click “Settings” to open the Steam Settings window.
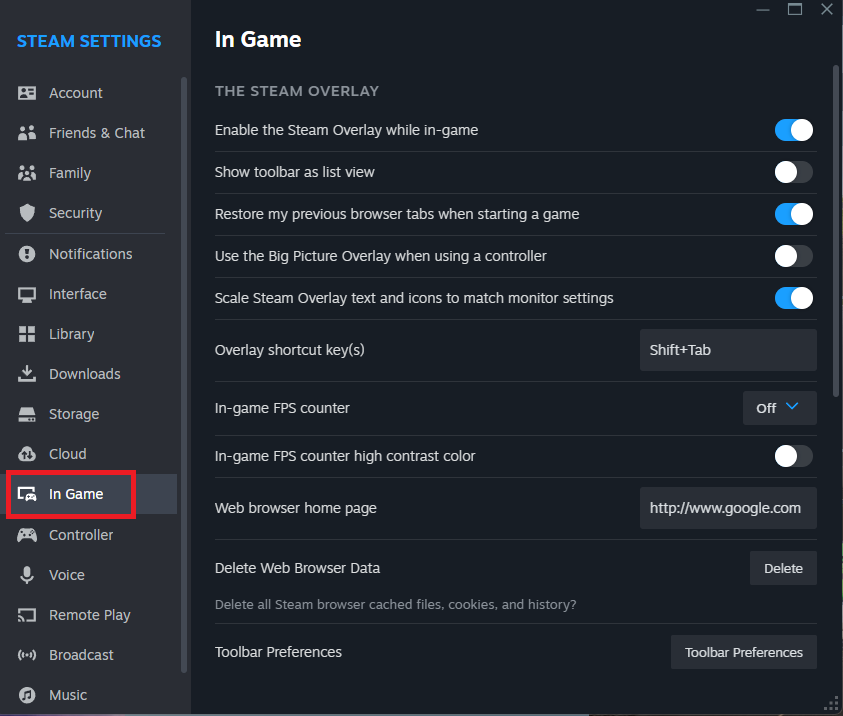
- In the left pane, select “In Game“.
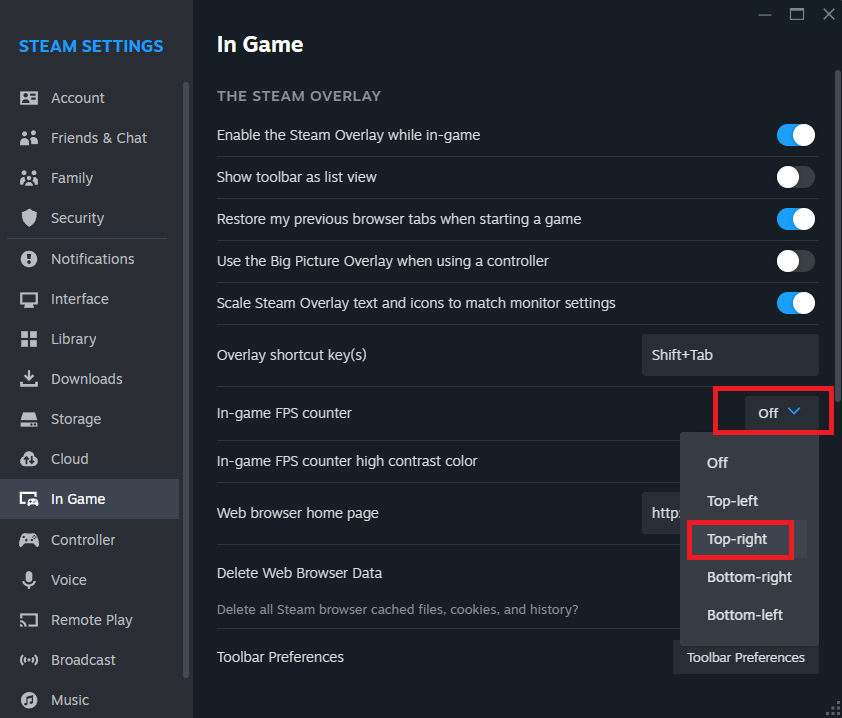
- On the right, find the “In-game FPS counter” setting and choose where you’d like the FPS to appear on your screen. Most people prefer the top-right corner, but the location is up to you.
- Start any game to see if your FPS appears where you selected.
2) Use MSI Afterburner
MSI Afterburner works with all GPUs, not just MSI branded ones, and lets you track your hardware in real time. It uses RTSS (RivaTuner Statistics Server) to display your system information on screen. Many benchmarking YouTube channels use this tool.
- Search “MSI Afterburner” on Google and go to the official MSI website.
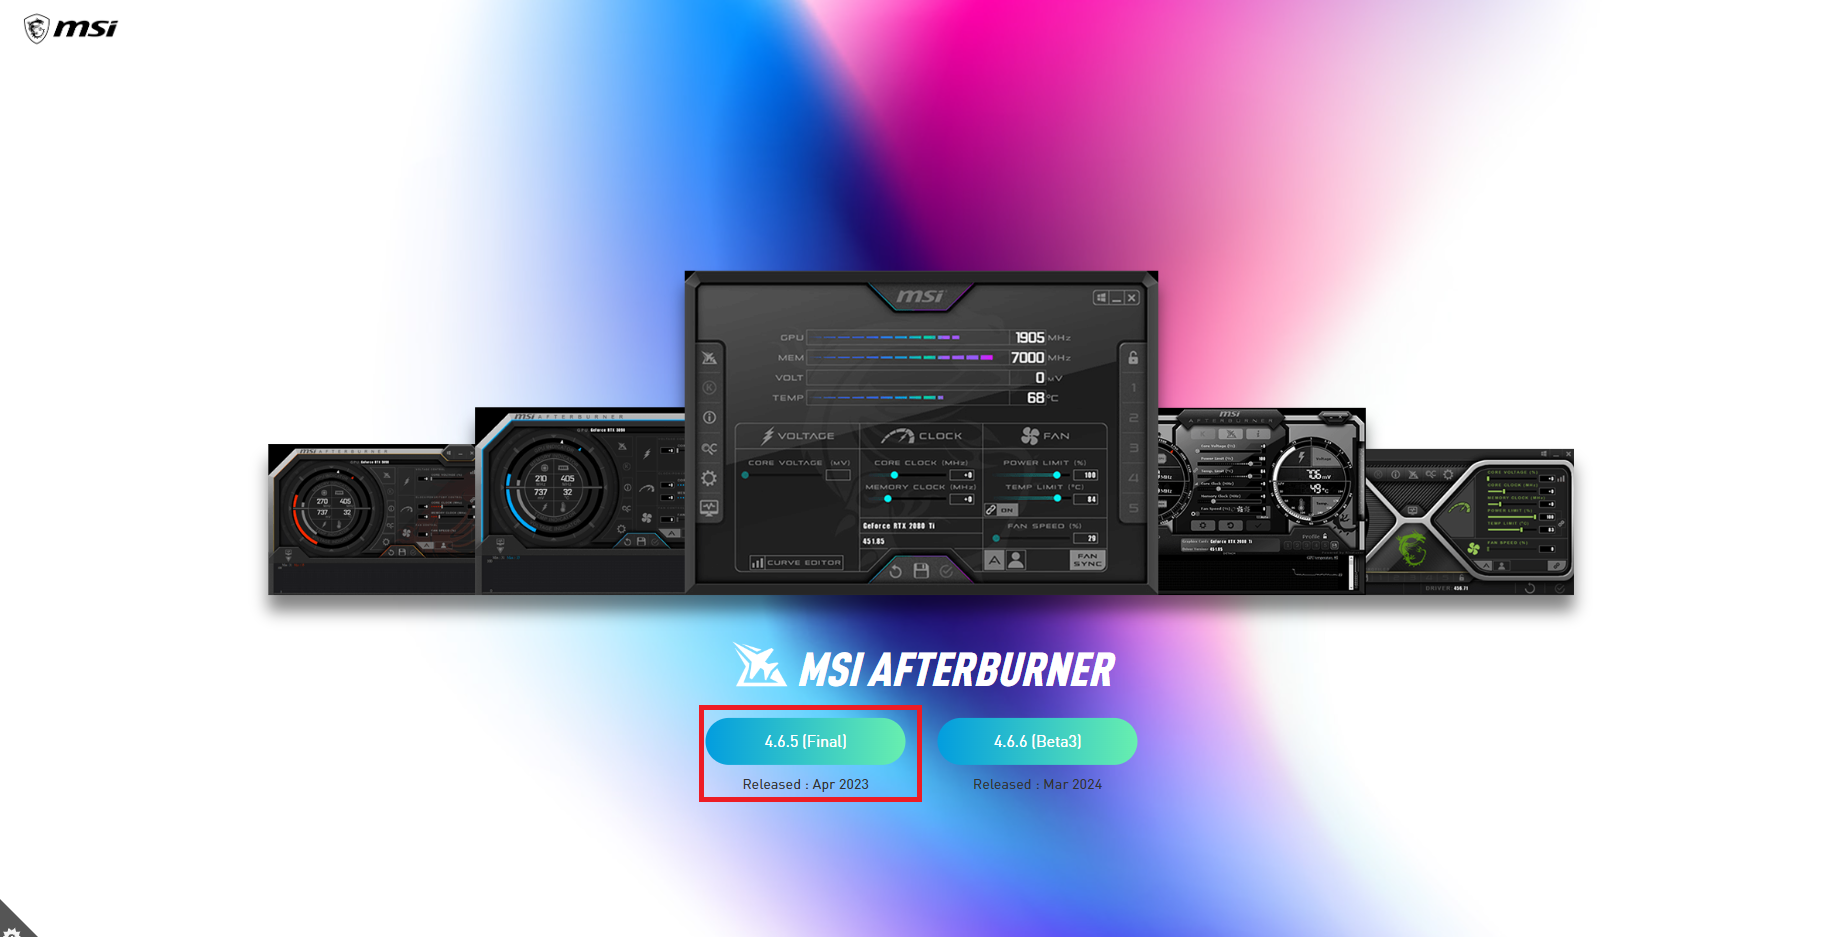
- Download version “4.6.5 [Final]“. The download should begin automatically.
- Use WinRAR or a similar application to extract the .zip file, and run the installer.
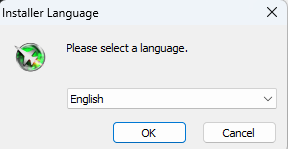
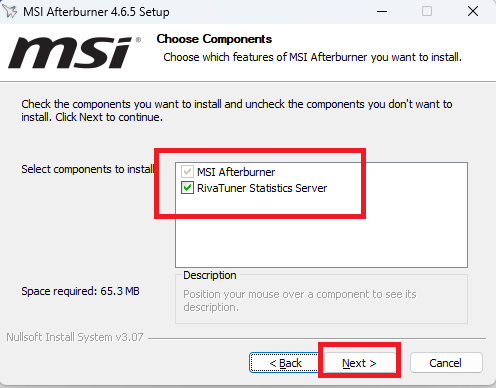
- Install as normal: click “OK” > “Next” > accept the terms > “Next“. Make sure RivaTuner Statistics Server is selected (it’s required for the FPS counter), then “Next” > choose your folder, “Next” > “Install“.
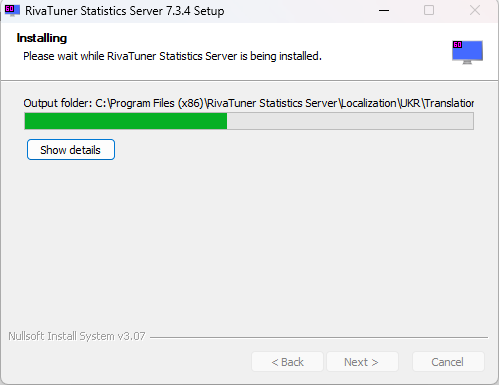
- When prompted, install RivaTuner Statistics Server. If a restart is needed, reboot your PC and then open MSI Afterburner.
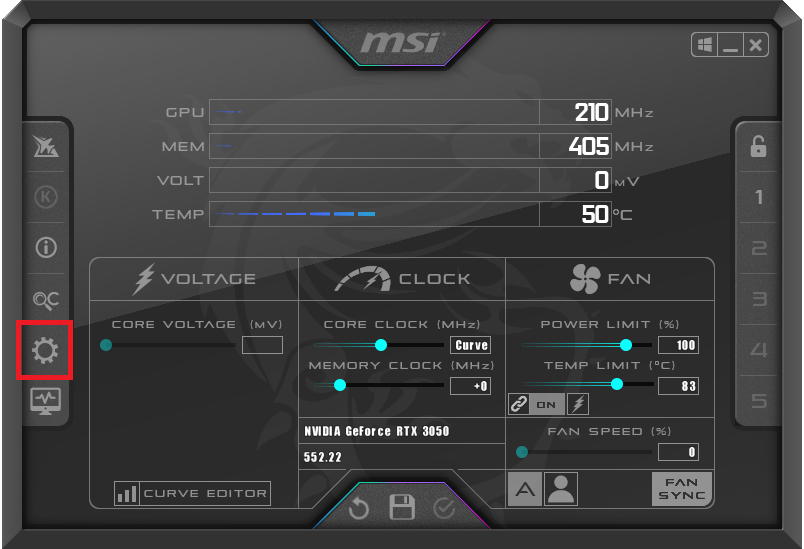
- Launch MSI Afterburner and click the settings icon.
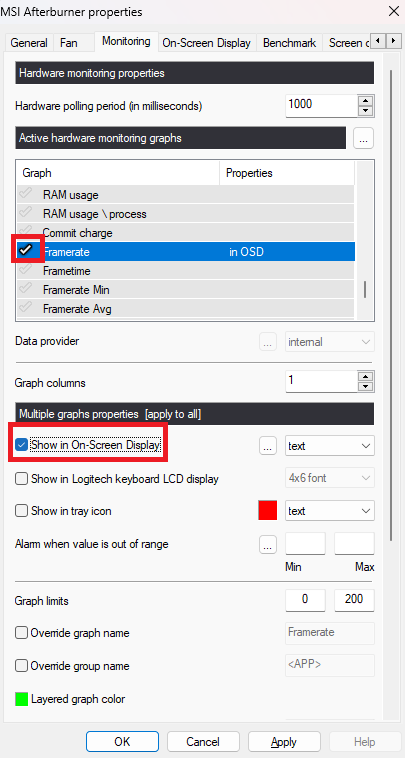
- Go to the “Monitoring” tab. Select the system stats you want shown. Be sure to check “Framerate.” For every stat you want to see in-game, in the “Framerate graph properties” section, select “Show in On-Screen Display“.
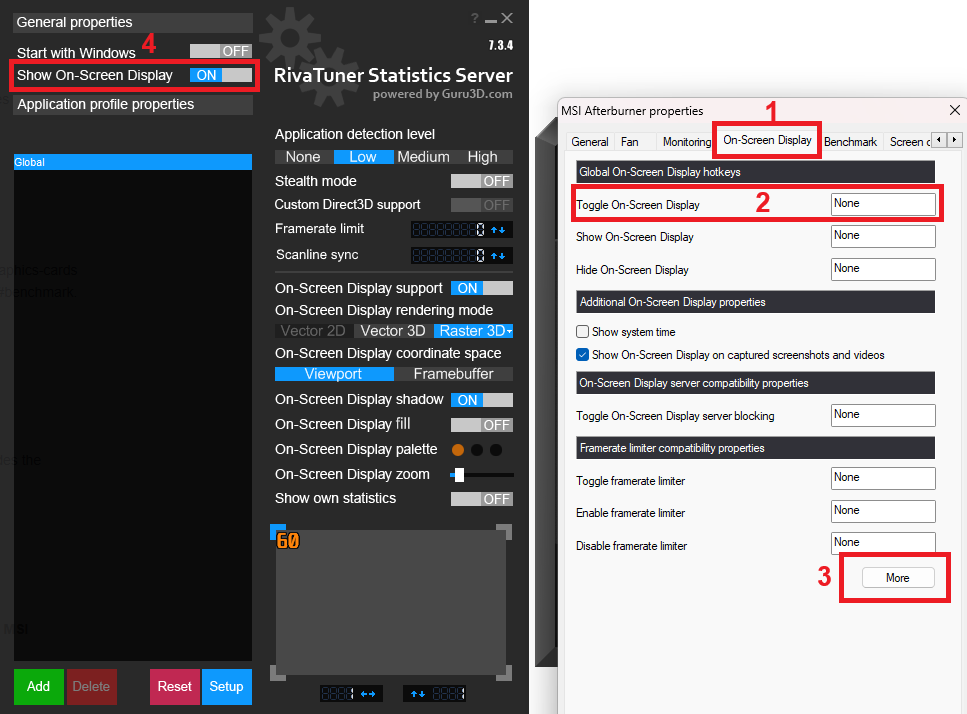
- Next, switch to the “On-Screen Display” tab (1) and set a hotkey to toggle the overlay (2). Click “More” at the bottom (3) — this opens RivaTuner. In the new window, turn on “Show On-Screen Display” (4).
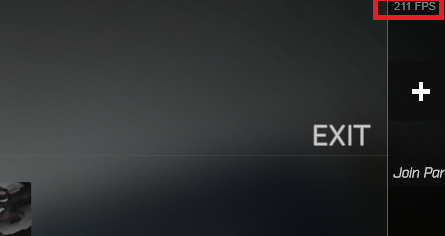
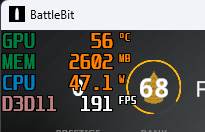
- Minimize MSI Afterburner and open your favorite game. If everything worked, you should now see the overlay with your FPS.
3) Use Game Bar Offered by Windows
The Game Bar is included with Windows 11 and 10, and it lets you see performance stats and record your gameplay.
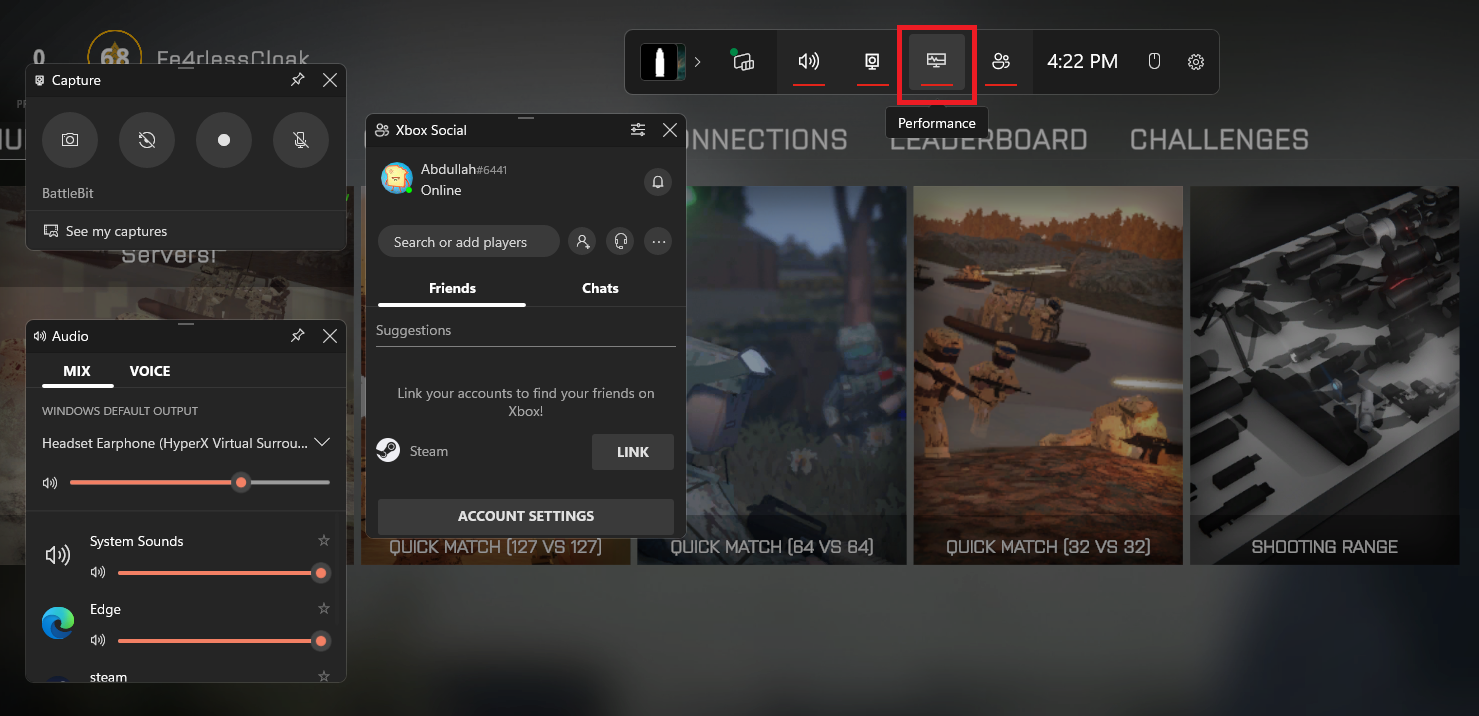
- Press the Windows key + G to bring up the Game Bar.
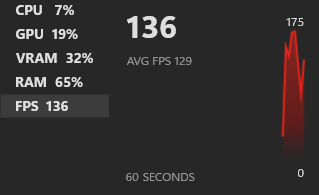
- Click the Performance widget. You’ll see a small tab with performance stats for your system and game.
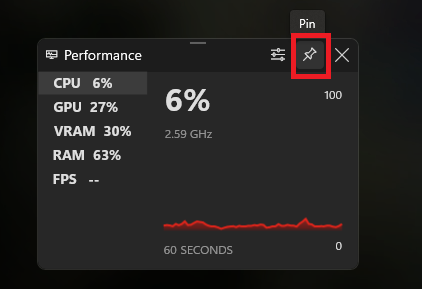
- When the Performance tab appears, click the “Pin” icon so this window stays visible, even if you close the Game Bar.
- Open your game and check if the FPS counter appears. To remove the Performance tab, open Game Bar again and unpin it.
4) Use Your GPU’s Software
Both NVIDIA and AMD offer powerful software that lets you lower latency, apply graphics filters, capture gameplay, and show your FPS. We’ll use the new NVIDIA App here as an example, but older versions or the AMD Adrenalin suite work similarly (the interface may just look different).
- Open a game that supports the overlay — not all games work with NVIDIA App or AMD Adrenalin overlays.
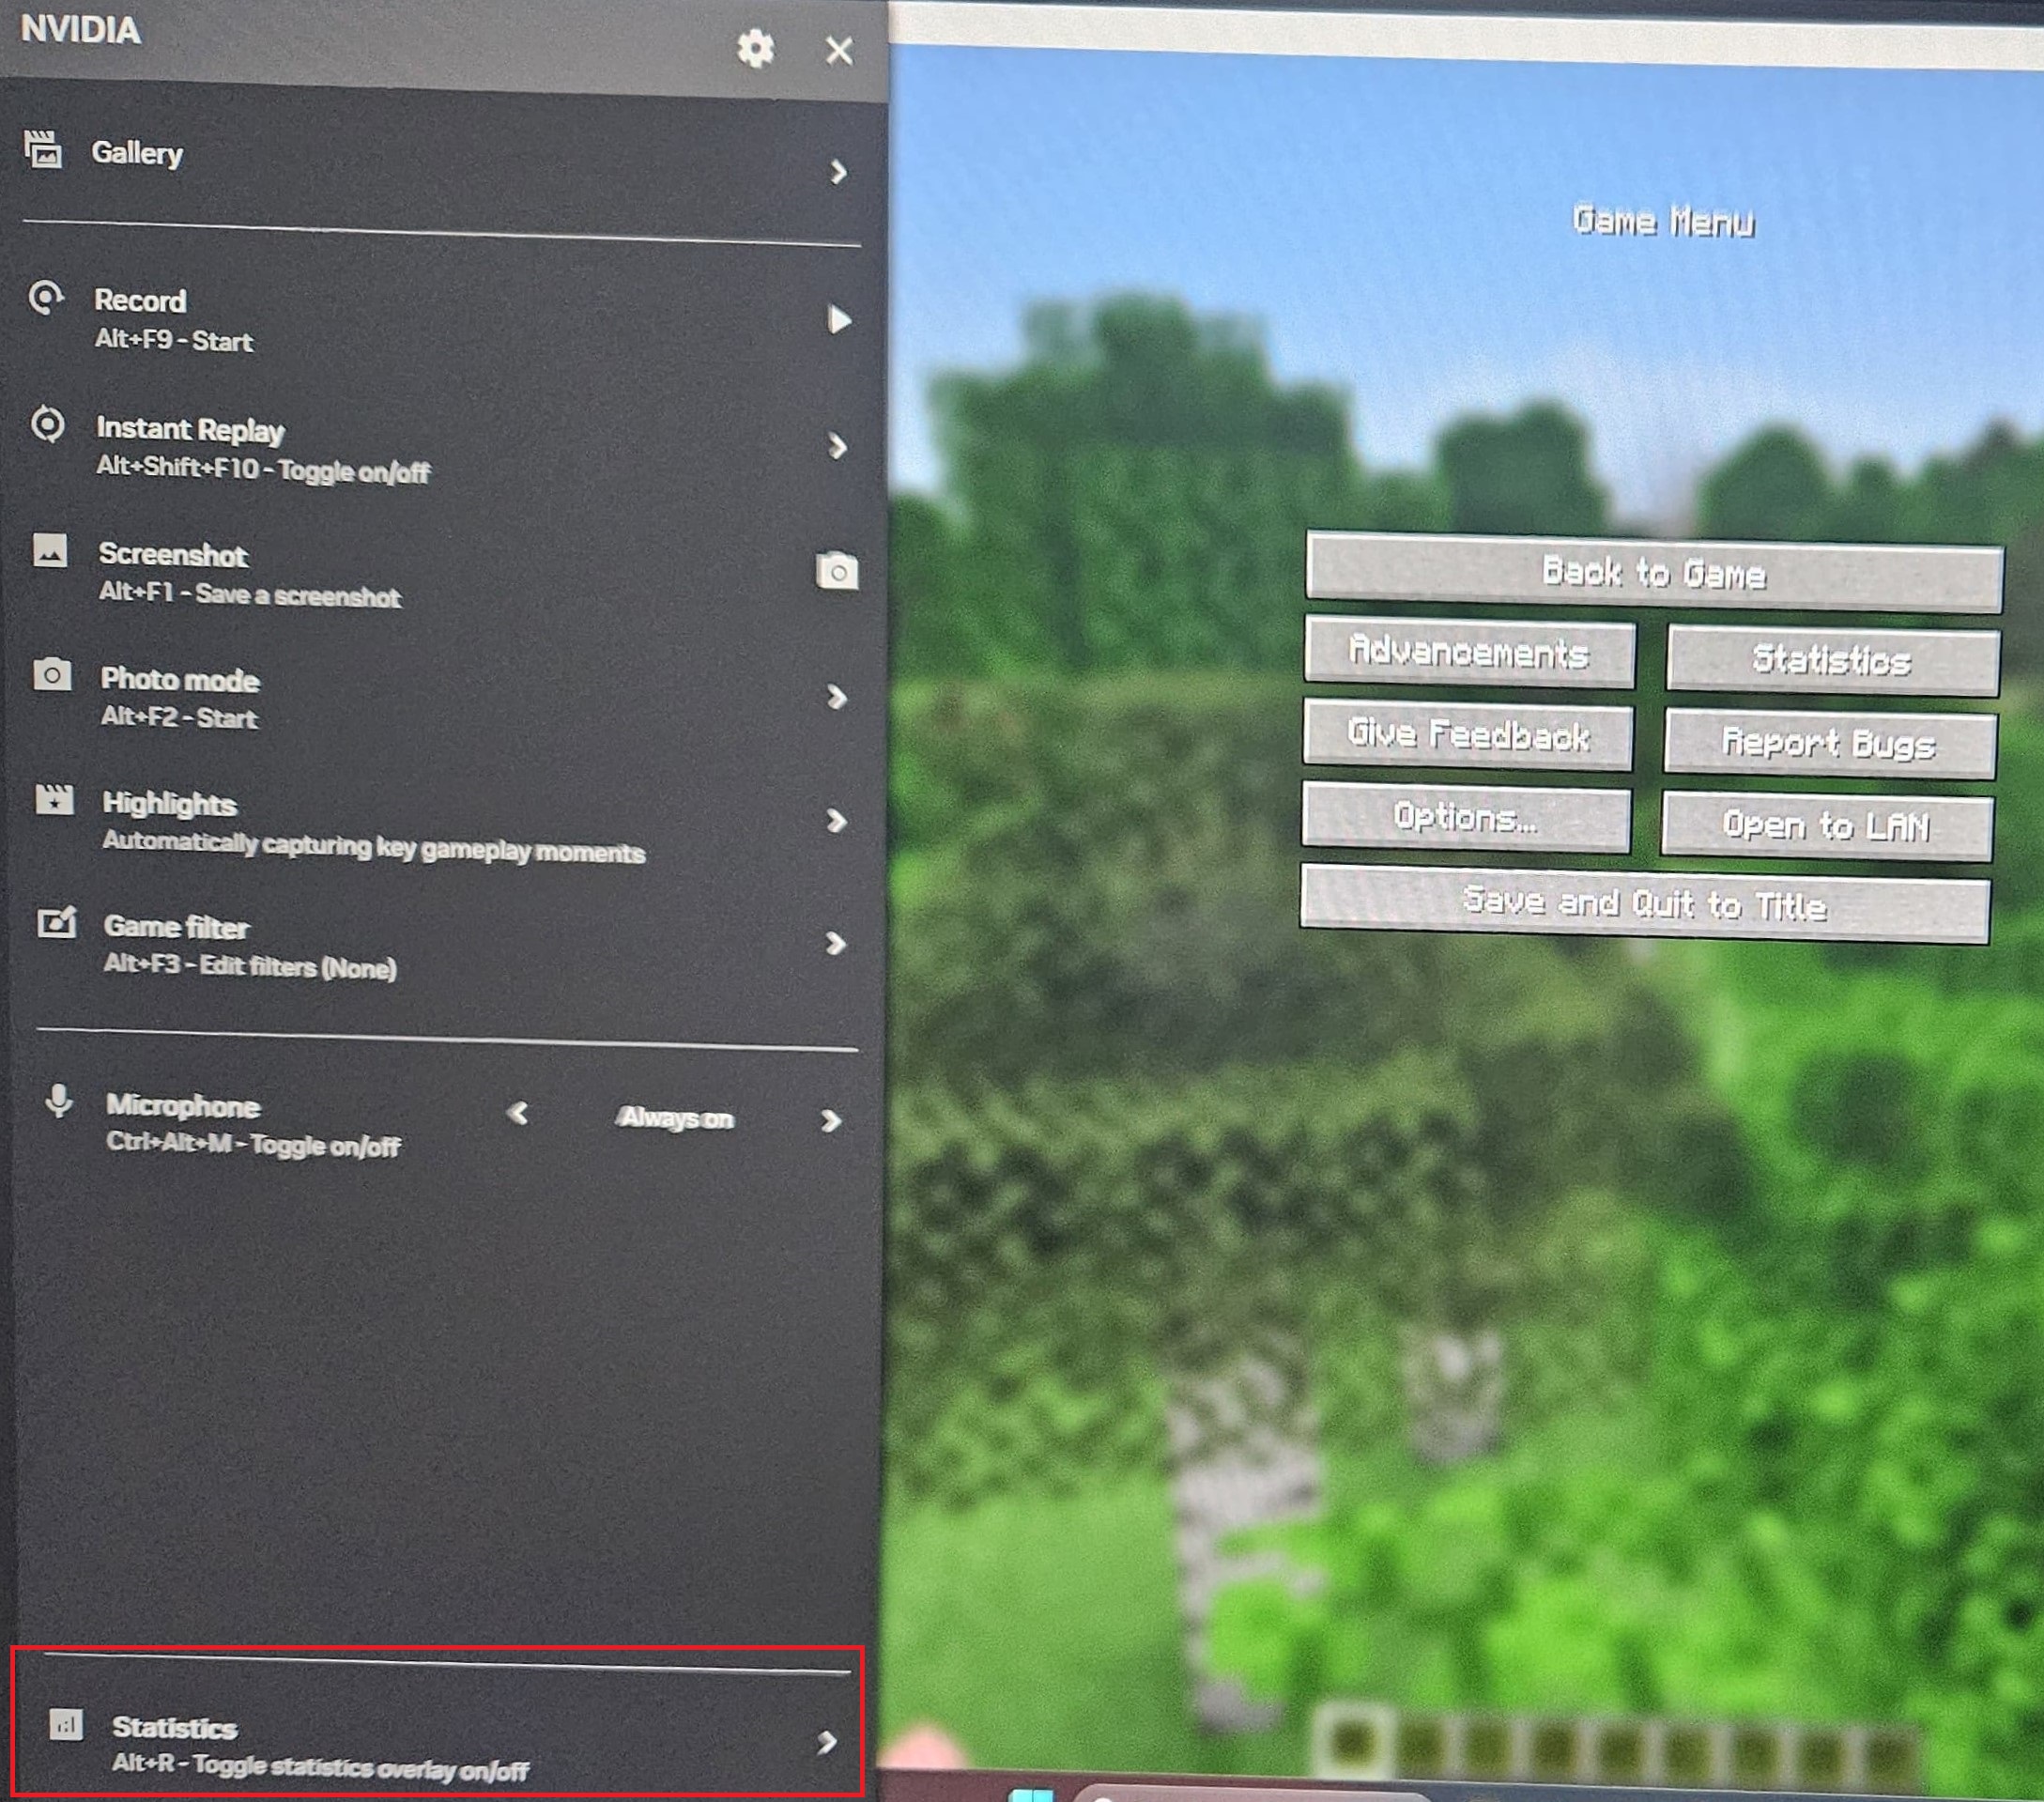
- Press Alt+Z to open the NVIDIA sidebar. Click “Statistics” at the bottom. (On AMD, press Alt+Z or the key for Radeon Overlay.)
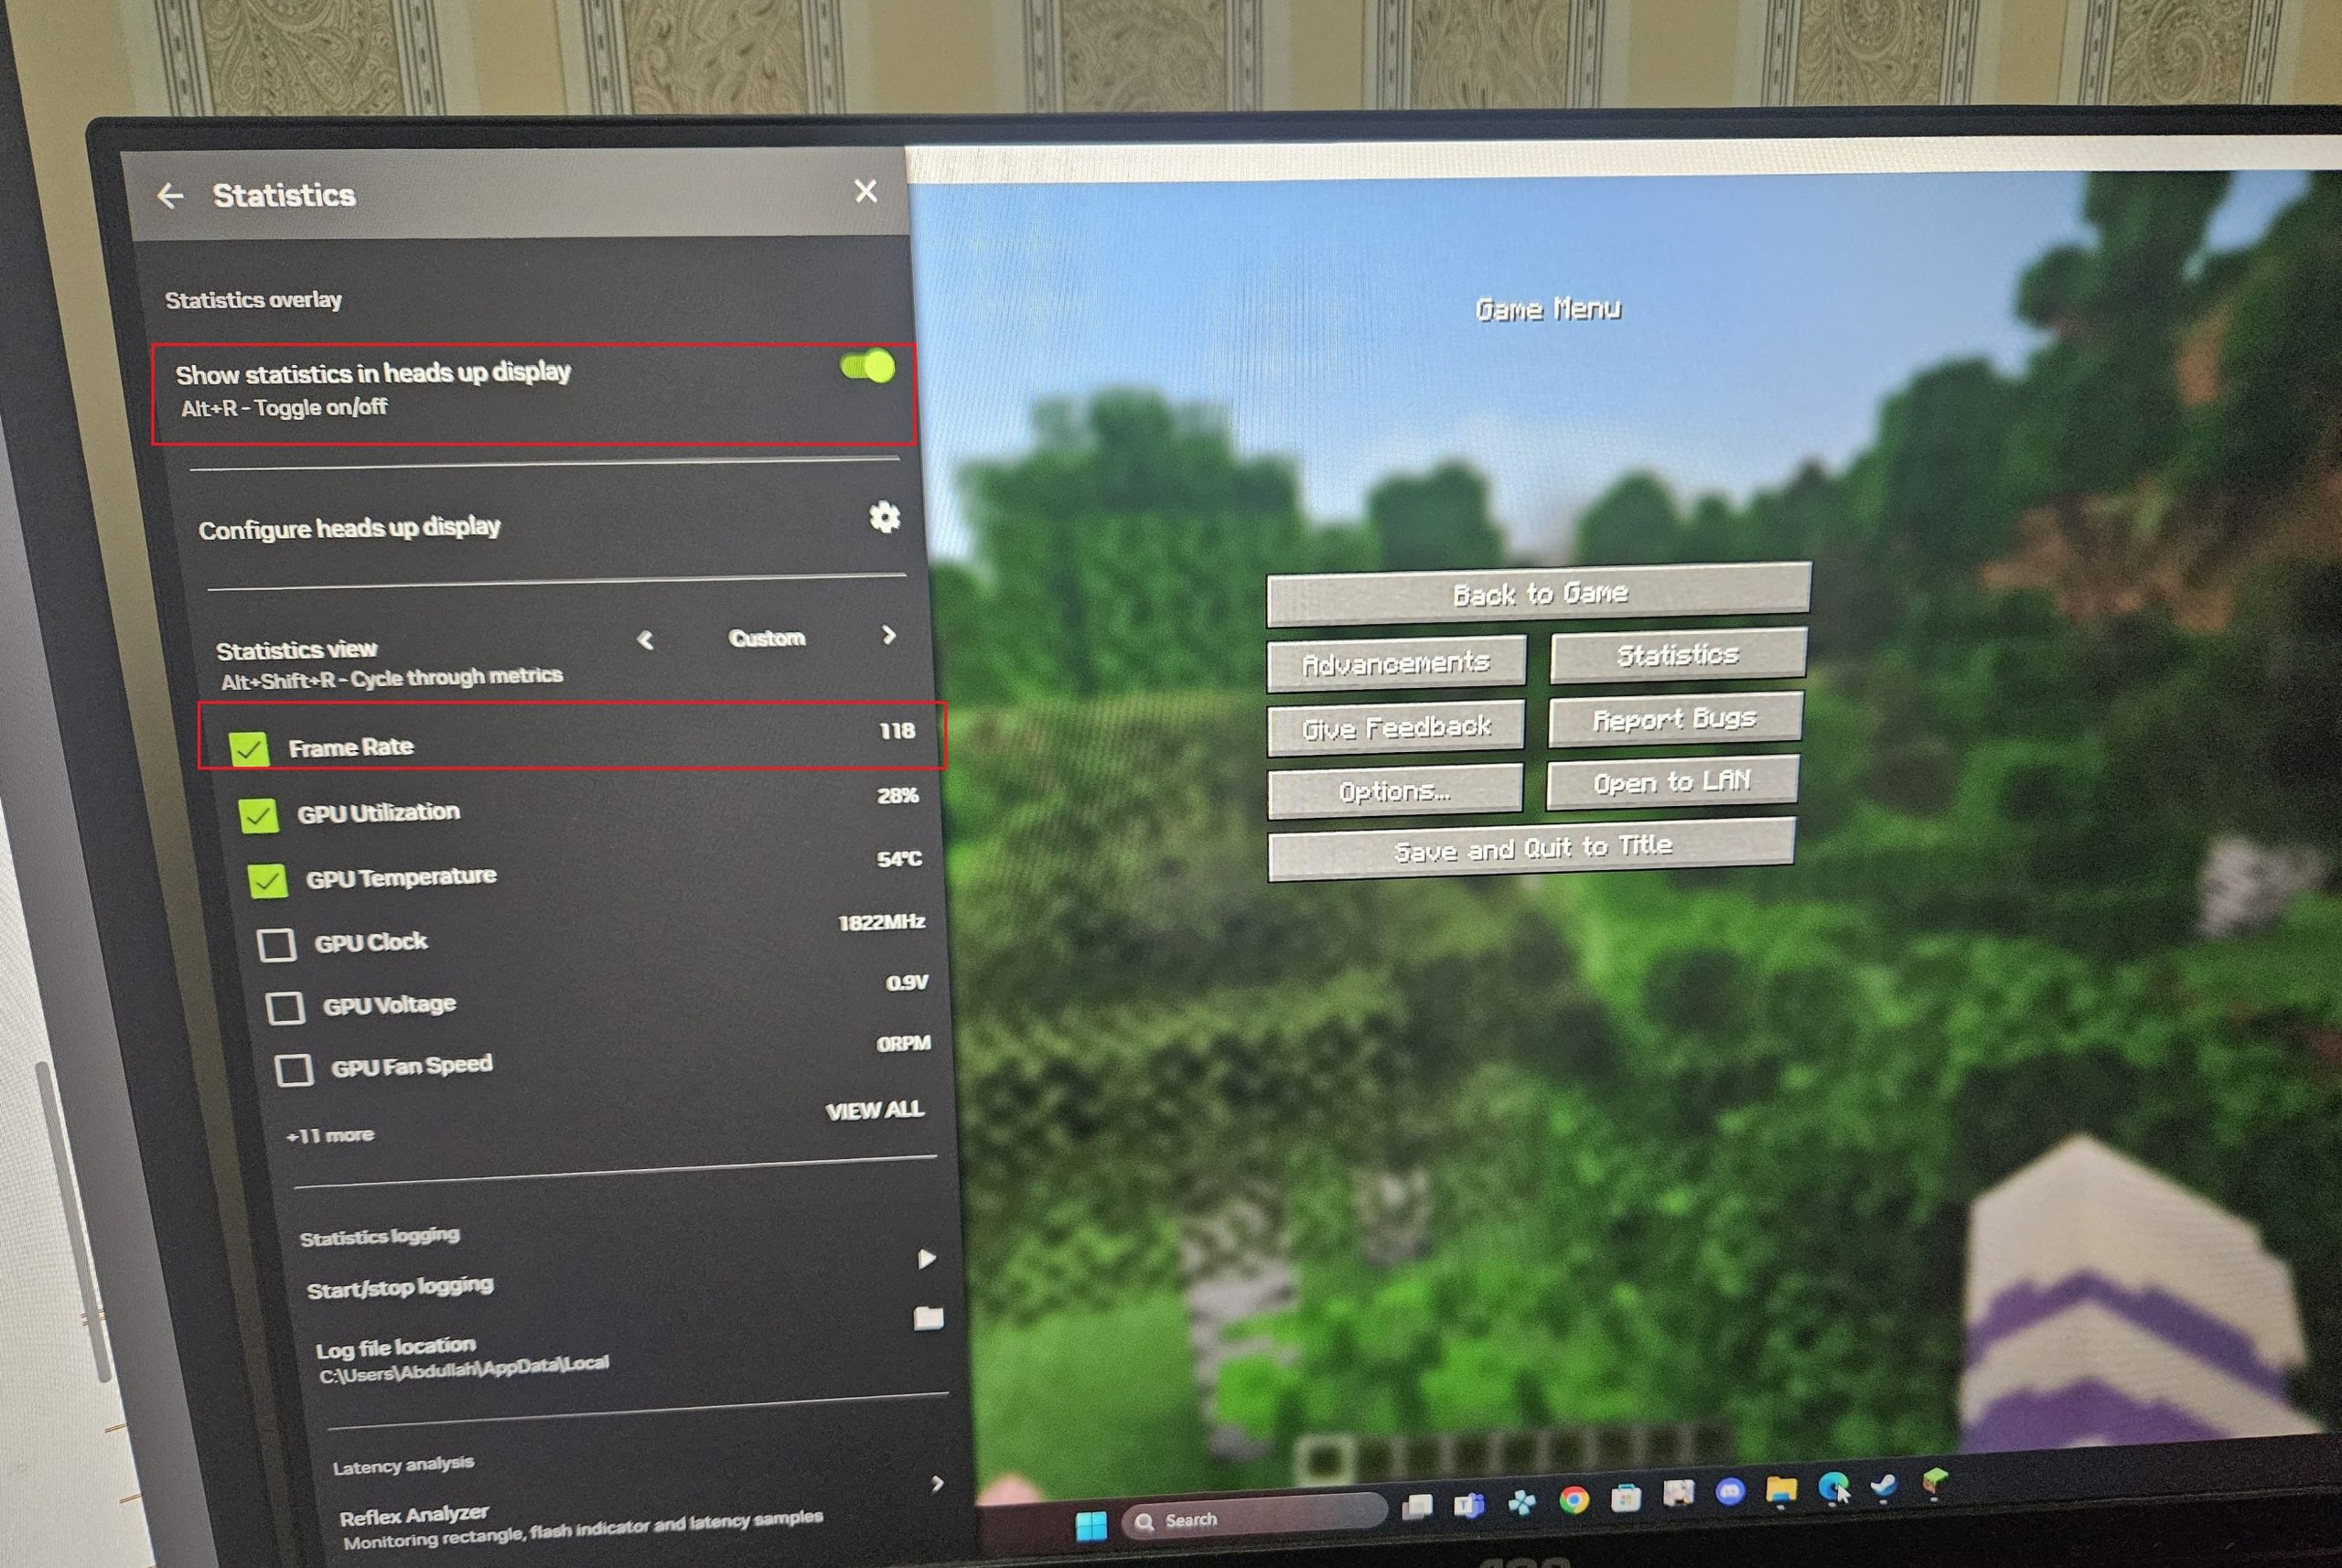
- Click “Frame Rate” and then “Show statistics in heads up display”. Or you can press Alt+R to instantly show the performance overlay.
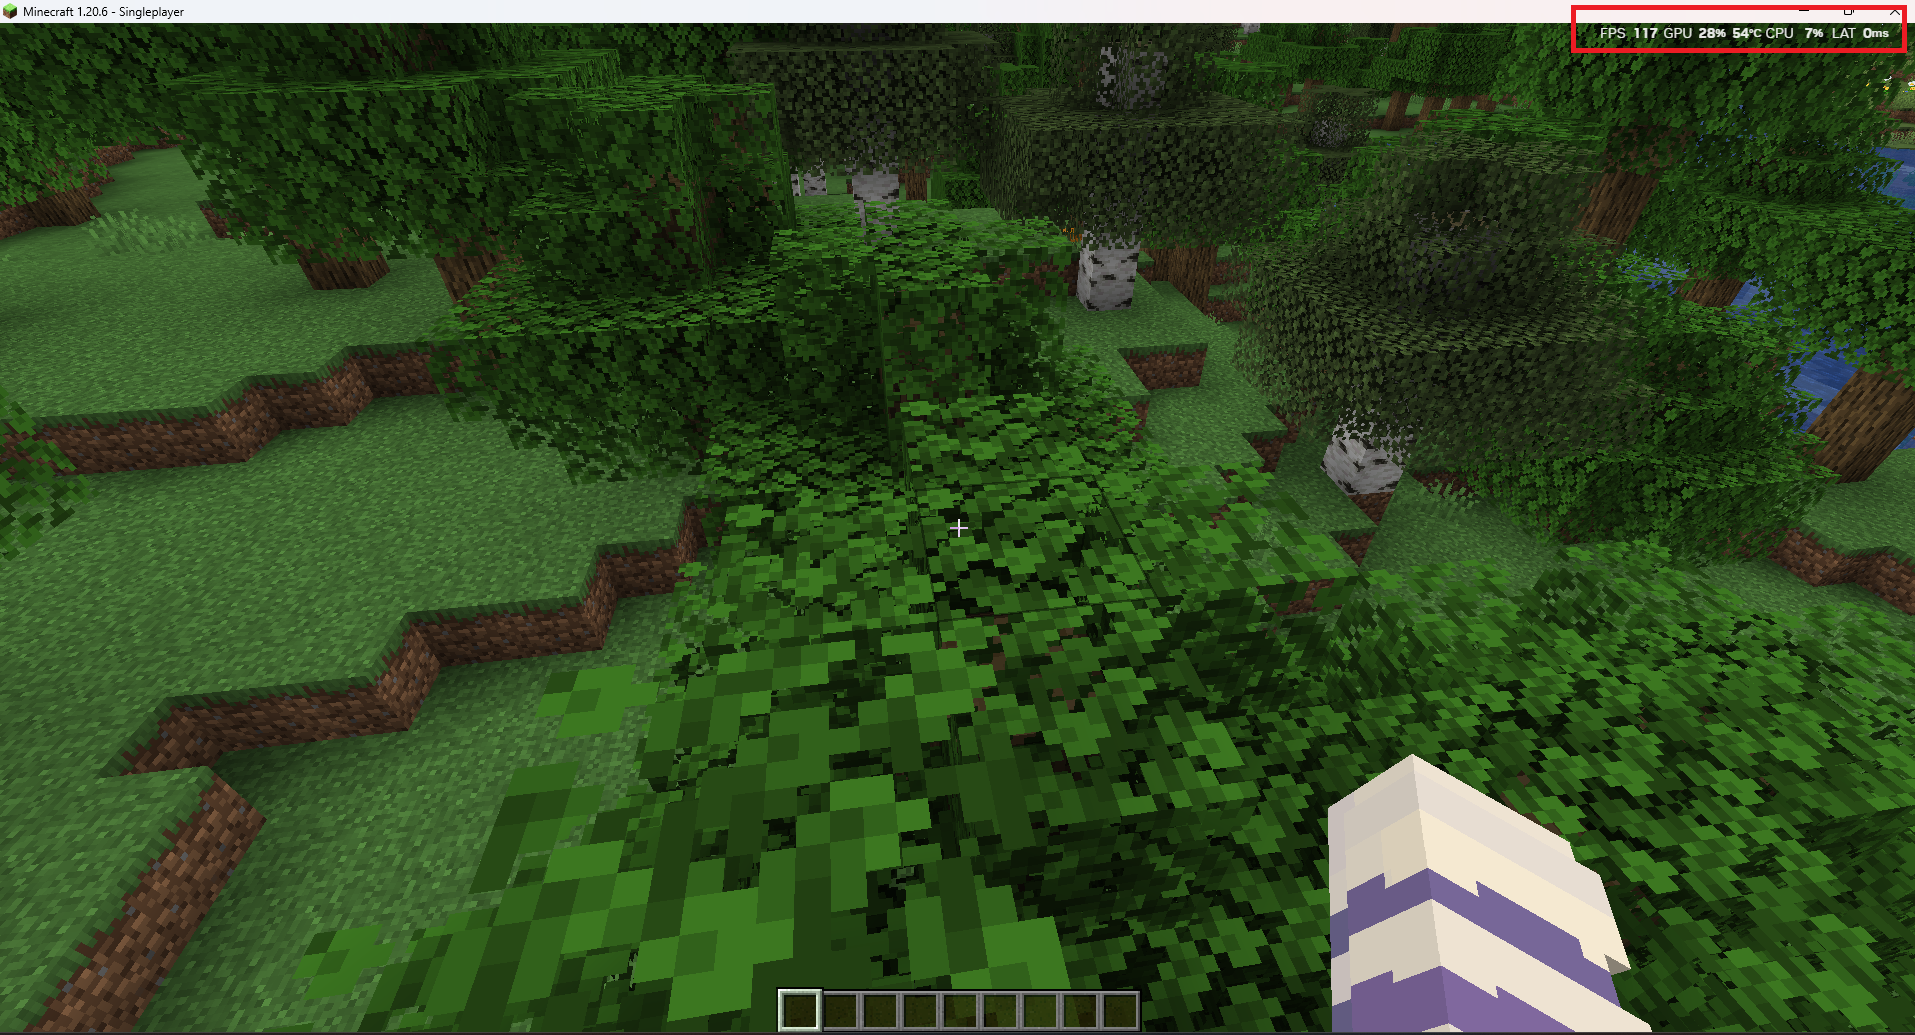
- Press Alt+Z again to close the sidebar. You’ll now see your FPS (and other stats you chose) in the top-right. For NVIDIA users, this overlay may stay visible in all apps, not just your game.
5) Use the In-Game FPS Counter
Many games now include their own built-in FPS counters or performance overlays. This is especially true for competitive titles like Fortnite or Warzone. However, story-driven or single player games may not offer this feature.
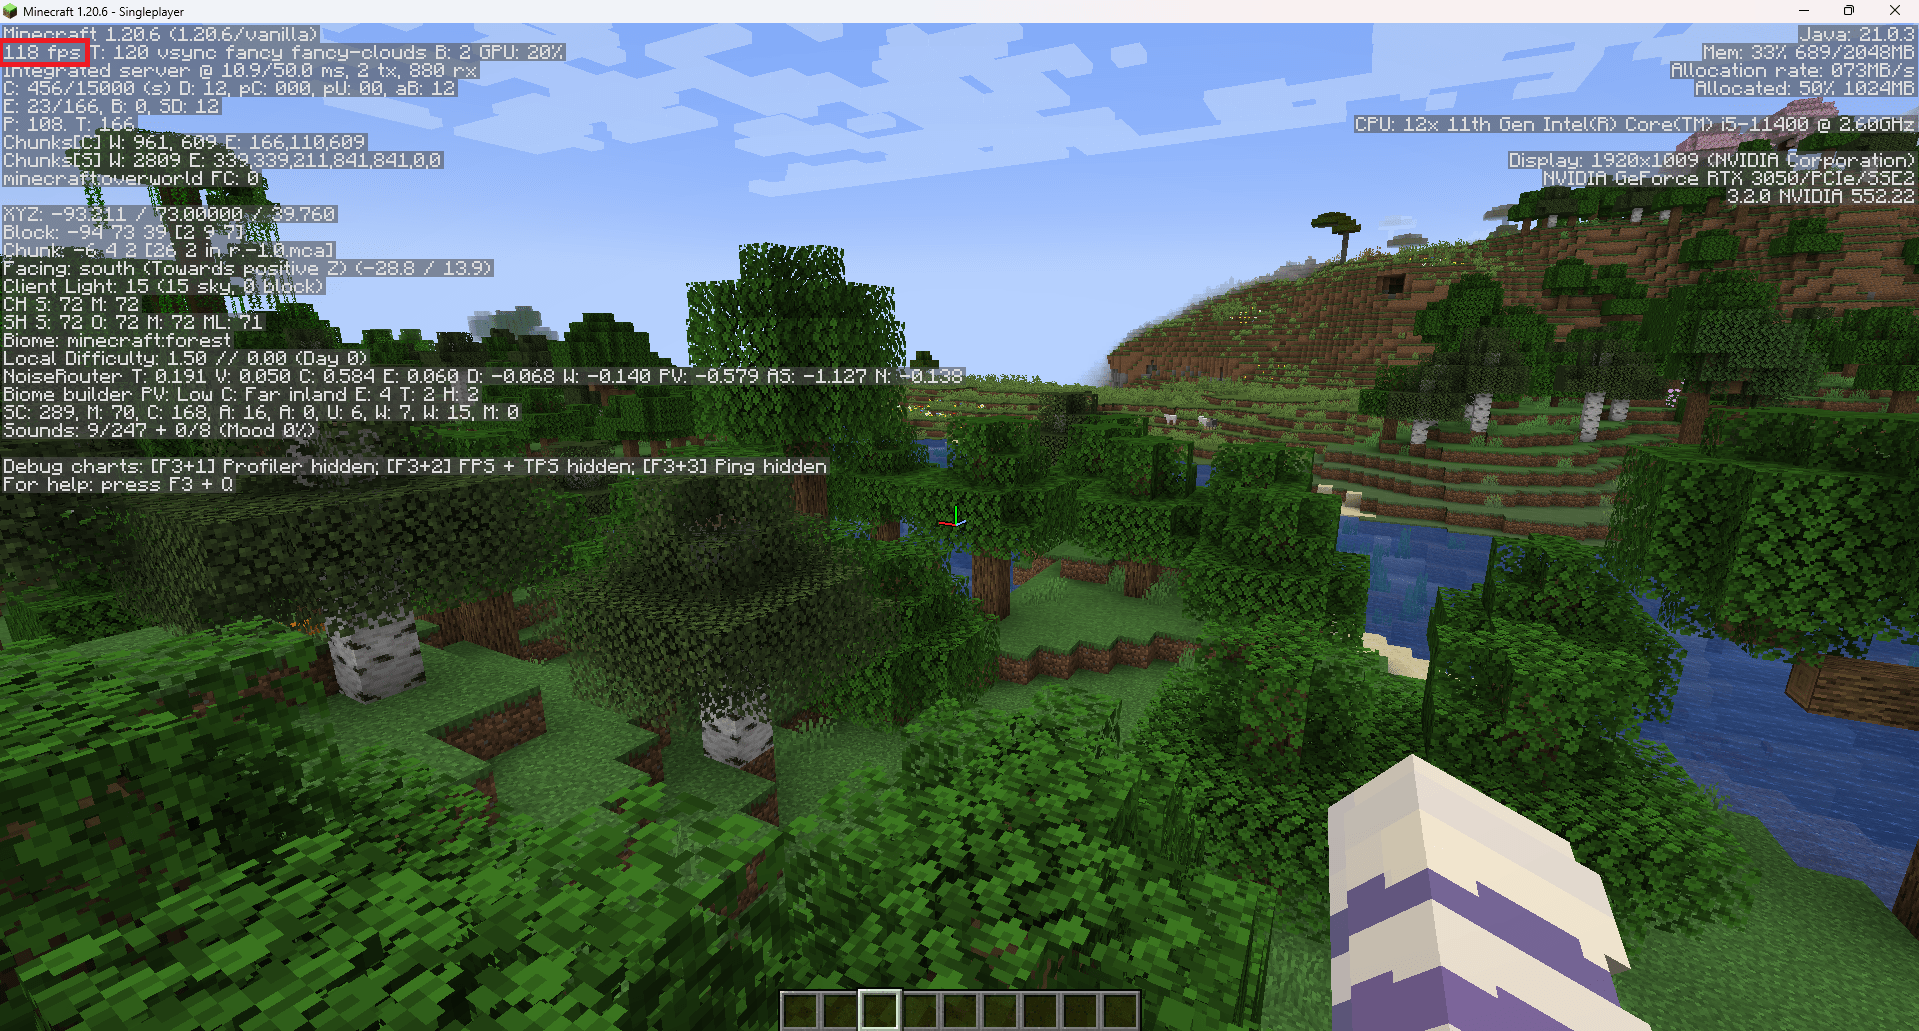
Enabling the FPS counter is usually as easy as heading into the graphics settings and turning the option on. The setting is often found in the Graphics or Video menu. For games like Minecraft, you can just press F3 to see your FPS and other stats. If you’re not sure, a quick search for “how to show FPS in [game name]” will point you in the right direction.
 Reviewed by Huzaifa Haroon