Fix: Wallpaper Fit ‘Tile’ Option Not Working
The “Tile” option for the desktop background image refers to a display setting that allows the image to be repeated or tiled across a screen or multiple screens. When this option is selected, the image is duplicated and positioned side-by-side to fill the entire desktop area.
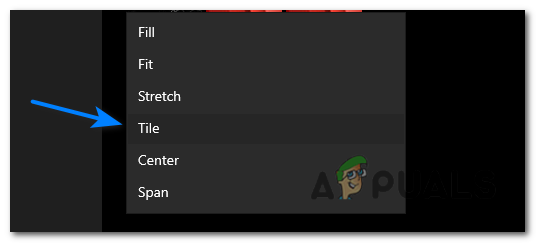
This creates a patterned or tiled effect wherein the same image is repeated multiple times to cover the entire screen, regardless of the screen resolution or size. This option is useful when you have a custom image that you want to span across multiple monitors without distorting or stretching it.
Why is ‘Tile’ option not working for my Wallpaper?
The reasons the ’tile’ option isn’t working could be due to an invalid file format, inappropriate image dimensions, and/or any third-party applications or services causing conflicts with your desktop background settings. However, all of these issues have very simple fixes that can be completed in a matter of minutes.
How can I get tile option to work again?
There are many things you can do to get this issue resolved; we have several recommendations mentioned below:
- Revert to your default desktop background
- Check the image dimensions
- Verify the image file format
- Perform a clean boot
1. Reverting to the default desktop background
Reverting to the default desktop background image means returning your desktop background image to the one provided by Windows as the default option. This can help you determine whether the problem lies with your custom image or the desktop wallpaper settings themselves.
You are effectively clearing any possible issues with your current custom image, which allows you to verify that the “Tile” option works properly with the default image. If the “Tile” option works properly with the default background, the issue lies with your custom image or its settings. To test with the default background, follow these steps:
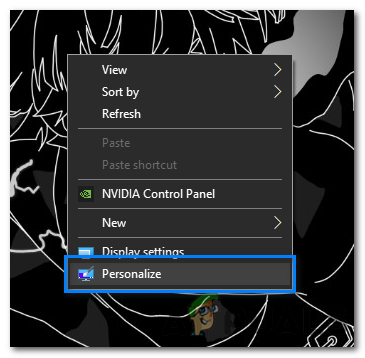
- Right–click on the desktop and select “Personalize“.
Right-click on the desktop and select “Personalize”. - In the Personalization settings window, go to the “Background” tab.
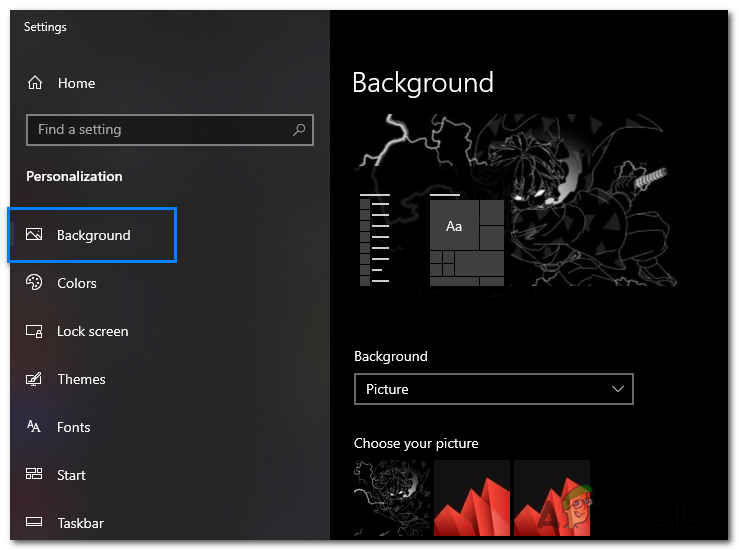
go to the “Background” tab. - Choose the “Picture” option and select one of the default images provided by Windows.
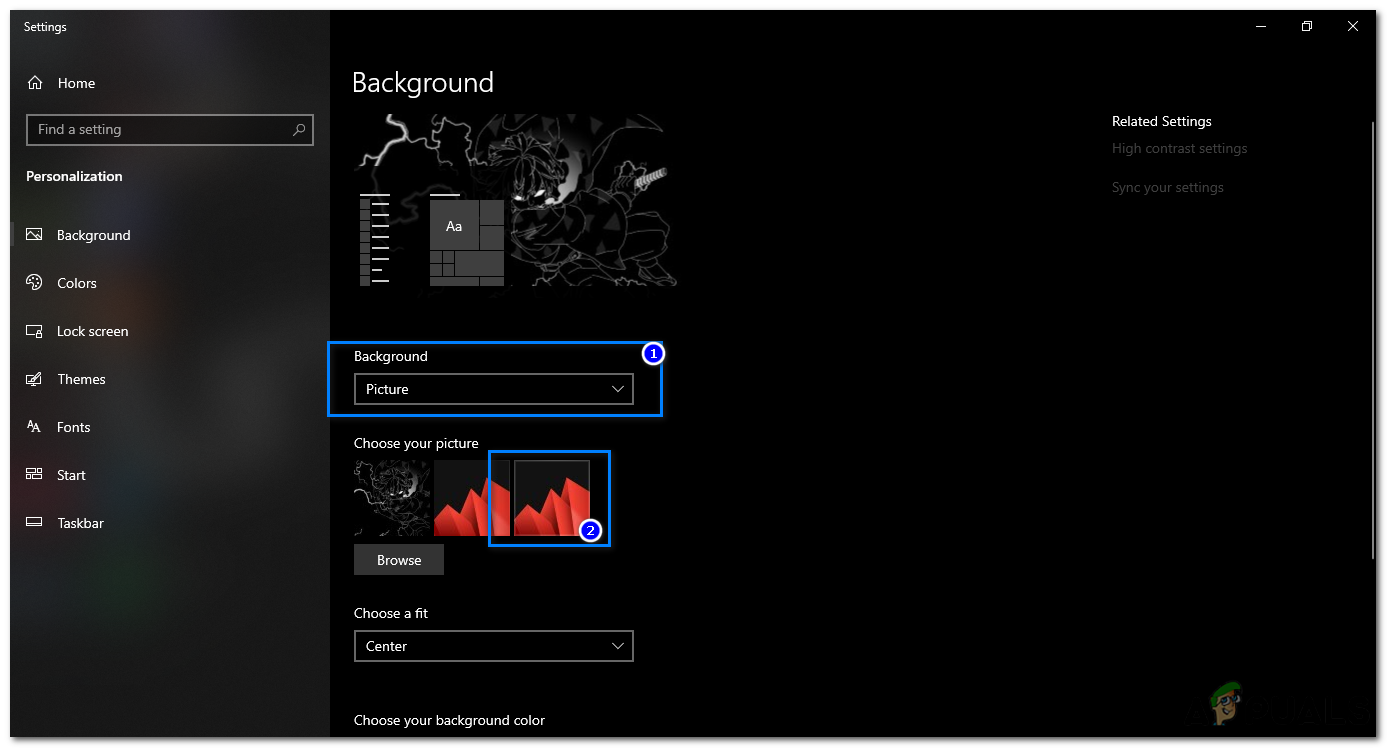
Choose the “Picture” option and select one of the default images provided by Windows. - Click on the default image to set it as your desktop background.
- Now check if the “Tile” option works as expected with the default image.
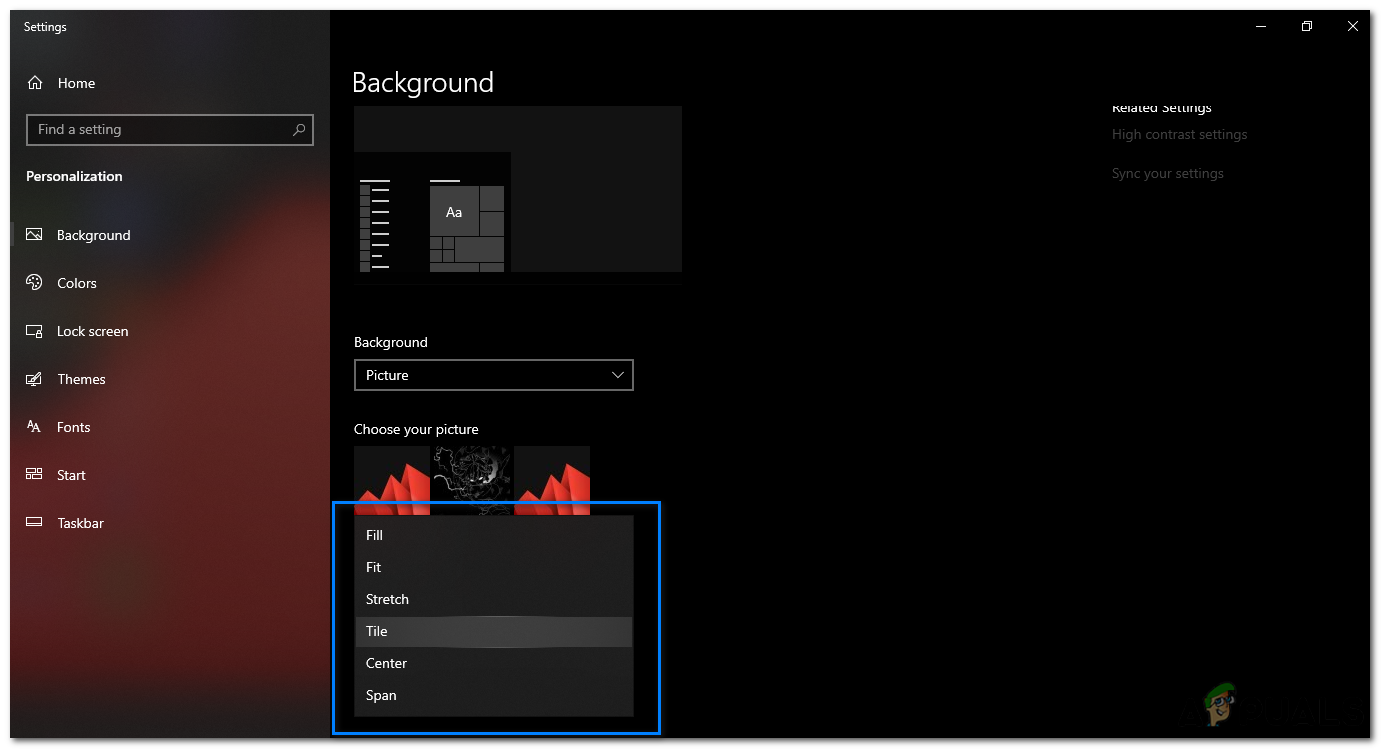
Select the option “tile” to see if it works with the default wallpaper.
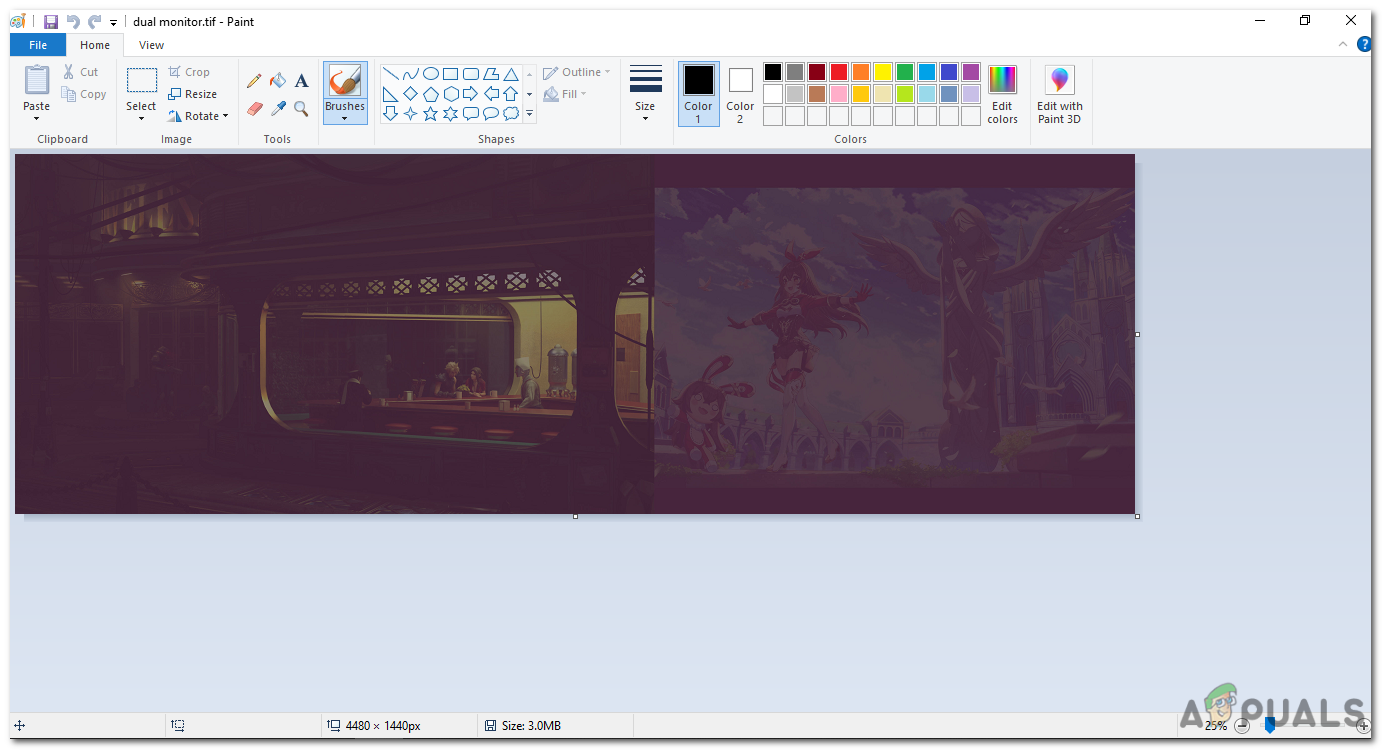
2. Checking the image dimensions
Checking the image dimensions helps you verify the size and resolution of the image file you are using as the desktop background. It is essential to ensure that the image is properly sized to fit the resolution of a monitor, or the combined resolution of dual monitors if you have a dual-monitor setup.
When setting a custom image as the desktop background, Windows needs to know how to display it across multiple monitors. If the image dimensions are incorrect, it can lead to unexpected behavior, such as the ‘Tile’ option not working as expected.
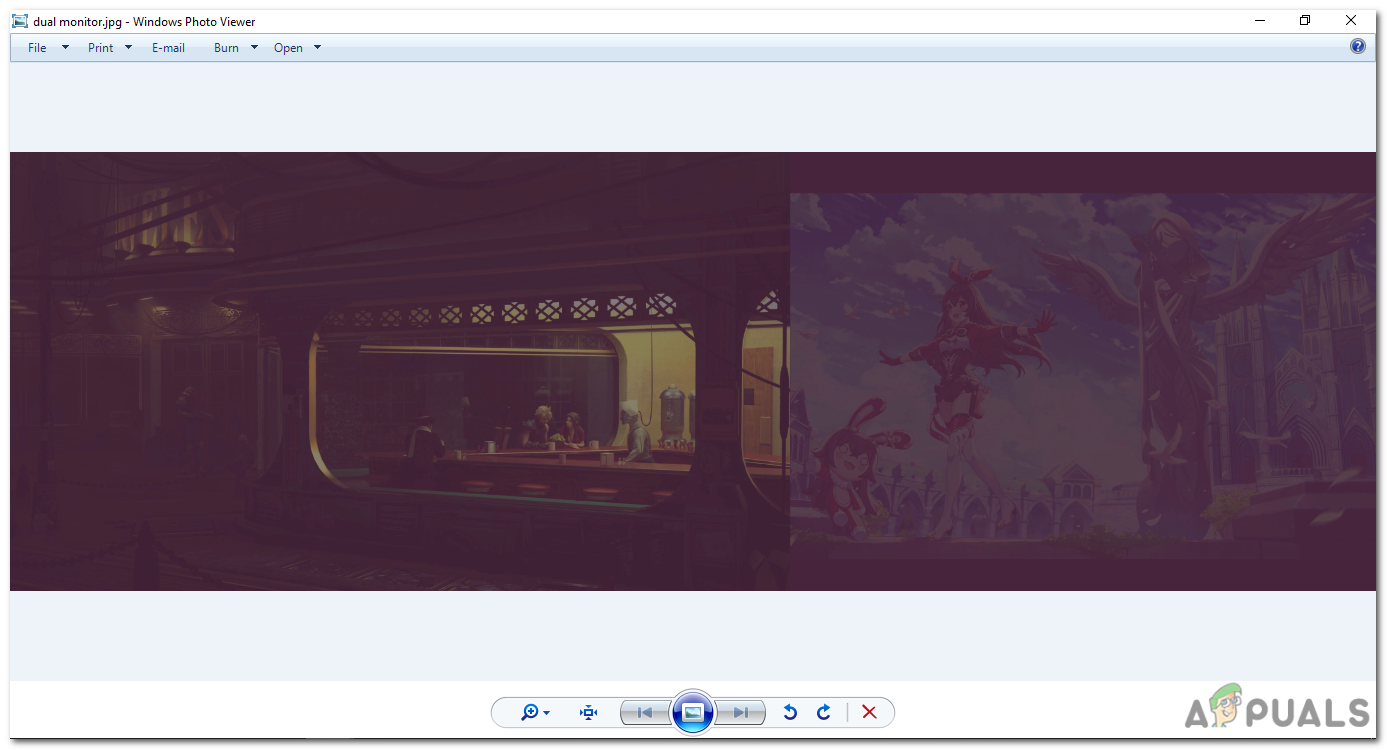
To check the image dimensions, you can open the image file using ‘Windows Photo Viewer‘. Within it, you will find the image dimensions in the image properties menu.
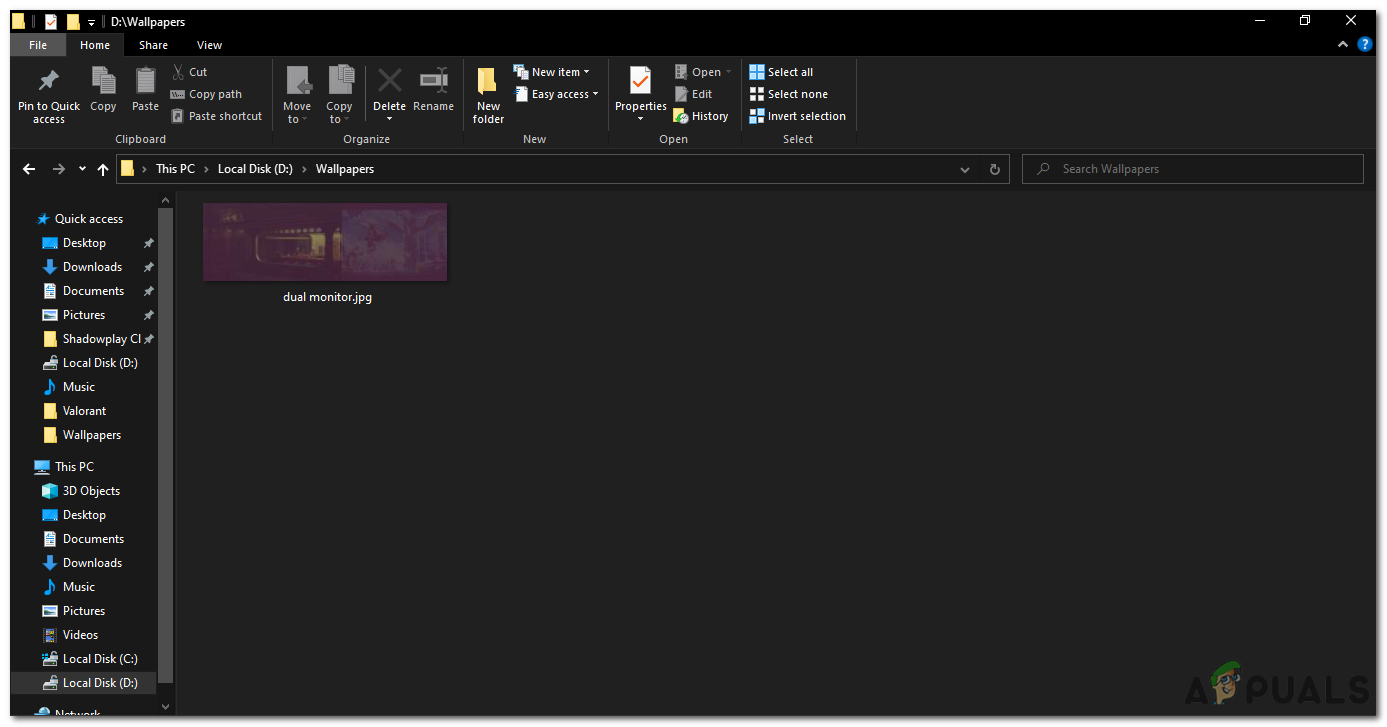
- Locate the image file on your computer.
Locate the image file on your computer. - Right–click on the image file, and in the context menu, select “Open with” and choose “Windows Photo Viewer” from the list.
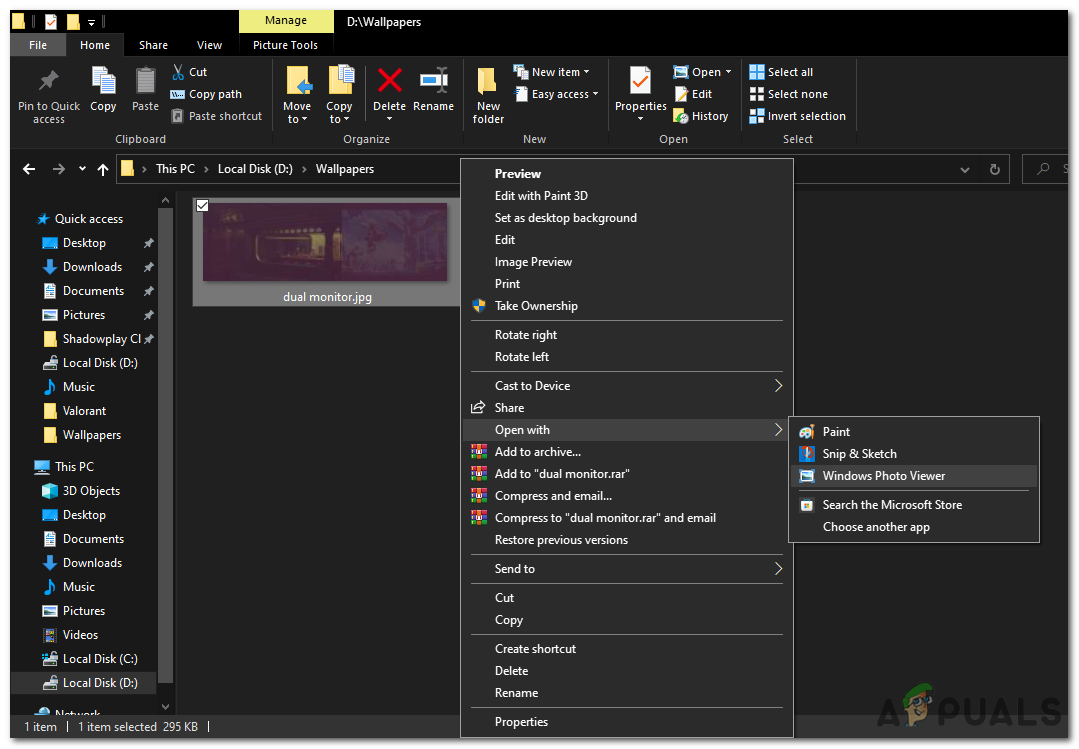
Right Click on the image and select Windows Photo Viewer in the open with context menu. - The image file will open in “Windows Photo Viewer“.
The image file will open in “Windows Photo Viewer”. - Right–click anywhere on the image file within “Windows Photo Viewer” and select “Properties” from the context menu.
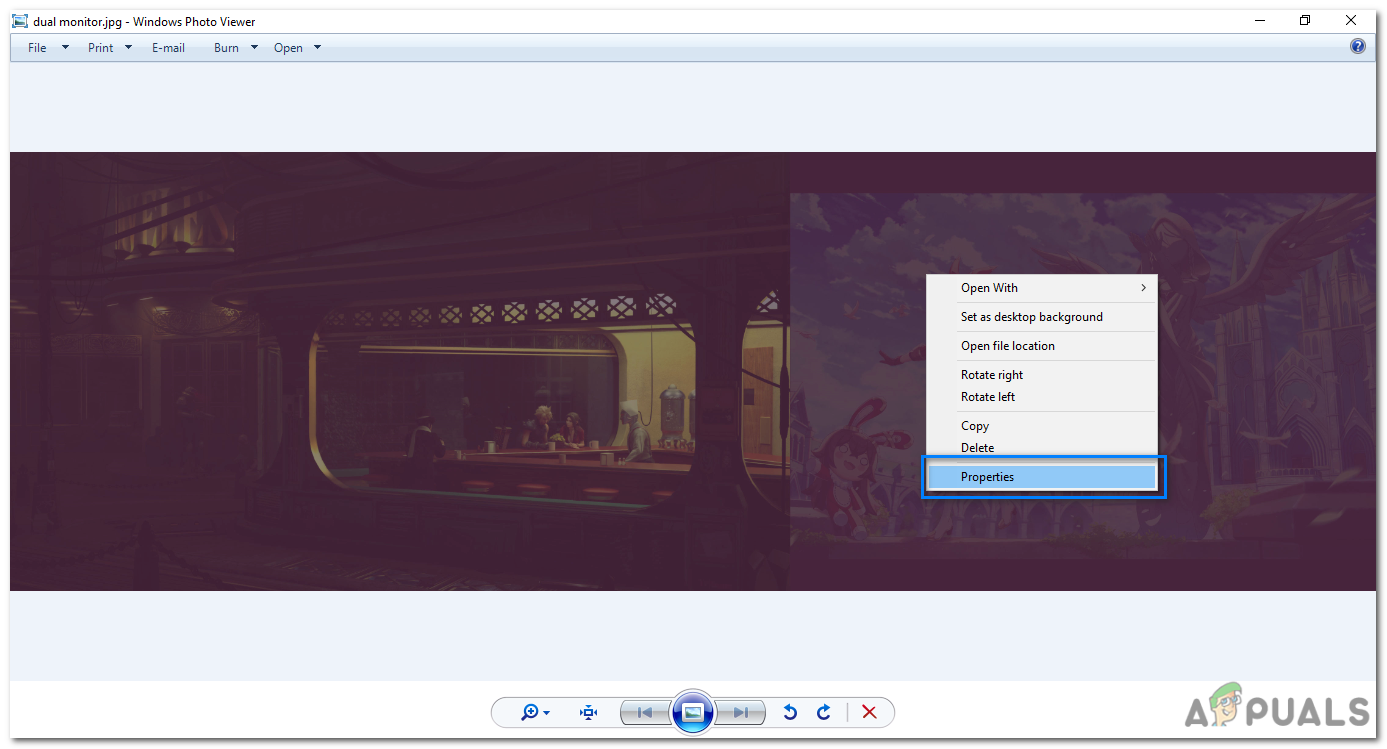
Right-click on the image file within “Windows Photo Viewer” and select “Properties” from the context menu. - In the “Properties” window, navigate to the “Details” tab.
- Under the “Details” tab, you will find information about the image, including its dimensions.
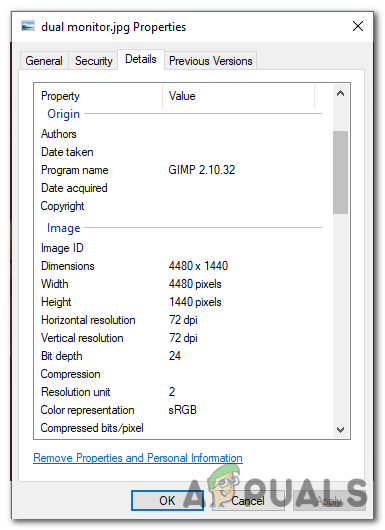
Under the “Details” tab, you will find information about the image, including its dimensions.
If you find that the image dimensions are incorrect, you will need to resize or adjust the image using image editing software. Once the image is properly sized to match the combined resolution of your dual monitors, you can set it as your desktop background, and the “Tile” option should function as expected.
3. Verifying the image file format
Verifying the image file format involves ensuring that your custom image file is saved in a compatible format that is supported by Windows, such as JPEG, PNG, or BMP.
Different image formats have their own specifications and features, and not all formats are supported by Windows. If you are using an unsupported image format for your desktop background, it may cause issues with the functionality of the ‘Tile’ option and desktop background settings.
By verifying the image file format, you can determine whether the format is compatible with Windows. If it is not, you might need to convert or save the image in a supported format before setting it as your desktop background.
To fix this, you can open the image in any image editing software, such as Paint, Photoshop, or GIMP, etc. Then, save it in a compatible format. To do this using Paint, follow these steps:
- Locate the image file on your computer.
Locate the image file on your computer. - Right-click on the image file and select “Open with” from the context menu. Choose “Paint” from the list of available applications.
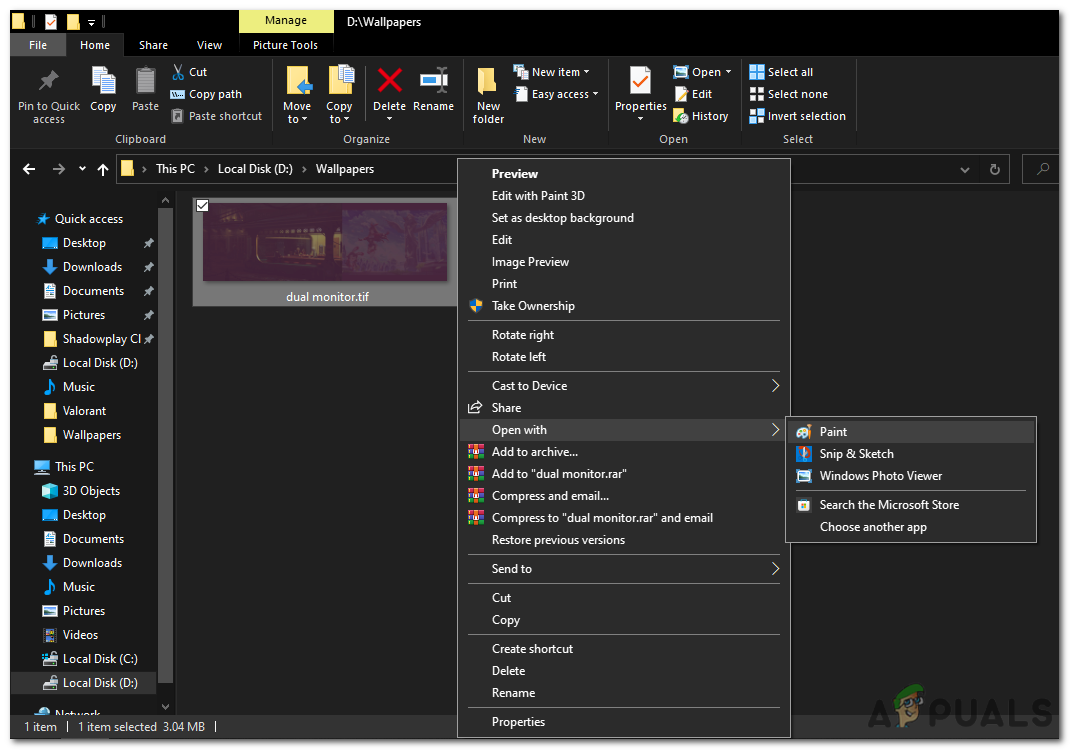
RIght Click on the image and select Paint in the open with context menu. - This will open the image in Microsoft Paint.
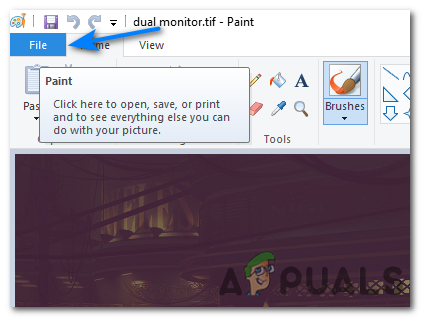
image opened in Microsoft Paint. - In the Paint window, click on the “File” option located in the top left corner of the screen.
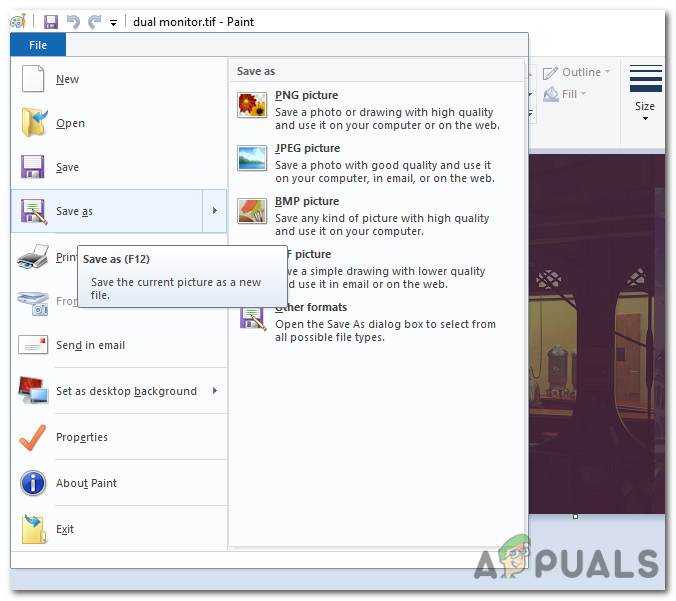
click on the “File” option located in the top left corner of the screen. - From the drop-down menu, select “Save as“.
From the drop-down menu, select “Save as”. - Choose a destination folder where you want to save the modified image.
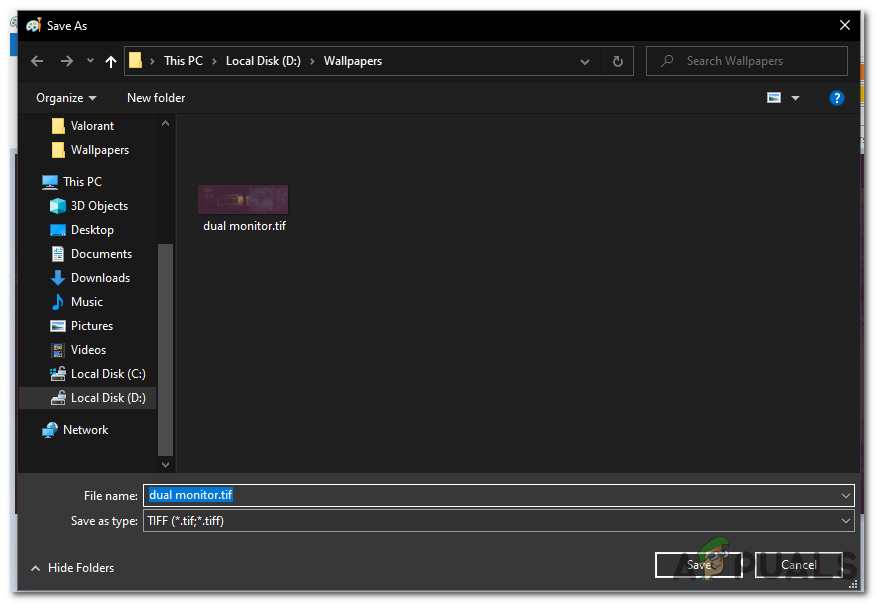
Choose a destination folder where you want to save the modified image. - In the “Save as type” field, select the format you want to save the image in, such as JPEG, PNG, or BMP.
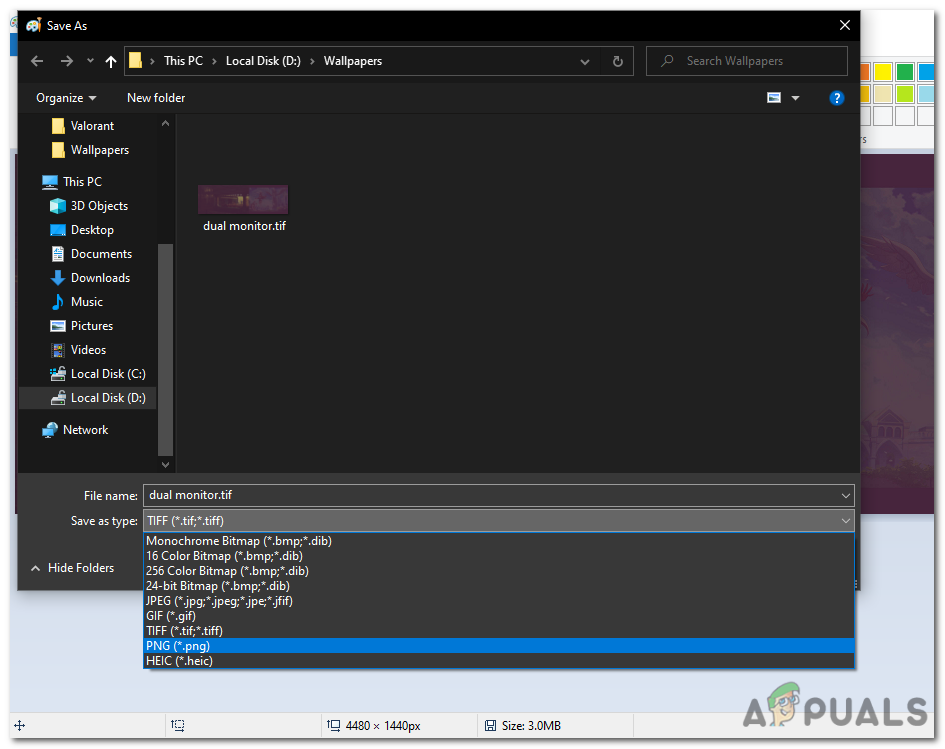
In the “Save as type” field, select the format you want to save the image in, such as JPEG, PNG, or BMP. - Click on the “Save” button to save the image with the selected format.
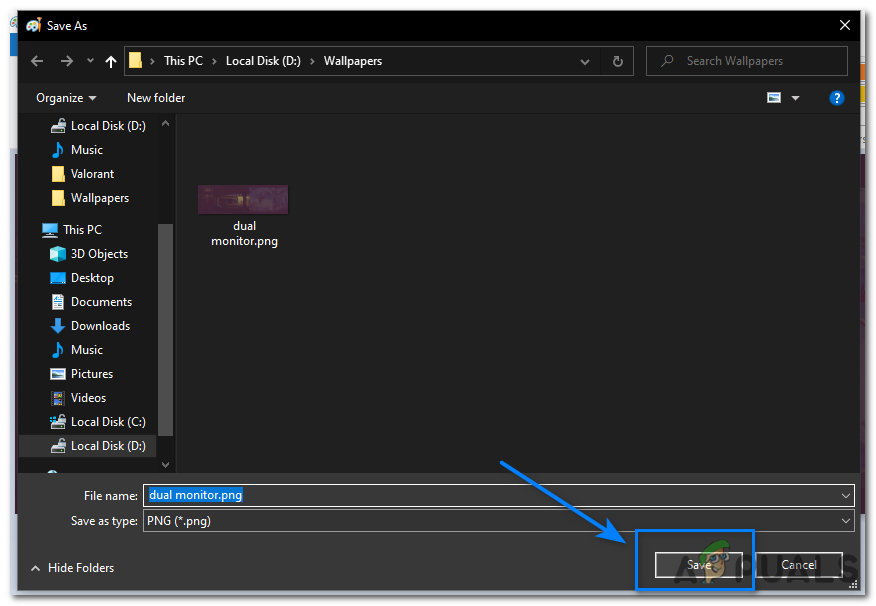
Click on the “Save” button.
Once you have the image saved in a compatible format, set it as your desktop background. This will fix any errors with the “Tile” option if it was file format related.
4. Performing a clean boot
A clean boot can help identify and fix problems caused by third-party applications or services that conflict with your desktop background settings.
When you perform a clean boot, Windows starts with a minimal set of drivers and startup programs, which can help isolate the cause of the problem. To perform a clean boot, follow these steps:
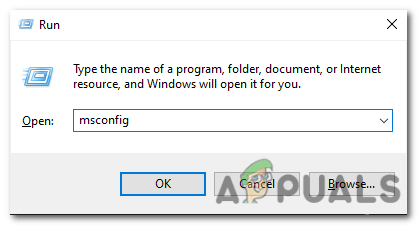
- Press the Windows key + R to open the Run dialog box.
Press the Windows key + R to open the Run dialog box. - Type “msconfig” and press Enter to open the System Configuration window.
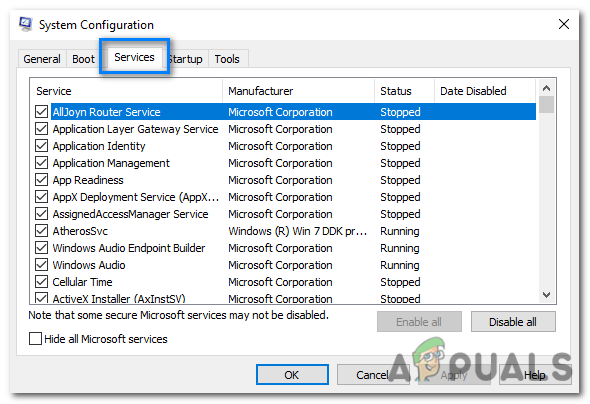
Type “msconfig” and press Enter to open the System Configuration window. - In the System Configuration window, go to the “Services” tab.
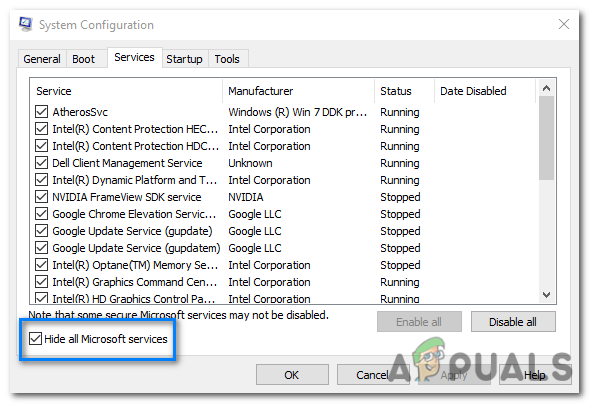
go to the “Services” tab. - Check the box next to “Hide all Microsoft services” to exclude Microsoft services from the list.
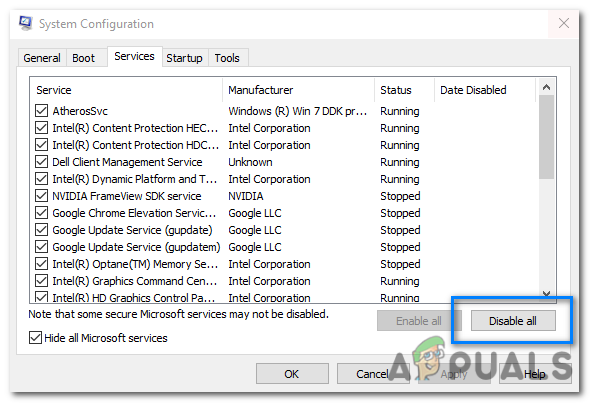
Check the box next to “Hide all Microsoft services” to exclude Microsoft services from the list. - Click on the “Disable all” button to disable all non-Microsoft services.
Click on the “Disable all” button to disable all non-Microsoft services. - Next, go to the “Startup” tab in the System Configuration window.
- Click on the “Open Task Manager” link to open the Task Manager.
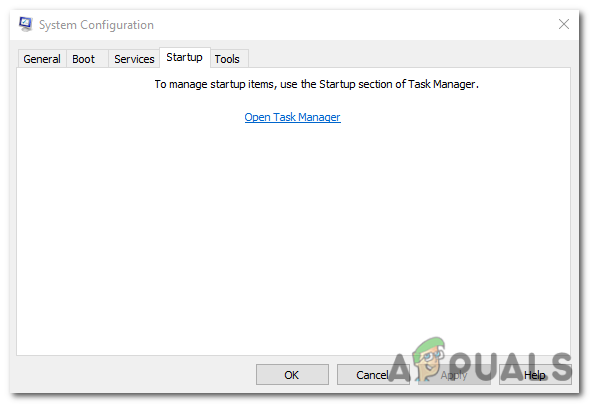
Click on the “Open Task Manager” link to open the Task Manager. - In the Task Manager, navigate to the “Startup” tab.
- Disable all the startup programs by right clicking on each entry and selecting “Disable.
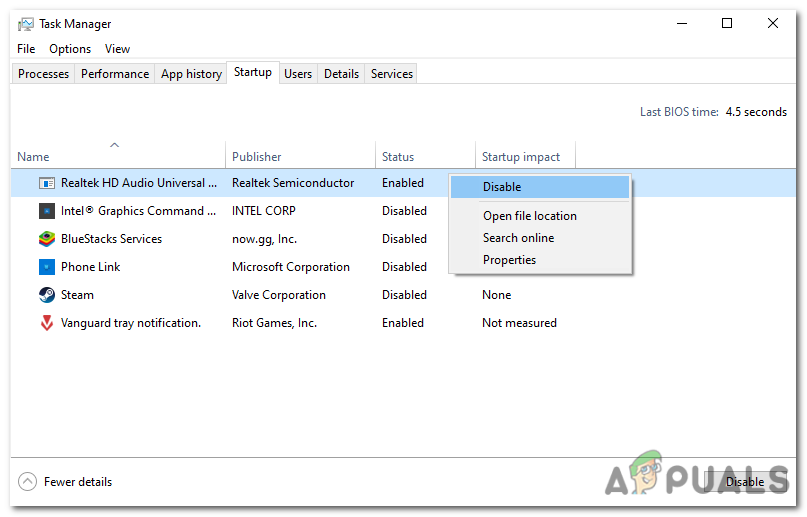
Disable all the startup programs by right-clicking on each entry and selecting “Disable”. - Close the Task Manager and go back to the System Configuration window.
- Click “Apply” and then “OK” to save the changes.
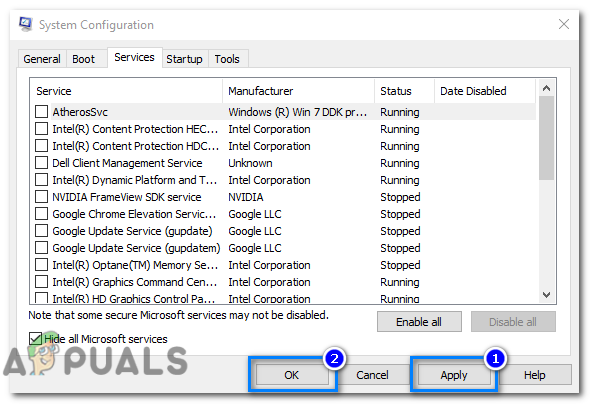
Click “Apply” and then “OK” to save the changes. - Restart your computer to start in a clean boot state.

Restart your computer to start in a clean boot state.
After your computer restarts, you should be in a clean boot environment. If the problem you were experiencing is no longer present, you can start enabling startup programs and services one at a time until the problem returns. Once the problem returns, you will know which startup program or service is causing the issue.
Once you have identified the startup program or service that is causing the problem, you can disable it permanently or uninstall the program.


