How to Fix the ‘Virtual Machine Has Terminated Unexpectedly’ Error?
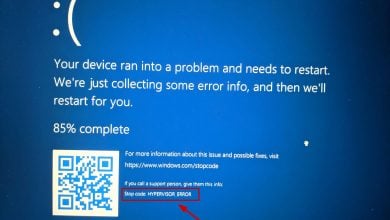
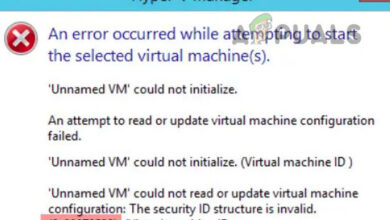
The “Virtual machine has terminated unexpectedly” error usually happens when a virtual machine tries to start but fails and shuts down immediately. This error can occur due to system issues, software conflicts, or incorrect virtualization settings.
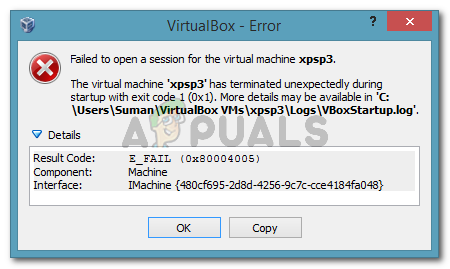
Basically, this error means that the virtual machine stopped suddenly, often because of problems with system resources or software limitations, like conflicts with security programs or virtual machine platform settings.
A common cause is conflicts with security software, like aggressive antivirus programs, or problems with Windows Hypervisor settings. Also, missing or corrupt log files (like VBoxHardening.log) can make it hard to troubleshoot and can lead to this error.
In this article, we will discuss different ways to solve this error.
1. Restart your system
Restarting your computer can resolve background processes or issues that prevent your virtual machine from starting. A reboot resets system resources and virtualization software, allowing the virtual machine to start without problems. This easy step can often fix unexpected shutdowns.
2. Disable the antivirus while running the virtual machine
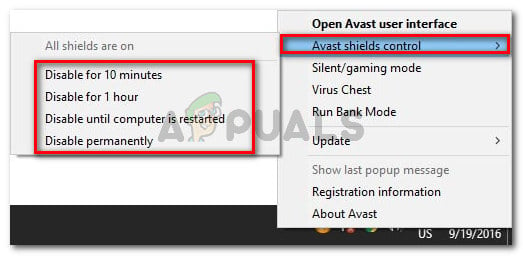
Sometimes antivirus software can block virtual machines from working properly. Temporarily turning off the antivirus lets the virtual machine start without restrictions. This can fix problems caused by the antivirus stopping important processes.
- Right-clicking the taskbar icon and using the context menu.
You can also check our detailed guide on how to uninstall antivirus here.
3. Install the VirtualBox kernel driver
If VirtualBox can’t start a virtual machine, it might be because its kernel driver is missing or not working. This driver connects the software to your computer’s hardware, enabling resource access. Without it, the virtual machine won’t start and may show errors. Installing the right driver helps resolve compatibility issues.
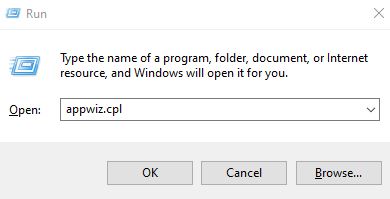
- Press Windows key + R to open up a Run Dialog Box. Then, type “appwiz.cpl” and press Enter to open Programs and Features.
- Inside Programs and Features, scroll through the list of applications to locate Oracle VM VirtualBox. Once you see the entry, right-click on it and choose Uninstall. Then, follow the on-screen prompts to remove the software from your system.
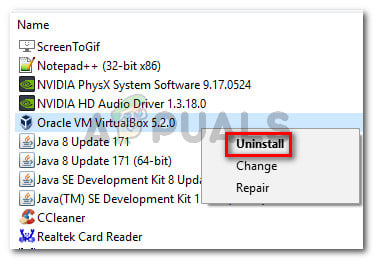
Uninstalling Oracle VM VirtualBox - Once the software is uninstalled, restart your machine. At the next startup, ensure that no third-party antivirus is running.
- Open File Explorer and navigate to the following location:
C:\ Program Files \ Oracle \ VirtualBox \ drivers \ vboxdrv \ VBoxDrv.inf
- Once you reach there, right-click on VBoxDRV.inf and choose Install, then click Yes at the UAC (User Account Control) prompt.
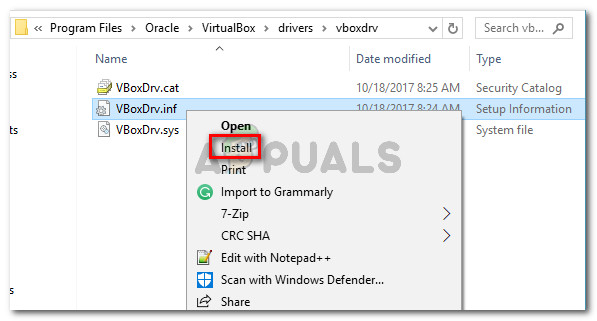
Installing the VBoxDRV.inf (VirtualBox kernel driver) file - Once you see the “The operation completed successfully” prompt, click Ok and run the virtual machine again. It should open without the “Virtual machine has terminated unexpectedly during startup with exit code 1 (0x1)” error.
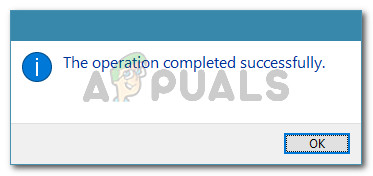
The operation is completed successfully
4. Install Microsoft’s bug fix update (Windows 7 only)
On Windows 7, installing Microsoft’s bug fix update can improve virtualization software. This update fixes system bugs and kernel conflicts that affect virtualization, enhancing stability. Applying the patch resolves known issues, leading to better performance of virtual environments and a more stable system for virtualization tasks.
- Visit Microsoft’s official link (here) and download the hotfix for Windows 7 by clicking on “Download the package now.”
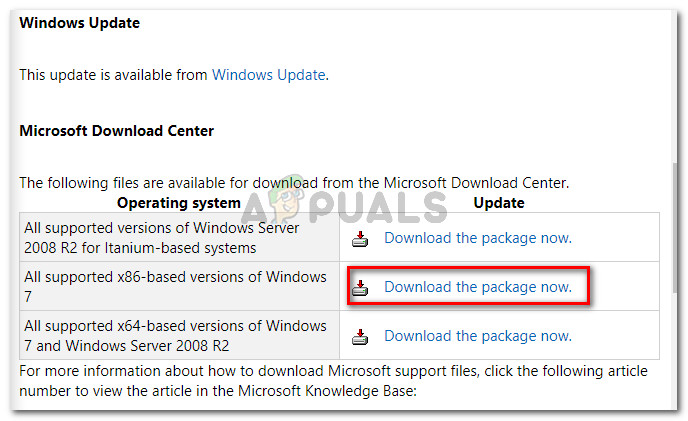
Choosing the appropriate download package - On the next screen, click the Download button to initiate the download.

Downloading the hotfix - Once the download is complete, open the update executable and follow the on-screen prompts to install it on your system. It will act as a removal tool, deleting the faulty update altogether.
- Reboot your computer and open the virtual machine again at the next startup to check if you’re still encountering the “Virtual machine has terminated unexpectedly during startup with exit code 1 (0x1)” error. If you are, move on to the final method below.


