[Solved] VAC Error Code: Unable to Verify Game Session
The error message “VAC was unable to verify your game session” in CSGO occurs when you are queuing up for matchmaking. This happens when the anti-cheat system for the game is not able to verify your game session due to the inclusion of insecure files.
The error message generally occurs because of your game files, interference of third-party antivirus programs, corrupted Steam download cache, and more. We will list several methods below that you can use to resolve the error message on your system.
1. Change Steam Avatar and Name
When starting to troubleshoot the error message, your first step should be to change the avatar and name of your Steam account. In some rare cases, the issue can occur when you have special characters in your Steam name or specific profile pictures.
As such, changing your profile name, or sometimes, your profile picture, should help eliminate the error message and VAC will be able to verify your game session. To change your profile name and Steam avatar, follow the instructions below:
- First, open the Steam client on your computer.
- In the Steam client, hover on your profile name and choose Profile from the drop-down menu.
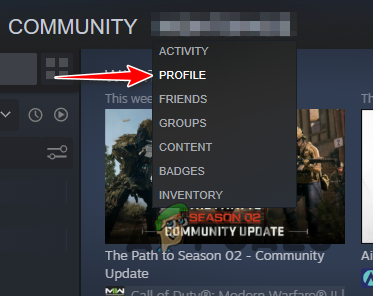
Navigating to Steam Profile - After that, click the Edit Profile option on your Steam profile.
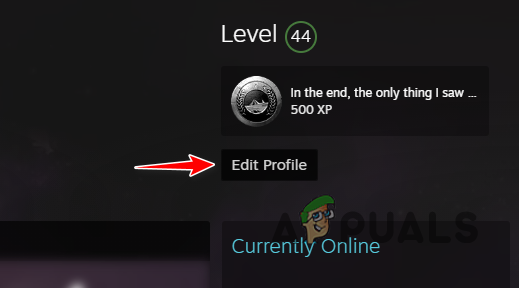
Editing Steam Profile - On the General tab, change your profile name. Then, open the game to see if that resolves the issue.
- If the error message persists, click on the Avatar option on the left-hand side.

Navigating to Steam Avatar - Click on the Upload your avatar option to upload a custom profile picture. You can also choose an avatar from the Your Avatars section.
- Once you do that, open CSGO and see if the issue is still there.
2. Run Steam as Admin
One of the reasons the error message can occur is when the game process does not have sufficient permissions to run correctly in your environment. This can happen when third-party processes interfere with the game, leading to the game session being unverified by the anti-cheat system.
In such a scenario, you will have to run the Steam client with administrative privileges. As such, when you open CSGO on your computer, it will also inherit elevated permissions, preventing the intervention of background processes. To run Steam as admin, follow the instructions below:
- First, open the Start Menu and search for Steam.
- Then, click on the Run as administrator option on the right-hand side.
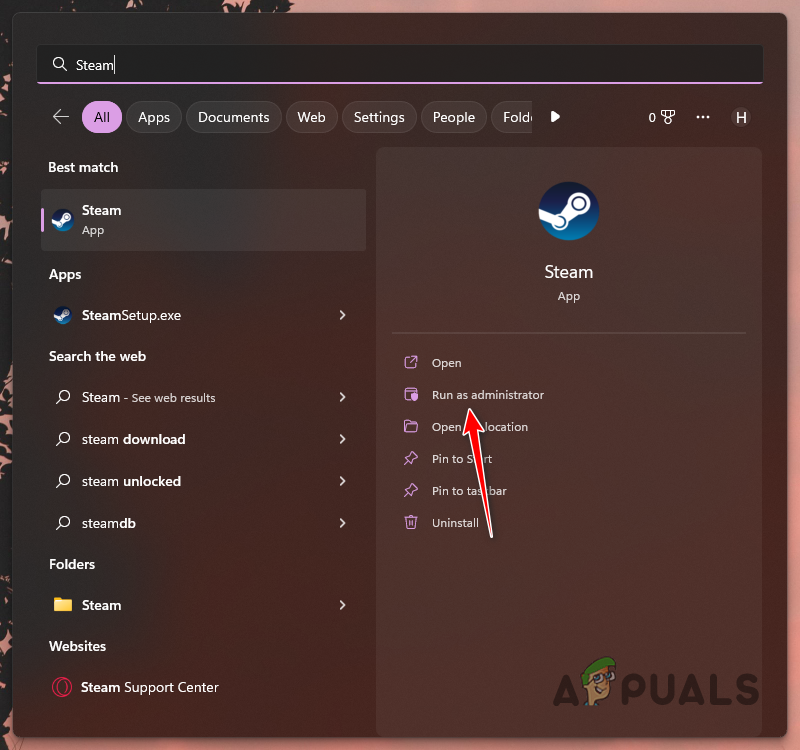
Opening Steam as Admin - Click Yes on the follow-up User Account Control dialog box.
- See if that resolves the issue.
3. Relogin to Steam
In some scenarios, the issue can be related to an inconsistency with the connection to the Steam servers. When this happens, you will be able to overcome the problem by logging out of your account.
Logging back into your account will establish a new link to the Steam servers which should resolve the issue. To do this, follow the instructions down below:
- Start with opening the Steam client on your computer.
- Then, click on the Steam option in the top-left corner.
- Choose Change Account from the drop-down menu.
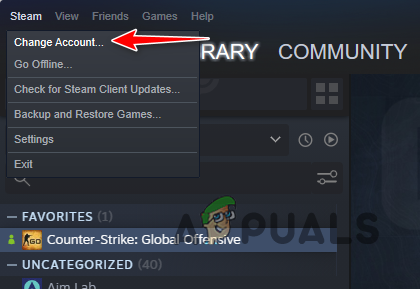
Changing Steam Account - Finally, click on the Logout option.
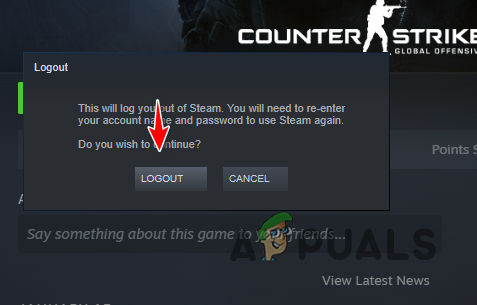
Logging out of Steam - After that, log in to your account again and open the game. See if that resolves the issue.
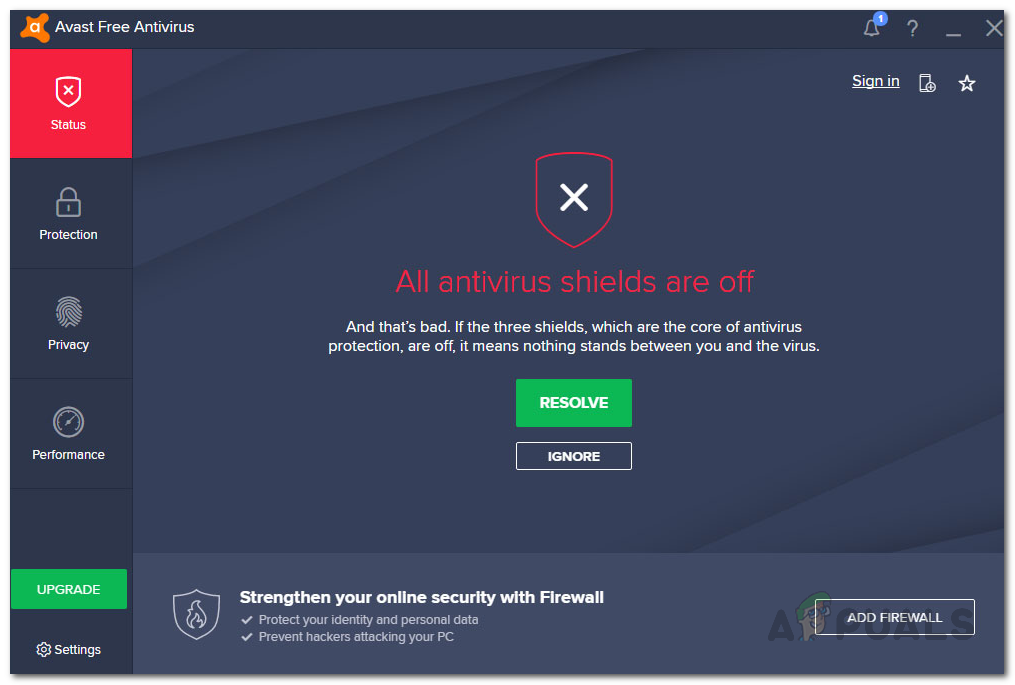
4. Disable Third-Party Antivirus
The third-party antivirus program on your computer can also trigger the error message in question. This happens due to the interference of the antivirus program with the game process which causes VAC to not verify your game session.
Antivirus programs are often known to cause such issues with various games due to a false positive, and in most cases, you are able to resolve the issue by disabling the antivirus program. If disabling your antivirus program fixes the error message, you can whitelist the CSGO process in your antivirus settings to continue using it without any issues.
If disabling your antivirus program does not resolve the issue, move to the next method below.
5. Clear Steam Download Cache
Steam uses a local cache on your computer to store different game content. When downloading a new game or updating an existing one, the files are stored in the Steam cache at first.
In some scenarios, corruption in the Steam download cache can cause your games to throw various errors. The VAC error can also occur because of this which is why you will have to clear the Steam download cache to mitigate the issue.
Clearing the Steam download cache is safe, so you do not have to worry about losing anything. However, this will log you out of your current Steam account, thus, you will have to log back in. Follow the instructions below to clear your Steam Download Cache:
- First, open the Steam client on your computer.
- Then, click on the Steam option in the top-left corner.
- Choose the Settings option from the drop-down menu.

Opening Steam Settings - On the Settings window, switch to the Downloads tab.
- After that, click on the Clear Download Cache option.
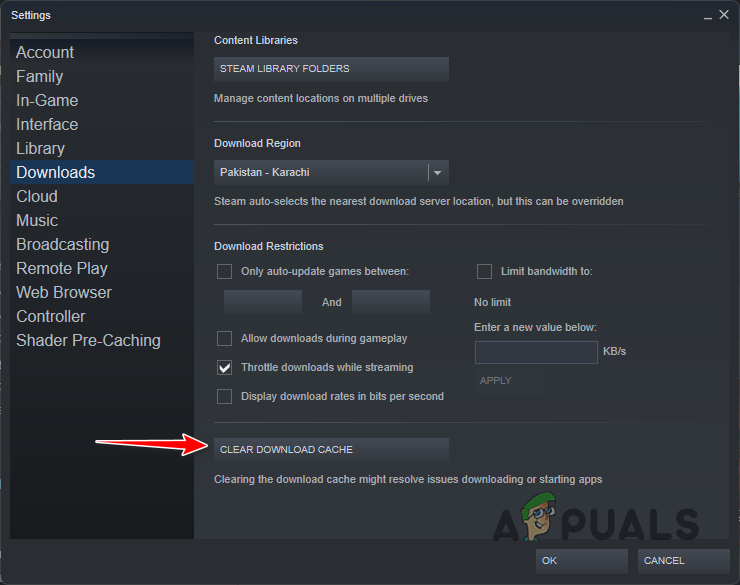
Clearing Steam Download Cache - Once you do that, open the game to see if the error message persists.
6. Force Download Current Game Patch
In some instances, you can mitigate the error message by re-downloading the current game patch. This will renew the game version files on your computer which should resolve any issues caused by game file conflicts.
To do this, you will have to opt into a beta version of the game. After the game has downloaded the beta version of the game on your computer, you can leave the beta to download the current game version. Follow the instructions below to do this:
- Open the Steam client on your computer.
- On the Steam client, navigate to your game library.
- There, right-click on Counter-Strike: Global Offensive and choose Properties from the drop-down menu.
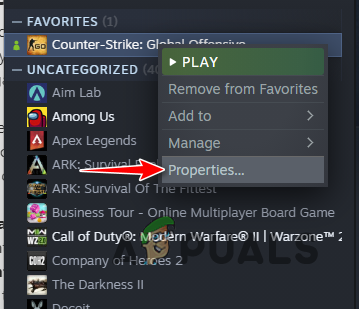
Navigating to CSGO Properties - Switch to the Betas tab on the left-hand side.
- Then, use the drop-down menu to opt into a beta version.
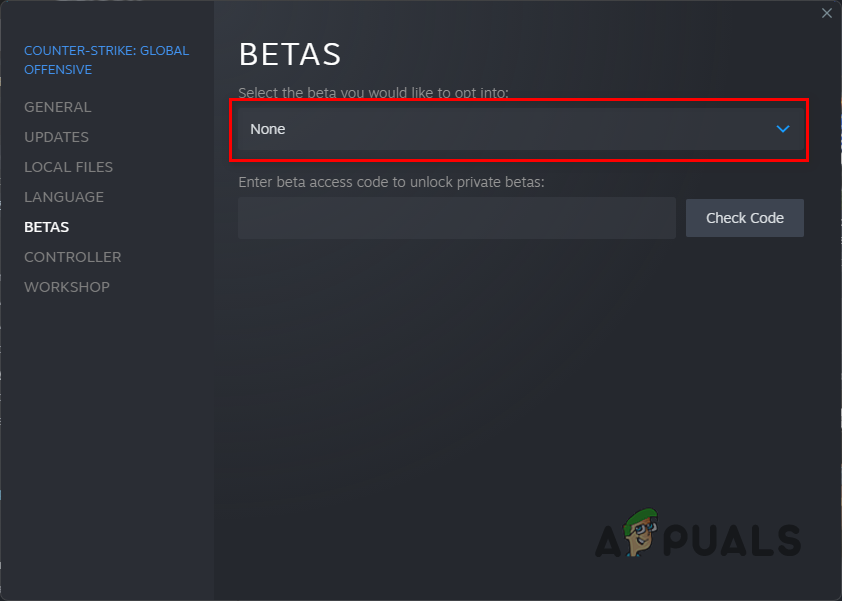
CSGO Betas - Wait for the game to be updated to the beta version.
- After that, navigate to the Betas tab again and choose None to opt out of the beta version.
- Finally, wait for the game to update again.
- Once you do that, open the game to see if the issue is still there.
7. Verify Game Files
Another reason the issue in question can occur is due to the game files. If there is damage or corruption to the game files on your computer, or specific files are missing from the installation, the VAC error can appear.
If this scenario is applicable, you will have to repair your game via the Verify integrity of game files feature. This will scan the game installation for any missing files or corruption and repair it. Follow the instructions below to do this:
- First, open the Steam client and navigate to your game library.
- Right-click on Counter-Strike: Global Offensive and choose Properties.
Navigating to CSGO Properties - On the left-hand side, switch to the Local Files tab.
- Then, click on the Verify integrity of game files option to begin the scan.
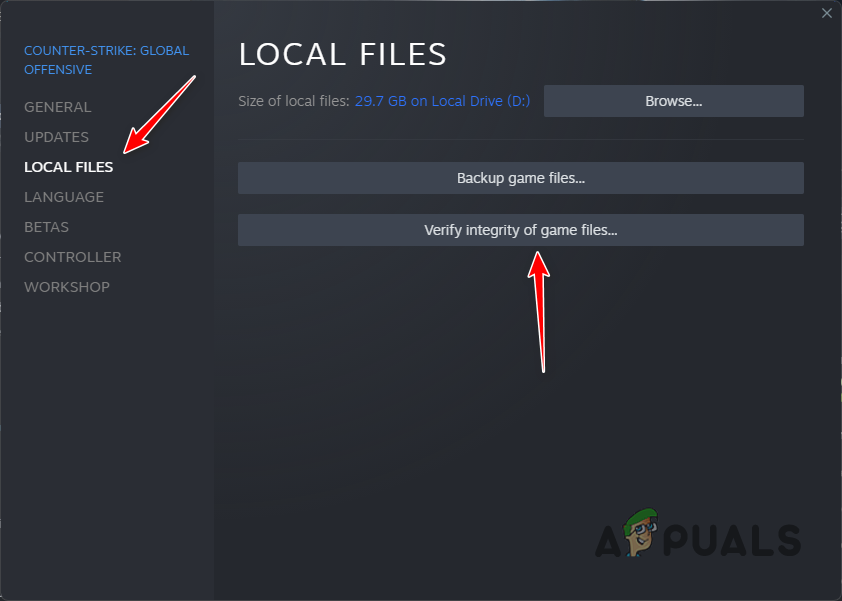
Verifying CSGO Game Files - Wait for it to complete and see if the issue goes away.
8. Allow Steam Through the Firewall
In some scenarios, the VAC error can occur when the game is not able to establish a connection with its servers properly. This can happen when the Windows Defender Firewall, responsible for managing any incoming and outgoing network requests, blocks the game’s requests.
If this case is applicable, you will have to allow the game through the firewall to ensure it is able to link with its servers. Follow the instructions below to do this:
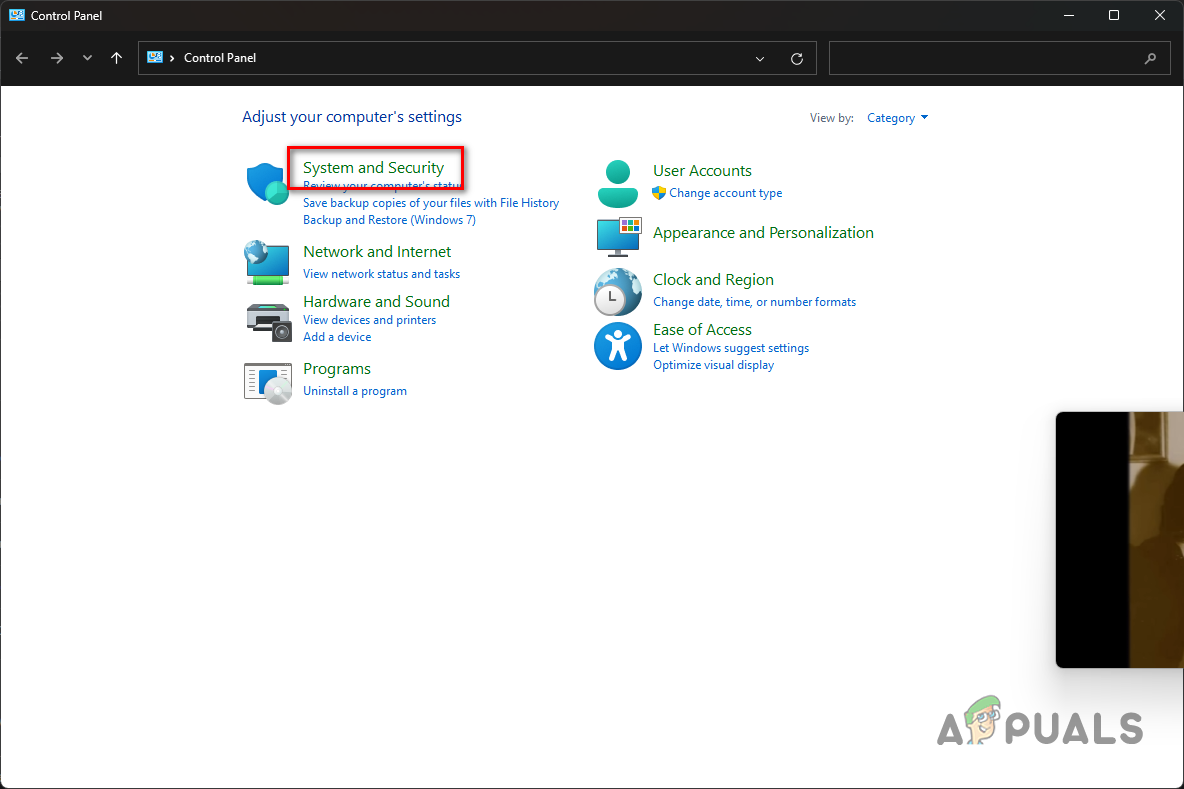
- First, open the Start Menu and search for the Control Panel. Open it up.

Opening Control Panel - In the Control Panel window, navigate to System and Security > Windows Defender Firewall.
Navigating to System and Security - There, click on the Allow an app or feature through the Windows Defender Firewall option on the left-hand side.
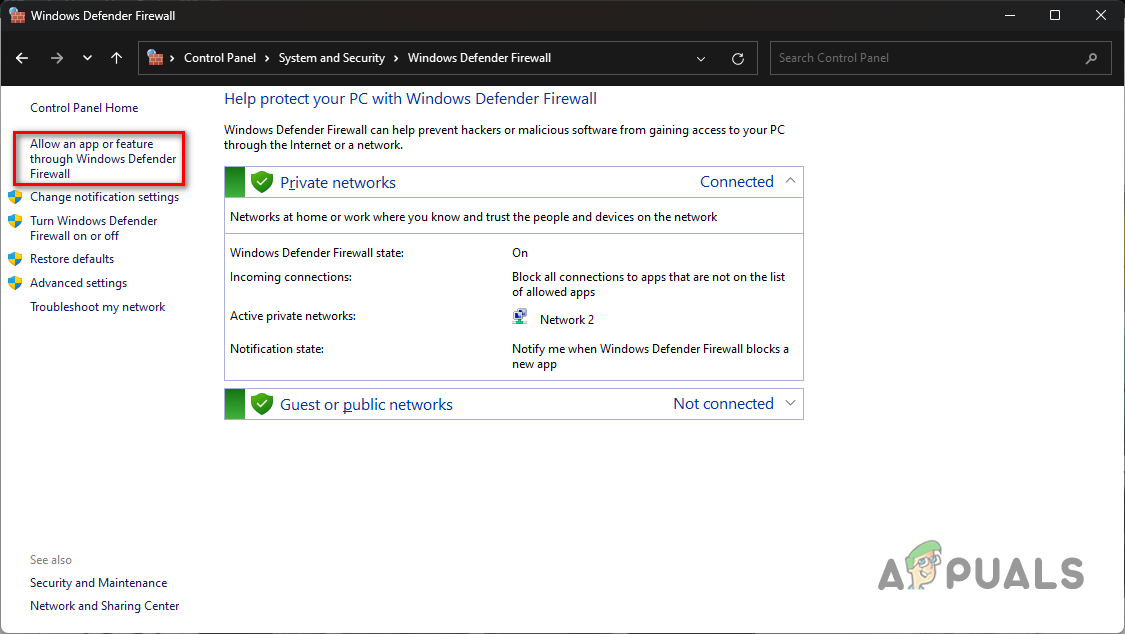
Navigating to Firewall Allowed Apps - On the Allowed apps screen, click on the Change settings button.
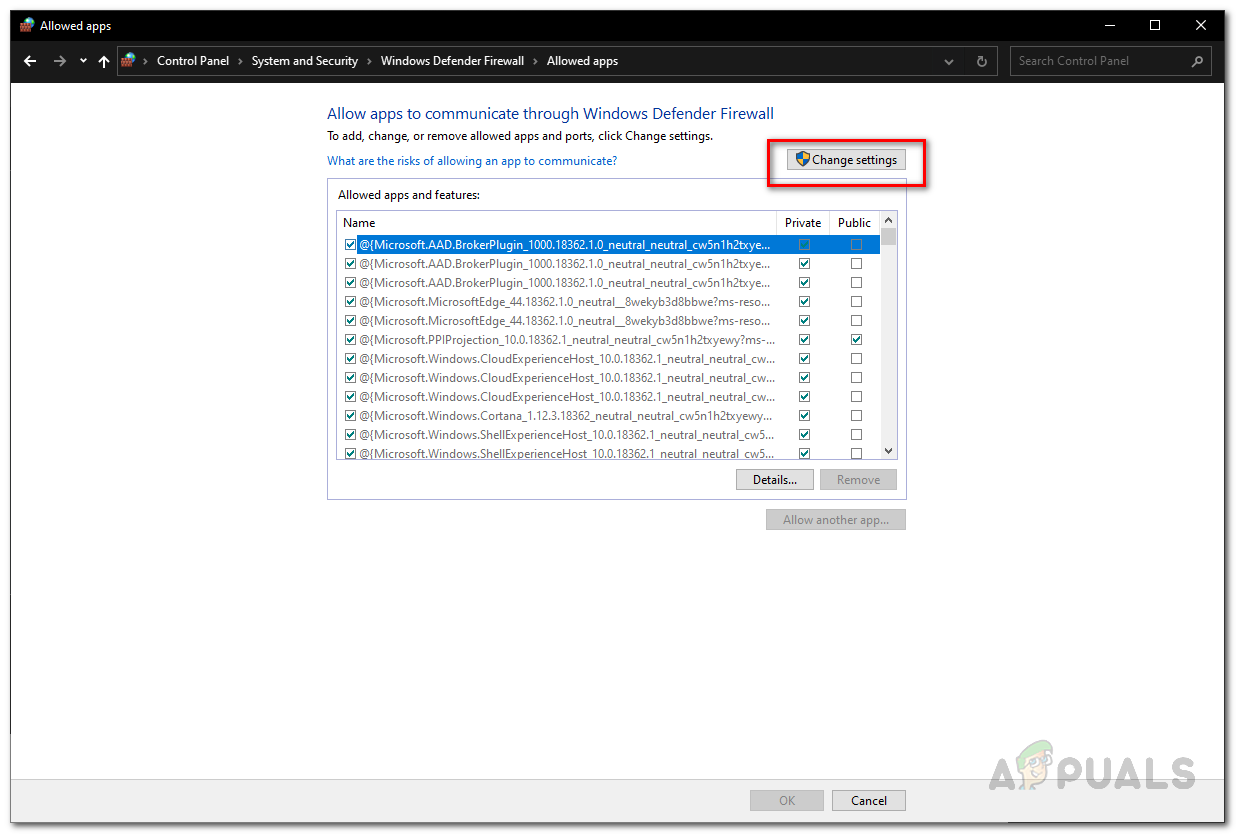
Changing Firewall Allowed Apps List - Then, click the Allow another app option to add another app.
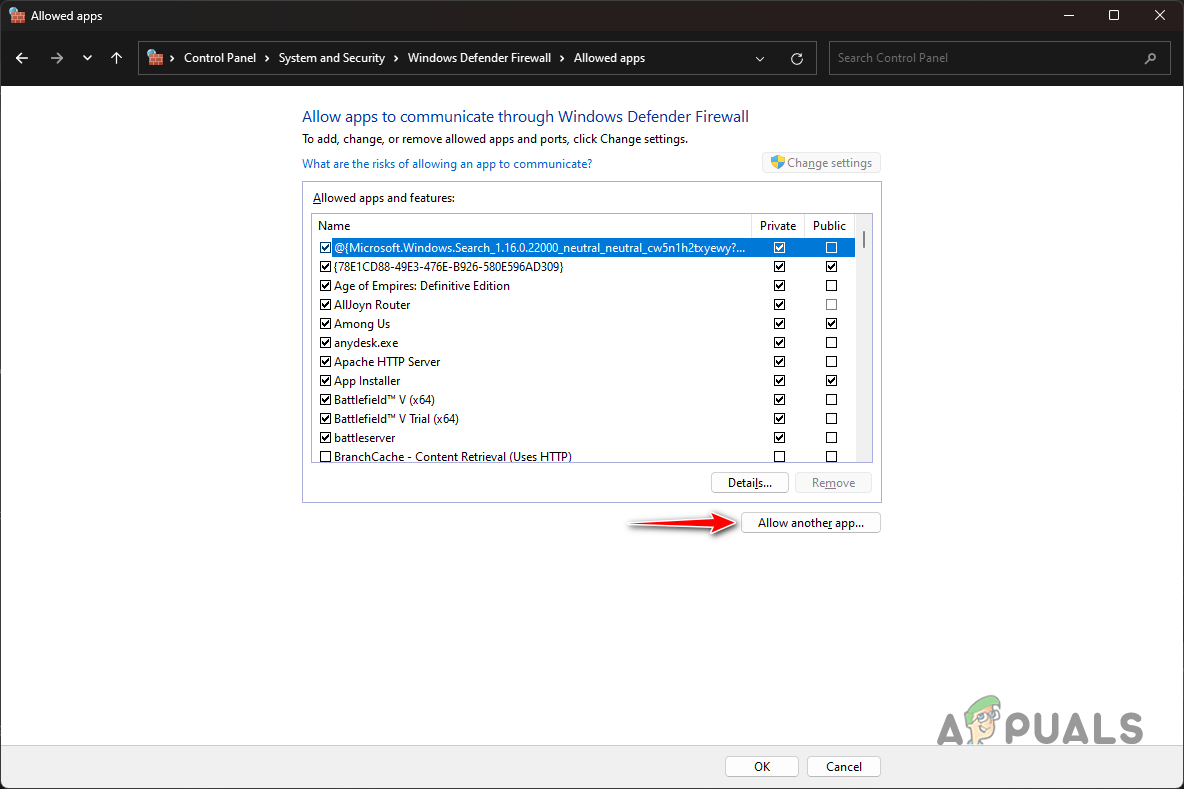
Allowing Another App Through the Firewall - Click the Browse button and navigate to your Steam installation directory. Open the steam.exe file.
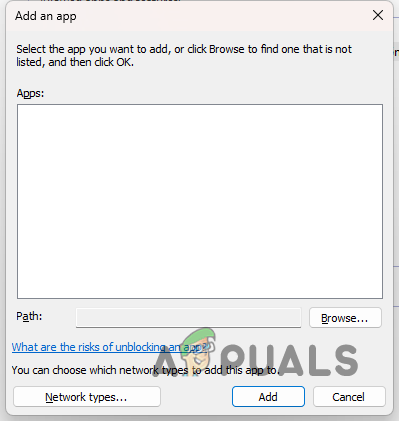
Adding App to Firewall - After that, click on the Network types option, and tick both the Public and Private checkboxes.
- Finally, click the OK button.
- Restart the Steam client on your computer and see if the error message still occurs.
9. Opt Out of Steam Beta
If you are using a beta version of the Steam client on your computer, that can also cause the error message in question. If this scenario is applicable, you will have to opt out of the Steam beta to resolve the issue.
Follow the instructions below to leave Steam beta:
- Open the Steam client on your PC.
- In the top-left corner, click on the Steam option.
- Then, choose the Settings option from the drop-down menu.
Opening Steam Settings - On the Account tab, click on the Change option next to Beta participation.
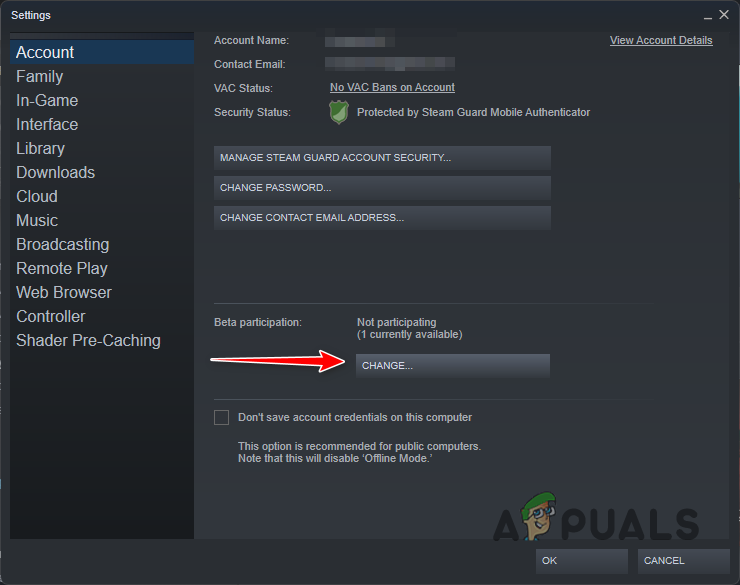
Opening Steam Beta Participation - After that, choose NONE – Opt out of all beta programs option from the drop-down menu.
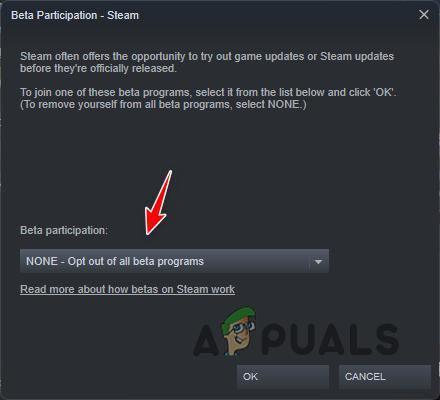
Leaving Steam Beta - Finally, click OK.
- Wait for Steam to remove the beta version.
- With that done, open the game and if the error message persists.
10. Perform a Clean Boot
Finally, if none of the methods above has resolved the error message, it is likely caused by the interference of a third-party program with the game. There are various common apps that interfere with a game process on our computer, from Discord to GeForce Experience, and the list goes on.
You can verify the suspicion in such a scenario by performing a clean boot. Clean boot will start your computer with only Windows services running in the background. This means third-party services will not be started automatically on bootup.
If the problem goes away in clean boot, it will be evident a third-party app is causing the issue. In this instance, you can enable the services one by one to find the culprit. Follow the instructions below to perform a clean boot:
- First, open the Run dialog box by pressing the Windows key + R on your keyboard.
- In the Run dialog box, type in msconfig and hit Enter.
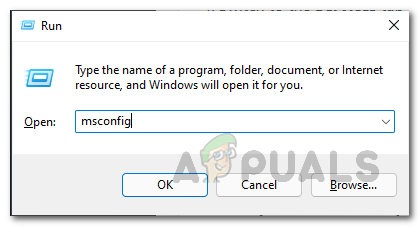
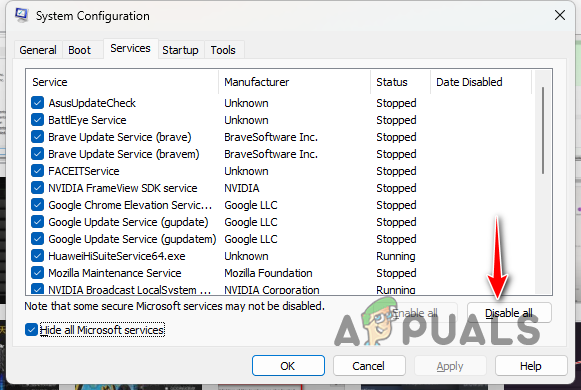
Opening System Configuration - This will open the System Configuration window. Switch to the Services tab.
- There, tick the Hide all Microsoft services checkbox.
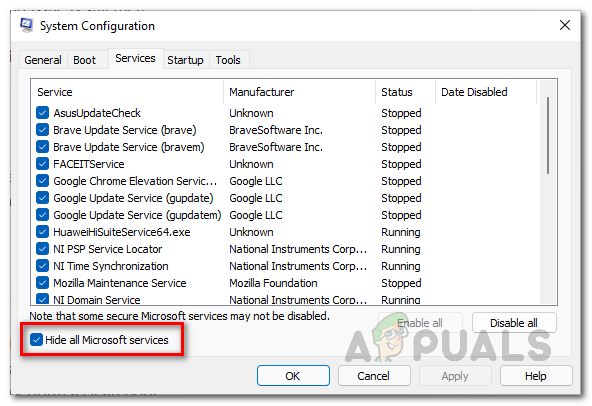
Hiding Microsoft Services - After that, click on the Disable all button and follow it up by clicking Apply.
Disabling Third-Party Services - Then, switch to the Startup tab and click on the Open Task Manager option.
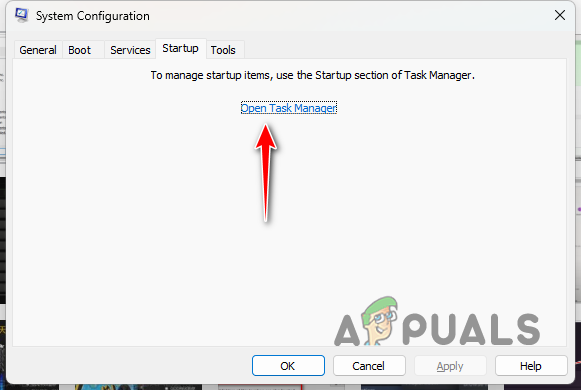
Opening Task Manager - On the Task Manager window, select the apps one by one and click Disable to stop them from opening when your PC boots.
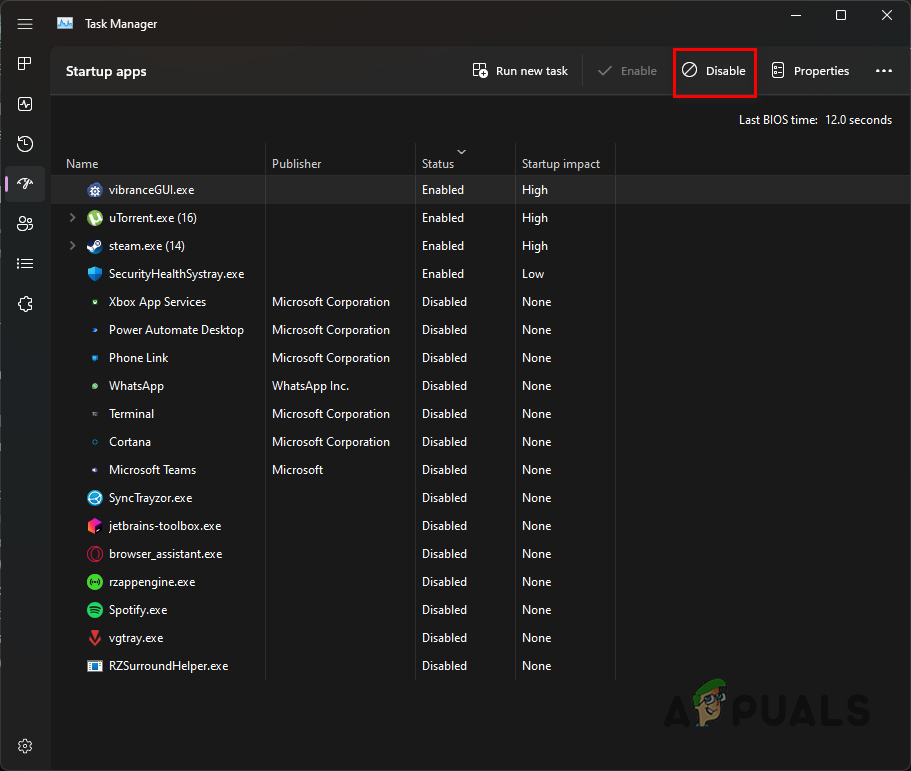
Disabling Third-Party Apps on Startup - Once you do that, restart your computer.
- Open the Steam client and see if the error message is still there.


