Fix: Steam overlay not working
The Steam overlay is a feature that allows you to access Steam functionalities while in-game. It enables players to invite friends, send and receive messages, access guides, and respond to messages without leaving their game. Knowing who is online and sending game invites quickly enhances the gaming experience.
However, some users encounter issues where the Steam overlay fails to work, leaving them unable to use these convenient features. There could be various factors behind this problem, influenced by a user’s unique hardware and software configurations. Below, a list of potential solutions is provided, which should be tried sequentially. If a step directs you to skip any solutions, do so as indicated.
Solution 1: Granting Administrator Access
The Steam overlay may fail to function if the programs lack administrator access, which is often the default setting upon installation. Here’s how to grant administrator privileges:
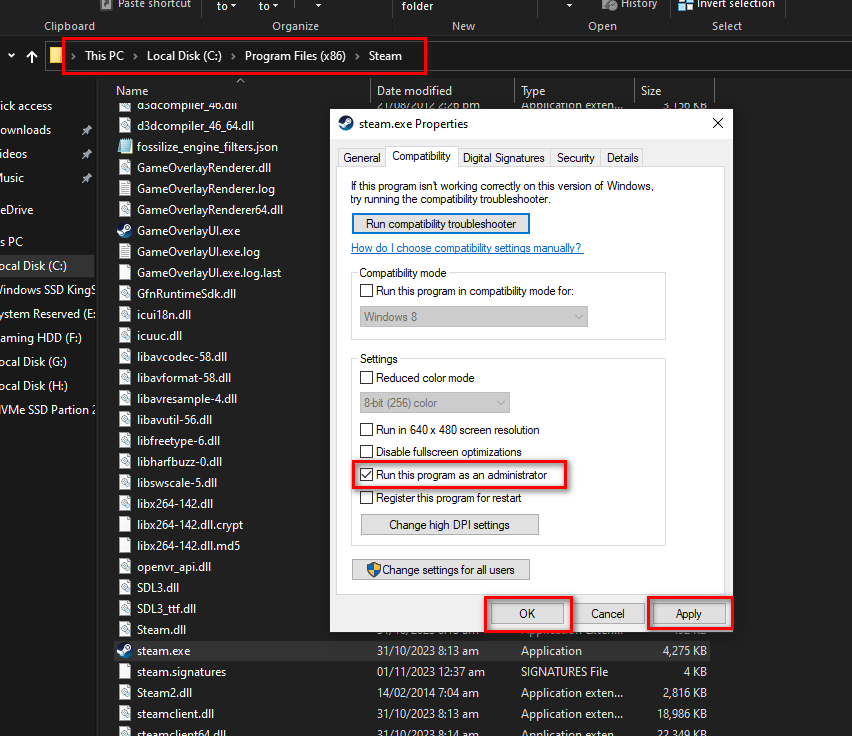
- Locate your Steam directory. By default, it can be found at C:\Program Files (x86)\Steam. If your installation directory is different, navigate to that location.
- Find the Steam.exe file, right-click on it and select Properties. Under the Compatibility tab, ensure the “Run this program as an administrator” checkbox is selected. Save the changes and exit.
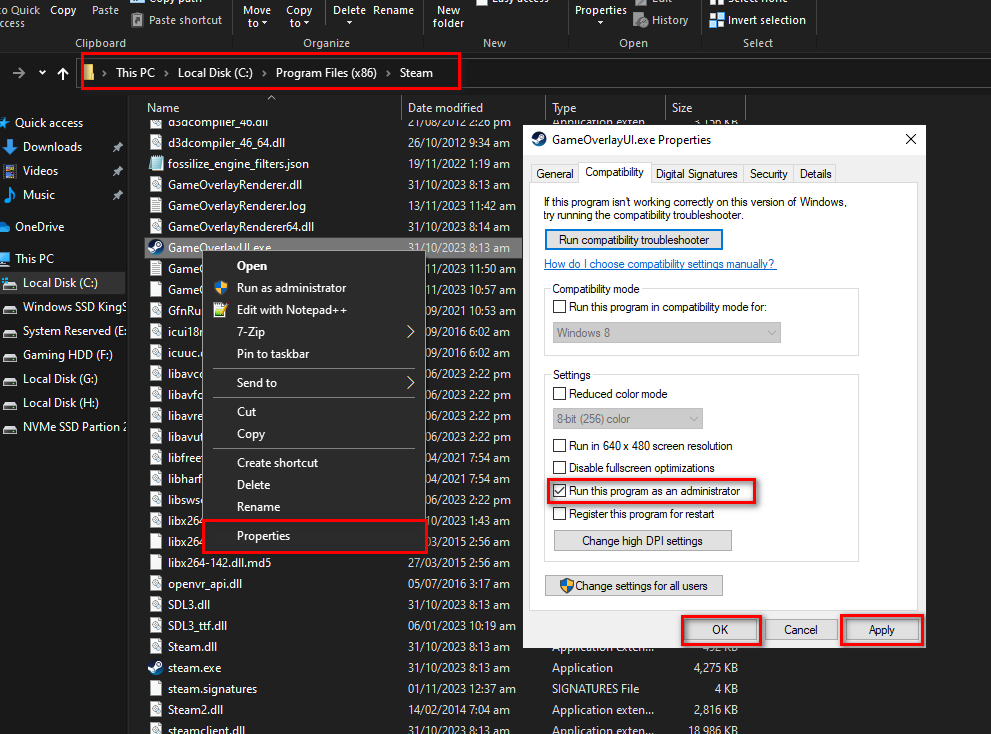
- Next, locate the GameOverlayUI.exe file. Using the same process as above, right-click, go to Properties, select the Compatibility tab, and make sure “Run this program as an administrator” is checked. Save changes and exit.
- Restart Steam to see if the overlay is now functioning correctly during gameplay.
- If not, ensure that the game you’re attempting to play is not set to run as an administrator, as this may cause conflicts.
- Navigate to the game’s installation folder, right-click on the game’s executable, and select “Properties”.
- Uncheck the “Run this program as an administrator” option under the Compatibility tab.
Solution 2: Enabling Steam Overlay
The issue might be due to the Steam Overlay feature being disabled. Turn it on with these steps:
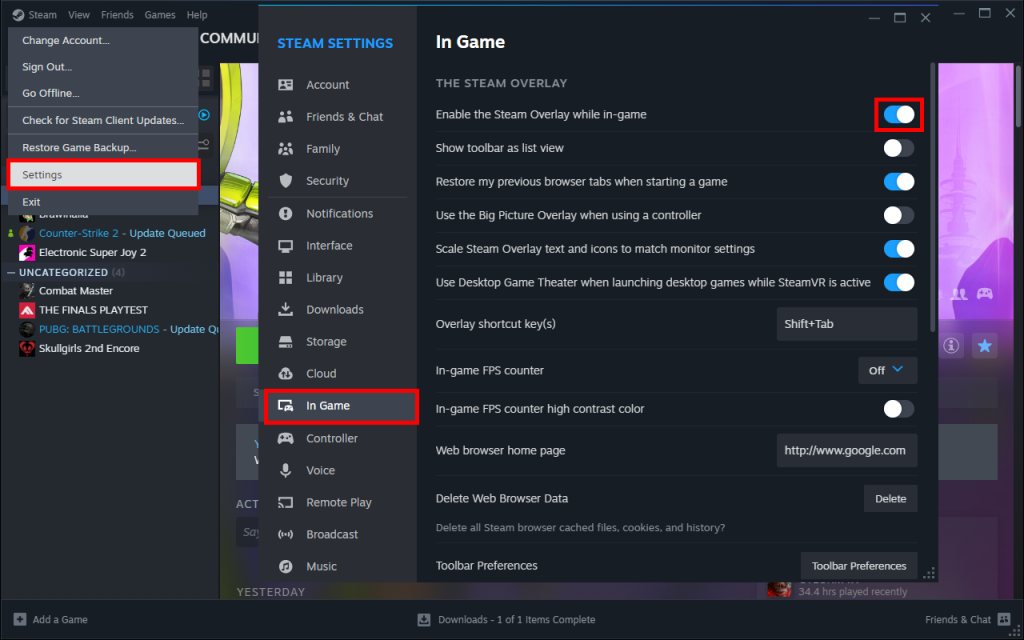
- Open the Steam client.
- Select Steam in the upper left corner, then choose Settings from the dropdown menu.
- In Settings, select the In-Game tab. Ensure that the “Enable the Steam Overlay while in-game” checkbox is checked. Verify that you know the correct Overlay shortcut keys or change them to your preference here.
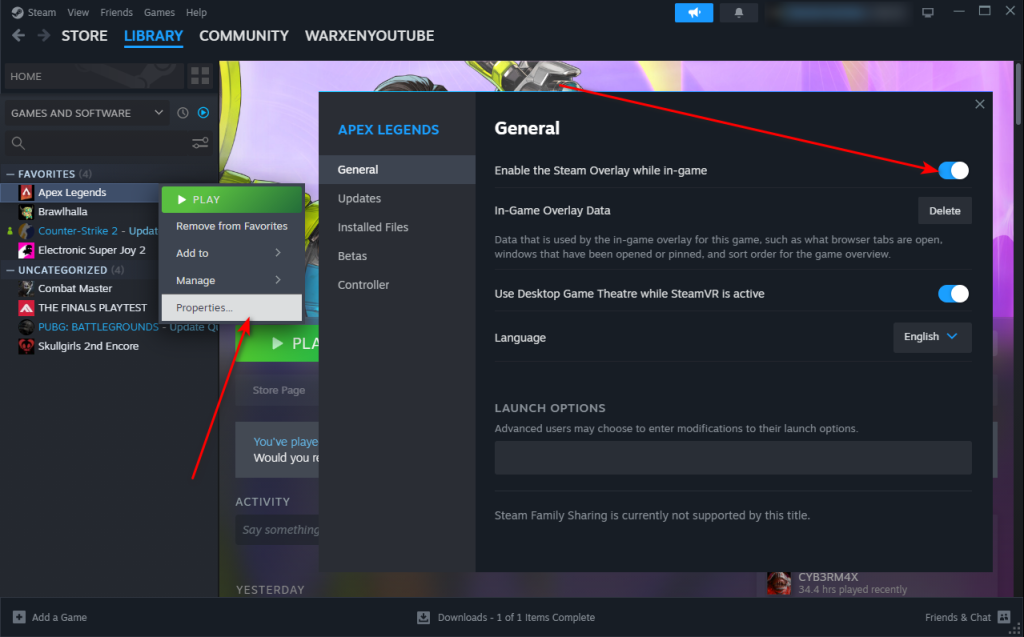
- Go to the Library section, right-click the game where the overlay isn’t working, and select Properties.
- Within Properties, ensure the “Enable the Steam Overlay while in-game” checkbox is selected.
- Restart Steam to check if the overlay functions correctly in-game.
Solution 3: Opening From the Main Game Folder
Sometimes, launching the game directly from its installation folder rather than the Steam launcher solves overlay problems due to potential bugs:
- Access the Steam directory, either at the default C:\Program Files (x86)\Steam location or whichever directory you used for installation.
- Navigate to the following:
Steamapps\common
- Select the game in question from the list of installed games.
- In the game’s folder, find and open the “game” directory, followed by the “bin” folder. Depending on whether your computer is 32-bit or 64-bit, open the respective win32 or win64 folder.
The path should resemble this:
![]()
- Locate and right-click the main game launcher file (e.g., “dota2.exe”) and choose to Run as administrator. Verify if the Steam overlay functions correctly after the game launches.
Solution 4: Disabling Third-party Applications
Applications like Fraps or Razer Synapse may interfere with Steam overlay operation, as they also utilize system overlay features. Here’s how to deal with potential conflicts:
- Close the conflicting applications directly through their menus or by pressing Windows + R, typing “taskmgr” in the dialogue box to open the Task Manager.
- End any running third-party applications related to system overlays in the Task Manager.
- After closing them, restart the Steam client and check if the overlay now works in your game.
Note: Using Windows Safe Mode with Networking might also help diagnose overlay issues.
Solution 5: Restarting Your PC
Occasionally, a simple restart can resolve issues with Steam’s overlay functionality, especially after background updates:
- Restart your computer.
- Run Steam as administrator and check if the Steam overlay now works in your game.
Solution 6: Verifying Local Game Files and Library Files
Corrupted or missing game files could disrupt the overlay. Steam’s file verification and library repair tools are designed to troubleshoot such issues:
- Launch the Steam client and go to the Library section.
- Right-click on the problematic game and choose Properties.
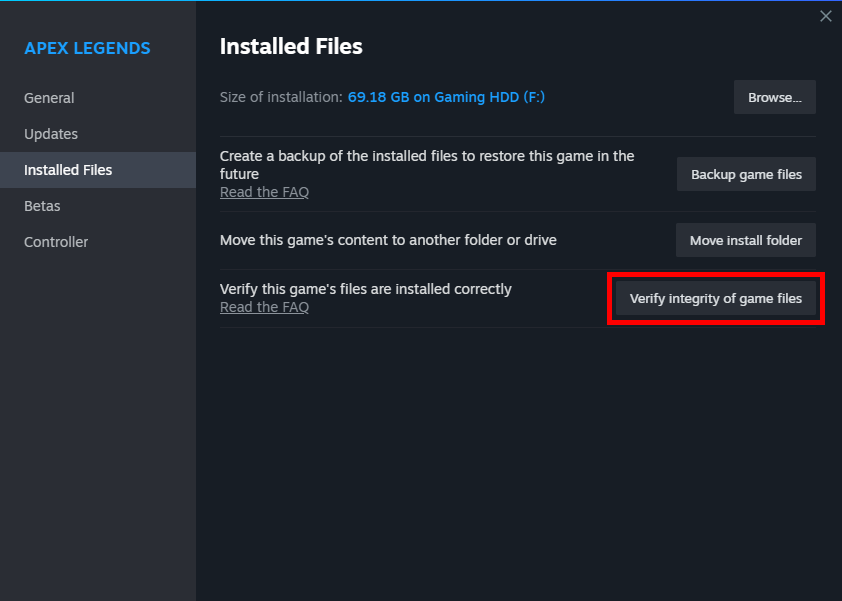
- In the Properties menu, navigate to the Installed Files tab. Click on Verify Integrity of Game Files to begin Steam’s automatic verification and repair process for game files.
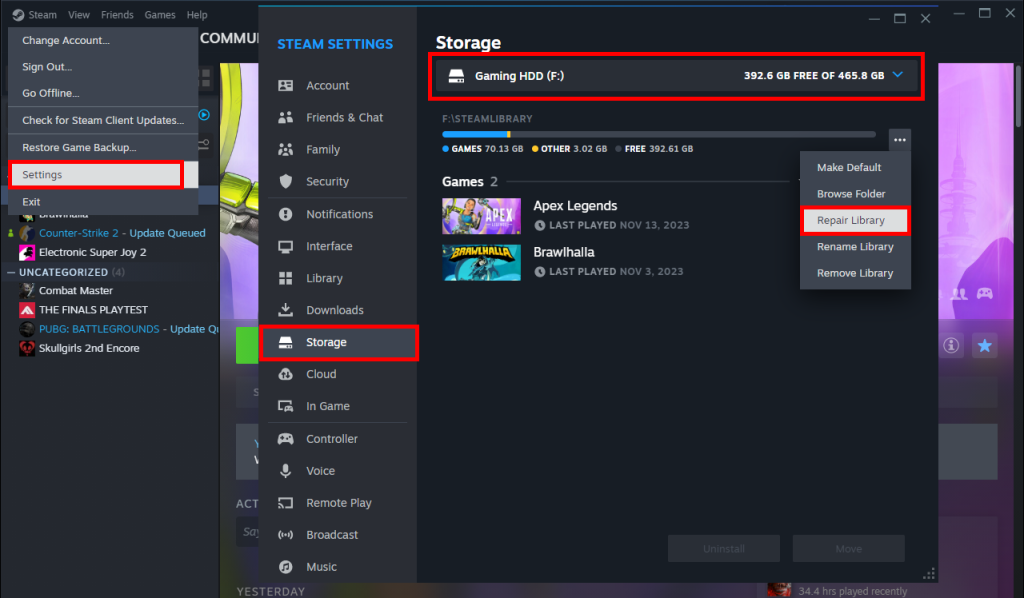
- To manage library files, Go to Steam Settings > Storage
- From the drop-down menu, simply select the Library your game is installed in. Click on 3-dot and press “Repair Library”
- Restart Steam with administrative privileges and see whether the issue persists.
Solution 7: Checking Your Firewall and Antivirus
Firewall and antivirus programs may mistakenly identify Steam processes as threats, causing functionality issues. Here is a guide on adding Steam as an exception. To disable the Windows Firewall:
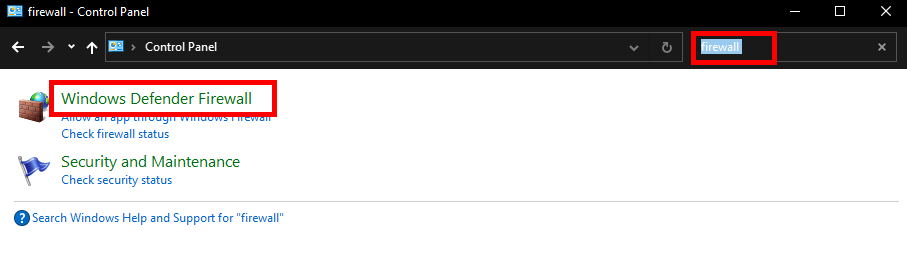
- Press Windows + R, type “control” in the dialogue box to open the Control Panel.
- Use the search box to find firewall settings and select the relevant option.
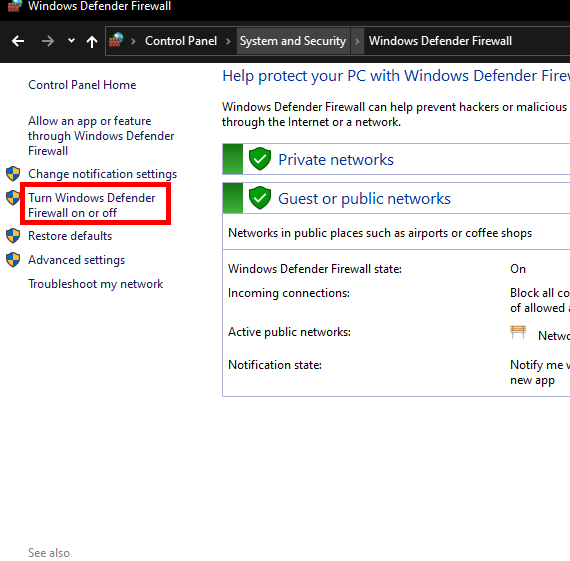
- Select “Turn Windows Firewall on or off” on the left side.
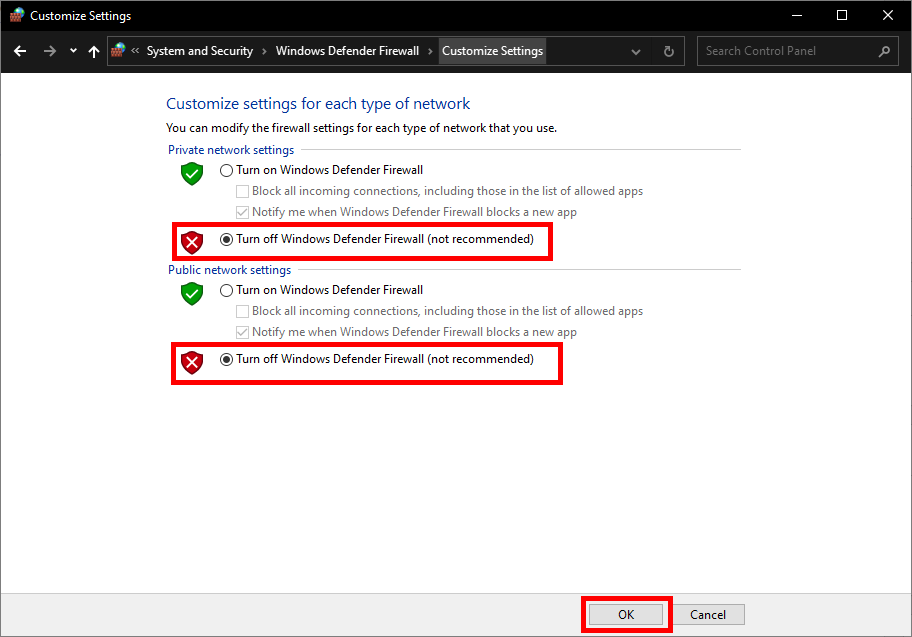
- Choose “Turn off Windows Firewall” for both Public and Private networks. Save changes and restart Steam as an administrator.
Solution 8: Checking for Windows Updates
Keeping your operating system updated is important as Steam frequently adapts to the latest system changes. If your OS is out of date, it could lead to issues with Steam overlay:
- Access the Start menu, type “Settings” into the dialogue box and click on the matching result.
- Within Settings, locate and click on “Update and Security”.

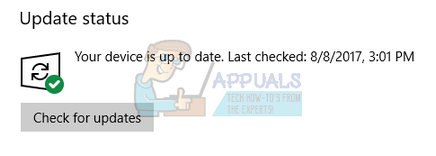
- Click Check for updates to allow Windows to search for and install any available updates. A restart may be required, so save any work beforehand. Post-restart, open Steam as administrator and check for proper overlay operation.
Note: If needed, check manually for updates via this link.
Solution 9: Disabling gameoverlayui.exe
The GameOverlayUI.exe process, typically located under “C:\Program Files”, is not critical to Windows functionality. Halting this process may resolve the overlay issues:
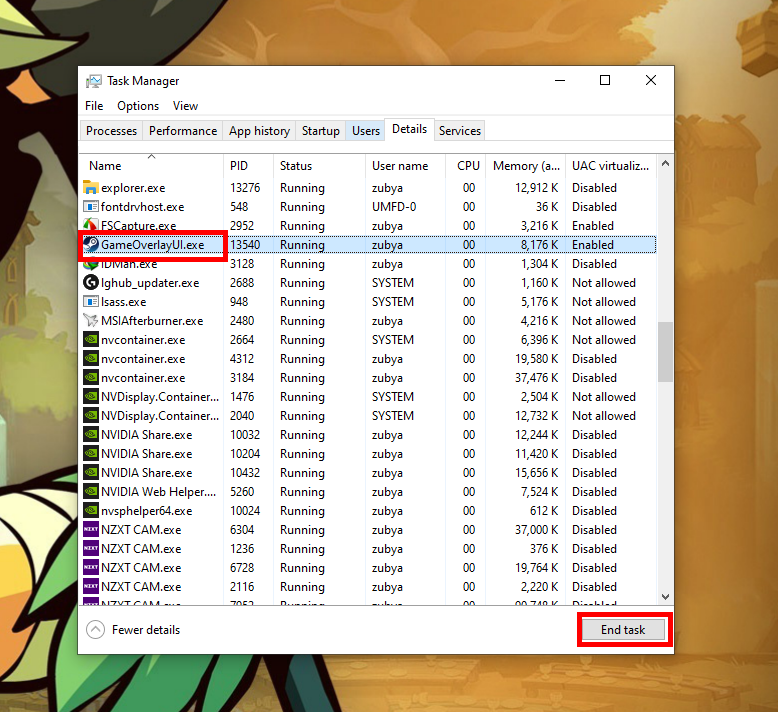
- Invoke the Run application with Windows + R and enter “taskmgr” to launch the task manager.
- Seek the gameoverlayui.exe process, terminate it, and verify if the Steam overlay works. Remember to restart Steam with administrative rights post-process termination.
Solution 10: Deleting GameOverlayUI
Before considering a complete reinstall, try deleting the GameOverlayUI.exe file to see if it resolves the issue:
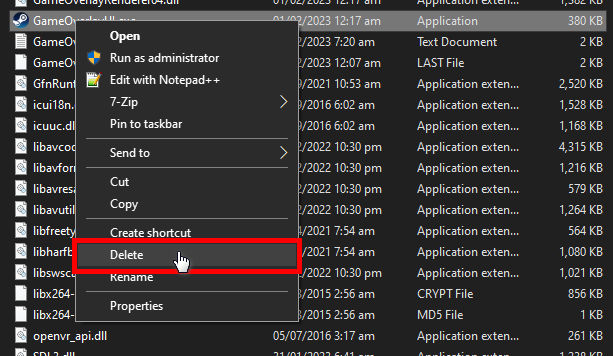
- Navigate to your Steam directory.
- Find and delete GameOverlayUI.exe. Following deletion, run Steam as administrator to test the overlay. Recover the file from the Recycle Bin if needed.
Solution 11: Disabling Overlays from Other Applications
In-game overlays from other applications, such as Discord or GeForce Experience, may conflict with the Steam overlay. To prevent these conflicts:
- Close any applications with overlay features through their settings or task manager.
- For Discord, go to its ‘User Settings’, select ‘Overlay’ under ‘App Settings’, and disable the ‘Enable in-game overlay’ option.
- For GeForce Experience, open it and navigate to ‘General’ settings, then toggle off the ‘In-Game Overlay’ switch.
- Restart your computer and launch Steam to check if the overlay operates correctly now.
Solution 12: Running Steam in Big Picture Mode
Big Picture Mode may resolve in-game overlay issues:
- Open Steam and click on the ‘View‘ button at the top-right corner, press “Big Picture Mode“.
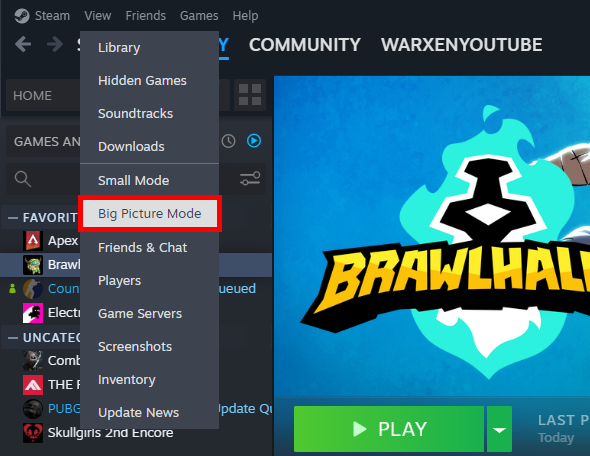
- Attempt to use the Steam overlay in Big Picture Mode to see if it works as intended.
Solution 13: Checking for Multiple Monitor Configuration Issues
If you’re using multiple monitors:
- Right-click on the desktop and select ‘Display settings’.
- Ensure that your primary monitor is set as the main display.
- Check if this configuration change resolves the Steam overlay issue.
Solution 14: Participating in the Steam Client Beta
Joining the Steam Client Beta might provide a fix:
- Open the Steam client and click on ‘Steam’ in the upper left corner, then choose ‘Settings’.
- Go to the ‘Account’ tab and under ‘Beta participation’, click ‘Change…’.
- Select the ‘Steam Beta Update’ from the dropdown menu and click ‘OK’.
- Steam will then update to include beta releases, which may include a fix for the overlay issue.
Solution 15: Updating Graphics Drivers
Outdated graphics drivers may cause issues with the Steam overlay. To update them:
- Visit the website of your graphics card manufacturer (NVIDIA, AMD, Intel) to download the latest drivers.
- Alternatively, use Device Manager in Windows to check for graphic driver updates.
- Install any available updates, restart your computer, and verify if the Steam overlay works correctly.
Solution 16: Refreshing Steam Files (Revised Step)
Lastly, refreshing your Steam files can solve persistent overlay issues:
- Navigate to your Steam directory (default: C:/Program Files (x86)/Steam).
- Identify and retain the ‘Userdata’ folder and ‘Steamapps’ folder (specifically, game files excluding the problematic game).
- Delete all other files and folders, then restart your computer.
- Launch Steam with administrative rights to allow it to update and restore missing files.
Please apply these solutions carefully and ensure that you do not delete essential game files or personal data without backing them up first.


finally a guide that actually works