How to Fix the “Could Not Connect to the Steam Network” Error?
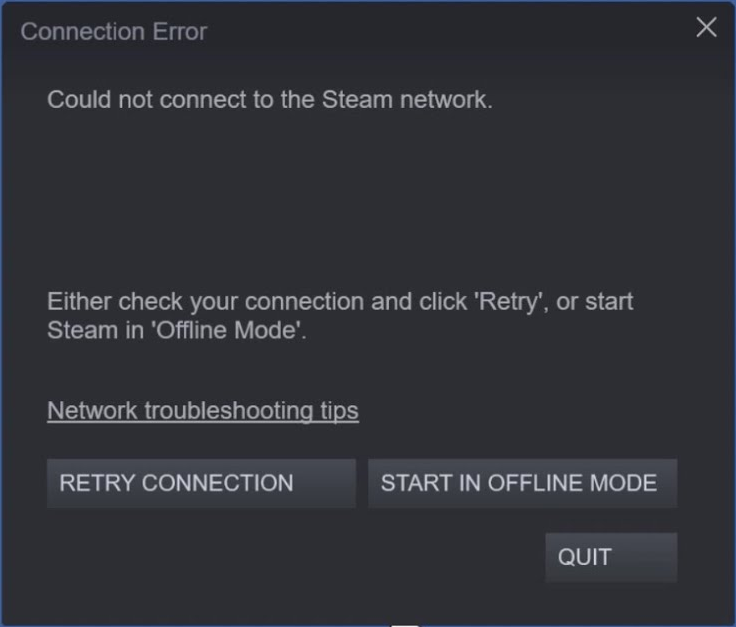
Facing the “Could not connect to the Steam Network” error can be understandable if your internet connection is down. However, if you encounter this error while online, it suggests an unusual issue. Officially, this error points to a problem in the connectivity between your computer and Steam’s servers, which could be due to network configuration issues or the server status itself.
Steam primarily uses UDP (User Datagram Protocol) for data transmission, which is faster but less reliable compared to TCP (Transmission Control Protocol). The preference for UDP can sometimes cause connectivity errors under specific network conditions.
Other possible causes may include misconfigured network settings, outdated system software, or corrupted Steam files. Before you start any troubleshooting, it’s important to check the Steam server status to confirm whether the issue is on their end.
The Steam server status and user reports, which indicate real-time server performance, can be checked on websites like steamstat.us or through community platforms, and can guide you on what to do next if server issues are not the problem.
1. Start Steam in Offline Mode
This procedure is akin to restarting Steam. It has proved helpful for many users, hence its position at the start of our list.
First, attempt to launch Steam, which should present the error. Then, click Start in Offline Mode.
After launching Steam in offline mode, select Go Online by clicking on ‘Steam’ in the top-left corner.
2. Run Steam with TCP
Steam defaults to UDP for communication, which can lead to errors because UDP does not guarantee the delivery of data. This is why UDP is sometimes called the Fire-and-Forgot protocol.
Despite UDP’s speed advantage, it can cause connection errors with Steam, making TCP a preferable alternative in certain situations. TCP ensures the successful delivery of data, resending until the data is received without problems. This can introduce latency as it includes data verification, but this typically isn’t an issue unless it impacts gameplay.
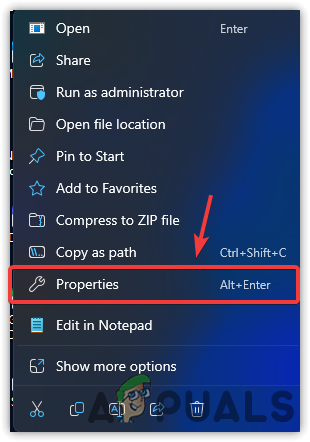
- Right-click the Steam shortcut and select Properties.
- Add -TCP at the end of the target path within the Target field.
- Click Apply, then OK.
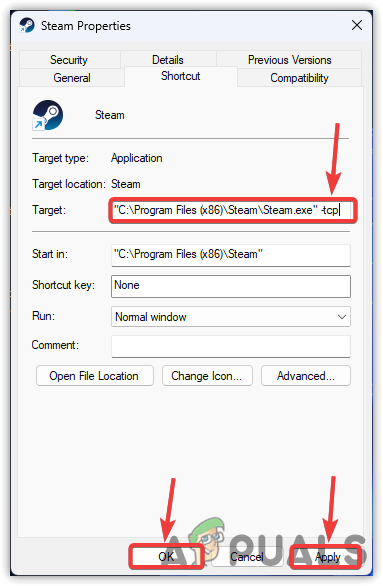
- Launch Steam and check if the connection error persists.
3. Restart the Network Adapter
Restarting your network adapter may resolve issues with the application. If you haven’t tried this yet, it’s worth a shot.
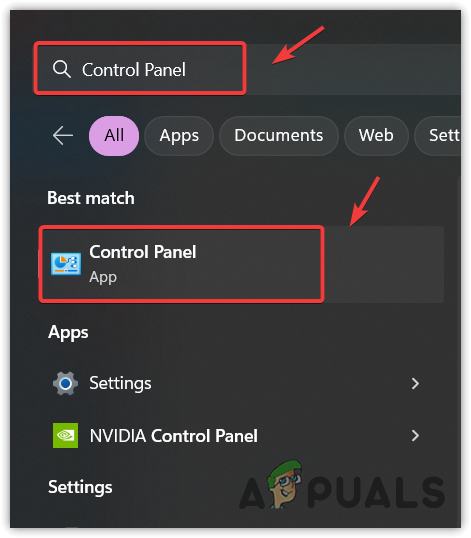
- Open the Start Menu and type in Control Panel.
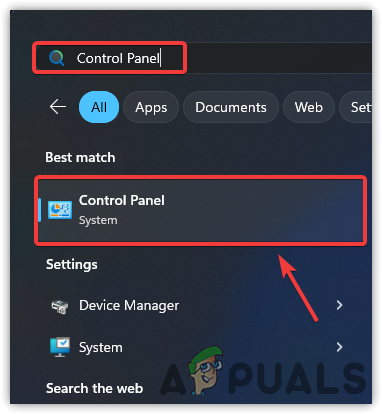
- Press Enter to open the Control Panel.
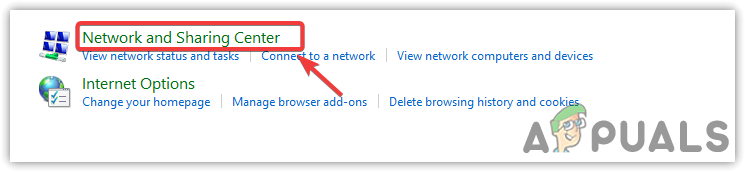
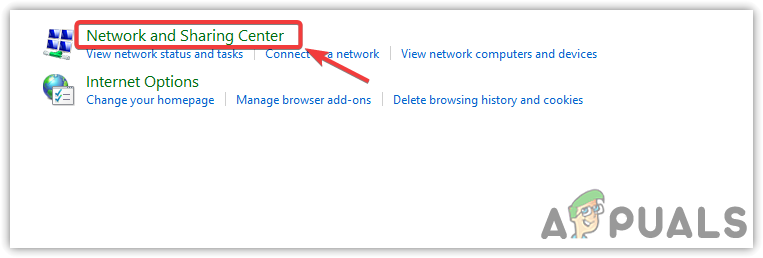
- Navigate to Network and Internet > Network and Sharing Center.
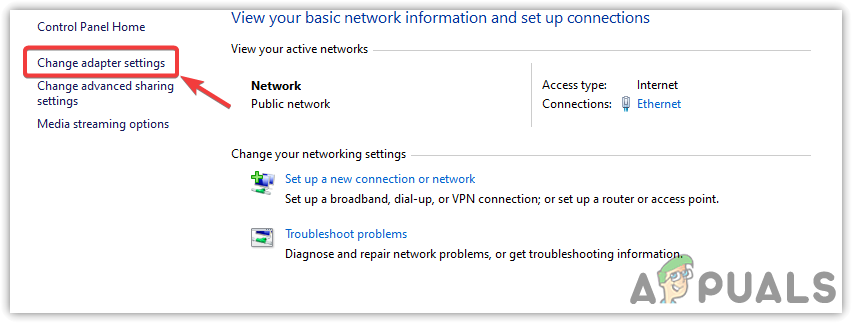
- Select Change Adapter Settings from the left sidebar.
- Right-click your network adapter and choose Disable.
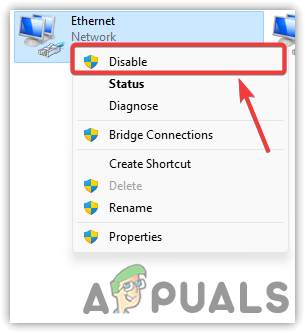
- Right-click the network adapter again and select Enable.

- Launch Steam and check if the error has been resolved.
4. Use Google DNS
The DNS (Domain Name System) resolves domain names into IP addresses. Using a slow DNS can cause issues when connecting to servers. Google DNS is recommended due to its speed, reliability, and security. It is often advised for resolving connectivity problems.
- Open the Start Menu, search for Control Panel, and press Enter to open it.
- Go to Network and Internet > Network and Sharing Center.
- Click on your Connections and then select Properties.
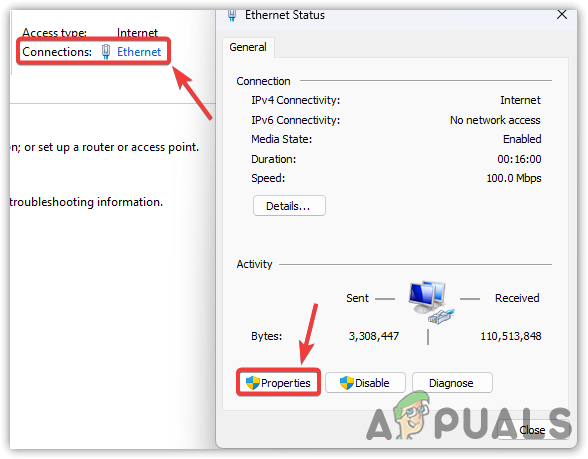
- Select Internet Protocol Version 4 (TCP/IPv4) and click Properties.
- In the properties window, select Use the following DNS server addresses and enter Google’s DNS addresses:
Preferred DNS server: 8.8.4.4
Alternative DNS server: 8.8.8.8
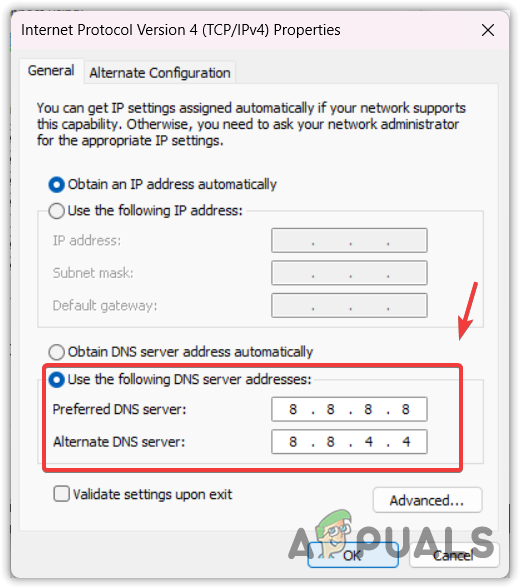
- Click OK to save the settings.
- Restart Steam to check if the error message has been resolved.
5. Use a VPN (Virtual Private Network)
A VPN can also be used to address network-related errors. The lack of communication with the server causing this error could be circumvented by using a VPN to connect to a different route that may allow access to Steam.
You can find a selection of VPN applications on our guide, available through these options.
6. Reset Network Settings
Resetting the network settings on your PC can resolve issues from misconfigured settings, such as proxies, and can also reinstall network adapters while resetting other settings like DNS. For instructions on resetting, visit how to reset network settings in Windows 10.
- In the Start Menu, type Network Reset and press Enter.
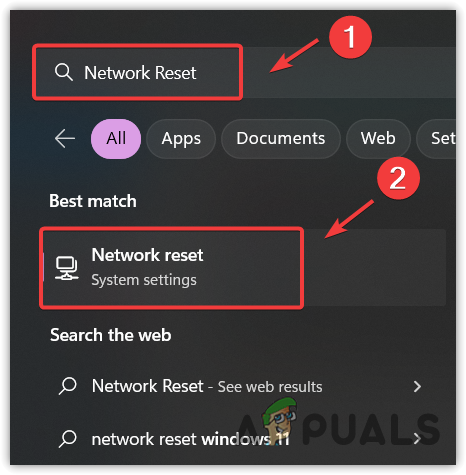
- Click Reset Now to start the reset process.
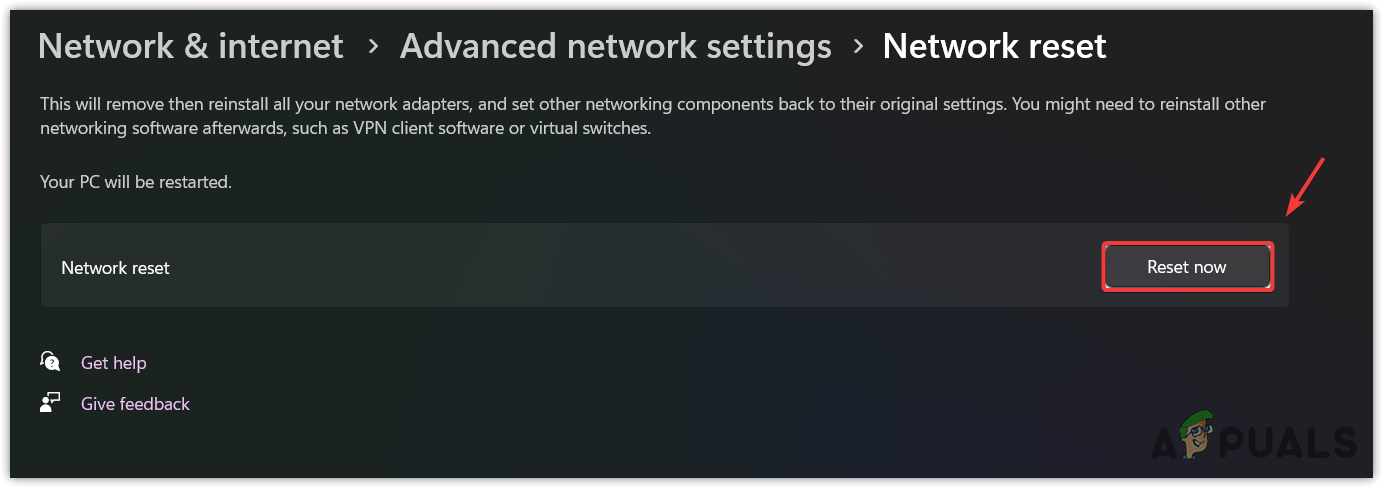
- After restarting your computer, check if the issue has been resolved.
7. Update Windows
Outdated versions of Windows can lead to problems with Steam, so it’s worth checking for updates, particularly if it’s been a long time since your last update. If you need to stop Windows from automatically installing outdated drivers, visit our guide.
- Press the Win key to open the Start Menu.
- Type Check for updates and press Enter.
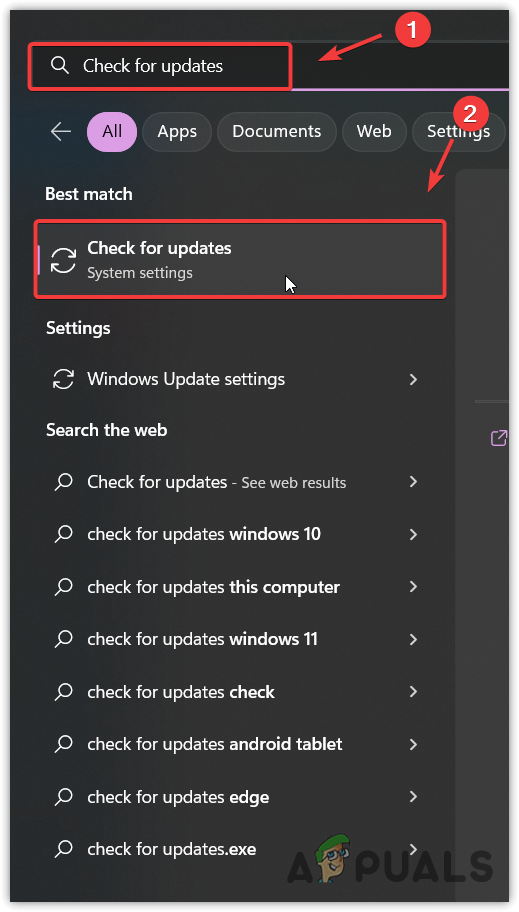
- Click Check for updates, followed by Download and Install.
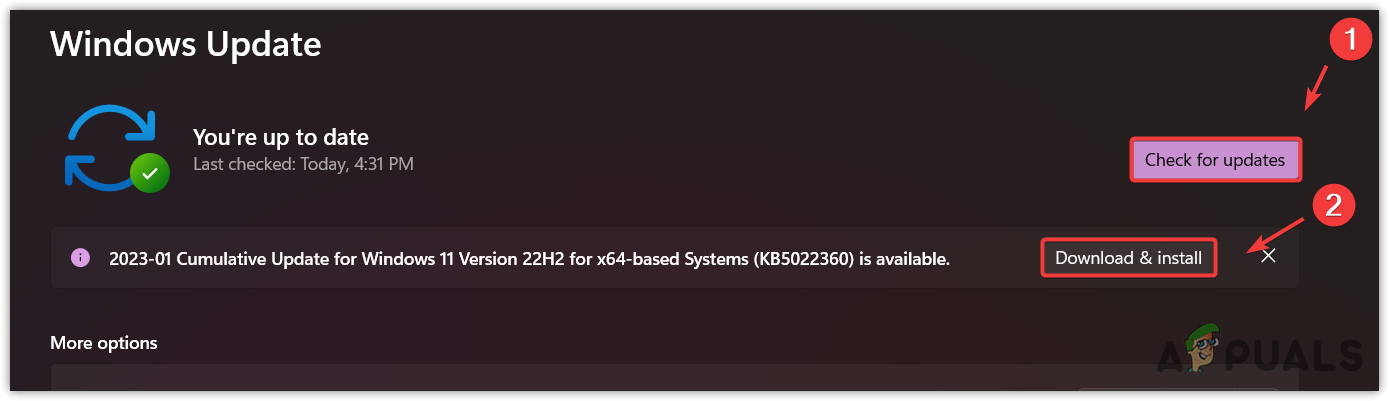
- Restart your computer after the updates to complete the installation and then verify if the Steam connectivity issue persists.
no idea if anyone will see this, but this fixed it for me. follow the same process on #16 but what you gotta do is find “steamexe” then add -tcp at the last path. make sure steam is closed while doing this, then open steam and it should work as normal again. (atleast for me)