Fix: Shared IPC Compositor Connect Failed 306 on SteamVR
SteamVR is a Virtual Reality Platform developed by Valve as an extension of Steam. SteamVR offers 360 degrees, full room VR experience. It was officially announced on March 1, 2015, during the Mobile World Congress. As a platform, SteamVR not only supports its own HMDs such as the Vive but also other HMDs like the Rift.
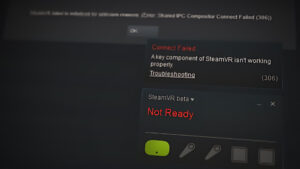
However, users are experiencing the error message “Error Starting SteamVR” when they try opening the SteamVR application. The full error message is “Error: Shared IPC Compositor Connect Failed (306)”. In this article, we will discuss the numerous reasons due to which this error can be triggered.
What Causes SteamVR Error 306?
Since SteamVR makes use of a lot of components on your computer as compared to the normal Steam, there are various reasons which can trigger this particular error message. Here are some of the reasons why this might happen:
- HDMI Cable: The most basic and common reason will be your HDMI cable that connects the box with your system. When your HDMI cable is not in primary slot of Graphics card HDMI port, it will show this error and won’t be able to start the SteamVR.
- SteamVR Updates: In some case, the updates of the SteamVR can be responsible for this particular error. Several users finding themselves in a similar situation have reported that they managed to resolve the issue after changing SteamVR to beta.
- Graphics Drivers: Another potential case in which this error occurs is when you’re using updated or outdated Graphics drivers. This can make the SteamVR not compatible with your specification.
Now that you have a basic understanding of the nature of the problem, we will move on towards the methods. Down below, you’ll discover a collection of methods that other users in a similar situation have successfully used to resolve the issue.
Method 1: Using Primary HDMI Port
Sometimes this error can be related to your HDMI cable, it means that your HDMI cable of VR might not be in the primary HDMI port of your system. We need to use a primary port always for the VR to work correctly. Also sometimes the adapter or the in-between device; connecting the box HDMI cable to your Graphics card HDMI port, should be not used. So, connected the VR HDMI cable coming from the box directly to your HDMI port on your Graphics card will be better.
- Take out the Monitor HDMI cable from your Graphics card main port
- Now, put the VR cable in “Main Port/Primary Port”, which is coming from the VR box
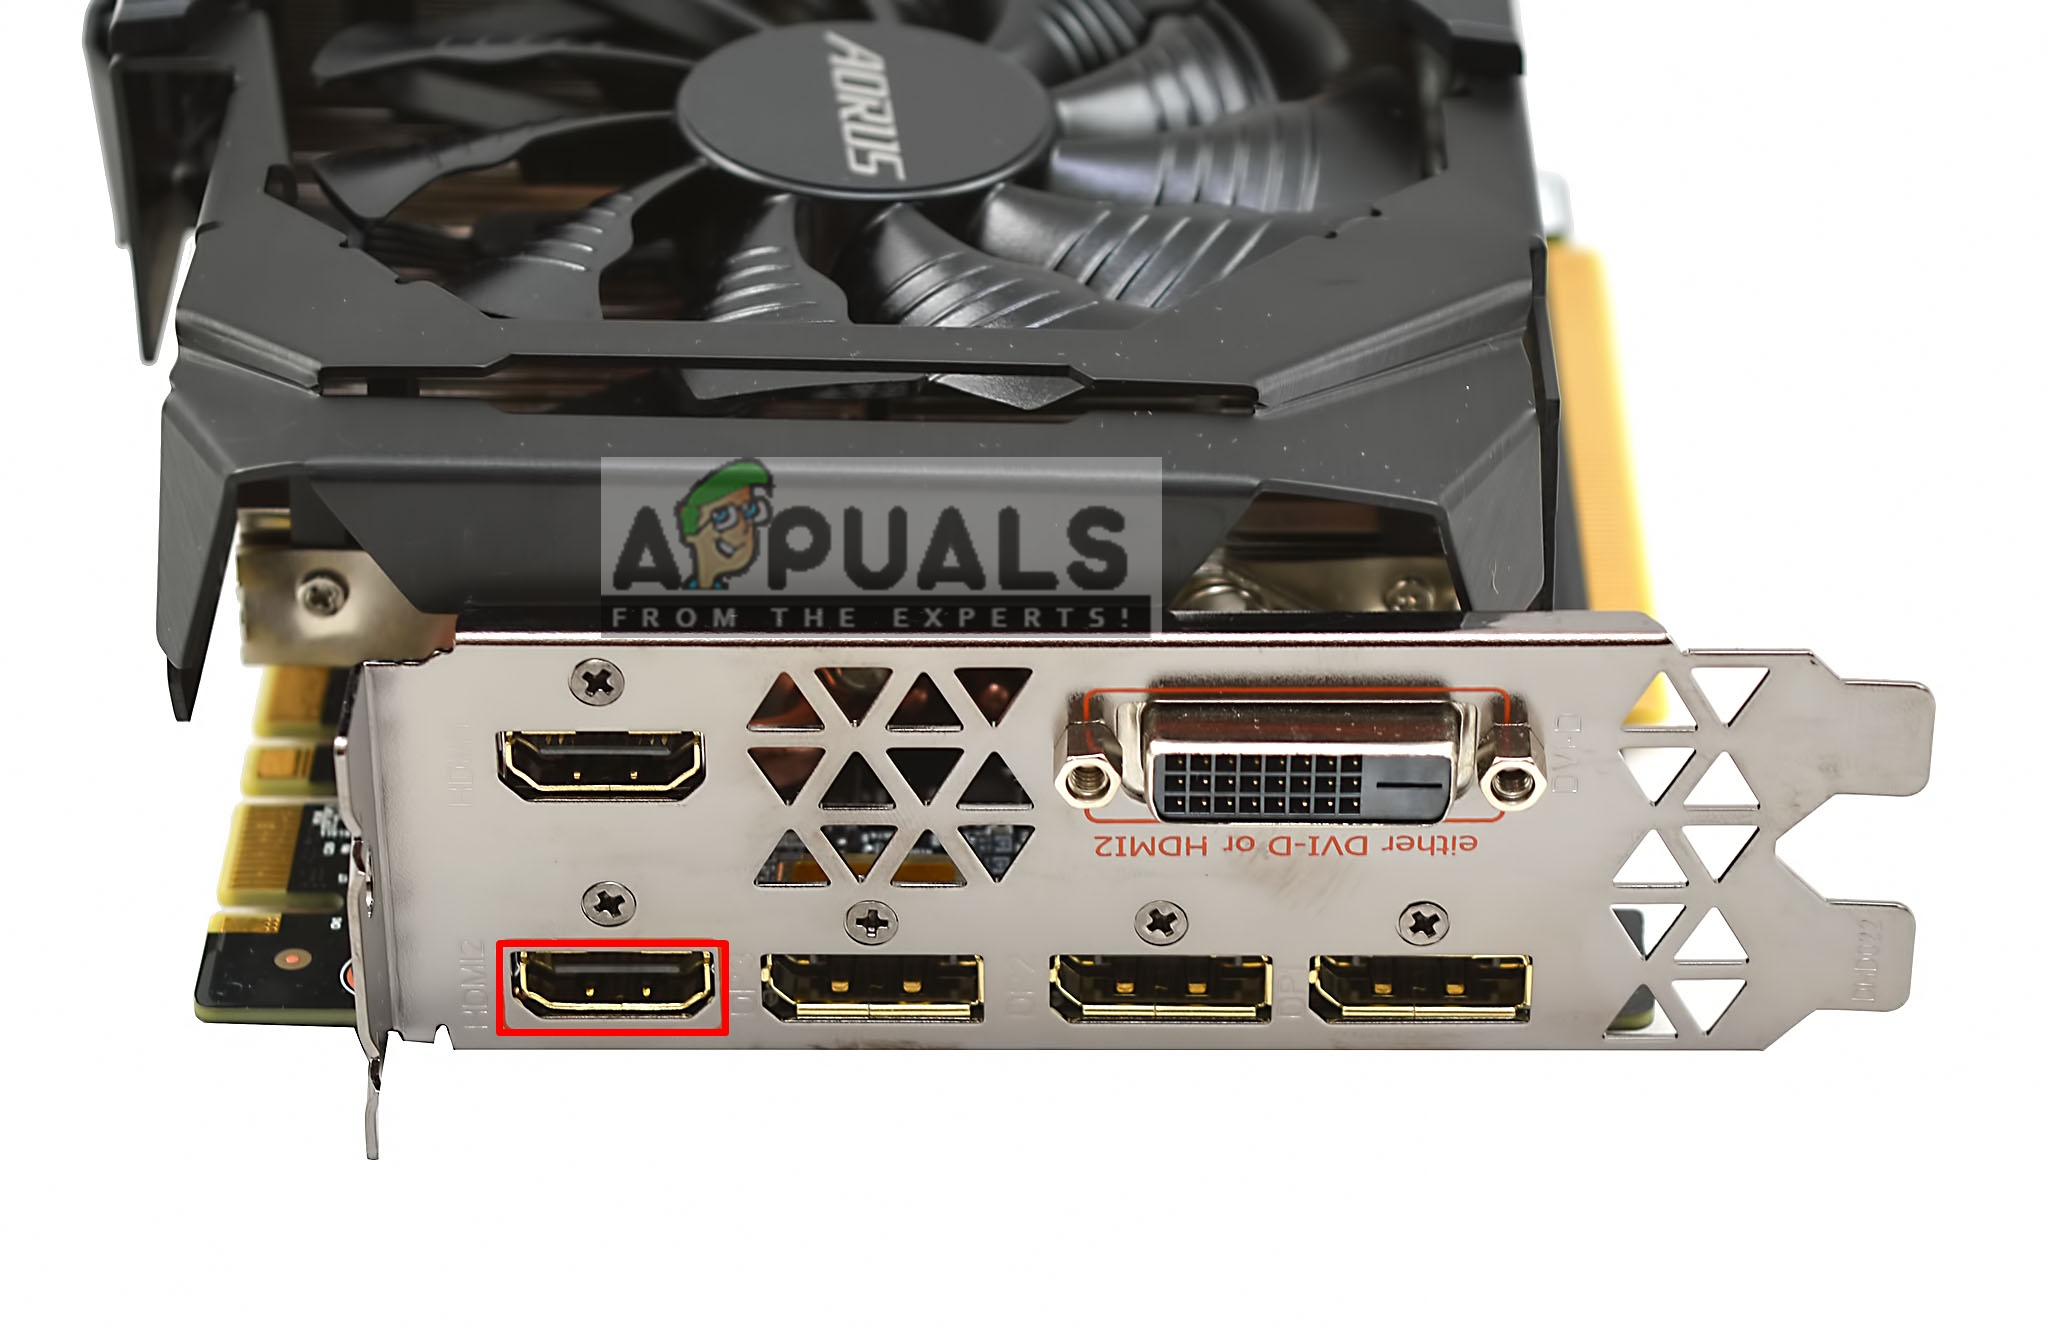
Use Primary port for the VR HDMI cable - The monitor cable can be in the secondary port because it will still work while the VR won’t
- Now quit the SteamVR window, and restart it again.
For those who have single port only, you can only use your main HDMI port for the VR, or you can get an adapter if it works with your system.
Method 2: Trying the SteamVR Beta
Several users fixed error 306 by changing the SteamVR properties settings. In the properties settings, you have BETAS tab, and there you can select the beta for VR to opt into. By default, it will be selected to none, but you can change it to beta and wait for the SteamVR to update it. To change the SteamVR to beta follow the steps below:
- On your computer, open the Steam App
- Under Library, you will find the “SteamVR”
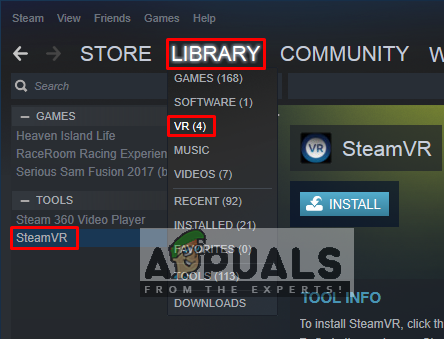
SteamVR in Steam Library - Now, right-click SteamVR, and then click Properties
- After that select the “BETAS” tab
- Here in “Select the beta you would like to opt into” drop-down, you need to select “beta – SteamVR Beta Update”
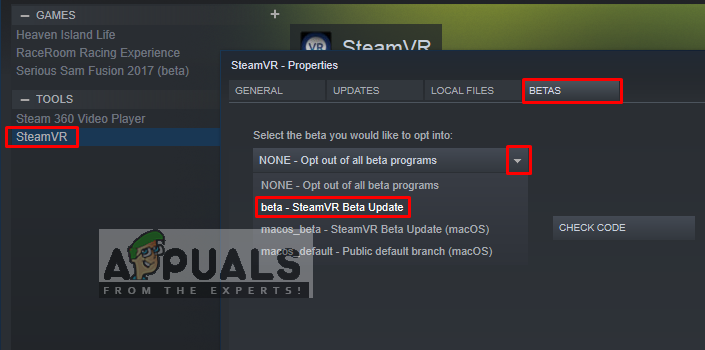
Selecting SteamVR beta update - Close the window, and wait for SteamVR to finish updating.
- If you want to turn it off in the future, you can select “None – Opt out of all beta programs” back again.
Method 3: Installing Graphics Drivers Manually
As it turns out, one reason that might trigger Error 306 is the outdated Graphics driver. Several affected users have reported that the issue has not longer occurring after they update the Nvidia Graphics drivers to the latest ones or by uninstalling and then reinstalling it. Also, the Nvidia Vulkan can mess up things for the drivers by having the wrong library path in their files.
In this method, we will be uninstalling the Graphics Drivers and then manually installing them from the manufacturer’s website. Make sure you download Display Driver Uninstaller from here and save it on desktop or external drive before you boot into safe mode.
- Follow the instruction in our article on how to boot your computer into safe mode
- Once you start in safe mode, you can copy DDU file to desktop if you saved it onto USB and extract it on desktop
- Now open the Display Driver Uninstaller by clicking on the DDU icon
Note: It might show “Windows 8.1” for system detection, even you are using Windows 10, that is normal - You can choose the option for Card Type that you are using
- Then selection first option “Clean and Restart”, it will take some time to process the clean uninstall and then the system will Reboot
- After the system reboots in normal mode, you can go to the manufacturer’s site of your Graphics Card and Install the latest drivers
Uninstalling the Graphics driver using DDU
Method 4: Uninstalling Natural Locomotion
Natural Locomotion or NaLo is a paid app that translates arm swing into trackpad input for locomotion. It is very helpful for playing on VR, also helps with sickness a bit. But this can be causing the error 306 because the driver they use is not compatible yet with SteamVR beta. You need to uninstall this and try running the SteamVR with Motion Smoothing. Follow the steps below to uninstall it:
- Go to Control Panel from the start menu or by searching
- Now, open Program and Features
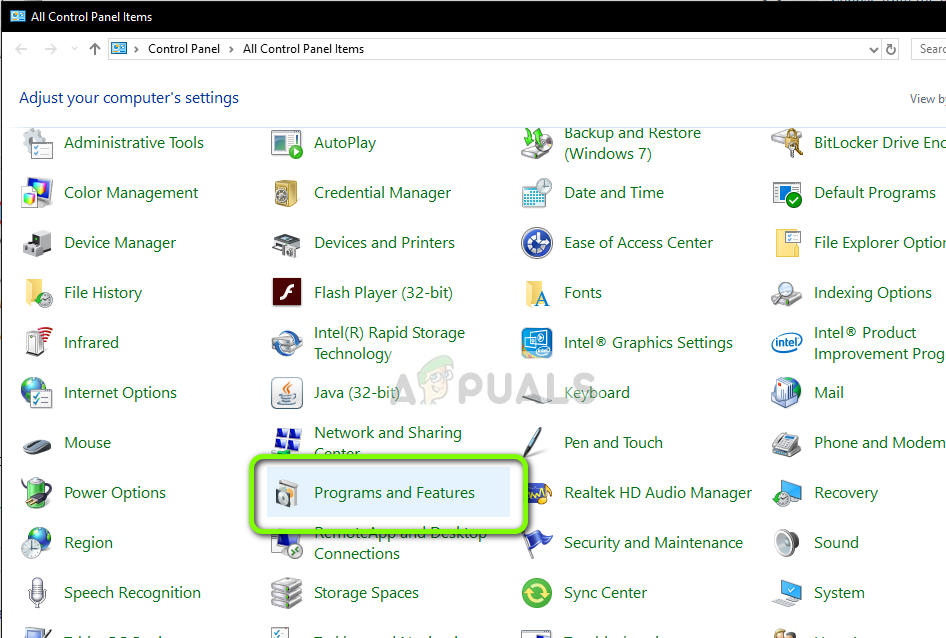
Going into program and features in control panel - Find the Natural Locomotion, and Uninstall it
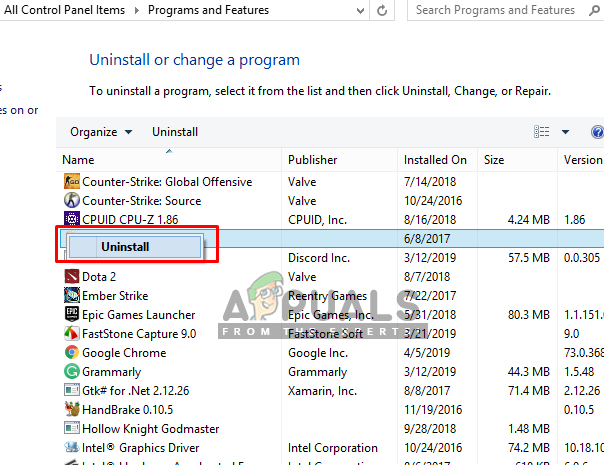
Uninstalling Natural locomotion - Also, go to your steam directory and open config folder:
D:\Program Files (x86)\Steam\config
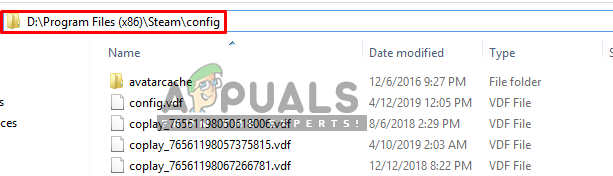
Steam config folder - Then remove the two folders of locomotion from the config
- Now open the SteamVR and test it in Motion Smoothing