Fix: Camera Error Code 0xa00f4243
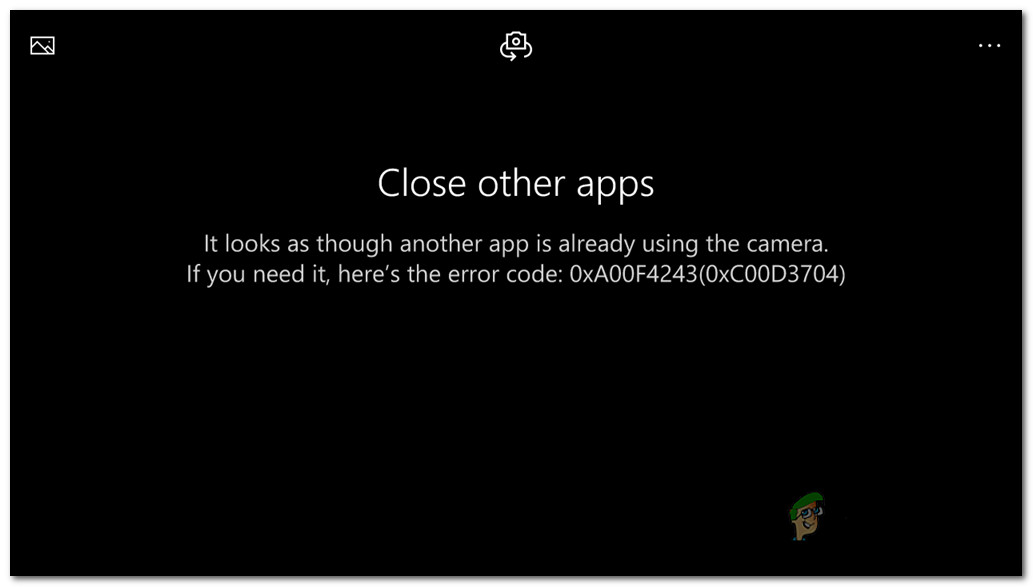
Some Windows 10 users are reporting that they’re getting the error code 0xA00F4243 (0xC00D3704) when trying to access the Camera app. Typically, the error code is displayed together with the following error message: “Close Other Apps. It looks like another app is using a camera already.0xA00F4243(0xC00D3704)”. In most cases, this issue seems to happen continuously and the error message points towards another app that is using the camera already. The issue is reported to occur on Windows 10 and Windows 8.1.
Before proceeding to fix the error code 0xA00F4288, make sure the Camera access is allowed in the Privacy Setting of your PC. Also, many cameras can be enabled/disabled by toggling a switch or pressing a key combination on the keyboard (for Lenovo, it is FN + F7 keys, whereas for Noblex it is FN + F10). To rule out any possibility that the Camera is in the disabled state, check if the Camera can be enabled through the switch, button, or a key combination. Last but not least, make sure the Camera is not disabled in the Device Manager.
There is a workaround reported by the laptop users to clear out the error, you can try the same (if using a laptop) to check if that serves your purpose.
- Launch the Camera app (do not close it till the end) and unplug the charger from the laptop.
- Then let the system completely drain the battery and shut down automatically (technically speaking, let the PC hibernate).
- Now attach the charger and power on your system to check if the Camera app is working fine.
What is causing the 0xA00F4243 (0xC00D3704) error?
We investigated this particular error by looking at various user reports and the repair strategies that are commonly being used to resolve this particular error message. As it turns out, there are multiple potential culprits that have the potential of triggering this error message:
- File corruption is triggering the error – As it turns out, this particular issue can also be caused by file corruption or an incomplete driver that is limiting the functionality of the camera. If this scenario is applicable, you can resolve the issue by running the Hardware and Devices troubleshooter or by reinstalling the Camera driver using Device Manager.
- The camera is disabled via keystrokes – Some laptop configurations (especially Lenovo models) will include a physical shortcut that allows you to disable the built-in camera by using the FN button. In this case, you can resolve the issue by using the shortcut once again to re-enable the built-in camera.
- Bad Windows update – Another possibility that might end up triggering this error is a bad Windows Update that ended up affecting the Camera functionality. In this case, you will be able to resolve the issue by adding a Registry Value that will ensure that the camera driver is restored to the original configuration.
- The camera service is disabled – This particular error can also occur if the service used by your Camera is being purposely disabled. If it is, you can resolve the issue by accessing the Services screen and force-starting the service once again.
- Overprotective AV is interfering with the Camera app – Node32, AVG and several other 3rd party security suites might stop the Camera app from being accessed for security reasons. If you’re certain that there’s no security threat, you can uninstall the 3rd party antivirus.
Method 1: Running the Hardware and Devices troubleshooter
If the issue is being caused by file corruption or an incomplete driver that is limiting the functionality of the camera, chances are the Camera app will trigger the 0xA00F4243 (0xC00D3704) error. Fortunately, both Windows 8 and Windows 10 are equipped with a utility that might be capable to resolve this issue automatically.
Several affected users have reported that they managed to fix the issue after running the Hardware and Device troubleshooter. After doing this, the utility recommended them a repair strategy that (once it was enforced) managed to fix the 0xA00F4243 (0xC00D3704) error.
Here’s a quick guide on how to run the Hardware and Devices troubleshooter:
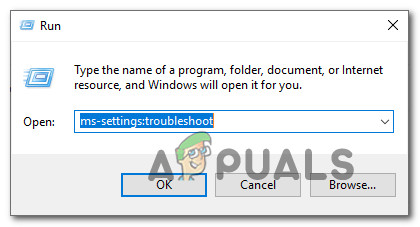
- Press Windows key + R to open up a Run dialog box. Inside the text box, type “ms-settings:troubleshoot” and press Enter to open up the Troubleshooting tab of the Settings app.
Accessing the Activation troubleshooter - Inside the Troubleshoot screen, scroll down to Find and fix other problems and click on Hardware and Devices. Then, click on Run the troubleshooter from the newly appeared menu.
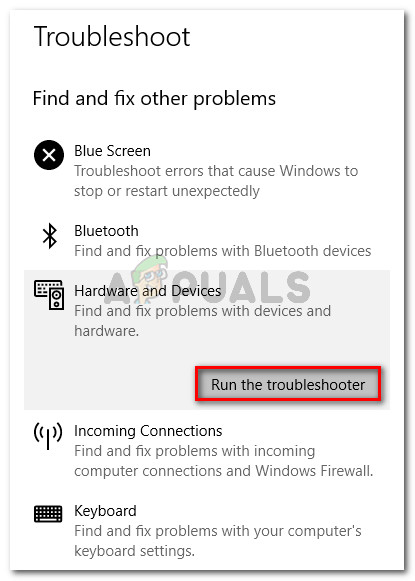
Click on Hardware and Devices and click on Run the troubleshooter - Wait until the initial diagnostic phase is complete, then click on Apply this fix if a suitable repair strategy is found.
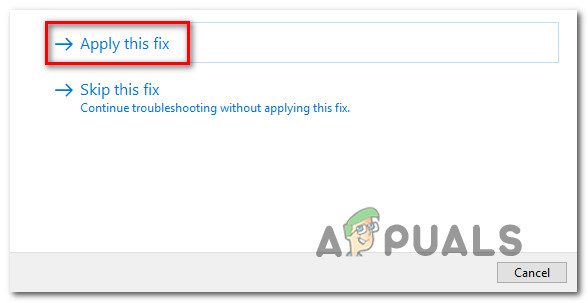
Apply this fix - Once the repair strategy is enforced, restart your computer and see if the issue has been resolved automatically at the next startup.
If you’re still encountering the same error message, move down to the next method below.
Method 2: Enabling the camera (if applicable)
If you’re lucky enough, the fix for the 0xA00F4243 (0xC00D3704) error might be as simple as pressing a few keyboard keys. As it turns out, this particular error will also get displayed if the camera is disabled on your PC. This issue is typically encountered on Lenovo laptops.
Try pressing FN + F8 and open the Camera again to see if the issue has been resolved. This is a shortcut for enabling the camera on Lenovo laptops (but it might also work for different manufacturers).
If this method is successful, it means that the error was occurring because your built-in camera was disabled.
If this method wasn’t applicable, move down to the next method below.
Method 3: Reinstalling the Camera device driver
A very common reason why this issue will occur is the Imaging device driver. If the driver that you’re using is corrupted or its installation is incomplete, you might be encountering the 0xA00F4243 (0xC00D3704) error because your OS is fooled into thinking that the camera is always in use.
Some affected users have reported that they managed to resolve this particular issue by reinstalling the Imaging device driver by using Device Manager. Here’s a quick guide on how to do this:
- Press Windows key + R to open up a Run dialog box. Then, type “devmgmt.msc” and press Enter to open up Device Manager. When prompted by the UAC (User Account Control), click Yes to grant administrative privileges.
- Inside Device Manager, expand the drop-down menu associated with Imaging devices (or Cameras).
- Inside the Imaging devices (or Cameras) drop-down menu, right-click on your Camera driver and choose Uninstall Device.
- Then, click on Uninstall to confirm the uninstallation and wait for the process to complete.
- Restart your computer to allow your OS to reinstall the Camera driver at the next startup.
- Open the Camera App and see if the issue has been resolved.
If you’re still encountering the same error message, move down to the next method below.
Method 4: Start the Capability Access Manager (CamSvc) Service
The camera app may show the error 0xA00F4288 if the Capability Access Manager (CamSvc) service is not started as it is essential for the operation of the Camera app. In this context, starting the Capability Access Manager (CamSvc) service may solve the problem.
- Click Windows, type: Services, and then right-click on Services.
- Now choose Run as Administrator and in the Services window, right-click on the Capability Access Manager (CamSvc) service.
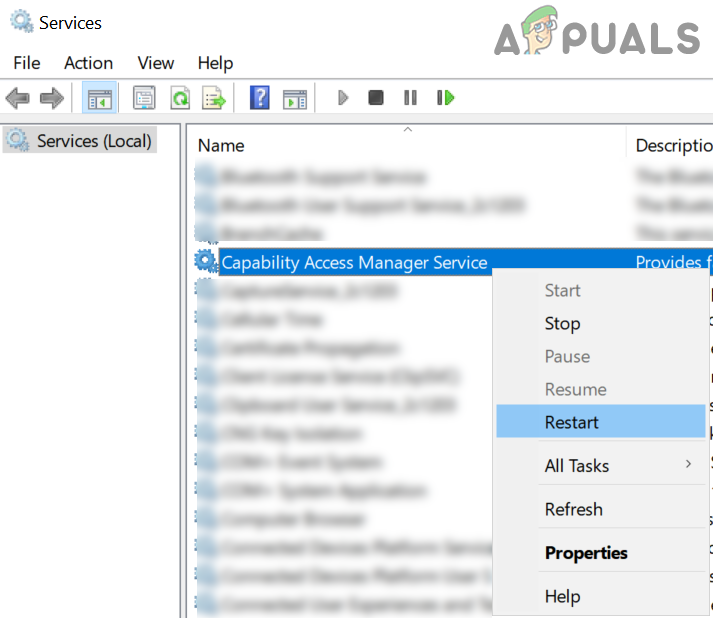
Restart the Capability Access Manager (CamSvc) service - Then select Start or Restart and check if the Camera app is working fine.
- If not (or the issue returns), launch the Services window and double-click on the Capability Access Manager (CamSvc) service.
- Now change the Startup type of the CamSvc to Automatic and apply your changes.
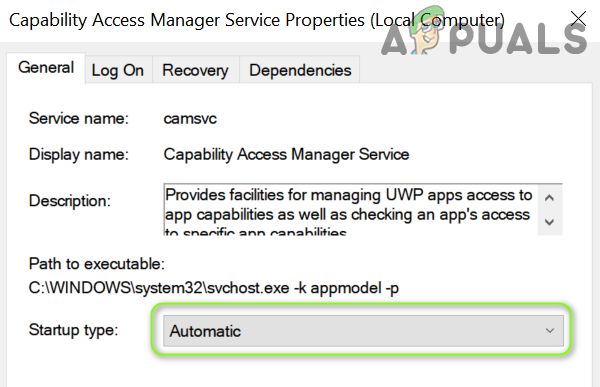
Set the Startup Type of the Capability Access Manager (CamSvc) service to Automatic - Then Restart the Capability Access Manager (CamSvc) service and check if the Camera app is clear of the error 0xA00F4288.
Method 5: Creating an EnableFrameServerMode value using Registry Editor
Another reason that might end up triggering the 0xA00F4243 error is a corrupted installation caused by a bad Windows Update or some other drivers that are conflicting with the Camera driver. In this case, several affected users have managed to resolve the issue by adding a registry value to correct the erroneous behavior.
Here’s a quick guide on using Registry Editor to add the EnableFrame ServerMode value to the Registry:
- Press Windows key + R to open up a Run dialog box. Then, type “regedit” and press Enter to open up the Registry Editor. When prompted by the UAC (User Account Control), click Yes to grant administrative privileges.
- Inside the Registry Editor, use the left-hand side menu to navigate to the following location:
Computer\HKEY_LOCAL_MACHINE\SOFTWARE\WOW6432Node\Microsoft\Windows Media Foundation\Platform
Note: You can also paste the location directly inside the navigation bar and press Enter.
- Once you reach the correct location, move over to the right pane, right-click and choose New > DWORD (32-bit) Value.
- Name the newly created DWORD to EnableFrameServerMode and press Enter to save the changes.
- Open the newly created EnableFrameServerMode value and set Base to Hexadecimal and the Value data to 0. Once you’re finished, click Ok to save the changes.
- Close Registry Editor, restart your computer and see if the issue has been resolved at the next startup by opening the Camera app again.
If you’re still seeing that the 0xA00F4243 (0xC00D3704) error when you try to open the camera app, move down to the next method below.
Method 6: Running a System File Checker (SFC) scan
Some affected users have reported that the issue was resolved after they used the System File Checker (SFC) utility to scan and fix corruption that might potentially be causing the 0xA00F4243 (0xC00D3704) error. The SFC is a built-in utility that will replace any corrupted system files with fresh locally-stored copies.
Here’s a quick guide on performing a System File Checker (SFC) scan:
- Press Windows key + R to open up a Run dialog box. Then, type “cmd” and press Ctrl + Shift + Enter to open up an elevated Command Prompt. When prompted by the UAC (User Account Control), click Yes to grant administrative privileges to the Command Prompt.
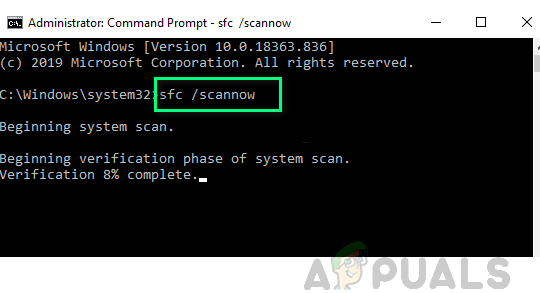
- Inside the elevated Command prompt, type the following command and press Enter to initiate a System File Checker scan:
sfc /scannow
- Once the process is complete, restart your computer and see if the 0xA00F4243 (0xC00D3704) error is no longer occurring when you try to start the Camera app again.
If the same issue is still occurring, move down to the next method below.
Method 7: Enabling the Camera Service
Some affected users have reported that the 0xA00F4243 (0xC00D3704) error stopped occurring once they visited the Services screen and discovered that the Intel(R)RealSense(TM)Depth service was disabled. But keep in mind that your camera might be using a different camera service, so the name of the service that is disabled might be different.
If this scenario is applicable, you can resolve the issue by accessing the Services screen and re-enabling the Camera service:
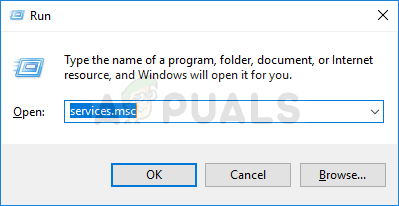
- Press Windows key + R to open up a Run dialog box. Then, type “services.msc” in the text box and press enter to open up the Services screen.
Running Services via Run dialog box - Inside the Services utility, use the right-hand pane to locate your Camera driver. In most cases, it will be named Intel(R)RealSense(TM)Depth.
- Once you manage to locate the service used by your Camera, right-click on it and choose Start.
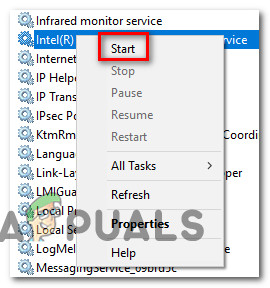
Starting the Camera Service - Open the Camera App again and see if you’re still encountering the same issue.
If you’re still encountering 0xA00F4243 (0xC00D3704) error, move down to the next method below.
Method 8: Uninstalling the 3rd party antivirus
As it turns out, this issue can also be caused by an overprotective antivirus suite. Several affected users have reported that the issue stopped occurring once they uninstalled their 3rd party AV and allowed the built-in Windows Defender to take over.
Based on several user reports, Node32, AVG and a few other sites are known to cause the 0xA00F4243 (0xC00D3704) error on Windows 10. In this case, you will be able to resolve the issue by uninstalling your 3rd party security suite.
To ensure that you don’t leave any remnant file behind that might end up affecting your computer, we encourage you to follow this article (here) for steps on uninstalling your security program completely.
Method 9: Perform SFC, DISM, and Check Disk Scans
The error 0xA00F4288 could be a result of the corrupt essential system files. In this context, performing the SFC and DISM scans may clear the corruption of the system files and thus solve the problem.
- Perform an SFC scan of your system (make sure to perform the scan when you can spare your PC for some time as the scan may take time to complete) and check if the Camera app is operating fine.
Perform an SFC Scan - If not, you may run the DISM commands to repair the system’s Windows but make sure to execute the following in the process:
DISM.exe /Online /Cleanup-image /Restorehealth

Use the DISM Command to RestoreHealth - Once the DISM process is complete, check if the system is clear of the error 0xA00F4288.
If the issue persists, then you may try the CHKDSK command to clear out any HDD errors that ultimately solve the Camera app problem. After completion of the check disk process, the Camera device may be shown as greyed out and as a Composite USB device, if so, uninstall the bother devices. Now reboot your PC and the Camera app may function normally (you may have to install the Camera driver if Windows does not install the generic driver).
Method 10: Update the BIOS and Device Drivers of your System to the Latest Build
The camera app error 0xA00F4288 may emerge as a result of an outdated BIOS of your system. In this case, updating the system’s BIOS to the latest release may solve the problem.
Warning: Advance with extreme care and at your own risk as updating the system’s BIOS is a proficient task and if not done properly, you may brick your PC and cause everlasting damage to your data.
- Update the BIOS of your system (as per the system’s manufacturer) as described below:
- After updating the BIOS, update the device drivers of your system and check if the Camera app is working fine.
If the issue persists, then you may perform an in-place upgrade of your system’s Windows (download the Windows 10 ISO and launch its setup as administrator) to solve the error 0xA00F4288 of the Camera app.


