Fix: Call Forwarding Not Working on iPhone
There can be several reasons why you are unable to forward calls on your iPhone. Most likely, the issue is with your carrier service, as call forwarding is a carrier-related feature. However, there may also be software issues in your device, due to which the feature is not working.

Also, you could have turned certain features on or off that are affecting call forwarding. In this article, we have discussed six ways that will help you resolve call-forwarding issues.
1. Swap Sim Cards
As mentioned before, if you are unable to use the call forwarding feature, it is a carrier-related issue. To solve this issue, you can try swapping SIM cards from one SIM slot to another.
Also, before reinserting the SIM card, allow a gap of a few minutes. After this, put the SIM card back in and see if you can forward the calls. You can also contact your carrier service and inform them about the issue.
2. Force Restart Your iPhone
This method can be used to solve various issues, including problems related to call forwarding. Restarting your iPhone will clear its memory.
Moreover, it will fix any minor software glitches that are causing issues with call forwarding. Apart from this, it will resolve connectivity issues and app-related problems. Thus, it is advised to restart your iPhone at least once a week. To restart your iPhone, follow these steps:
iPhone SE (1st generation), 5, or earlier models:
- Press the top button and hold it until the power-off slider appears on the screen.
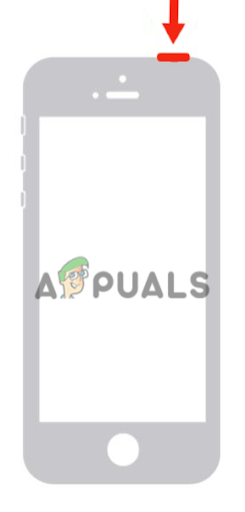
- Next, drag the slider and wait for approximately 30 seconds for your iPhone to turn off completely.
- Lastly, press the top button and hold it until you see the Apple logo to turn on your device.
iPhone SE ( 2nd or 3rd Generation), 6, 7, or 8
- Press the side button and hold it until the power-off slider appears on your iPhone.
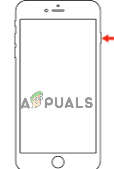
Press the side button and hold it until the power-off slider shows up - Drag the slider to turn it off and wait for approximately 30 seconds.
- Lastly, turn on your device by pressing the side button and holding it until the Apple logo appears on the screen.
iPhone X or later version:
- Start by pressing the volume up or down button, along with the side button, until the power-off slider appears on the screen.
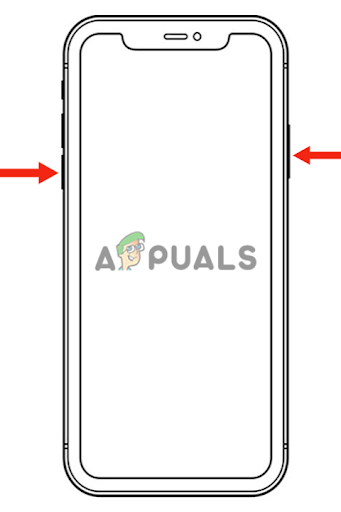
Pressing the volume up or down button, along with the side button, until the power-off slider shows up - Next, drag the slider to turn off your iPhone and wait for approximately 30 seconds.
- Press the side button until the Apple logo appears on your screen to turn it on.
If you have tried restarting your device but the issue persists, try a force restart. Doing this will not only fix software-related issues, but also hardware-related issues.
Here is how to perform a forced restart:
- Press the volume up button and release it instantly.
- Press the volume down button and release it instantly.
- Next, press the side button and hold it until the Apple logo appears on the screen.
- Release the side button.
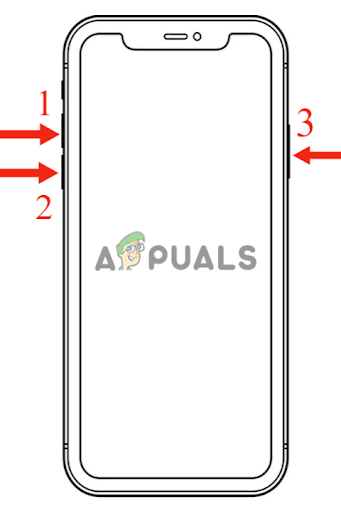
Restart iPhone by pressing the side keys
3. Update Your Device and Check Restrictions
Update your iPhone and check if there are any carrier restrictions on it.
- First, back up your iPhone. You can either do it with iCloud or a PC.
- Connect it to the charger.
- Connect your iPhone to the WiFi.
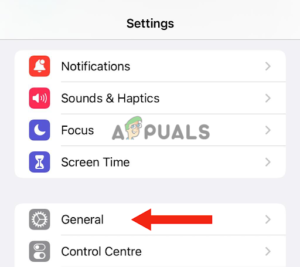
- Go to Settings and tap on General.
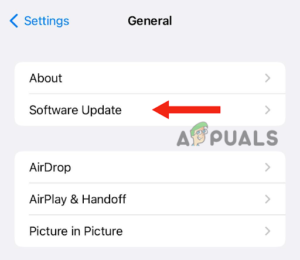
Tap on General - Next, go to Software Update.
Go to Software Update - If there are two or more updates, select your preferred one.
- Lastly, tap on Install Now. However, if there is an option for Download and Install, firstly choose to download the update.
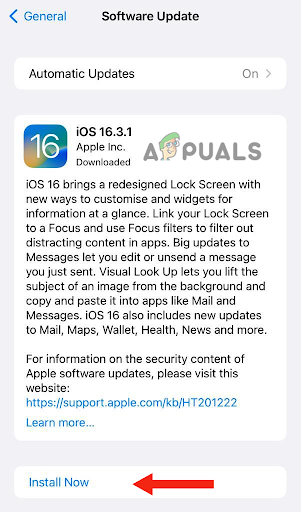
Choose the Install Now option - After the download is complete, enter the passcode you use to unlock your device.
- Lastly, tap on Install Now.
After this, update your carrier settings, which will improve cellular network connectivity and performance. Here’s how you can do it:
- Connect your device to wifi or a cellular network.
- Go to Settings > General > About.
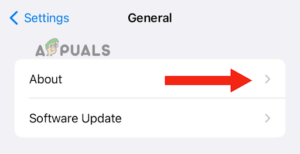
Tap on About - After this, follow the on-screen instructions to install your carrier update.
After updating your device and carrier settings, be sure to check if there are any call blocking or identification apps.
- Tap on Settings and go to Phone.
- Next, tap on Call Blocking & Identification.
The above setting will only appear if you have installed any such app. When you see them, disable the app by going to Settings > Phone > Call Blocking and Identification.
4. Reset Network Settings
Resetting the iPhone network settings will help solve problems related to the carrier or call forwarding. It will remove all the data from paired devices on the iPhone. Moreover, it will remove all previously used networks from your device.
When you perform a network reset, your iPhone will restore all the features related to the network to their factory settings. Nevertheless, you will have to connect your mobile device to all the networks manually after the network reset. Thus, make sure to remember all the networks or write them down.
iPhone models that work on iOS 15 or later:
- Go to Settings and click on General.
- Select Transfer or Reset iPhone.
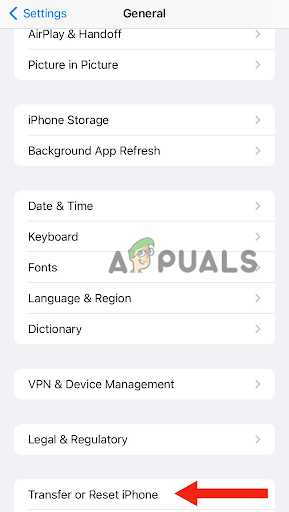
Go to Transfer or Reset iPhone - Tap on Reset.

Hit the Reset Button - Then tap on Reset Network Settings.</strong>
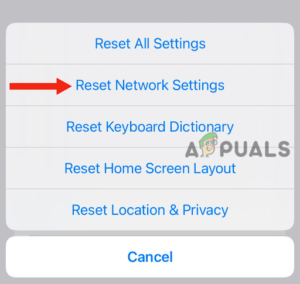
Tap on Reset Network Settings
iPhone models that work on iOS 14 or earlier:
- Go to Settings and tap on General.
- Go to Reset and select Reset Network Settings.
5. Enable LTE
Another method you can try to solve the call forwarding issue is to enable your LTE. This method has been used by many iPhone users who could not turn on the call-forwarding option. If you also see the “loading cycle” when turning on the call-forwarding feature, follow these steps to troubleshoot the problem:
- First, turn off the Wi-Fi.
- Next, go to Settings and tap on Cellular.
- Tap on Cellular Data Options.
- Then, enable LTE.
- Select “Data Only.”
- After this, try call forwarding. With this feature, you will be able to use call forwarding.
6. Disable VPN
Using a VPN on your iPhone can interrupt the call-forwarding feature. If you are using a VPN, try disconnecting it, as this will likely solve the issue. The VPN server may be experiencing some issues, which could be causing the problem. Therefore, you need to turn off your VPN and may need to change the server.
Here’s how you can disconnect your VPN on your iPhone:
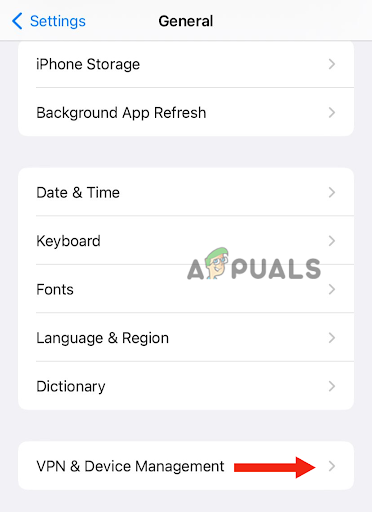
- Go to Settings and click on General.
- Scroll down and select VPN & Device Management.
Tap on Reset Network Settings - Tap on VPN.
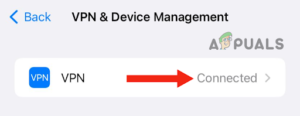
Tap on VPN - Click on the Status option (right side) to turn off the VPN.
You can also turn off the VPN by going directly to the VPN application that you have downloaded on your iPhone. After this, find the option to disable it. Usually, it appears immediately after you open the app.
Turn it off, and your iPhone will be disconnected from the VPN. However, some applications may not have this option, so you have to opt for the first method. After doing this, try restarting your iPhone, turning on the call forwarding option, and seeing if it works.
In this article, we discussed six methods that can solve the issue of call forwarding not working on iPhones. All of the methods have been tried, tested, and suggested by experienced users.
However, if none of the methods worked for you, the problem lies with your carrier. You can try changing it and activating it again. Additionally, you may consider contacting the support center.