How to delete files and folders that won’t delete in Windows?
Unable to delete files and folders? Here, Try these 7 fixes
You may face an issue when trying to delete a file or folder. During this, the selected item is stuck on an endless deletion prompt loop and still isn’t deleted from your system. This is a common occurrence and can happen when the selected item is under the use of another program. This causes Windows to lock the file or folder until the program has fully used it.

In this guide, we have given the methods to delete any file or folder that has been locked from your access.
Workaround: Perform a System Restart
When facing the issue where the selected files and folders are stuck on the deletion prompt, you must restart your system. This will restart all processes on the system that may be interfering with the deletion process.
Perform a System Restart by following the steps below:
- Close all tabs running on the system.
- Open the Windows Start Menu by pressing the Win key.
- Restart the system by clicking on the Power option and selecting “Restart.”
Restarting the Windows computer - After the system is restarted, delete the files and folders.
1. Run the Disk Checker
A corrupted disk will also be a reason why you are facing this error as it interferes with the normal performance of the system. To ensure that your disk is not facing any corruption, you must perform the Disk Checker that scans your disk and repairs the detected errors on it. You can perform the Disk Checker by following the steps:
- Open the Windows Start Menu by pressing the Win key.
- Type “cmd” in the Windows Search bar.
- Run the command prompt as an administrator by right-clicking on it and selecting the”Run as an administrator” option.
Running the Command Prompt as an administrator. - Run the Disk Checker by copying and pasting the following command into the command prompt and pressing the Enter key:
chkdsk /f /r C:
- After the scan is completed, restart your computer to make the necessary changes.
2. Run the System Scans
Your System Files when corrupted will also lead to this error. Corruption in the system files stops certain activities on the system from performing. Therefore, you must ensure that the system files are not corrupted by performing System Scans that detect and repair the issue found with your computer. You can do that by following the procedure given below:
- Open the Windows Start Menu by pressing the Win key.
- Type “cmd” in the Windows Search bar.
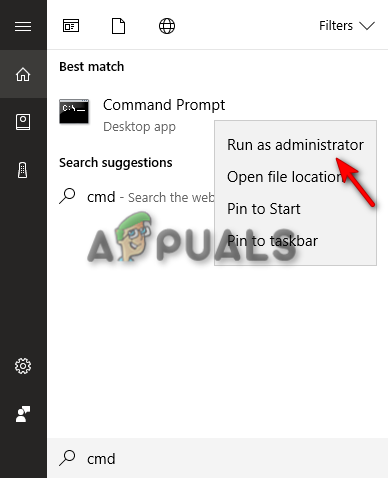
- Run the command prompt as an administrator by right-clicking on it and selecting the”Run as an administrator” option.
Running the Command Prompt as an administrator. - Type the following command in the Command Prompt while giving a space between “sfc” and “/.”
sfc /scannow
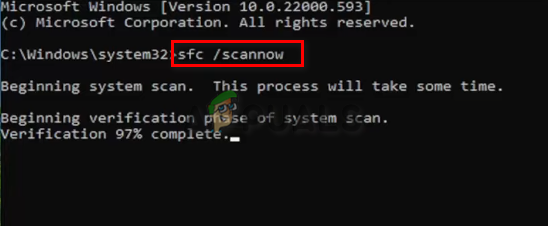
Running system file checker on the command prompt. - After completing the scan, the file checker will automatically repair the defective files.
- To run the DISM command, Paste the following command into the command prompt.
Dism.exe /online /cleanup-image /restorehealth
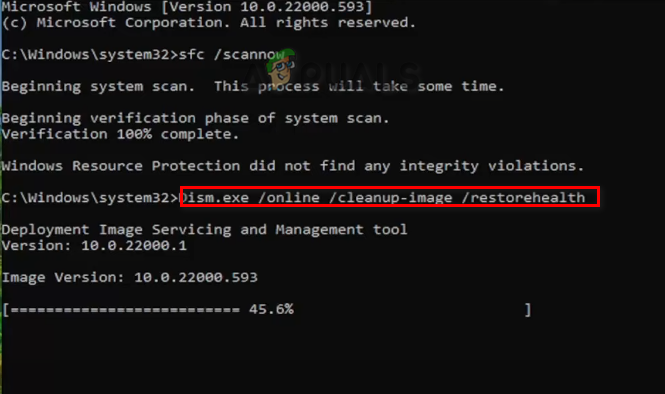
Running DISM Command on the Command Prompt - Restart your computer and to the necessary changes.
3. Remove the directory through the command prompt
When facing this issue, you may not have administrative permissions to delete the files and folder. Therefore, you must use the command prompt as an administrator to automatically delete the directory from your system without sending the files to the Recycle Bin. Below are the instructions to remove the directory from the command prompt:
- Open the File Explorer and Select and File or folder you want to delete.
- Copy the path of the file or folder from the search bar above.
- Open the Windows Start Menu by pressing the Win key.
- Type “cmd” in the Windows Search bar.
- Run the command prompt as an administrator by right-clicking on it and selecting the”Run as an administrator” option.
Running the Command Prompt as an administrator. - Delete the selected File by typing the following command in the Command Prompt and pressing the Enter Key:
del /f /q /a "paste the copied path here"
- Now, remove the directory by typing the following command into the Command Prompt and pressing the Enter key:
rmdir /s /a "paste the folder path here"

Deleting File and Folder
4. Remove the File from Windows Powershell
Another way you can remove any file from File Explorer is through the use of Windows PowerShell. This is a built-in command line that is similar to the Command Prompt but has more extensibility. Using the steps below, you can remove the file from the Windows PowerShell:
- Open the Windows Start Menu by pressing the Win key.
- Type “PowerShell” in the Windows Search bar.
- Run the Windows Powershell as an administrator by right-clicking on it and selecting the”Run as an administrator” option.
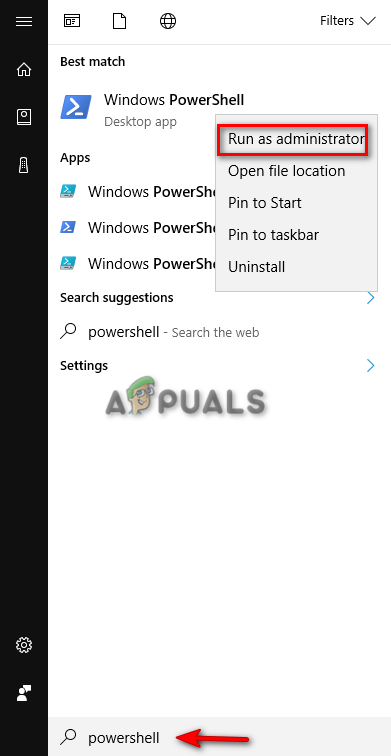
Running Windows PowerShell as an administrator - Remove the item from the directory by typing the following command into the Windows PowerShell and pressing the Enter Key:
remove-item -path "paste the path of the item here"
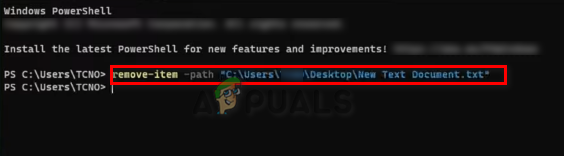
Removing the directory from the Windows PowerShell
5. Use the Program Take Ownership
One of the reasons why you can’t delete the files is that you don’t have permission to perform the deletion from your system, especially if you are the only user of the device.
Therefore, using the Take Ownership program, you can take complete ownership of all files and folders on your system and delete them as per your choice. Below is how you can download and use the program:
- Open the Official Website to download the Take Ownership program.
- Download the program by clicking on the “Download Now” option.

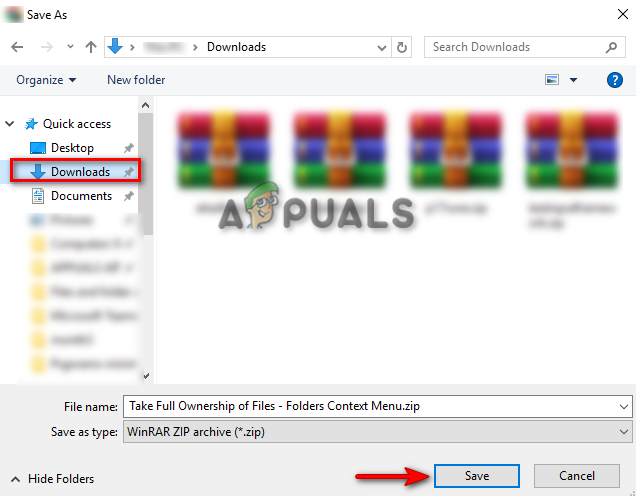
Downloading the Take Ownership Program - Select the location where you prefer to save the file and click the “Save” option.
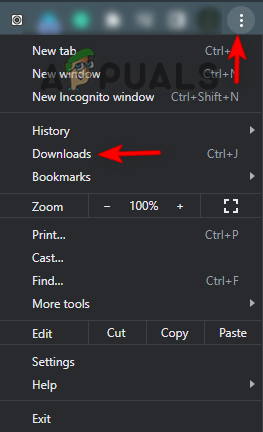
Saving files in the directory - Open the Browser Downloads page by clicking on the three dots in the top right corner and clicking on the “Downloads” option.
Opening the Downloads tab - Open the location of the file by clicking on the “Show in Folder” option.

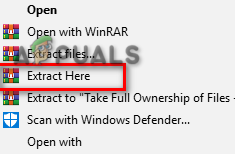
Showing zip file in the folder - Extract the zip folder by right-clicking on it and clicking on the “Extract here” option.
Extracting the File - To take ownership, double-click on the “Add Take Ownership to Context menu” Registry File and select the YES option on the Registry Editor Message Box.
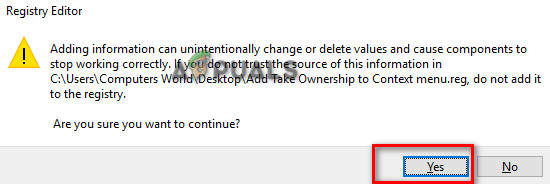
Giving Registry Permission - Now, right-click on the files you want to delete, click on the “Take Ownership” option, and simply delete them.
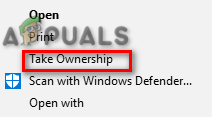
Taking Ownership of the file
6. Use the Unlocker Program
Unlocker is a convenient program that allows you to Unlock files and folders and provides you access to them is the Unlocker. If you’re comfortable with using freeware to unlock and delete Windows files, you can follow the instructions below to install and use the Unlocker program:
- Open the Official Website to download the Unlocker program.
- Download the program by clicking on the “Download Now” option.
Downloading the Take Ownership Program - Select the location where you prefer to save the file and click the “Save” option.
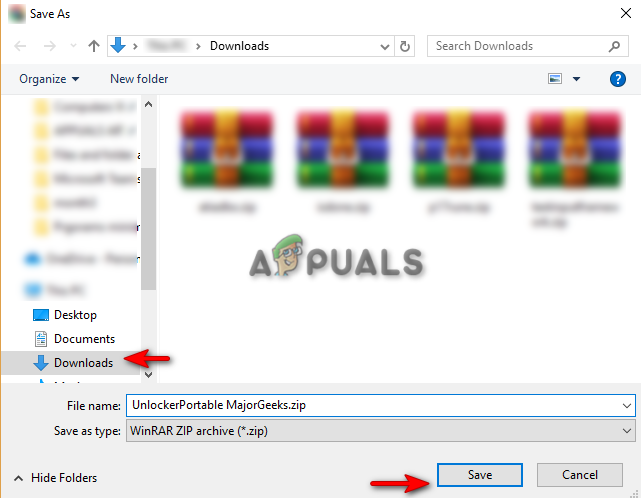
Downloading the Unlocker Portable program - Open the Browser Downloads page by clicking on the three dots in the top right corner and clicking on the “Downloads” option.
Opening the Downloads tab - Open the location of the file by clicking on the “Show in Folder” option.
- Extract the zip folder by right-clicking on it and clicking on the “Extract here” option.
Extracting the File - Open the Application by right-clicking on it and selecting the “Open” option.
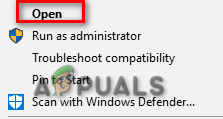
Opening the exe Application - Select the file you want to delete in the “Browse for Files or Folders” Box and click on the OK option.
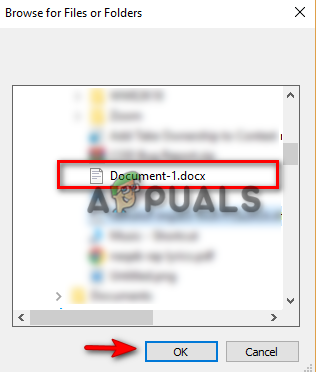
Selecting the file to Delete - Delete the file by clicking on the “No action” drop menu and selecting the “delete” option.
- Click OK to confirm the process and delete the file from your system.
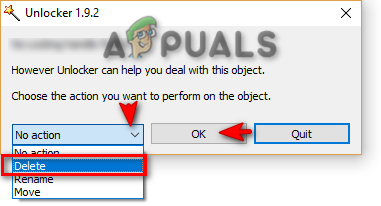
Deleting the file
7. Delete the File/Folder in Safe Mode
If the error persists when using the system in a Normal State, then you must boot the system on Safe Mode to delete the file/folder. This Mode will allow the system to start with default programs and a minimal set of drivers and will help you find the problem as well. You can run the System on Safe Mode as follow:
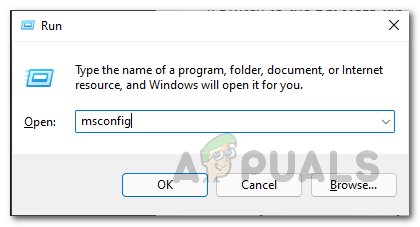
- Open the Run Command by pressing the Win + R keys together.
- Open System Configuration by typing “msconfig” in the search box and clicking OK.
Opening System Configuration - Open the Boot tab and check the “Safe Mode” box.
- Click and select the “Minimal” option under Safe Mode.
- Set the timer as per your preference.
- Make the changes by clicking Apply and OK.
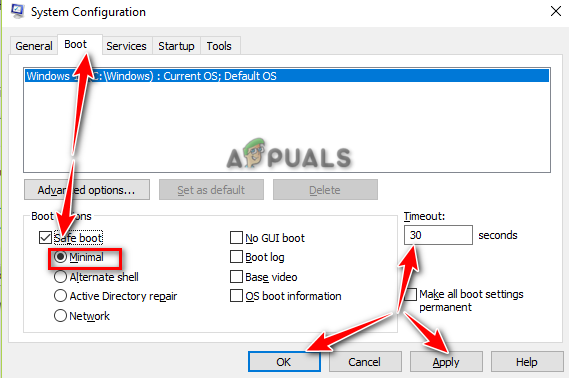
Booting System on Safe Mode - Restart your computer by selecting the “Restart” option on the System Configuration Prompt.

Restarting computer - Once you are booted into Safe Mode, you must delete the files and folders at fault as now they will not be interred by any third-party software in safe mode.
- After deleting the files, you can get out of Safe Mode.
8. Perform a Clean Boot
If you are still facing the error, then you must Perform a Clean Boot on your system. Performing a Clean Boot will boot the system on a minimal set of drivers and startup programs. However, when doing so, you must make a backup copy of your files on the system in case your data gets deleted.


