Fix: Failed to Terminate VRServer.exe
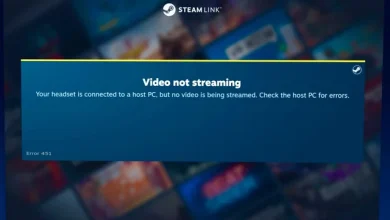
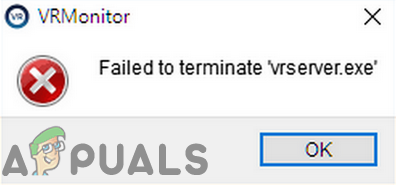
You may encounter the fail to terminate VRServer.exe error due to an outdated/corrupt Steam installation. Moreover, restricted access due to administrator privileges or by your antivirus application may also cause the issue under discussion. The affected user gets the error when he tries to launch Steam VR through the Steam client, and then he has to kill the process through the task manager.
Before proceeding with the troubleshooting process, restart your system and VR hardware. Moreover, try different USB ports to connect the VR hardware to rule out any faulty port.
Solution 1: Use the Task Manager to Terminate the VRServer Process
Ideally, the VR-Server should exit with the Steam app, but does not because of the process getting freezed, then you may encounter the error under discussion. In this case, ending the VRServer process through the Task Manager and then relaunching the Steam VR may solve the problem. But you may have to perform this action on every system restart.
- Right-click on the Windows button, and in the menu shown, click on the Task Manager.
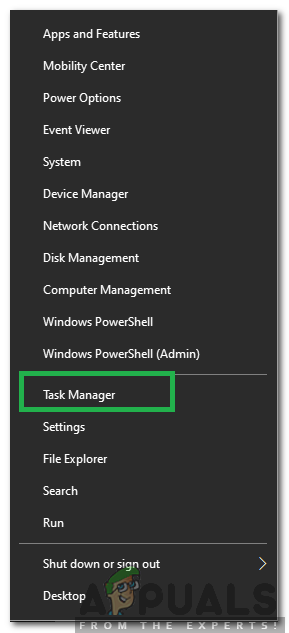
Selecting Task Manager after pressing Windows + X - In the Processes tab, select VRServer.exe and then click on the End Task button.
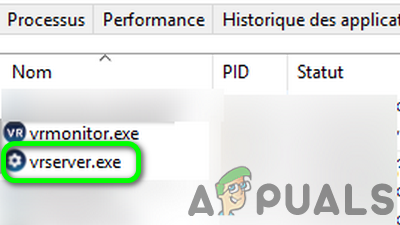
End Task of VRServer.Exe in Task Manager - Now relaunch SteamVR and check if the problem is sorted.
Solution 2: Run the Steam Client as Administrator
In the latest releases of Windows, Microsoft has restricted access to essential system-related files/resources through UAC. You may encounter the error under discussion if Steam/Steam VR could not access a critical system resource due to administrative privileges. In this scenario, launching the Steam client with administrative rights (which will also open Steam VR with administrative protocol) may solve the problem.
- Right-click on the Steam icon at your desktop and then click on Run as Administrator.
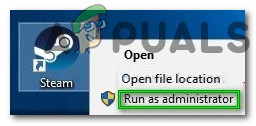
Run Steam as Administrator - Then launch SteamVR, use it, and check if it is clear of the error.
Solution 3: Temporarily Disable Your Antivirus
An antivirus application plays a vital role in the security of your system and data. But antivirus applications are known for creating many issues for other applications on a PC. The same could be the reason for the problem you are facing as Trend-Micro and Avast antivirus applications have created the VRServer issue for some users. In this context, temporarily disabling your antivirus may solve the problem.
Warning: Proceed at your own risk as disabling your antivirus may expose your system to security threats like viruses, trojans, etc.
- Exit the SteamVR and kill its process through the Task Manager.
- Now, disable your antivirus application.
- Then, launch Steam VR and check if it is clear of the error.
- If so, try to add an exception for the Steam client/VR applications or change your antivirus application (recommended if you are using Avast or Trend Micro).
Solution 4: Reinsert the Visual Cord
The problem could be a temporary glitch of your hardware connecting modules. To rule it out, it will be a good idea to unplug and re-plug the USB cord of VR hardware which may discharge the problematic capacitors entirely and solve the issue.
- Power off your VR hardware.
- Unplug the power and USB cord of the VR hardware from the PC (not from the link box).
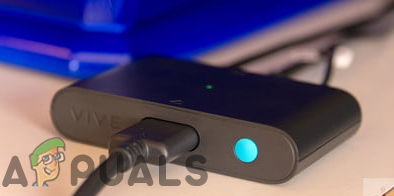
Unplug VR Hardware From the PC - Wait for 3 to 5 minutes and then plug back the power/USB cord. If there is a driver installation notification, let it complete.
- Now launch the Steam client and then launch Steam VR to check if it is clear of the error.
- If not, kill the process through the Task Manager (as discussed in solution 1) and then try to launch Steam VR directly from your desktop with administrative privileges to check if it is clear of the error.
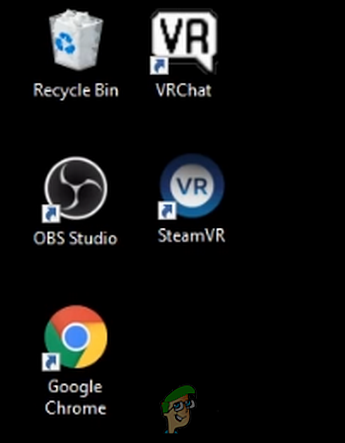
Launch Steam VR Directly from Desktop
Solution 5: Update the Steam Client to the Latest Version
Applications are updated to satiate the latest technology advancements and patch the known bugs. You may encounter the error at hand if you are using an outdated version of the Steam client. In this context, updating the Steam client to the latest build (you can try Beta release as well) may solve the problem.
- Launch the Steam client and click Steam (near the top left corner of the window).
- Then click on Check for Steam Client Updates.
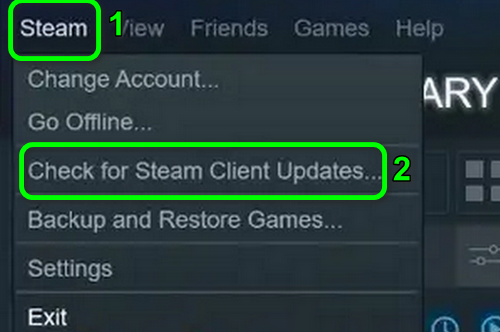
Check for Steam Client Updates - If there is an update available, install it.
- After updating the Steam client, check if the problem is solved.
- Moreover, make sure that the Firmware of the Steam VR (with controllers/base stations) is also updated to the latest build.
Solution 6: Uninstall HTC Applications
HTC developed Vive and is one of the pioneers in this field. But HTC applications are reported to create the issue under discussion for the Steam client/Steam VR because of conflicting modules. In this scenario, removing the HTC applications may solve the problem.
- Exit your VR applications and kill all its running processes through the Task Manager.
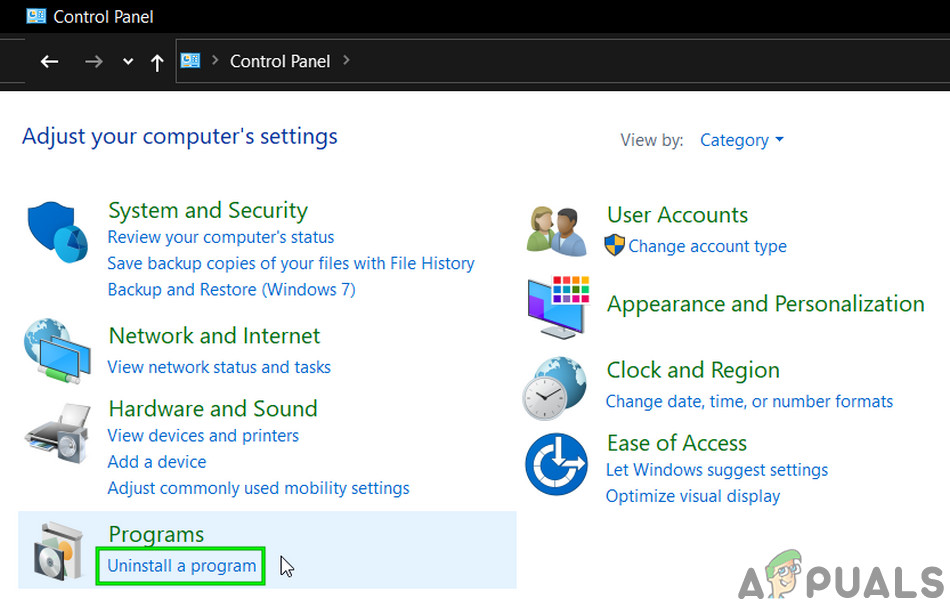
- Click on the Windows button and in the Windows search, type Control Panel. Then in the results, click on Control Panel.

Open Control Panel - Then click on Uninstall a Program.
Uninstall a Program - Now select an HTC application, e.g. Vive Sofware, and then click on Uninstall.
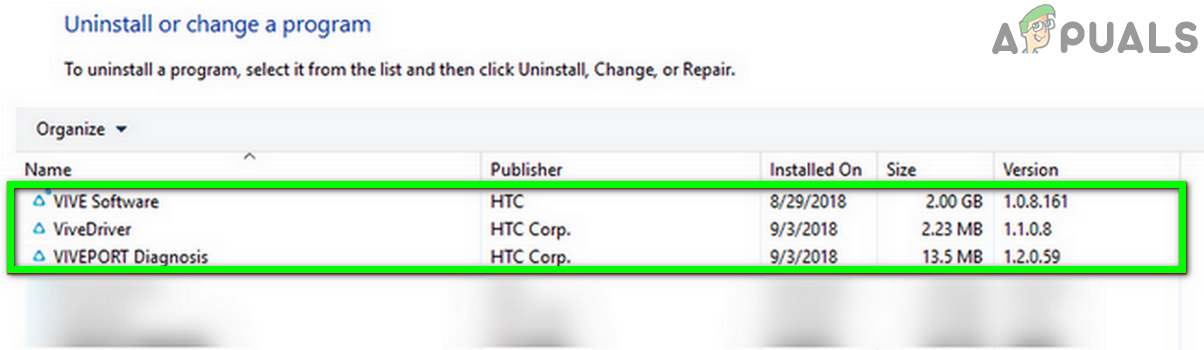
Uninstall HTC Applications - Then, repeat the process to uninstall all HTC applications.
- Now restart your system and then launch Steam VR to check if it is clear of the error.
If you do not want to uninstall the HTC app, you can try to disable the application at Windows startup.
Solution 7: Reinstall the Steam Client and Steam VR
If nothing has helped you so far, then most probably the Steam installation is corrupt and is causing the issue. In this context, uninstalling the Steam client and then reinstalling it may solve the problem. You may want to back up the Steamapps folder to avoid re-downloading your games on the reinstallation of the Steam client.
- Exit the Steam client and kill its processes through the Task Manager.
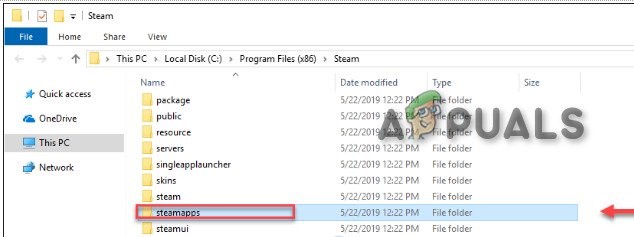
- Now open the File Explorer and navigate to the installation directory of the Steam client. Usually, it is:
C:\Program Files\Steam
- Then backup Steamapps folder (except SteamVR folder) to a safe location if you want to keep the games’ installation, otherwise you will have to download all the games again.
Backup steamapps Folder - Now click on the Windows button and in the Windows search, type Control Panel. Then in the search results displayed, click on Control Panel.
- Then click on Uninstall a Program.
- Now right-click Steam and then click on Uninstall.
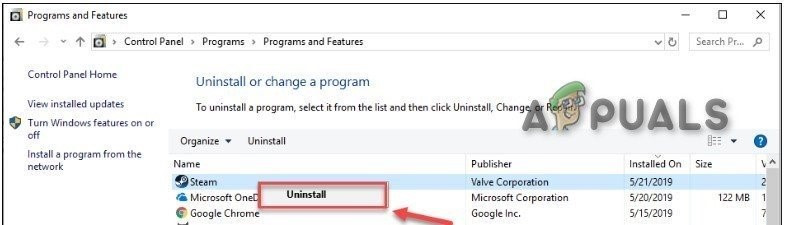
Uninstall Steam - Then follow the prompts on your screen to complete the uninstallation process of the Steam client.
- Now restart your system.
- Then uninstall Vive Software (as discussed in solution 6).
- Then restart your system.
- Upon restart, install the Steam client and then set up your Steam client.
- Then, reinstall Steam VR and check if it is clear of the error.
If nothing has worked for you, then try to perform a system restore to the time when Oculus Home and Revive applications were not installed.