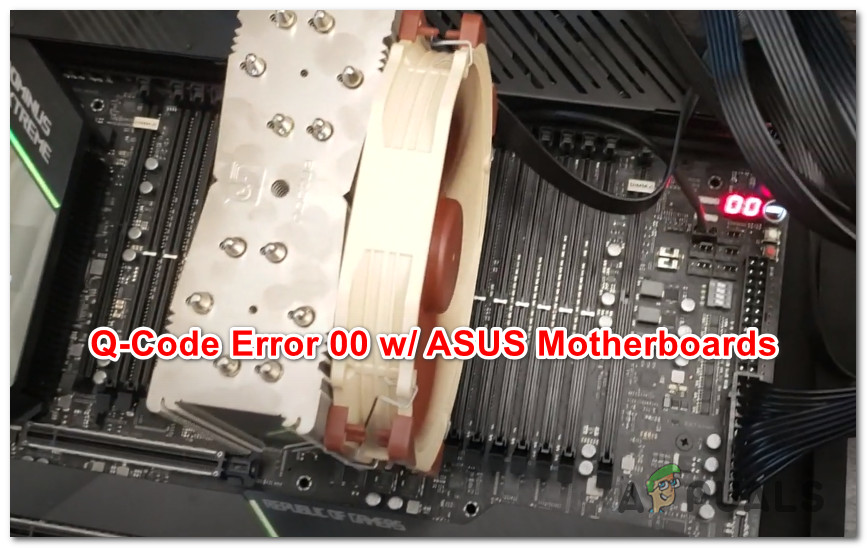
How to Fix ‘Error Q-Code 00’ on ASUS Motherboard
Some PC users using an ASUS motherboard are seeing the 00 Q error code on their motherboard whenever they attempt to boot up their computer. Some users encountering this problem are reporting that whenever this error occurs, no signal shows up on the screen.
As it turns out, there are several different causes that might be causing this error code. To make things easier for you, we made a list with all the potential culprit:
- Corrupted data is perpetuated by CMOS battery – Under certain circumstances, you can expect to see this error code if your CMOS battery is ‘remembering’ corrupted boot data in between restarts. To fix this problem, you need to take out the CMOS battery in order to drain the power capacitors of your motherboard.
- BIOS or UEFI data is causing instability – As it turns out, there are certain BIOS or UEFI settings that might cause this type of motherboard error. Sometimes this can be resolved by resetting your BIOS or UEFI setting back to their factory defaults.
- RAM inconsistency – According to some affected users, this problem can sometimes be caused by your RAM sticks if you’re using a dual-channel setup. If this scenario is applicable, swapping the slots in which the 2 sticks are inserted might fix the issue in your case.
- Instable Overclocking – If you overclocked the frequencies and voltages of your CPU, GPU or RAM, you can also expect this motherboard error to occur due to general system instability. In this case, you should reset your overclocked values back to their defaults and see if the issue is now fixed.
Method 1: Resetting the CMOS Battery (if applicable)
As it turns out, one of the most common reasons that might be causing the 00 Q error code is an inconsistency that’s perpetuated by the CMOS (Complementary Metal-Oxide Semiconductor) battery. In most cases, this particular ASUS Q error is caused by some type of corrupted data that’s preserved in-between startups and needs to be cleared.
If this scenario looks like it could be applicable, you can fix the problem by opening your PC case and temporarily removing the CMOS battery in order to clear any information that might be causing this error at every startup attempt.
In case you don’t know how to clear the CMOS battery by yourself, follow the instructions below for step by step instructions:
Note: The instructions below are mostly applicable to desktop PCs. Although it’s possible to remove the CMOS battery on your laptop, this most likely involves breaking apart the whole thing which is considerably more complicated than just removing the case.
- Start by turning your computer and unplug it from the power source it’s currently connected to.
- Next, remove the side case on your PC a equip yourself with a static wristband before touching any of the internals.
Note: A wristband is optional but recommended since it will ground you to the frame and eliminate the risks of causing shorts due to static electricity by evening out the electrical energy propagated throughout your PC components. - Once you’ve made sure that you’re using the proper safety precautions, take a look at your ASUS motherboard and locate your CMOS battery. It’s easy to recognize as it’s basically the same kind of battery you’ll find on analog watches.
- When you see it, use your fingernail or a non-conductive object to remove it from the slot.
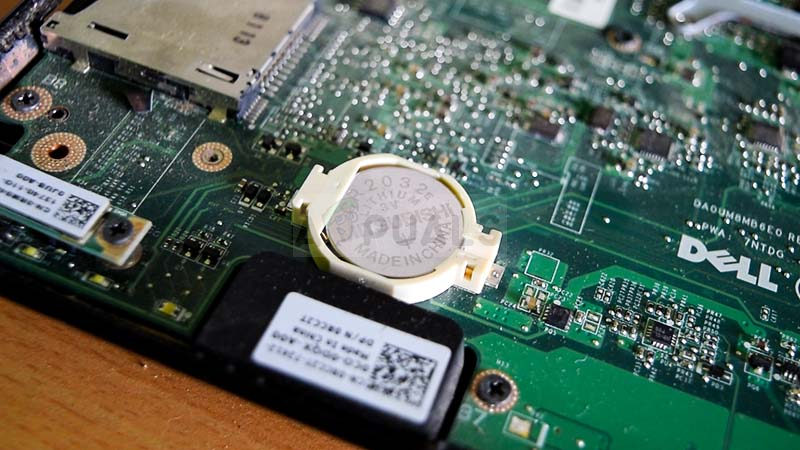
Removing the CMOS battery - Once you manage to remove the battery, wait for 10 seconds or more to give your motherboard enough time to drain the power capacitors and ‘forget’ the information that was previously stored by the CMOS battery.
- Next, reinsert the CMOS battery back into its slot and put the side cover back before plugging your computer back into a power source.
- Boot your computer normally and see if the problem is now fixed.
In case the same problem is still occurring, move down to the next potential fix below.
Method 2: Resetting BIOS / UEFI Settings (if applicable)
If removing the CMOS battery didn’t fix the problem and you have access to your BIOS or UEFI, you might be able to fix the problem by resetting your UEFI (Unified Extensible Firmware Interface) or BIOS (Basic Input / Output System) settings.
If this problem is indeed related to a UEFI or BIOS setting, resetting everything back to their default values will fix the issue (as confirmed by a lot of affected users).
IMPORTANT: You can only follow the instructions below if you get a signal to your monitor and you are able to access your BIOS or UEFI settings.
But keep in mind that depending on the low-level type of software that you’re using, the instructions for resetting those settings will be different. To treat both potential scenarios, follow one of the sub-guides below:
A. Resetting the UEFI Settings to Factory
- If you can’t boot up at all, you can force your PC to boot into the Recovery menu by forcing 3 consecutive startups interruptions – Do so by turning off your PC while it’s booting up.
- Once you’re inside the Recovery menu, go to Troubleshoot > Advanced, then click on UEFI Firmware Settings.
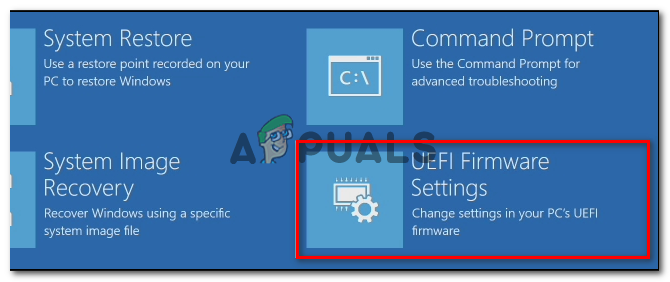
Accessing the UEFI firmware settings - Next, click on the Restart button to confirm your choice and wait until your computer will restart directly into the UEFI menu.
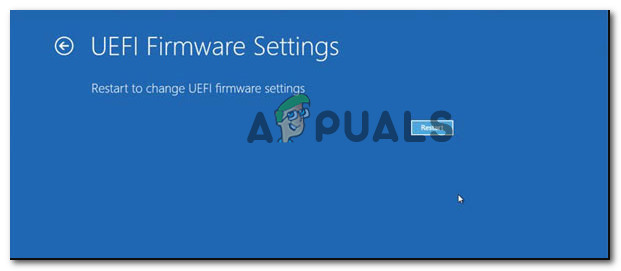
Restarting the computer directly into the UEFI Setup - After your computer boots directly into the UEFI settings, look around the settings, and look for the Restore / Reset tab and look for the Restore Defaults option.
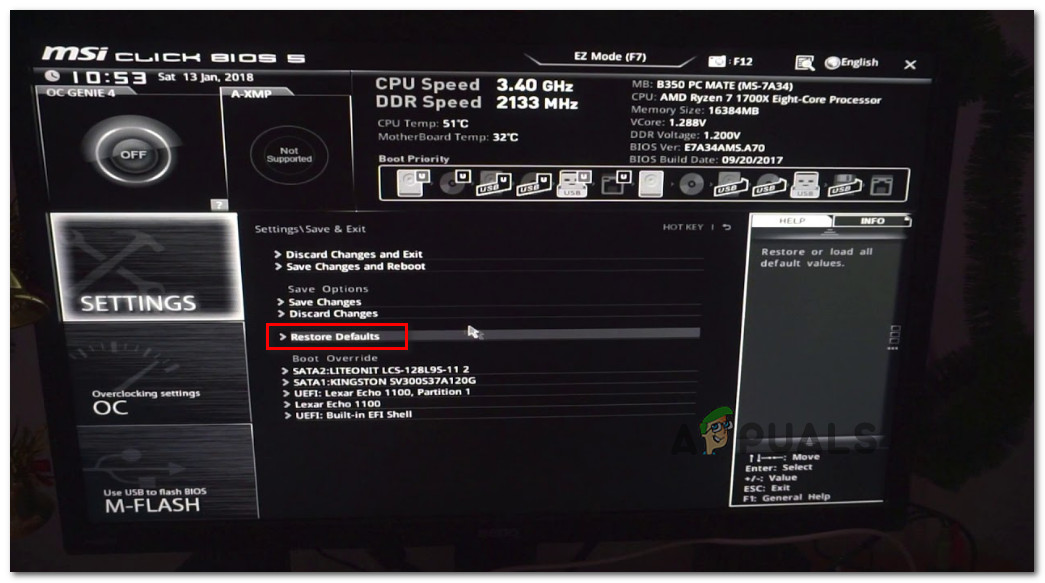
Restore UEFI settings to the defaults Note: Depending on your UEFI version and motherboard manufacturer, the exact names of these menus will be different.
- At the confirmation prompt, confirm the factory reset and restart your computer conventionally to see if the problem is fixed.
B. Resetting BIOS Settings to Factory
- Power up your PC and start repeatedly pressing the Boot key (Setup key) immediately after you see the first screen. This should eventually take you directly into your BIOS screen.
Note: In most cases, the Boot (Setup Key) is one of the following keys: Del key (Dell Computers), the Esc key, or one of the F keys (F1, F2, F4, F8, F12). - Once you’re inside your BIOS settings, look for the menu named Setup Default or Reset to Default or Factory Default. Next, access the Load Setup Defaults option to refer back to their default values.
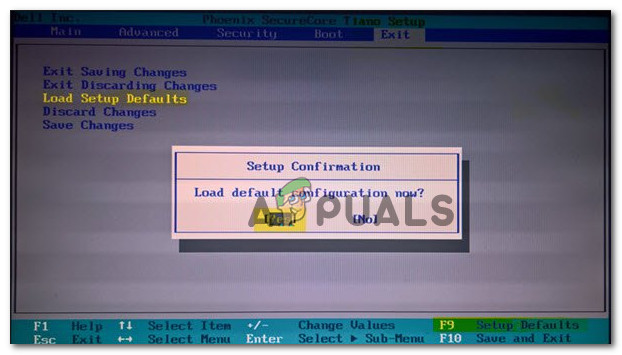
Load default system configuration - Save the changes, then restart your computer conventionally and see if the problem is now fixed.
In case the same problem is still not resolved, move down to the next potential fix below.
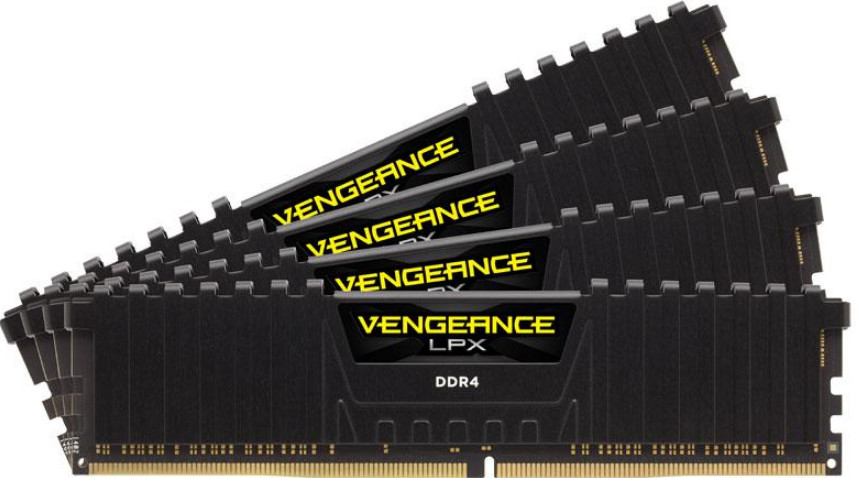
Method 3: Swapping your RAM Sticks
As it turns out, some affected users have managed to fix the problem simply by swapping up their RAM sticks with each other before booting the computer again.
This method was confirmed to be effective for a lot of affected users – All they did was they powered off their computer and opened the PC case to change the slots in which their dual channel RAM sticks were inserted.
Once you swap the RAM sticks slots, boot your computer normally and see if the problem is now resolved.
If the same problem is still occurring, move down to the next potential fix below.
Method 4: Removing Overclocked Frequencies
If you’re currently overclocking your the frequencies and/or voltages of your RAM, CPU, or GPU, that might be the main cause of this error code. Most likely, you’re seeing this motherboard error code due to general system instability.
In case this scenario looks like it could be applicable and you’re seeing this error after overclocking certain components on your PC configuration, go ahead and revert back to the default values before booting up again and see if the problem is fixed.


Like many, I was getting 00 codes on my ROG Strix X570-E with no monitor activity or peripheral devices (like me keyboard) activating. I couldn’t get to BIOS. The only time I would get a code other than 00 was after leaving the CMOS battery out of the board for about an hour. Ten seconds, or even 15 minutes wasn’t enough. This implies that there are some capacitors on the board that hold some serious charge.
The first time I got it into BIOS, it was after flashing the BIOS to the motherboard after removing the CMOS for an hour. My keyboard was receiving power and I got a different Q code, but nothing displayed on my monitor. After booting this way with my monitor hooked up to the HDMI and then DisplayPort, I still didn’t get monitor activity. It took plugging in my graphics card (Radeon RX 5600 XT) and using the ports on that to get a display.
I actually got it to boot to BIOS and then to Windows with all of my components installed, but I can only do it after the CMOS has been removed from the board for an hour. Otherwise, I still get the 00 code. I share everyone’s frustration, because it feels like an arbitrary error that I can’t troubleshoot further.