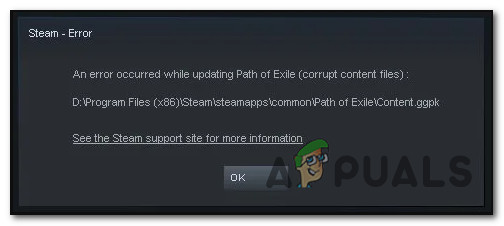
Fixes for Error Occured while Updating (Corrupt Content Files) in Steam
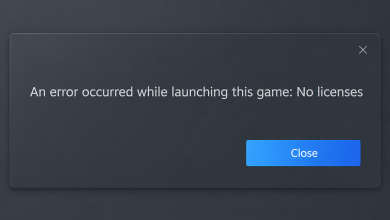
Some Windows users are encountering the ‘An error occurred while updating (corrupt content files)’ message whenever they try to install a new update for a game they own through Steam. While some users are facing this problem with a single title, other users are seeing this error message with every game they attempt to update.
After investigating this particular issue, it turns out that there are several different scenarios that might end up causing this particular error code. Here’s a shortlist of potential culprits that might be responsible for your problem:
- Ongoing server issue – As it turns out, this problem can also originate from an underlying server issue that’s currently preventing end-user Steam clients from downloading updates from the regional servers. If this scenario is applicable, the only thing you can do is change the default download server and hope that not every server is affected by this problem. If this doesn’t work, the only thing you can do is wait for Steam to fix their server issues.
- Missing admin access – Depending on your UAC settings, you can also expect to see this error because Steam doesn’t have the necessary permissions to modify & ovveride existing files. In this case, you need to force open Steam with admin access and potentially modify the default behavior in case this method proves to be effective.
- Unreliable wireless Internet connection – According to some affected users, this problem can also occur due to an issue with how your Steam sees the network that your computer is currently connected to. If Steams deems the connection to unreliable to establish a connection with the download server, you might need to move to a wired connection before you’ll be able to download the game updates.
- Steam is blocked by Firewall – There are a lot of verified user reports where this problem was proven to be caused by the Windows Firewall. Under certain circumstances, this might occur due to a false positive (typically after one game executable get’s quarantined). In this case, you should be able to fix the problem by establishing an exception rule from Steam allowing the exchange of data and opening the ports used when downloading data through steam.
- TCP / IP inconsistency – Under certain circumstances, you can expect to see this Steam error due to inconsistent TCP / IP data. Several affected users that were also encountering this problem have managed to fix the problem by performing a Winsock reset from an elevated Command prompt.
- Insufficient RAM space – If you’re seeing this error on a low-end PC, chances are the issue is related to your RAM memory. If you have other applications that are known to be memory hoggers, you need to close them first before trying to initiate another download via Steam.
- Corrupted appcache directory – As some users have reported, you can face this error if you’re dealing with data corruption located inside the appcache folder. Some users that were previously dealing with this problem have managed to fix the issue by deleting the cache directory, forcing Steam to create a new one that’s not plagued by the same issues.
Now that you know all the potential causes, here’s how you can fix the problem:
Method 1: Investigating a Server Issue
The ideal way to start this troubleshooting guide is to investigate and see if there’s an ongoing server issue you might have to worry about. After all, this problem is often associated with a server problem that’s prevented end-user Steam clients from downloading game updates.
Fortunately, there are a few services that you can use to verify if Steam is currently experiencing any server issues. You should check out SteamStat.us and DownDetector to see if Steam is currently dealing with server issues that are affecting users in your area.
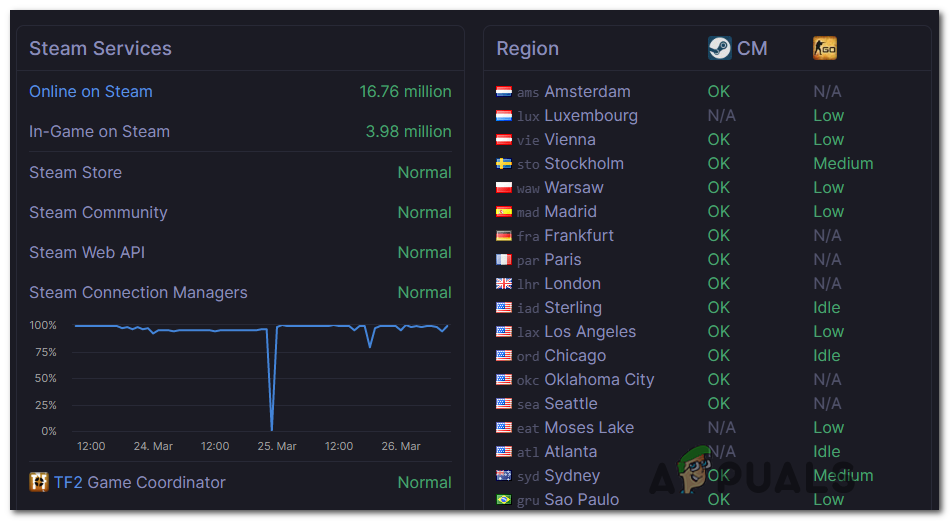
Note: If the 2 websites are reporting issues with Steam’s servers, you should also check the official Steam Support Twitter account for any official announcements.
In case the investigation has uncovered a widespread server issue, the only method that might help you fix the problem is to follow Method 3 and change the default download server.
If that doesn’t work, you’ll have to wait until Steam’s software engineers manage to fix their server problems.
Method 2: Opening Steam as Administrator
If you’ve made sure that this problem is not being caused by a server issue, the first potential culprit that you’ll need to look into is a permission issue. We’ve managed to identify a lot of user reports saying that in their case, the issue occurred because the Steam client didn’t’ have the necessary permissions to install the new game files after downloading the update.
If this scenario is applicable, you can fix the problem by forcing Steam to open as with admin rights. If this method is successful, you should make this the default behavior.
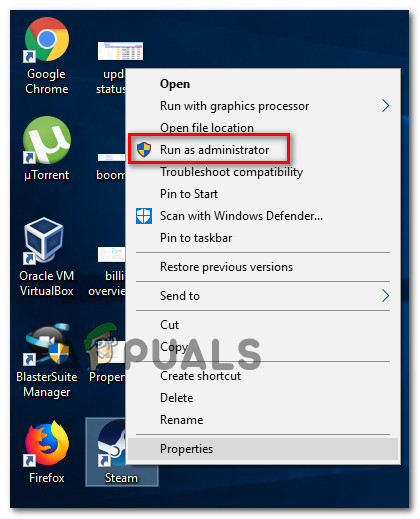
To force Steam to open with administrative privileges, right-click on the executable or shortcut that you youse when launching the game and click on Run as Administrator from the newly appeared context menu.
If this operation has been successful, you might want to modify the default behavior of Steam in order to prevent the same kind of issues from occurring again. To do this, follow the instructions below:
- Ensure that Steam is closed and not currently running in the background.
- Next, open File Explorer (or My Computer) and navigate to the location where the main Steam executable is located. By default, that location is:
C:\Program Files (x86)\Steam
Note: If you installed Steam in a custom location, navigate there instead.
- Once you get to the correct location, right-click on the steam.exe and then click on Properties from the newly appeared context menu.
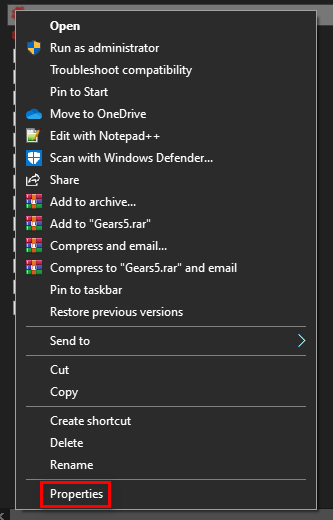
Accessing the Properties screen of Steam’s executable - Once you’re inside the Properties screen, click on the Compatibility tab from the ribbon menu at the top, then move down to the Settings section and check the box associated with Run this program as an administrator.
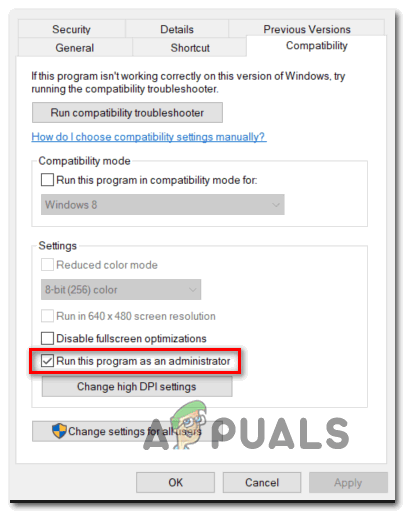
Configuring the game’s executable with admin rights. - Click Apply to save the changes, then launch Steam again through the same executable and see if the problem is now fixed.
If this problem is still not resolved, move down to the next potential fix below.
Method 3: Changing the Download Region
If the investigation above has revealed a server issue, what you can do is change the default Download region so that your Steam client is forced to use a different server when having to download new updates for your games.
This operation was confirmed to be successful by a lot of affected users that we’re encountering the ‘An error occurred while updating (corrupt content files) with every game title that they attempt to update.
If the problem is being caused by a server issue, doing this modification should sort the issue out.
If you haven’t tried this potential fix yet, follow the instructions below to change the Download Region that your Steam client is configured to use and see if that ends up fixing the issue:
- Open up your Steam client, then click on Steam using the ribbon bar at the top of the screen. Then, from the newly appeared context menu, click on Settings.
- Once you’re inside the Settings menu, access the Downloads entry from the vertical menu on the right. Next, move over to the right-hand pane and change the Download Region to a different Country using the associated drop-down menu.
Note: When selecting a different country, you should select a location that’s closer to your ideal Download server so you don’t hurt your Steam download speeds too much. - Save the modification, then attempt to update the game that was previously failing to see if the problem is now fixed.
If you already attempted to change the Download server and you’re still seeing the same corrupt content files error, move down to the next potential fix below.
Method 4: Switch to a wired connection (if applicable)
If you’re using a wireless connection, one quick workaround that might allow you to get around the ‘An error occurred while updating (corrupt content files)’ error message is to switch over to a wired connection. It doesn’t have to be a permanent change.
Inconsistencies with Steam updates over wireless networks are a fairly common occurrence on Windows 7. Fortunately, You can simply switch over to a wired connection and use it to download the game updates before moving back to a wireless connection.
So if you haven’t tried this already, plug an ethernet cable into your PC, restart your Steam client and initiate the download again. If the error message doesn’t return, complete the installation of every update before moving back to your regular wireless connection.
On the other hand, if the same ‘An error occurred while updating (corrupt content files)’ error is still occurring, move down to the next potential fix below.
Method 5: Whitelisting Steam in Windows Firewall
As it turns out, depending on your security preferences enforced on your Windows Firewall, the built-in security suite might sometimes decide to quarantine legitimate game executables and block Steam from communicating with the download servers – this is a common occurrence with the Rage 2 executable.
Of course, this problem can also occur with 3rd party firewalls and AV suites, but this method will focus on solving an instance in which Windows Firewall is blocking the download due to a false positive.
If this scenario is applicable to your particular scenario, you should be able to fix the problem by establishing a whitelisting rule in your Firewall to ensure that Steam is not preventing from downloading and installing pending game updates.
To do this, follow the instructions below to whitelist Steam, the download folder and the ports used by it in order to fix the ‘An error occurred while updating (corrupt content files)’:
- Open up a Run dialog box by pressing Windows key + R. When you’re prompted by the text box, type ‘control firewall.cpl‘ and press Enter to open up the Windows Firewall window.
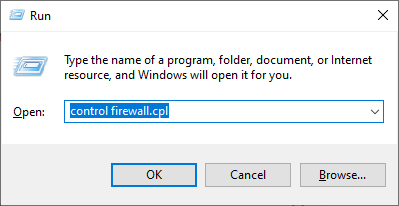
Accessing the Windows Defender Firewall - Once you’re inside the main menu of Windows Defender Firewall, access the menu on the left-hand side and click on Allow an app or feature through Windows Defender firewall.
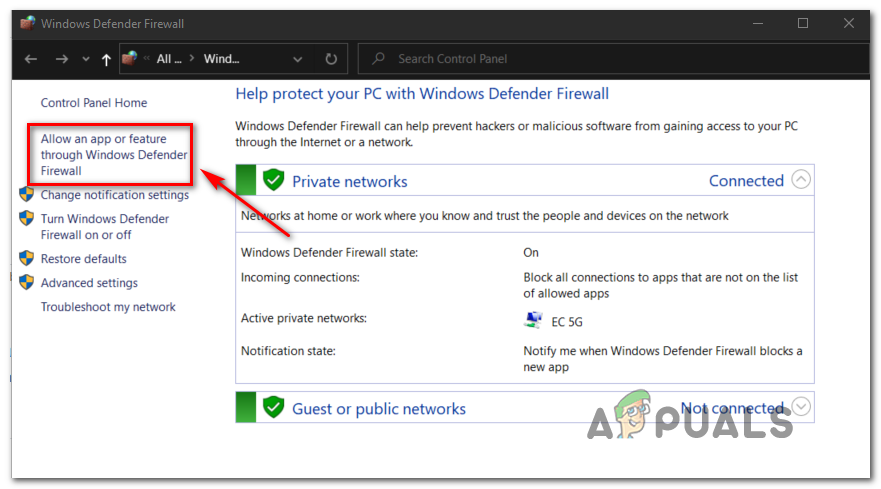
Allowing an app or feature through Windows Defender - Once you’re inside the Allowed Apps menu, click on Change settings button. When you’re prompted by the User Account Control (UAC) prompt, click Yes to grant admin access.
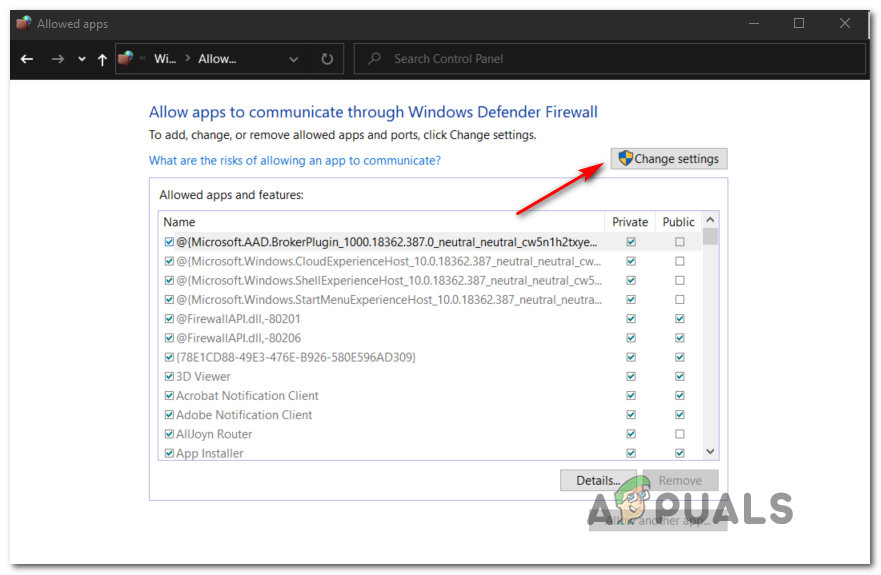
Changing the Settings of the Allowed Items in Windows Firewall - Once the Allowed apps menu finally becomes editable, go under Allowed another app and click on Browser before navigating to the location where steam is installed. By default, the location of the main Steam executable is C:\Program Files\Steam\bin.
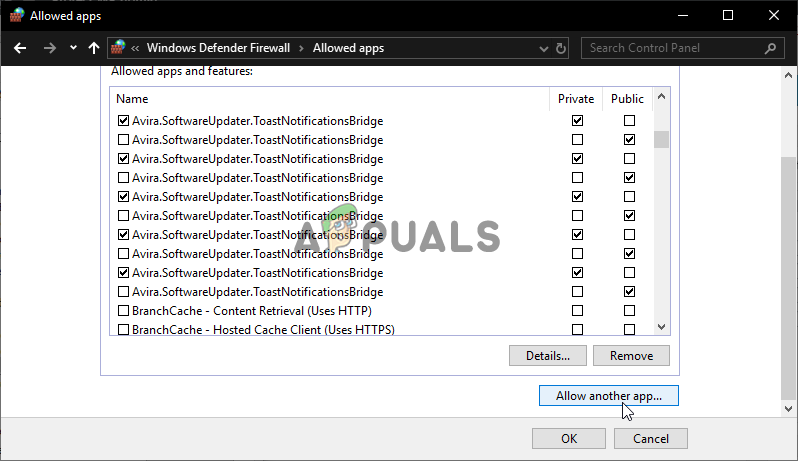
Allow another app - Once you’ve ensured that you’ve excluded both the main Steam executable and the executable of the game that’s failing to update, ensure that the Private and Public boxes associated with each entry are checked.
- After you do this, you can safely close the Allowed Apps window and follow the instructions at step 1 once again to return to the initial firewall menu.
- Once you manage to get back to the Allowed Apps menu, click on Advanced settings (from the menu on the left) and click Yes when prompted by the UAC (User Account Control) prompt.

Click on the advanced settings option to open firewall rules - From the Advanced settings menu, click on New Rule from the left-hand menu associated with Inbound rules.
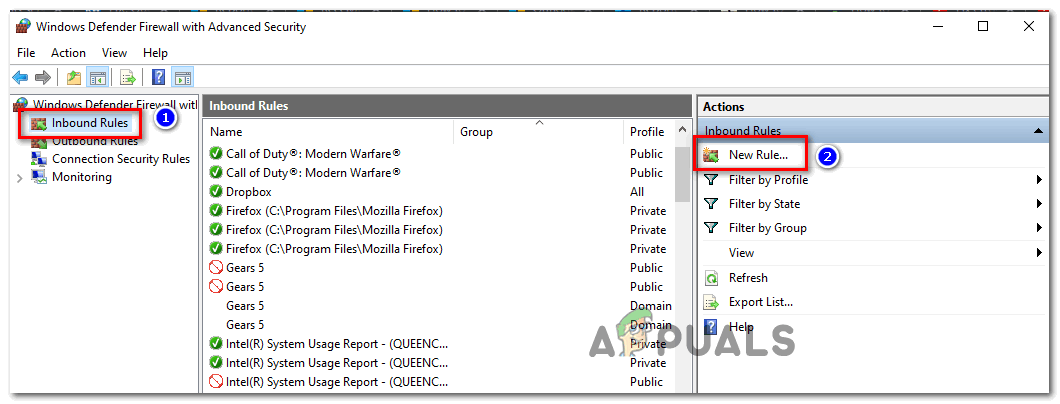
Creating New Rules in Windows Firewall - Next, from the New Inbound Rule window, choose Port under Rule Type and click Next.
- At the next screen, choose TCP from the list of available options, then enable the Specific Local ports toggle.
- Once you arrive at the correct menu, paste the following ports in order to prevent them from being blocked:
27015--27030
27036
27015
- Next, add another rule for UDP, then select Specific Local Ports once again and paste the following in the input box:
27015--27030
27000--27100
27031-2703
4380
27015
3478
4379
4380
- Once you manage to add every port to the exception list, hit Next to land directly into the Action Prompt window, then click on Allow the connection and hit the Next button once again.
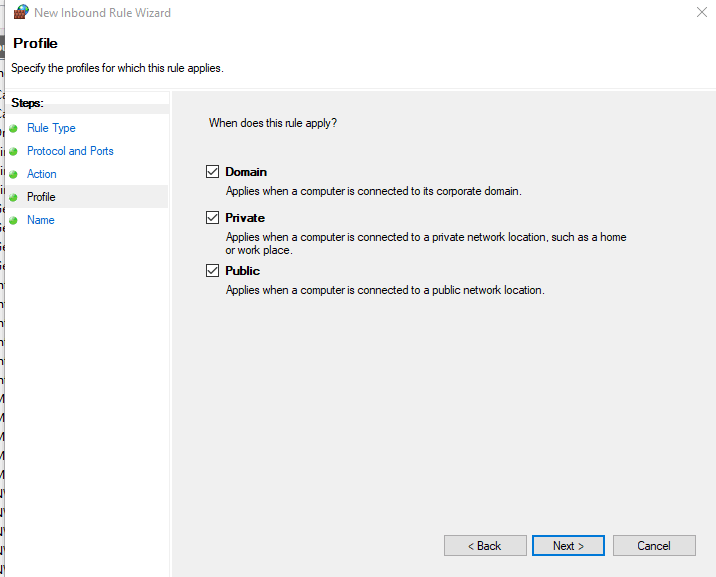
Enforcing the rule on various network types - Set a name for the rules you’ve just established, then hit Finish to save the changes before restarting your computer and trying to recreate the issue on Steam.
If the same problem is still occurring, move down to the next potential fix below.
Method 6: Performing a Winsock Reset
If none of the potential fixes have worked for you, start considering a potential TCP / IP issue and do a Winsock reset to fix the ‘An error occurred while updating (corrupt content files)’ error if it’s being caused by a data transmission timeout or protocol error.
In most documented cases, problems of this king are actually caused by a glitch with the network adapter or a bad case of a DNS range. If this scenario is applicable, you should be able to fix the problem by running a series of commands from an elevated command prompt that will reset all TCP / IP data and do a Winsock reset.
To do this, follow the instructions below:
- Press Windows key + R to open up a Run dialog box. Next, type ‘cmd’ inside the text box and press Ctrl + Shift + Enter to open up an elevated Command Prompt. When you’re prompted by the User Account Control (UAC), click Yes to grant admin access.

Running the Command Prompt - Once you’re inside the elevated Command Prompt, type the following commands individually inside the elevated CMD prompt in the same order and press Enter after each command to run them correctly:
ipconfig /flushdns
nbtstat -R
nbtstat -RR
netsh int reset all
netsh int ip reset
netsh winsock reset
- Once every essential command is successfully processed, close the elevated Command Prompt and restart your Steam client to see if the problem is now fixed.
In case you’re still seeing the same ‘An error occurred while updating (corrupt content files)’ message, move down to the next potential fix below.
Method 7: Freeing up RAM space
If you’re encountering this issue on a computer that doesn’t have a lot of RAM memory to work with, the error might also pop up due to the fact that Steam is not granted enough RAM space to facilitate the download and installation of the game update.
We’ve managed to identify several different user reports that have managed to fix the ‘An error occurred while updating (corrupt content files)’ error after closing off any unnecessary application and freeing up precious RAM.
To do this, press Ctrl + Shift + Enter to open up Task Manager. Next, access the Processes tab and Right-Click > End task on every process that is taking up precious Memory space.
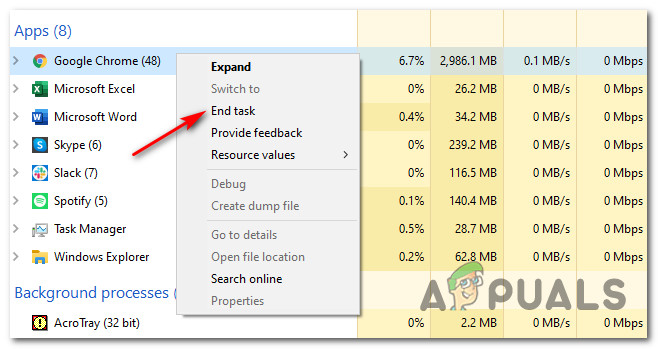
Be especially mindful of processes belonging to web browsers since they are notoriously known for being huge memory hoggers.
Once you’ve made sure that every non-essential process is closed, restart Steam and repeat the action that was previously causing the problem.
If the same error code is still popping up when you attempt to download and install a newer version of a game, move down to the next method below.
Method 8: Deleting the appcache directory
According to some affected users, this problem can also occur in instances where the issue is actually being caused by corrupted temporary files that are currently stored inside the appcache directory of Steam.
If this scenario is applicable, you should be able to fix the problem by navigating to the location of this directory and deleting it before rebooting your computer and restarting Steam. As some users have confirmed, this might end up fixing the corrupted content files error in case the issue is rooted in a temp file.
Here’s a quick guide on how to clear the appcache directory of Steam:
- Open File Explorer (My Computer on Windows 7 and Windows 8.1) and navigate to the following location:
C:\Program Files (x86)\Steam
Note: If you installed Steam in a custom location, navigate there instead.
- Inside the Steam directory, find the appcache folder, then right-click on it and choose Delete from the newly appeared context menu.
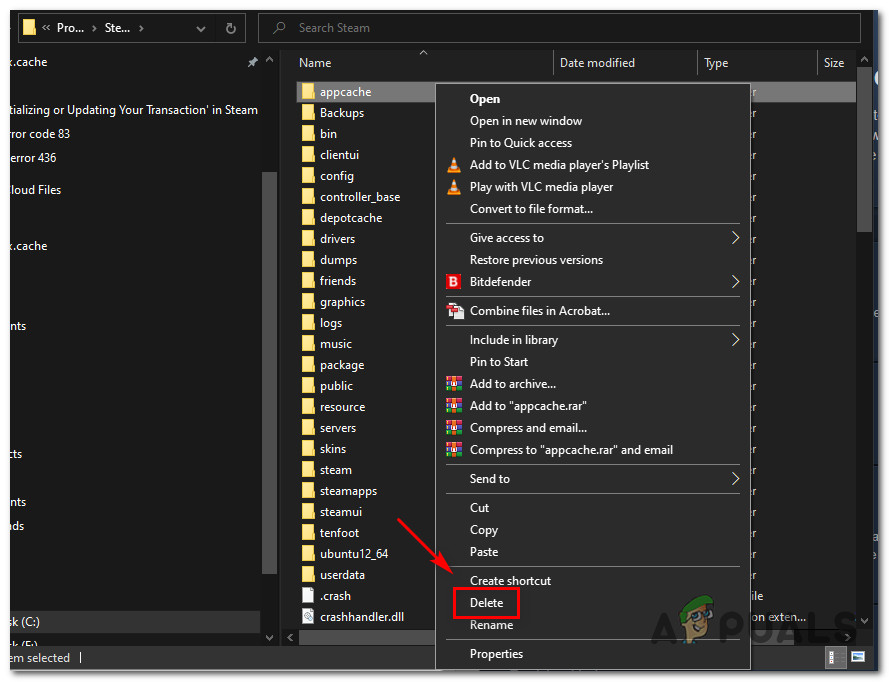
Deleting the AppCache directory Note: What this will do is it will essentially force your Steam installation to create a new appcache directory (one that’s not tainted by corruption).
- Once the appcache folder has been successfully deleted, restart your computer and see if the problem has been fixed once the next startup is completed by attempting to install an update that was previously failing.
Method 9: Updating / Uninstalling the Wireless Network card driver
If none of the methods above have worked for you and you’re connected to a wireless network, you should also consider the fact that the problem might actually be caused by a driver inconsistency.
Several affected users have managed to fix the problem by either updating or by uninstalling the current wireless network driver. Keep in mind that if you uninstall the wireless driver, you’ll force your operating system to use a generic driver which might fix the problem in some cases.
If you haven’t tried this yet, follow the instructions below to update or uninstall the current wireless network driver:
- Open up a Run dialog box by pressing Windows key + R. Next, type ‘devmgmt.msc’ inside the text box and press Enter to open up Device Manager. When you see the UAC (User Account Control) prompt, click Yes to grant admin access.
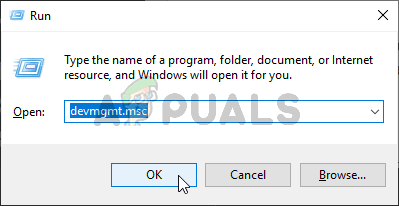
Running Device Manager - Once you’re inside Device Manager, scroll down through the list of installed applications and expand the drop-down menu of Network Adapters.
- Inside Network Adapters, right-click on your wireless network driver and choose Update Driver from the newly appeared context menu.
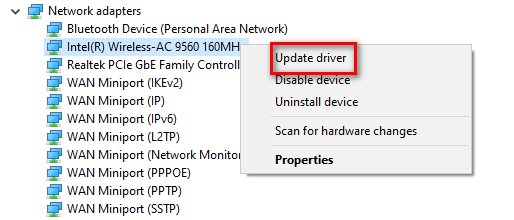
Updating the wireless driver - At the next screen, click on Search automatically for updated driver software, then follow the on-screen instructions to download and install the latest available wireless driver version.

Search automatically for updated driver software Note: If Device Manager was not able to identify a new driver version, right-click on the wireless driver again and choose Uninstall driver from the context menu. This will force the generic drivers to click in which might fix the issue in this case.
- Reboot your computer and see if the problem is fixed once the next startup is complete.