How to Fix Error Code: VAL 9 in Valorant on PC?
VALORANT error code VAL 9 is often caused by corrupted Riot Games client data, but in some cases, it is also caused by an internet connection from the Internet Service Provider (ISP). When a game requests data from the server, the request first travels from various different locations before reaching the server. These locations are called Routes that the request used to travel to the server. So when the Routes get changed by your ISP, you will see VAL 9 error code after launching VALORANT.
Before you follow the methods, make sure your internet is working fine. You can do a speed test to test your internet connection. If the speed is less than 2MB, it means your internet connection is low; you can try restarting your router. With that, we also recommend you restart your Riot Client.
| ⚠️ Occurs When: | Launching VALORANT |
| ✅ Best Solutions: | Solutions 10 |
| ❌ Caused By: | Corrupted Riot Games Program data folder |
| 🤬 Symptoms: | Unable to Launch VALORANT |
1. Delete the Riot Games folder from the Program data
The program data folder saves the user files, settings, and client data of the third-party, classic, and Universal Windows Platform (UWP) applications. Hence, if the files under the Riot Games folder get corrupted, it will result in this error message.
Therefore, try deleting the Riot Games folder from the program data to see whether the error is fixed or not. This won’t delete the VALORANT but will delete the client files and other files that are used to tell Riot Games that VALORANT has been installed on your PC. You just need to relocate the VALORANT on Riot Games to re-create the client files.
To delete the Riot Games folder, follow the steps:
- Open File Explorer by pressing Win + I on the keyboard.
- Navigate to the C folder, then go to the Program data folder.
- If you cannot find it, click the View button, hover over Show, and click the Hidden items to view the ProgramData folder. Once you see the folder, open it.
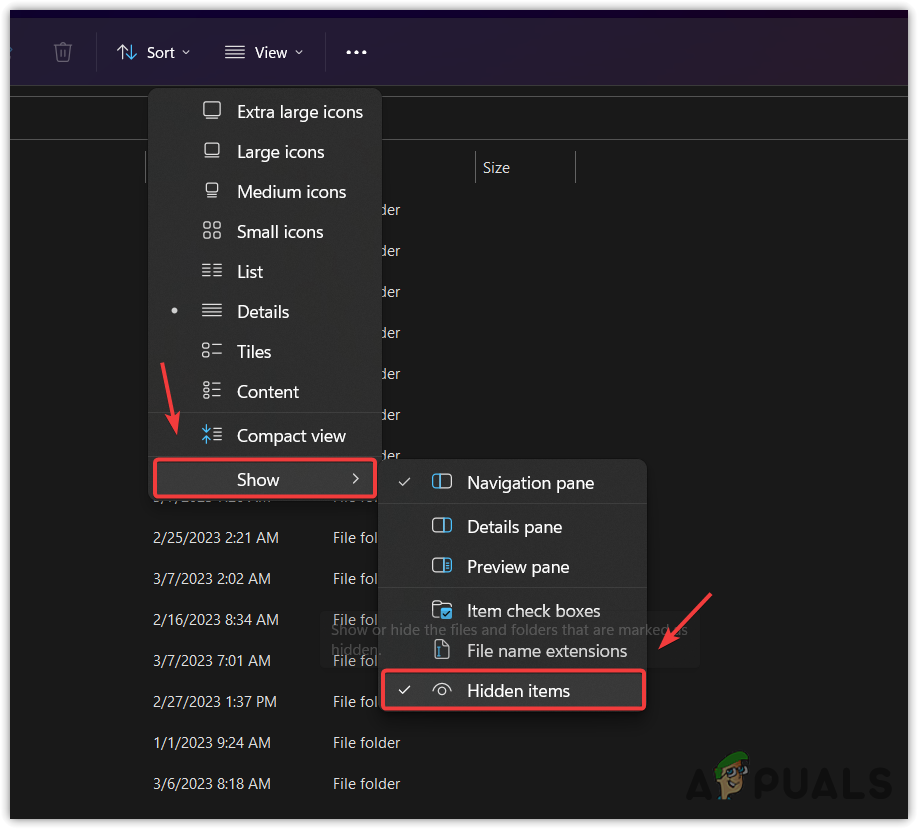
Enabling Windows Explorer to display hidden folders - Find the Riot Games folder, then hold the Shift key and right-click the folder.
- Select the Delete button to remove the folder.

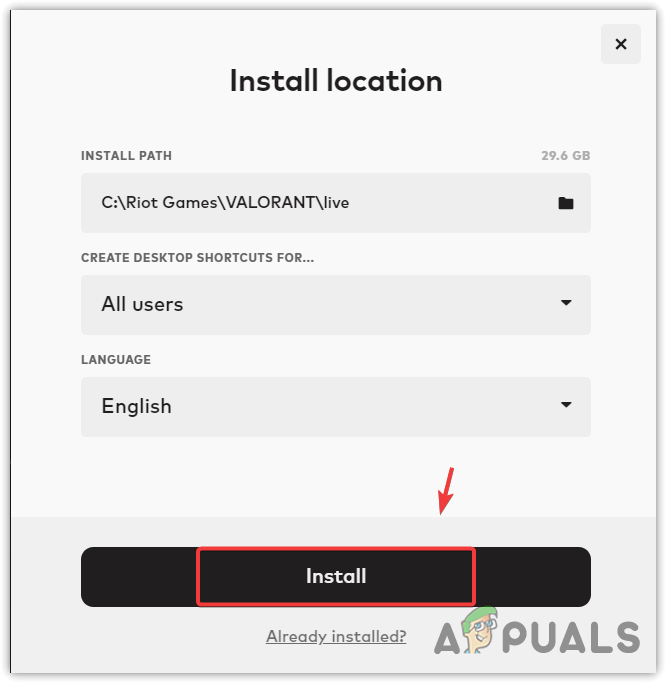
Deleting the Riot Games folder from the programdata - Once done, open VALORANT and click the Install button.

Proceeding to Locate VALORANT - Then, click Already installed, relocate the VALORANT, and click Install. It will take some time to verify the files.
Verifying VALORANT files by selecting the VALORANT folder - Once done, launch VALORANT to see if the problem is fixed or not.
2. Reinstall the Riot Games
According to the VALORANT article, this error is caused by the problems with Riot Games. So we can try to re-install it to fix this error. To reinstall Riot Games, follow the steps:
- Open File Explorer and navigate to the disk where the Riot Games folder is located.
- Open the Riot Games folder and right-click the Riot Client folder while holding the Shift key.
- Select the Delete option to remove the folder.
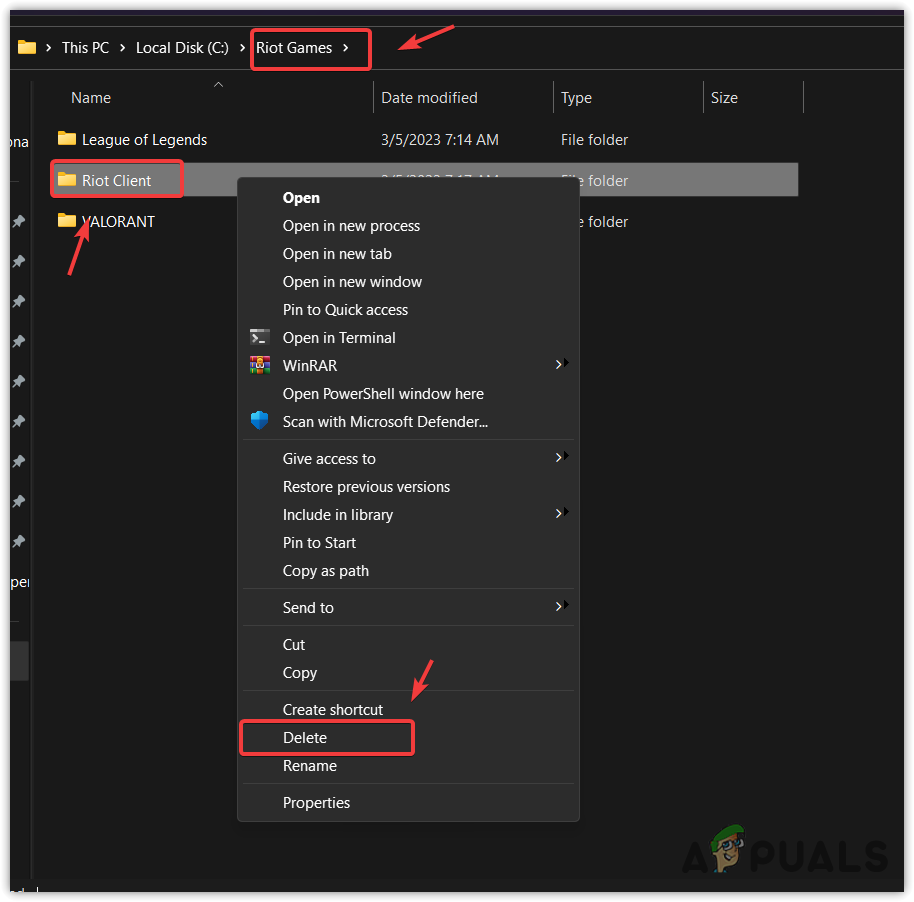
Deleting the Riot Client folder from the Riot Client folder - Once done, download the installer of any game that is available on Riot Games, such as VALORANT and League of Legends.
- Once done, open the installer and select the Riot Games folder.

Installing the Riot Client to its default directory - Once Riot Games is installed, wait for the VALORANT to initialize.
- Once done, launch the VALORANT and check if the VAL 9 error is fixed.
3. Restart the VGC service
VGC service is a Riot Vanguard service, which is an anti-cheat system required for VALORANT to run. Thus, if the VGC service is disabled, stopped, or set to Manual, you will get VAN81 and VAL 9 errors after launching VALORANT. Hence, check whether the VGC service is running or not.
To restart the VGC service:
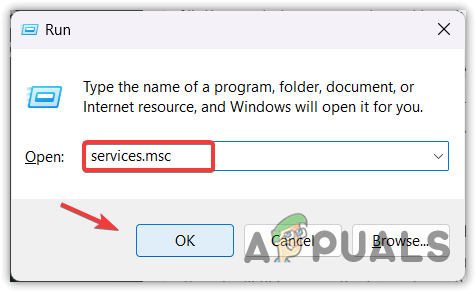
- Press the Windows + R keys simultaneously to open the Run Program.
- Enter services.msc in the search box and click OK to navigate to the services Window.
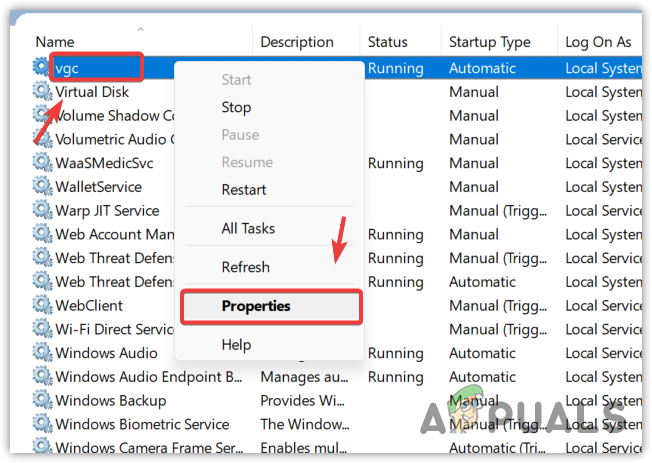
Opening the Windows Services page - Find and right-click the VGC service, and go to Properties.
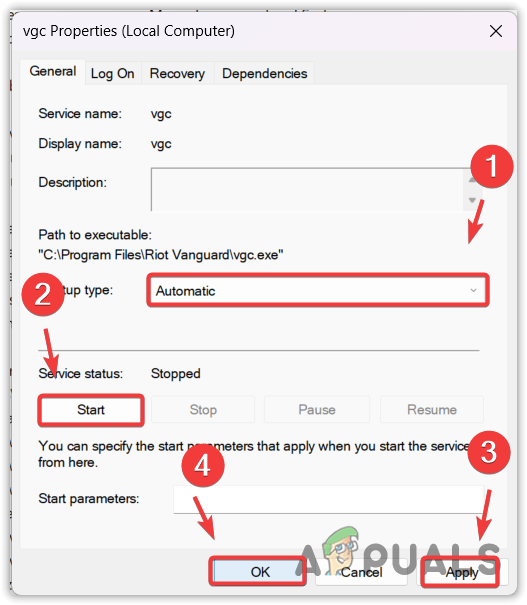
Launching vgc service properties - Change the startup type from Manual or Disabled to Automatic.
- Click the Start button if the service is stopped.
- Then, click Apply and click OK to save the changes.
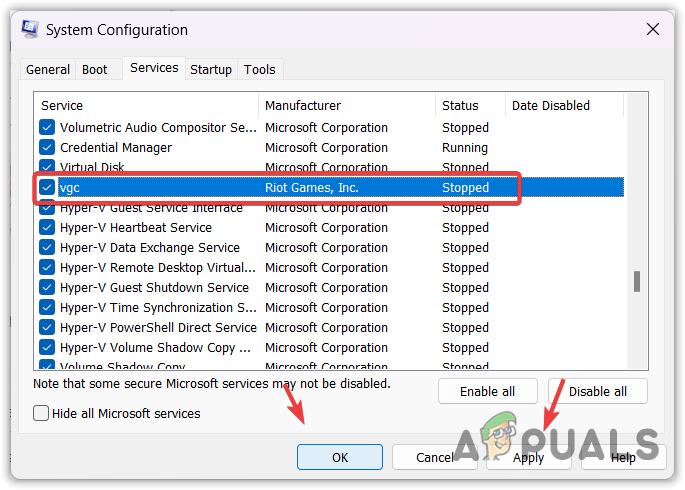
Restarting the vgc service - Additionally, if the VGC service has not been added to start with Windows, then press the Win + R, and type msconfig in the search box.

Opening Services Window - Go to Services from the top, find, and check the VGC service.
- Click Apply and click OK.
Adding VGC to open with Windows startup - Then, restart your computer and launch the VALORANT to see if the error is fixed or not.
4. Check for the Server Status
If the issue still persists, you can try checking the server status because it is possible that VALORANT servers are facing issues, which is why it is showing VAL 9 error code. To ensure that, visit the link downdetector and check how many users are facing the same issue. If you see many reports, it means the VALORANT servers are down. Just wait till the servers become stable.
5. Try using VPN to Launch VALORANT
It is possible that VALORANT is struggling to connect you to its servers. This can happen if your ISP has recently made some changes, preventing VALORANT from connecting to its servers. Hence, to ensure that you can try connecting to a VPN just to get into the lobby. Once you are in the lobby, disconnect the VPN to play the VALORANT without any issues, but connect to the same region where you get a stable ping.
There are many VPNs available; you can check our article The Best VPN For Streaming and Gaming in 2022 to find the best VPN for you.
6. Use Hotspot to launch VALORANT
You can also avoid this error by using a hotspot on your computer or laptop. Once you have connected to the hotspot, launch the game and wait for the game to let you in the lobby. Once done, switch to your internet connection to play the game.
7. Contact Your Internet Service Provider (ISP)
If you can connect to the VALORANT using method 5 or 6, then it is confirmed this issue is from your ISP (Internet Service Provider), which can easily be fixed by contacting the ISP. You can ask your ISP to revert the recent changes that are causing VAL 9 error code in VALORANT.
8. Reinstall Riot Vanguard
As we said earlier, Vanguard should be running properly in order to play VALORANT. Hence, if there are any corrupted files in the Vanguard, the VAL 9 error will likely appear. Therefore, try reinstalling Riot Vanguard to see whether the error will fix or not.
To reinstall Riot Vanguard, follow the steps:
- Right-click the Start Menu and select Settings to open it.
- Then, go to Apps > Installed apps.
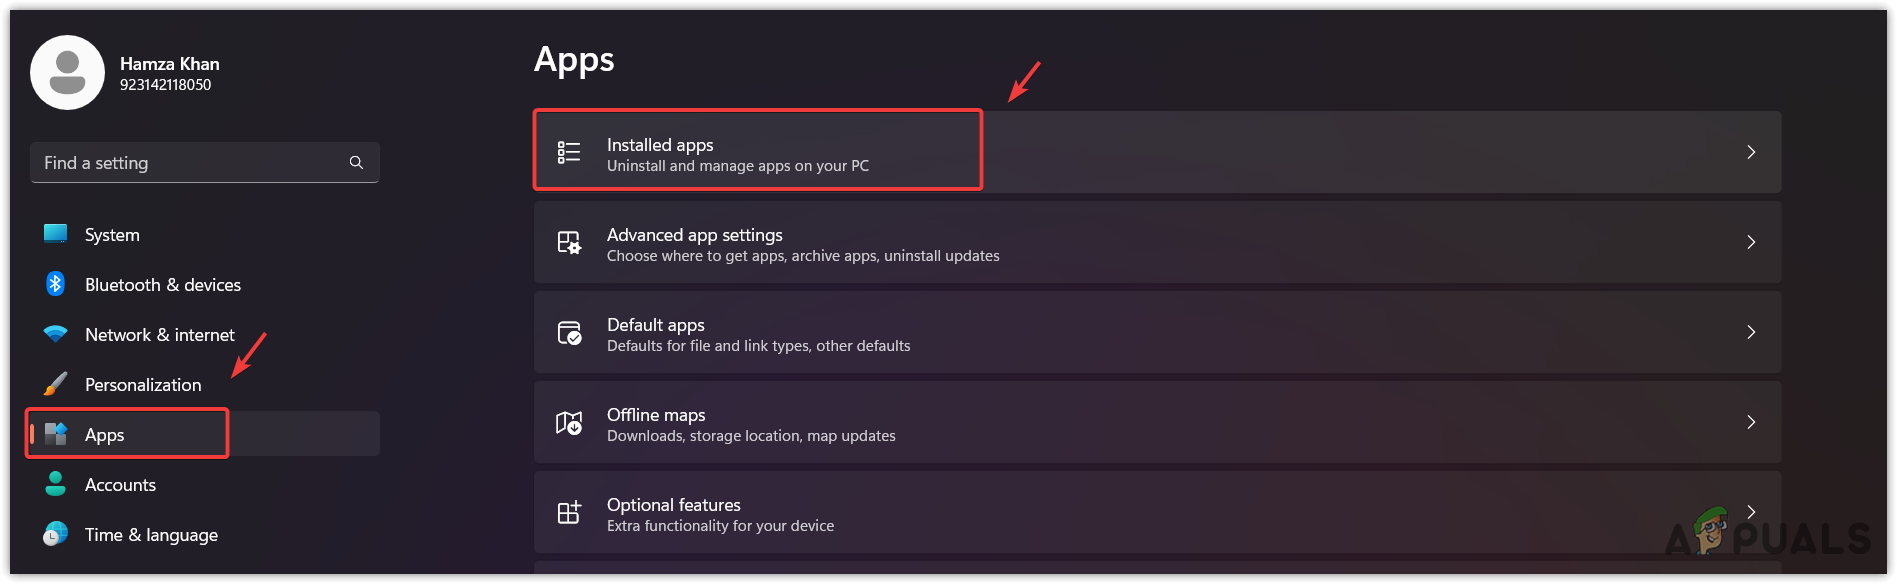
Navigating to the Installed Apps - Then, search for Riot Vanguard, click the three dots, then click Uninstall.
- Again, click Uninstall to remove the Riot Vanguard.
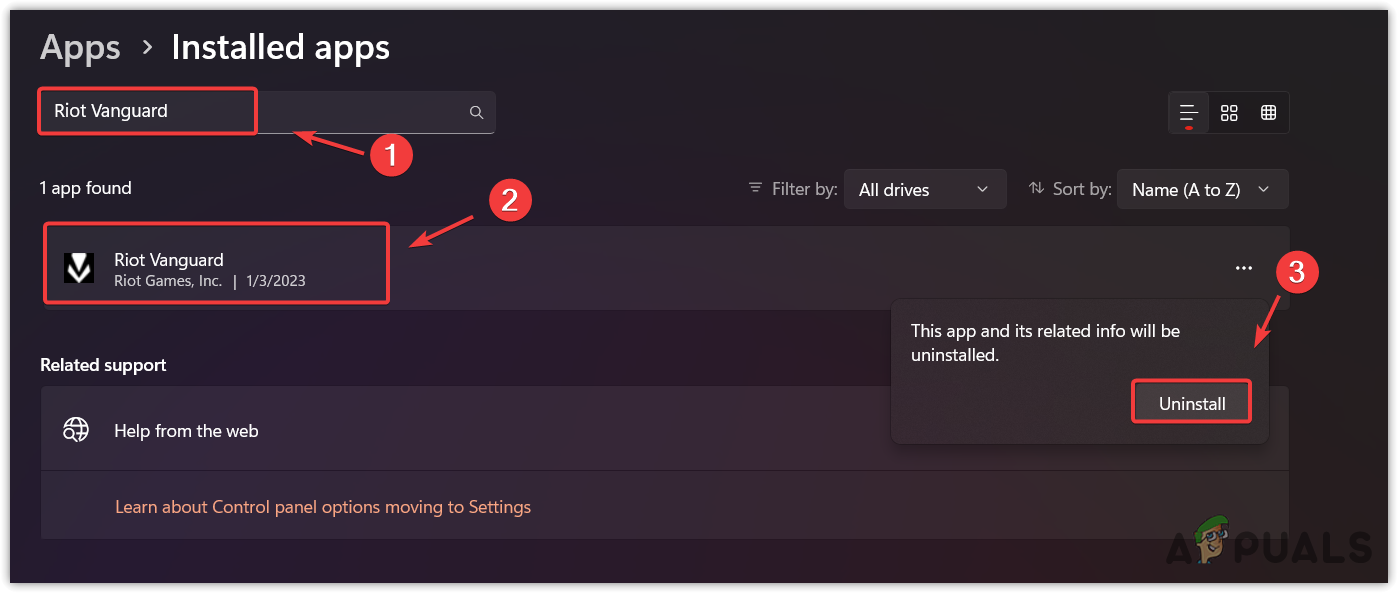
Uninstalling the Riot Vanguard - Once done, launch the VALORANT and wait for the Riot Vanguard to install.
- Once done, restart your computer to initialize the vanguard. Then, launch VALORANT to see if the VAL 9 error code is fixed.
9. Reinstall VALORANT
Finally, if you have tried all the methods and none of them have worked for you, go for reinstalling the VALORANT, as it is possible that there are some corrupted files displaying error code VAL 9. Reinstalling VALORANT will replace all the files with fresh ones.
- To do so, press the Windows key and type Add or Remove Programs.
- Open the settings and search for VALORANT.

Opening Programs and Features from Start Menu - Click the three dots on the right side of VALORANT and click Uninstall.
- Once again, click Uninstall to confirm the action.

Uninstalling VALORANT - Additionally, press the Windows + R keys and type appdata.
- Hit Enter to navigate to the app data folder.
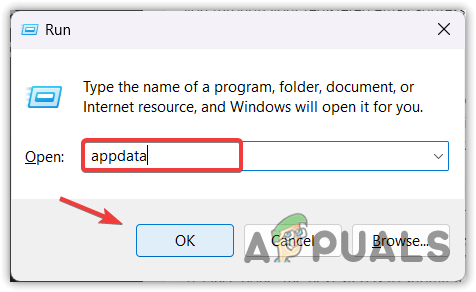
Opening the Appdata folder using Run Program - Now go to Local and find the VALORANT folder, then delete it.
- Then, find the Riot Games folder and navigate into it.
- Then, delete the VALORANT folder.
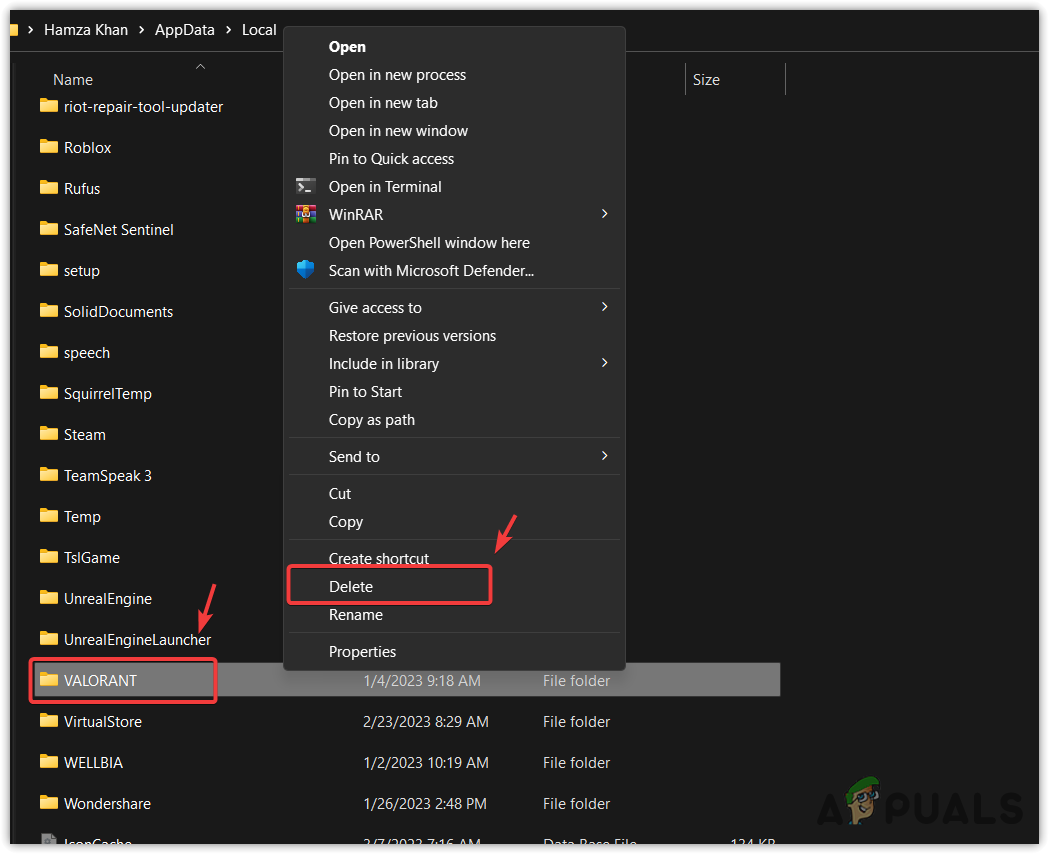
Deleting the VALORANT folder from the config files - Once done, download the VALORANT installer to install VALORANT on your PC.
- Once done, launch it and check if the VAL 9 error is resolved.
10. Submit a ticket to Riot Games
If reinstalling VALORANT also fails to fix VAL 9, you can try submitting a ticket to Riot Games with your log files. Once you have submitted the ticket, the Riot Games support team will help you eliminate this error by contacting you through your registered email address.
10.1 Gather Log Files
- To submit a ticket, you need to gather your log files in a ZIP folder. To do so, download the Riot Client Repair.
- Once it is downloaded, double-click on it to install.
- Once done, right-click the Riot Client Repair application, and select Run as administrator.
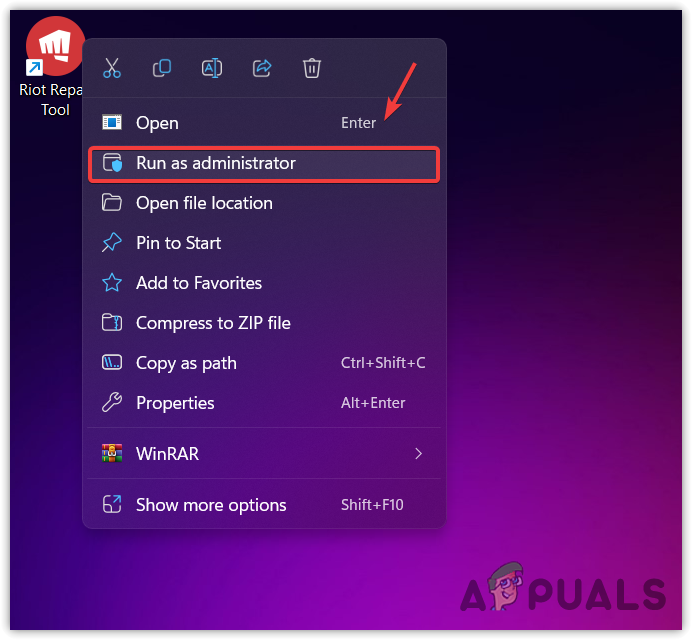
Running Riot Repair Tool as an administrator - Once the application is launched, select VALORANT from the games.
- Click the Start and wait for the application to gather your log files.

Start gathering VALORANT logs files - Once done, click Finish and close the Program.
- Now go to the desktop, right-click the Logs folder and hover over WinRAR and click Add to archive. You can also use 7Zip or any other archive utility.
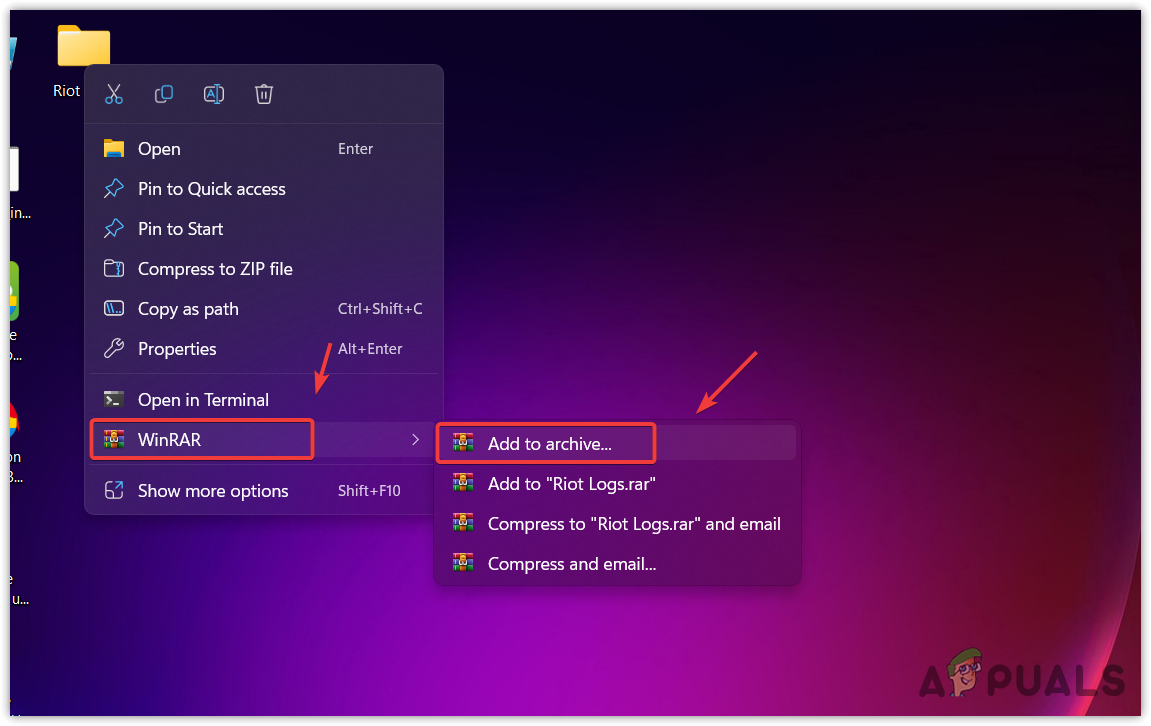
Converting VALORANT Logs Folder to a ZIP folder - Once done, the next step is to submit a ticket.
10.2 Submit a Ticket
- Go to playvalorant.com, and sign in to your account.
- Hover over Support, then click the Support option.
- Scroll down until you find Submit a Ticket option.
- Once you find the option click on it, then select Technical Issues: Install, patch, lag, or crashes from the Request types. Then, describe your issue briefly by filling out the form.

Selecting a Request Type - Once done, add the VALORANT Logs ZIP folder and click Submit.
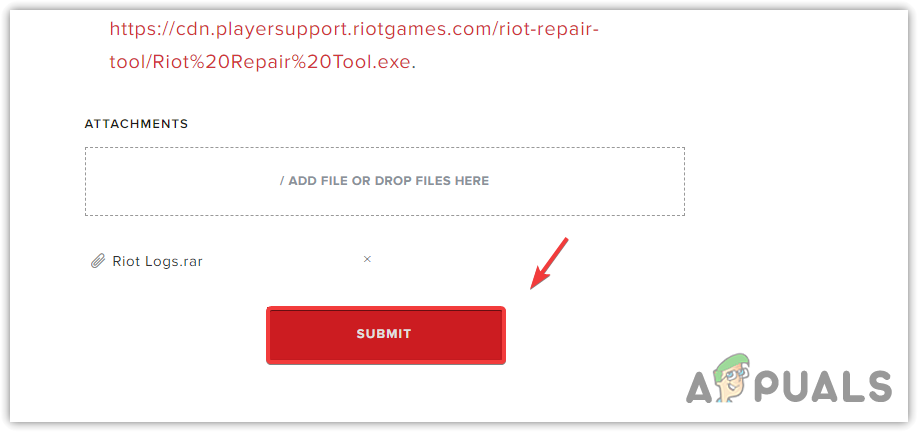
Submitting a Ticket to Riot Games Support - Once done, just wait for the response from the Riot support team.
- FAQs
To fix VAL 9, you will need to delete the Riot Games folder from the program data, which typically saves the client data files, settings, and user configuration files. Once you have deleted it, the error will be fixed./wsfa] [wsfq]What causes VALORANT error code VAL 9?[/wsfq] [wsfa]The main cause of this VALORANT error code VAL 9 is corrupted program data Riot Games folder, but it also occurs when the VALORANT struggles to connect to its servers due to your ISP.


