MacOS Error Code 1309 When Transferring Files (2 FIXES)
The Error Code 1309 is a common macOS error that can occur when transferring files from one drive to another. Most frequently, this error pops up when the size of the transferred file exceeds the maximum size allowed by the external storage file system.
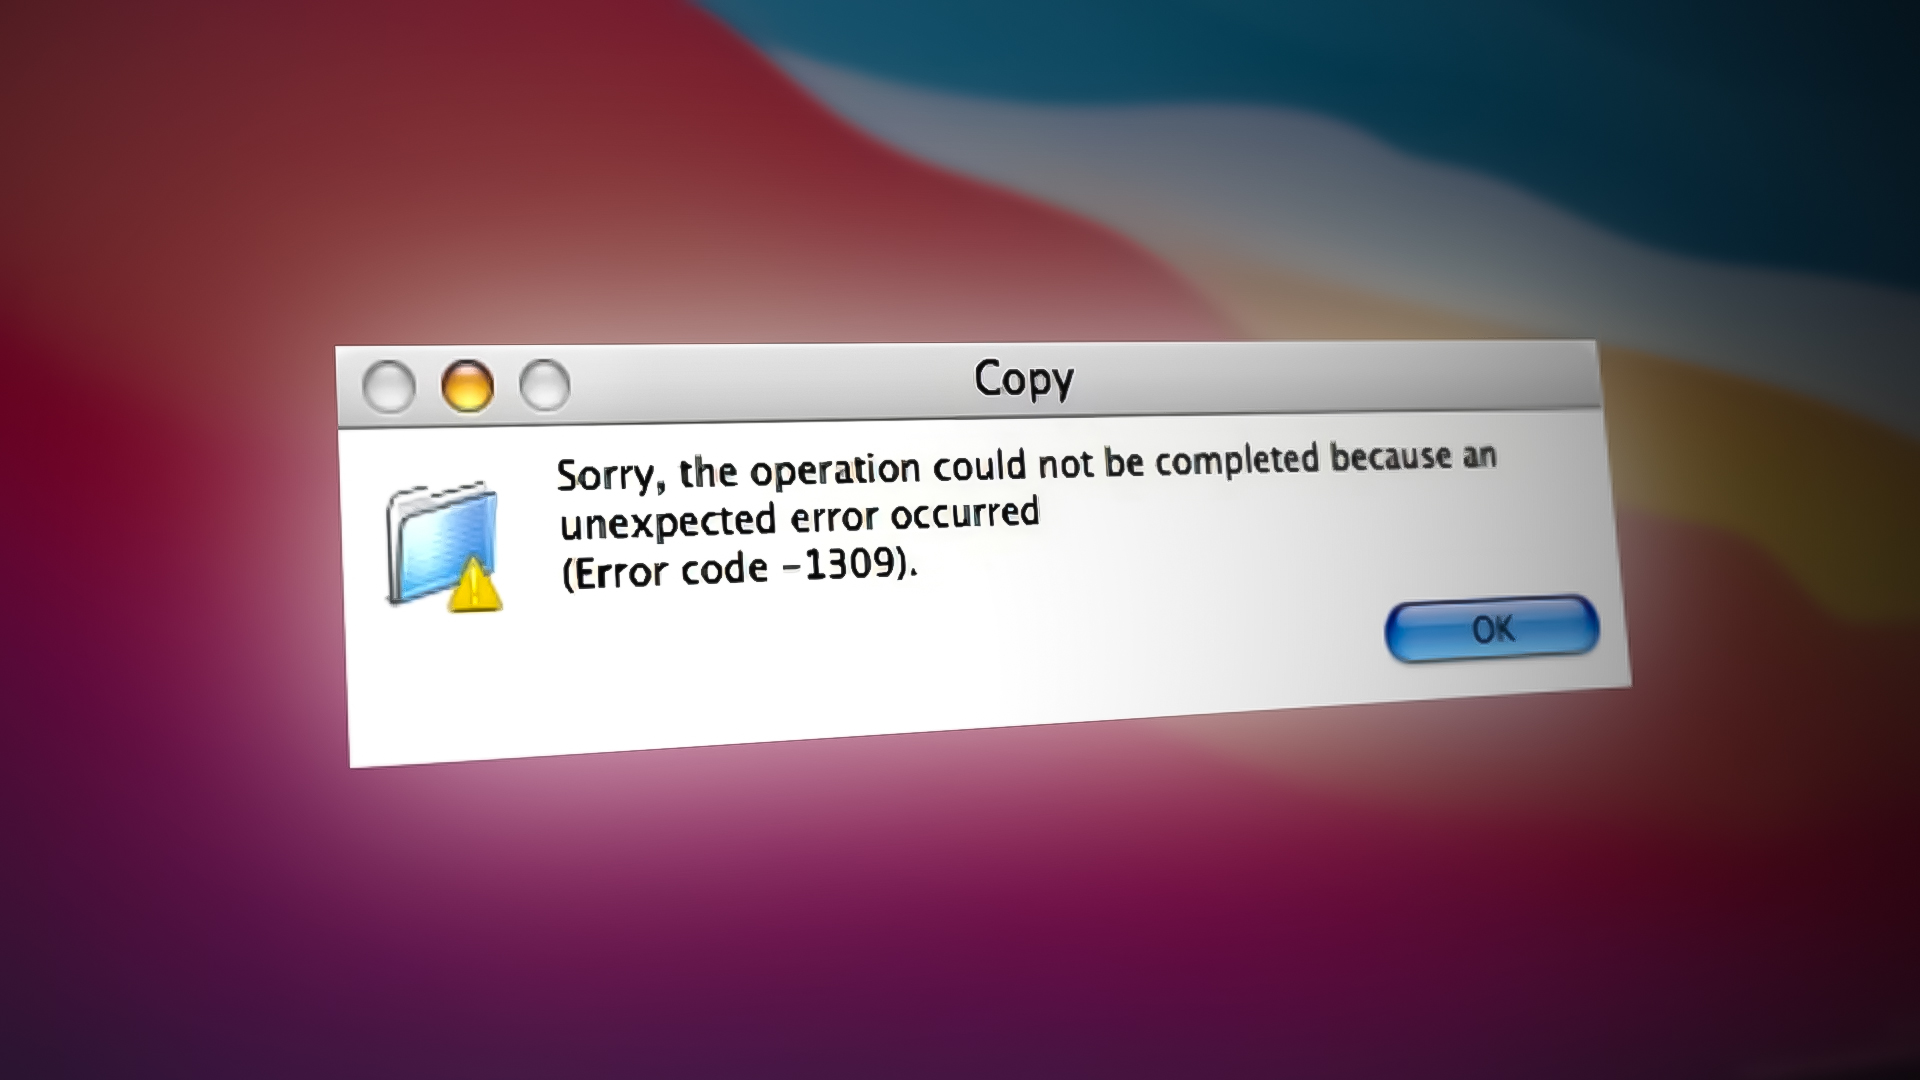
Keep in mind that Mac OS X can handle files up to 16 terabytes, but only on HFS+ file systems. Other formats have a much lower maximum size, and that’s most likely the reason why you’ll get the 1309 error code when you try to move them.
If you get this error while trying to move a file from your mac to an external drive, you are likely seeing this error code because the external drive is formatted to the Fat32 file system which only supports a maximum file size of 4 GB. If the file exceeds that, you will get this error every time you attempt to move it (unless you do something about it).
Fortunately, there are ways around this error, and not all of them will require you to be technical. Below you will find two verified methods that will help you fix this error:
1. Split the big file into smaller files
If you don’t have the option to reformat the external drive, splitting the file into two smaller files is arguably the only what that will allow you to complete the file transfer without seeing the 1309 error.
Note: If the external drive was previously used on a Windows computer, chances are it’s formatted to Fat32 which only allows a maximum File Size of 4 GB.
In case the file you’re trying to move is bigger than this, you can get around this problem by splitting it into sections before moving and restoring it back to its original size.
The easiest way to do this is via the Terminal app, but this will require you to get a bit technical. If you prefer a simpler GUI approach, our recommendation is to use WinRar or WinZip to split the files before initiating the transfer again.
1.1. Split files via the Terminal app
macOS has a special Unix command specifically for scenarios where you need to seamlessly split and re-unite a file.
Note: This command will work on every macOS version as long as you run it from the Terminal App with the required permissions.
Here’s how to split a big file into smaller files via the Terminal app and avoid the 1309 error:
- First, make sure that your external storage device is connected to your Mac.
- Next, open up the Finder app from the horizontal bar at the bottom of the screen.
Open the Finder app - Use the Finder app to open up the Applications menu, then scroll down and click on Utilities.
- Inside the Utilities folder, click on Terminal to open up the app, then confirm with touch id or password when asked to provide admin access.
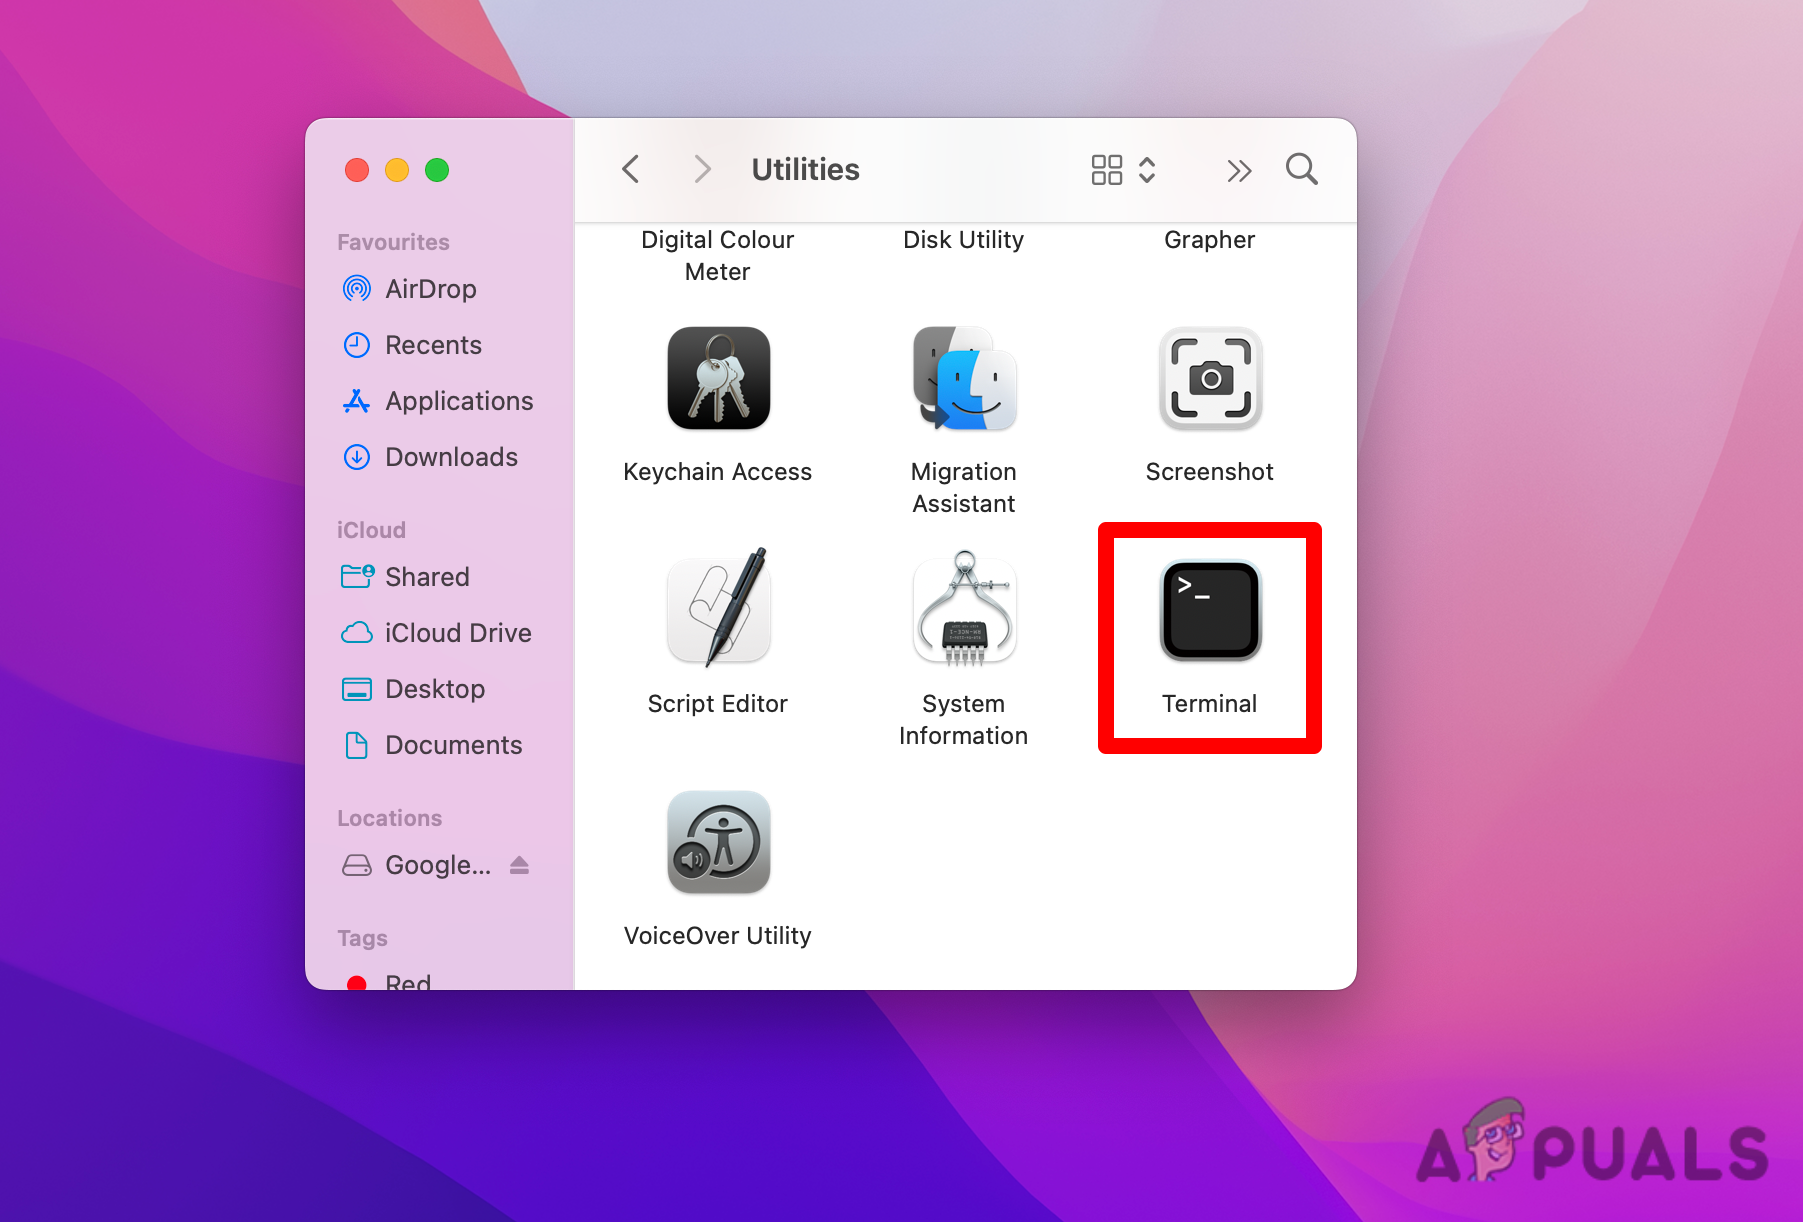
Open up the Terminal app - At the first screen of the Terminal, type the following command to navigate to the root location where the file that cannot be moved is located:
cd /Volumes/*TARGETDRIVE*/
Note: TARGETDRIVE is simply a placeholder for the actual drive name. Replace it accordingly.
- Once you arrive on the correct path via the Terminal app, type the following command and do not press Enter yet:
split -b4000m
Note: Keep in mind that you can replace the number value with any value of your liking. We used 4000 because it’s the maximum value supported by every popular file system.
- Next, open the Finder app and navigate to the location that contains the file throwing the error.
- Click and hold, then drag the file into the Terminal to add the full location.
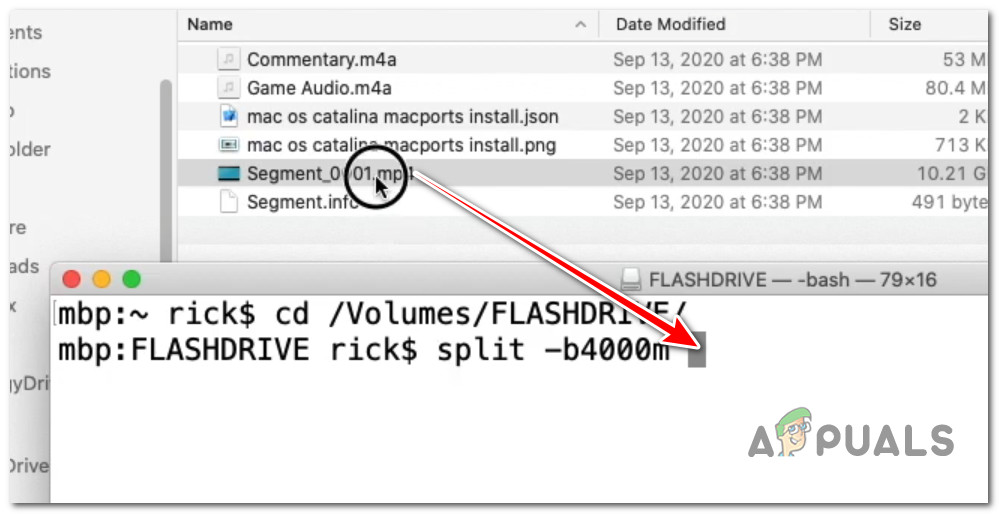
Pasting the full file path - At the command, type a naming convention at the end. We added ‘vid’ because the file we’re moving is a video. This will help you identify the splitter files.
- Press Enter to initiate the split operation. Here’s an example of a split file command:
split -b4000m /Users/USER/Movies/Game/ Capture/HD/Library/mac/ os/ catalina/ macports/ install/Segment_0001.mp4 vid
- Wait until the operation is complete. The split files will all be generated on the location you established in step 2.
- Transfer the file to the external drive, then use the cat command to merge all files into one:
cat vida vidb vidc > newfile
1.2. Split files via WinRar or WinZip
If you don’t want to get involved with the technical approach, you can simply use WinRar or WinZip to split the big file into multiple compressed archives before you move it and merge it again.
Here’s a quick guide on how to use the WinRar or WinZip to split files and avoid the 1309 error:
- First, make sure WinRar or WinZip is installed.
Accessing the latest version of WinRar Note: If the utility is not installed yet, download it from the official WinRar website and follow the on-screen instructions to install it on your macOS system.
- After installing it, right-click on the file that you want to split and click Add to Archive.
- Once you do that you will need to select the following options.
- Under Archive, select RAR since the Volume size option is only available under this format.
- Under the Compression Method you can choose between normal/fast, we recommend selecting Normal.
- Select the size of the volumes into which you wish to divide the folder under Split to Volumes.
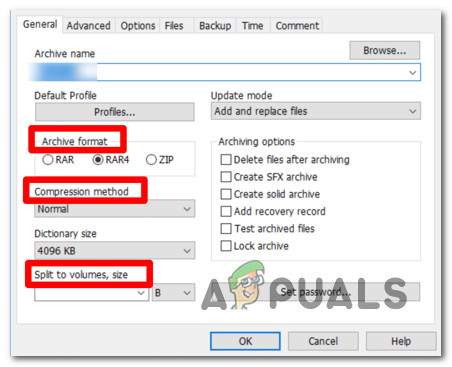
Splitting the volumes with Win Rar - In order for WinRar to start processing and splitting the files click Ok.
- Once the operation is complete, move the .rar files to the new volume, then extract the big file once again.
2. Change file system to MacOS Extended (Journaled)
If the external drive that throws the 1309 error when you transfer files to it is empty or it contains files that you can delete, the quickest and painless way to avoid the error entirely is to change the file system to
Mac OS Extended (Journaled).
This fix is ideal in situations where the drive is formatted with Fat32 and the file you’re trying to transfer exceeds 4 GB.
Here’s a quick guide on formatting the external drive to the macOS Extended file system:
- The complete the formatting, we’ll need to use the Disk Utility. To do so use the bottom bar to click on Finder.
Open up the Finder app - From the Finder app, click on Applications.
- Inside the application tab, scroll down and open Utilities by double-clicking.
- Inside the Utilities folder, scroll down to Disk Utility and click on it.
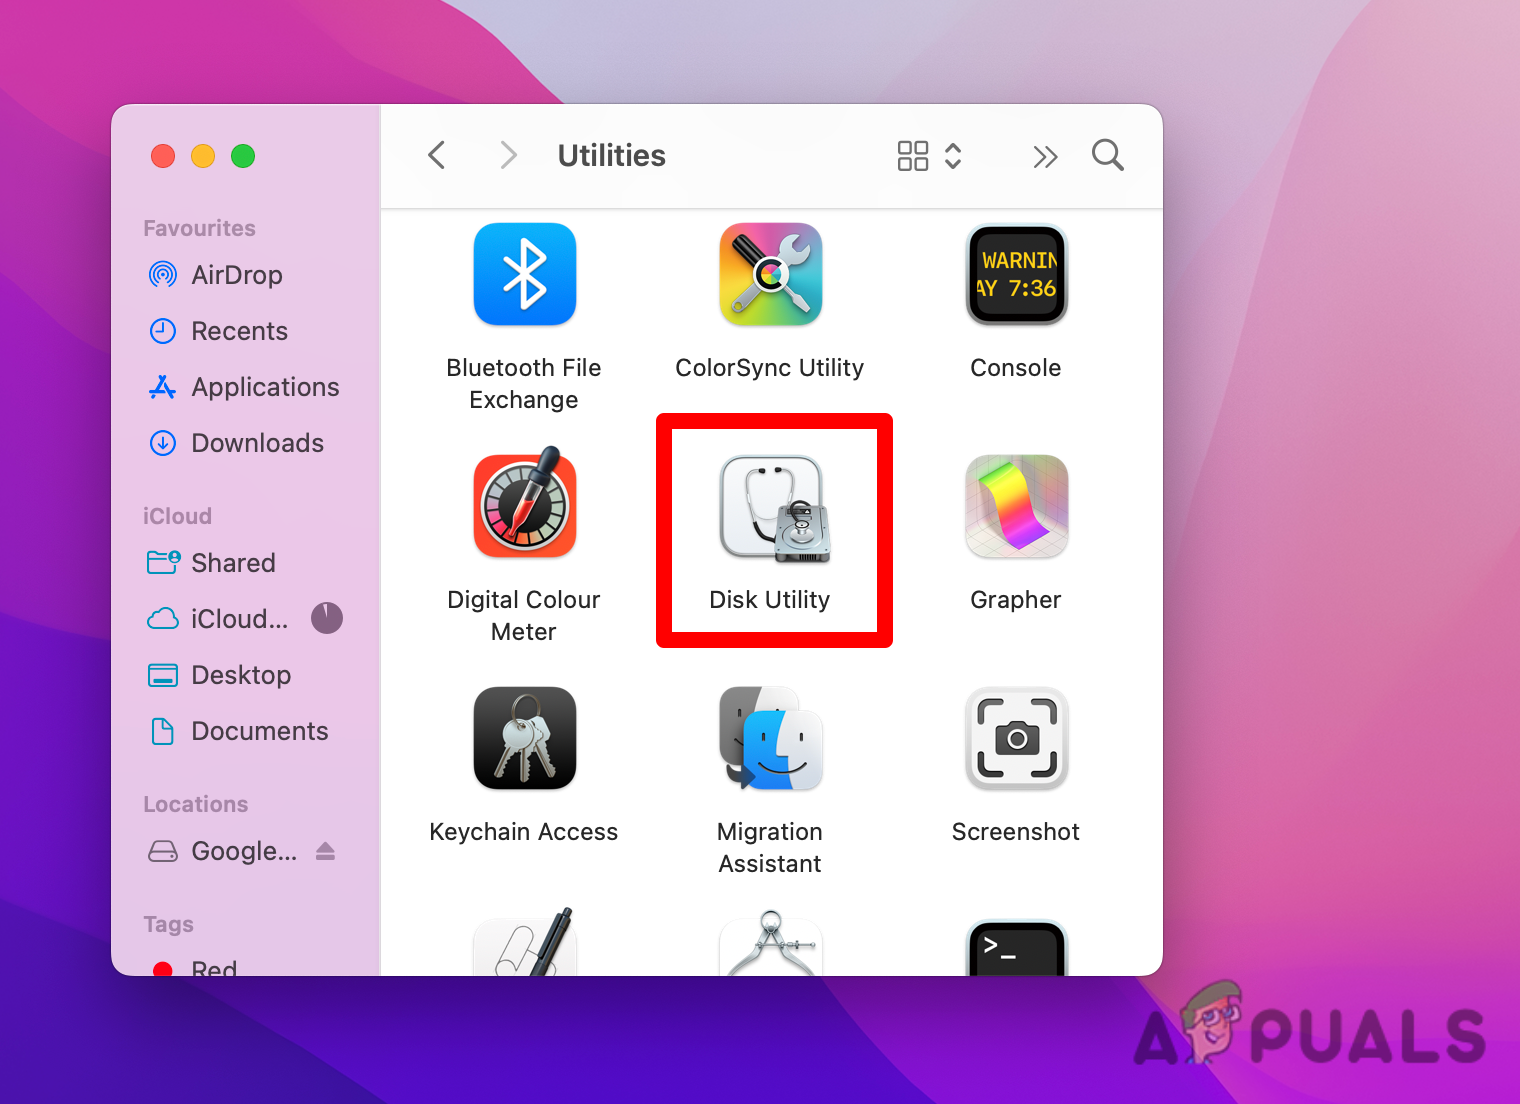
Open up Disk Utilities - Click on View and then on Show all devices.
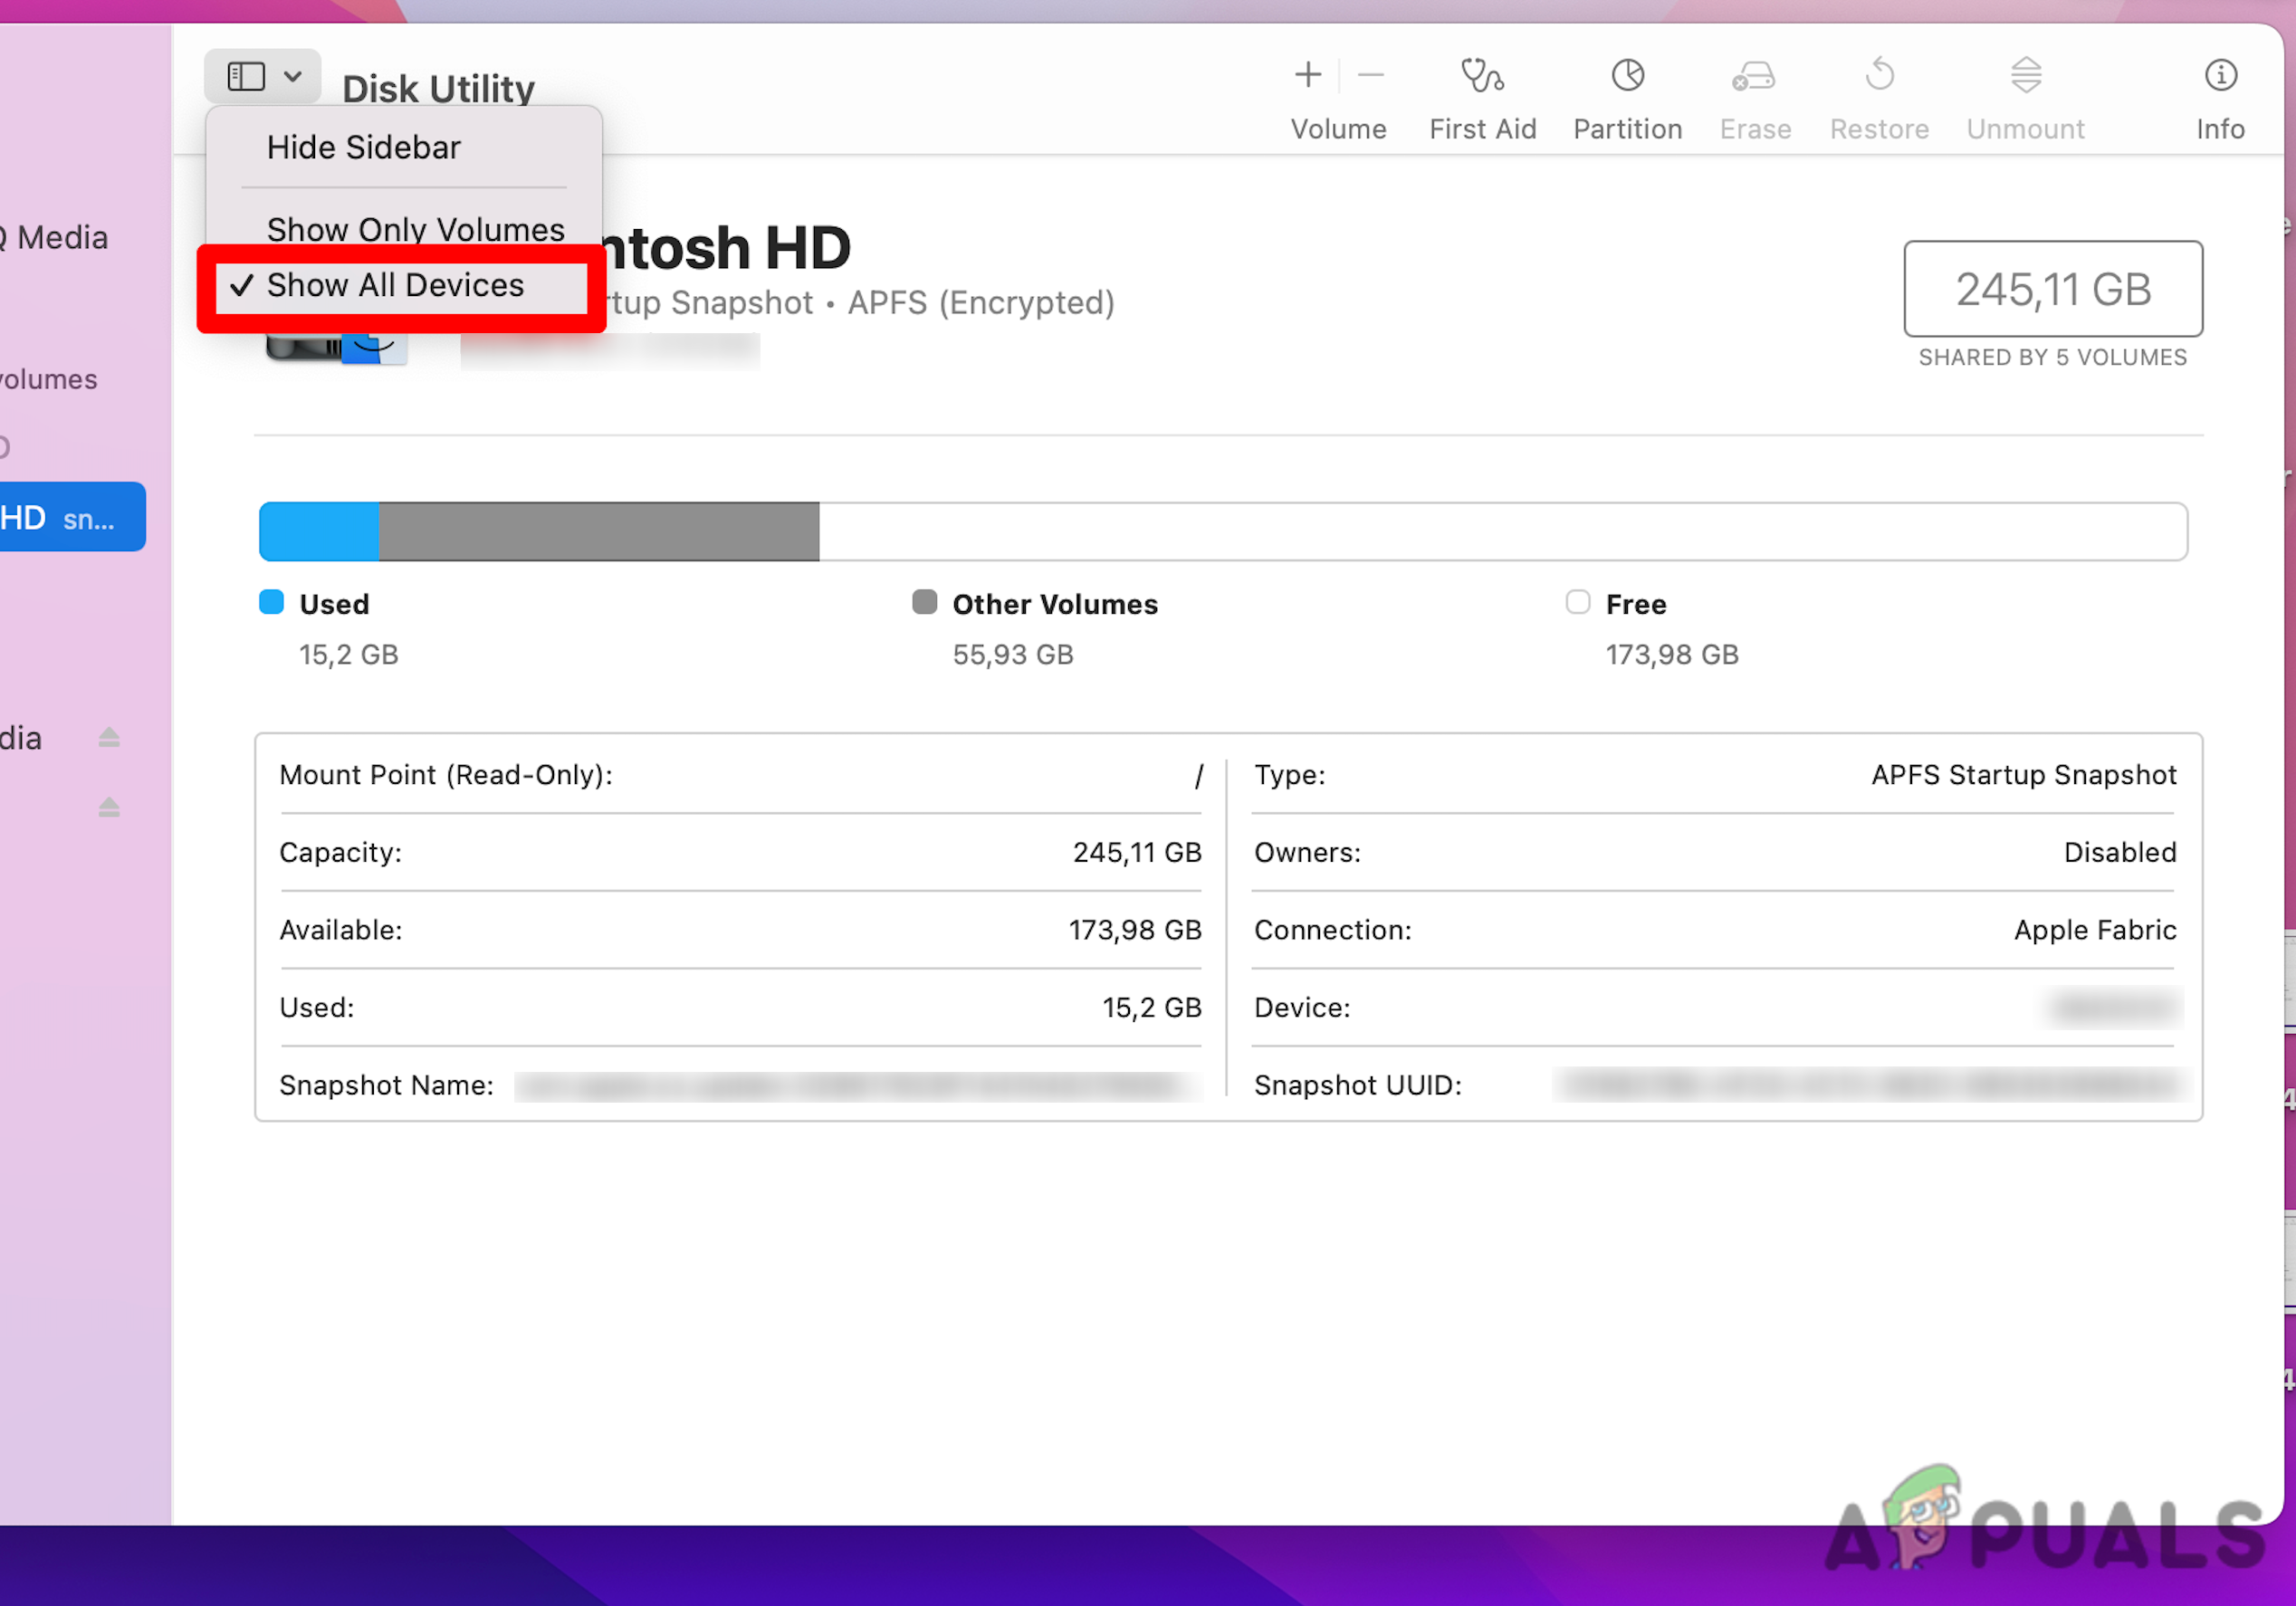
Accessing the drop-down menu - From the left-hand side, select the external drive that you are about to format.
- Click on the Erase button – this action will bring out an expanded menu.
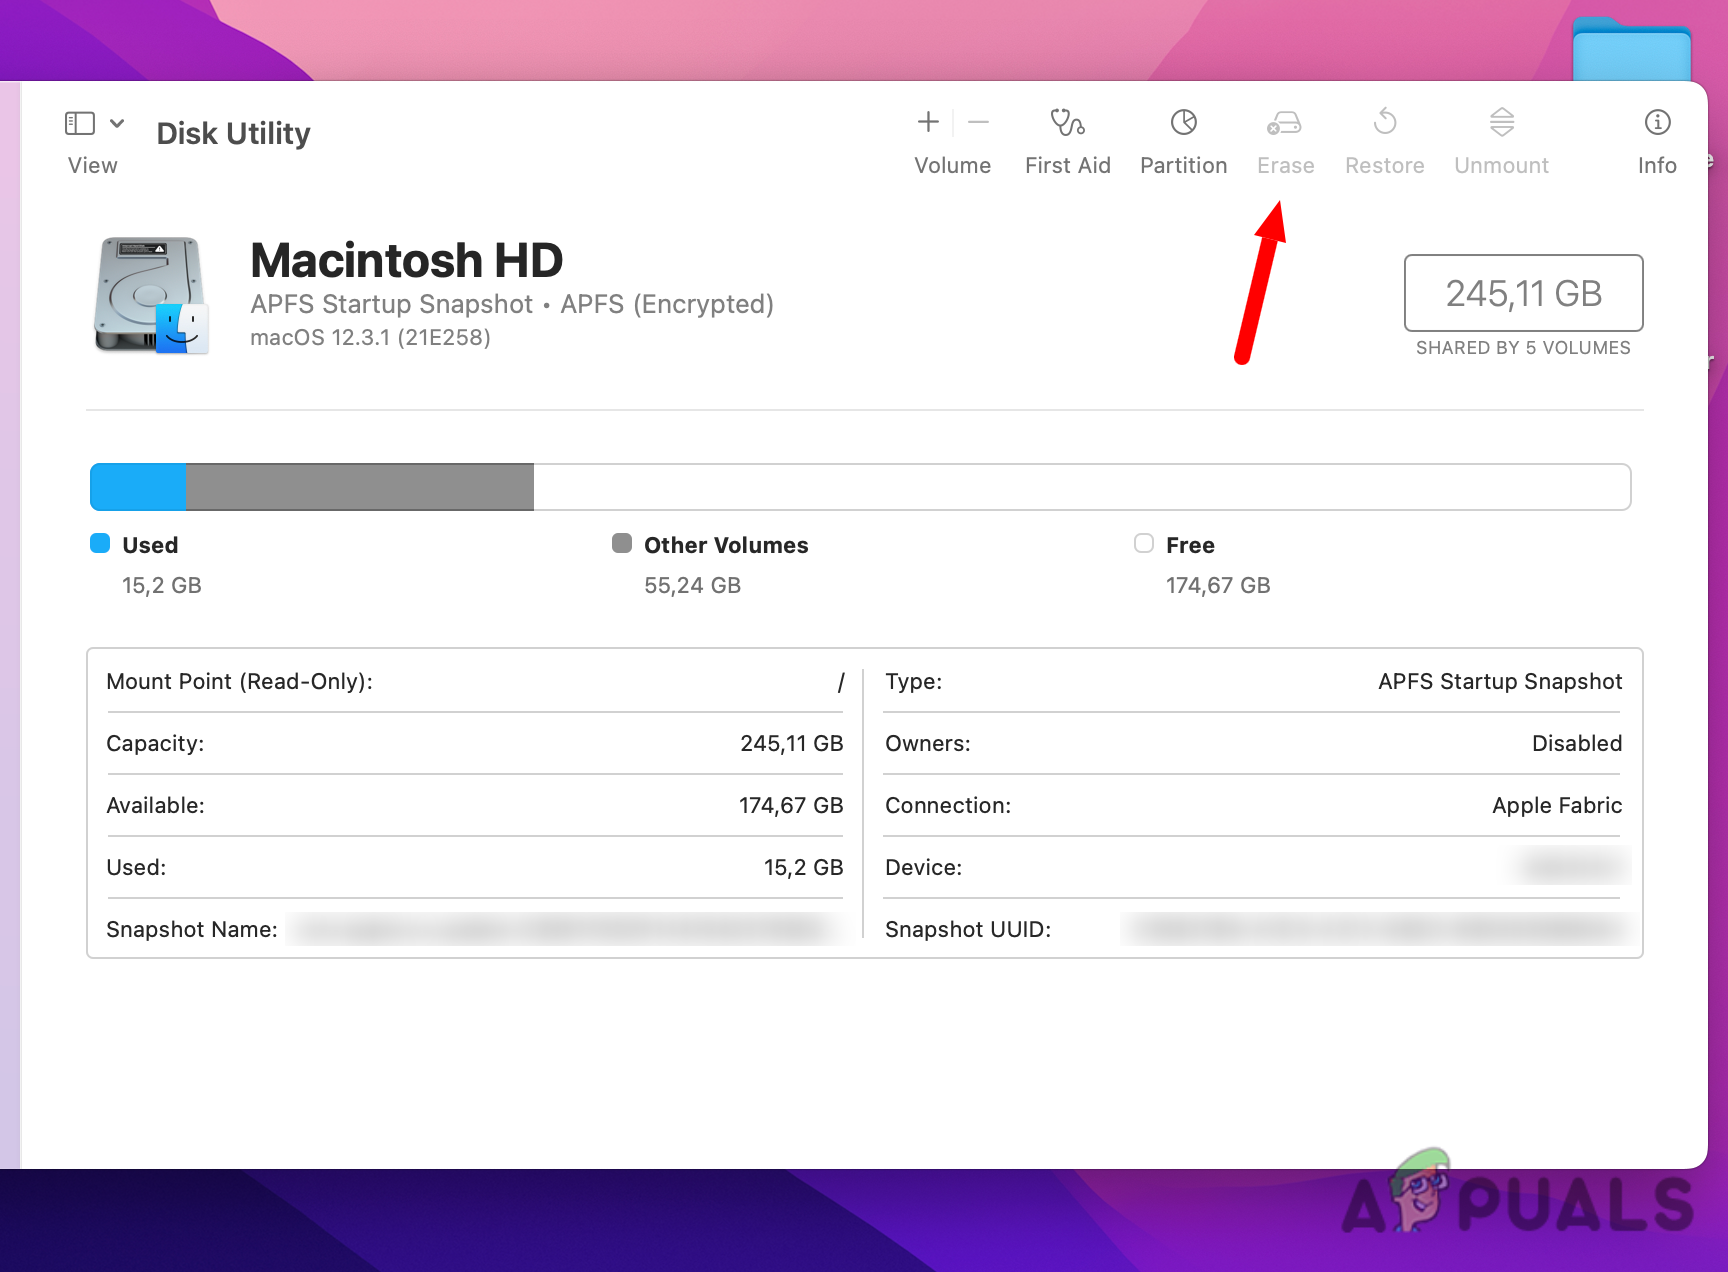
Click on the Erase menu Note: If Scheme is not displayed, ensure that all devices are visible and the non-indented entry is selected. Go back to Step 4 and make sure that the Show all devices option is selected.
- Choose a Name and then set Format to Mac OS Extended (Journaled).
- Next, set the Scheme to GUID Partition Map.
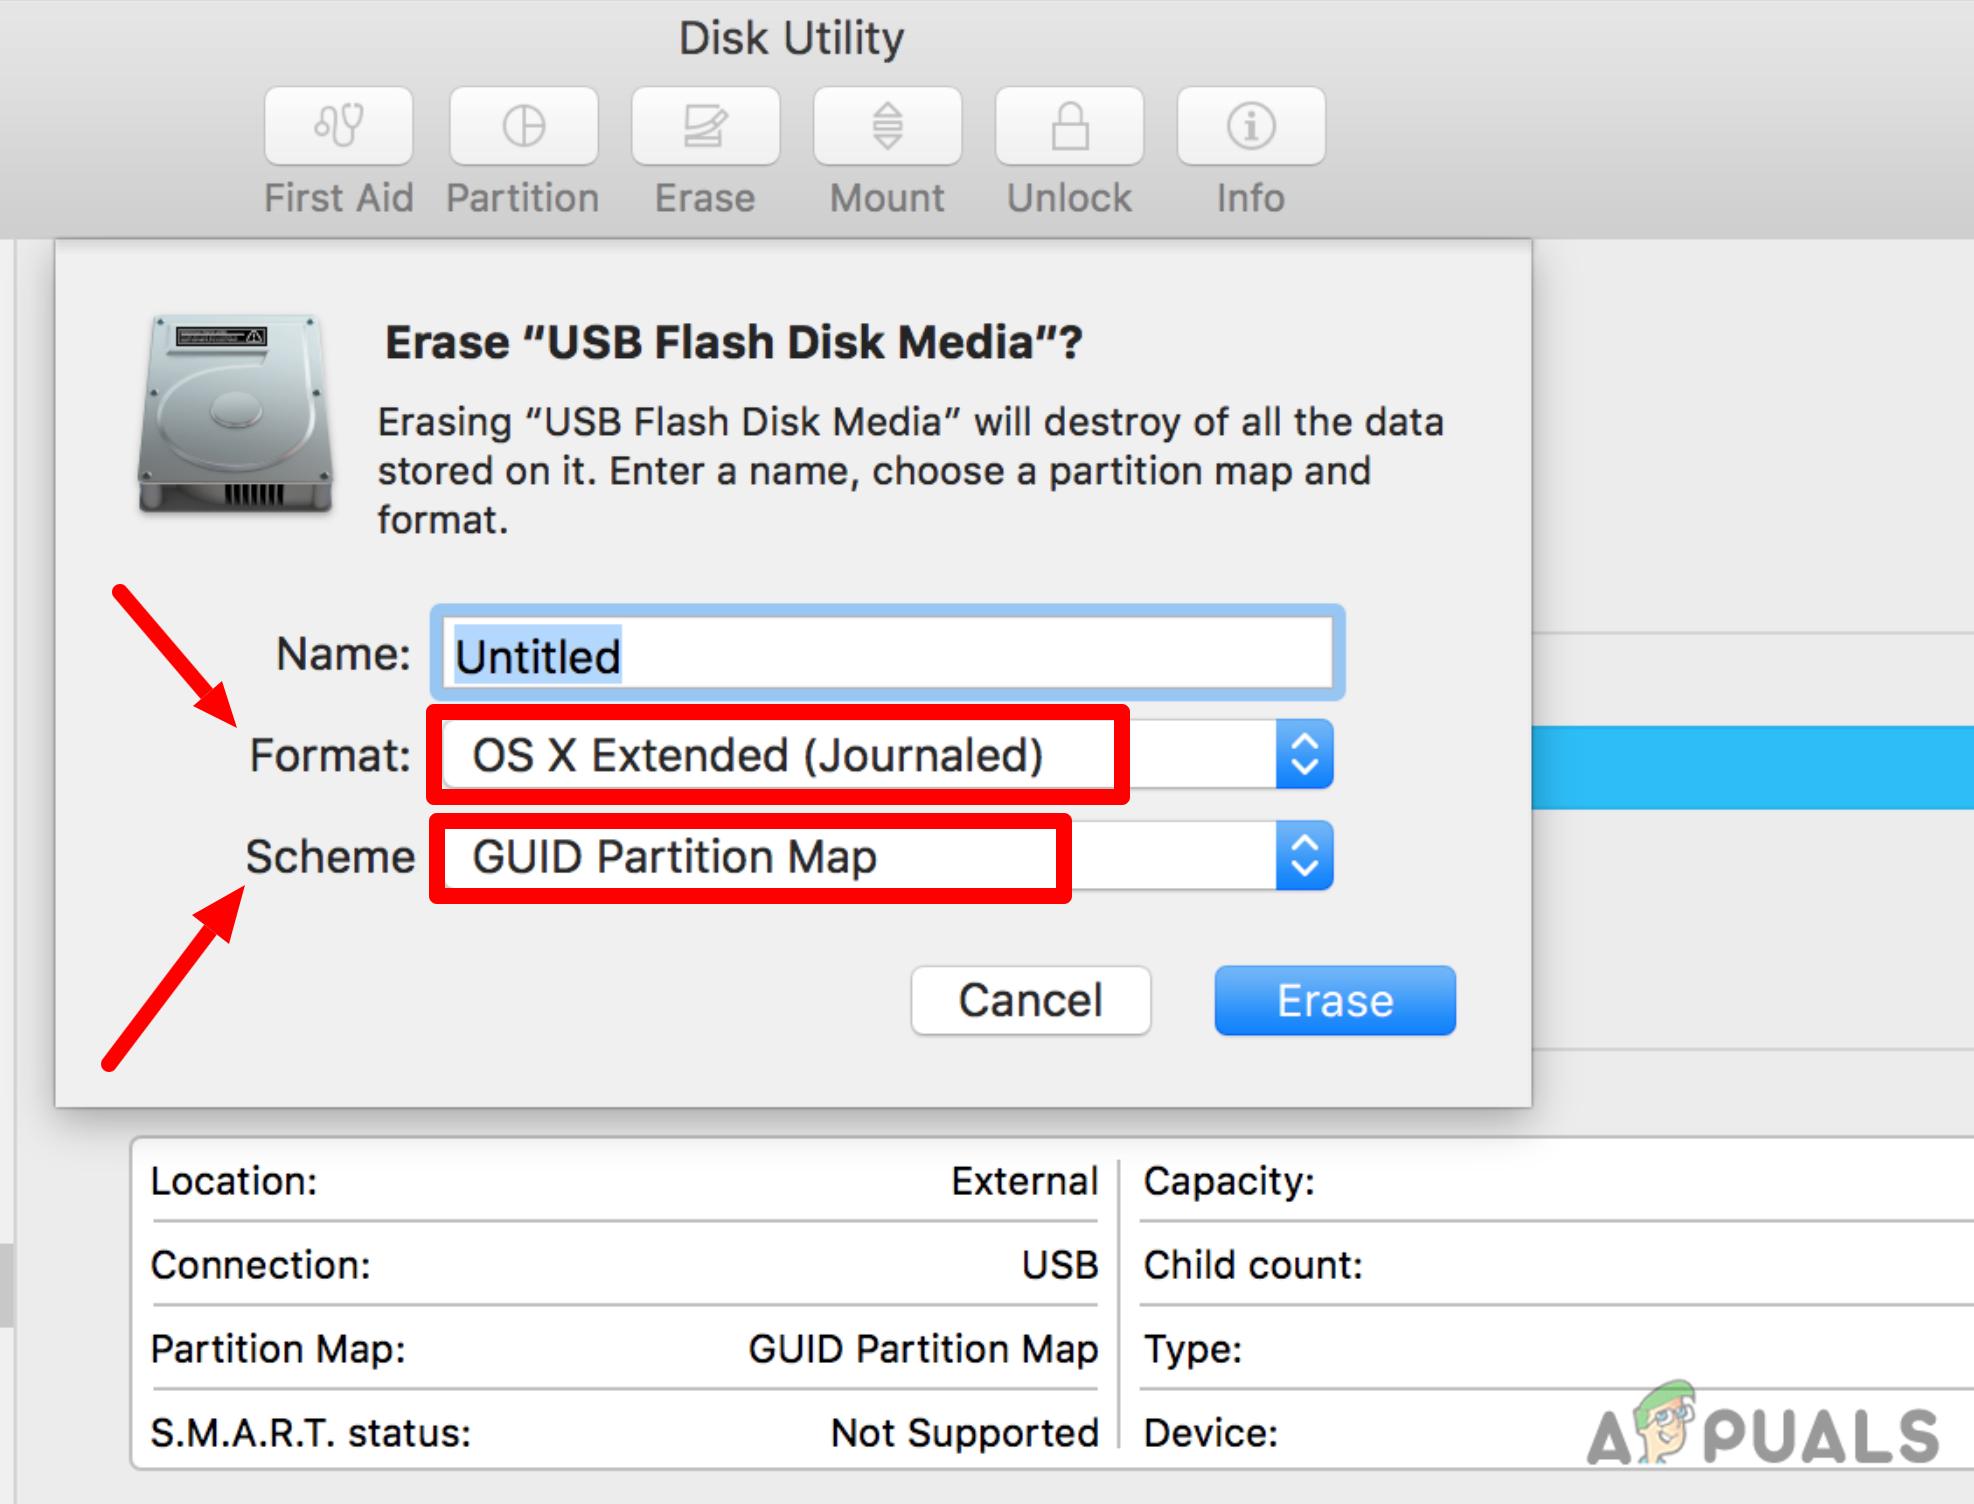
Choose a name and the partition type Note: Keep in mind that this action will delete all the data from the targeted drive, so prior to formatting the drive, you should back up any data that you wish to keep.
- Once you click the Erase button the drive will start formatting.


