How to Fix “Error #3000” on Twitch?
 Reviewed by Muhammad Zubyan
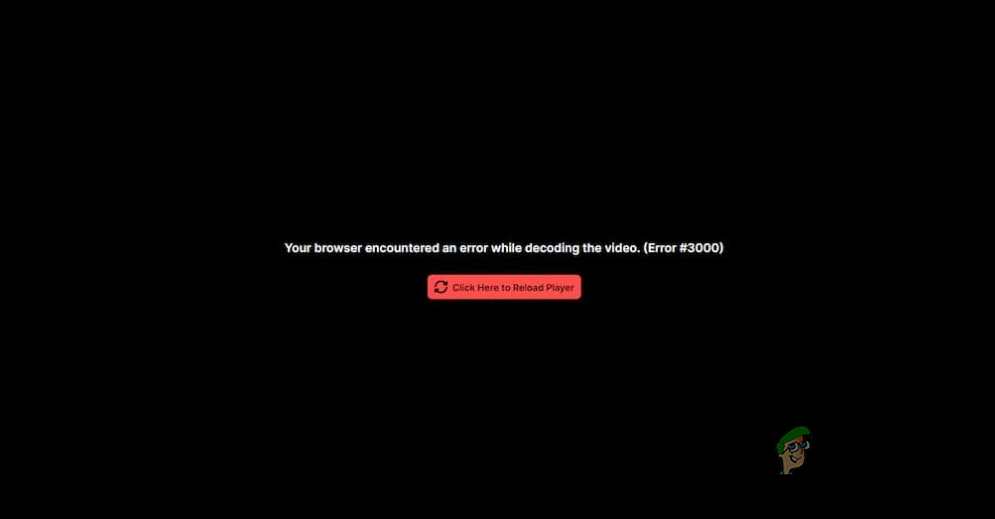
The Twitch playback error 3000 occurs when the video codec used by Twitch cannot be decoded on your system. This can often happen when you are missing media packs on Windows N versions since it does not come installed by default.
In addition, the error code can also arise due to the interference of third-party extensions on your browser, the use of hardware acceleration by your browser, the graphics drivers installed on your system, and more. In this article, we will take you through a number of methods that you can implement to get rid of the issue in question.
1. Install Media Feature Pack (Windo+ws N users)
If you are using Windows N or KN version on your computer, you are likely missing the Windows Media Feature pack which is required for decoding and playing videos properly. This includes the Windows Media Player and other related technologies involving various codecs that are commonly used to encode media on the internet.
In such a scenario, you will have to manually install the Media Feature pack on your computer to resolve the issue. This will install all of the missing features related to media playback on your device, and the error 3000 on Twitch should go away.
It is important to note that you will have to reinstall the Media Feature pack on your system when you update your Windows version. This is to avoid any version conflicts and ensure the media feature pack works without any issues. To install the media feature pack, follow the instructions below:
- First, open the Settings app by pressing the Windows key + I on your keyboard.
- In the Settings app, navigate to Apps > Optional features.
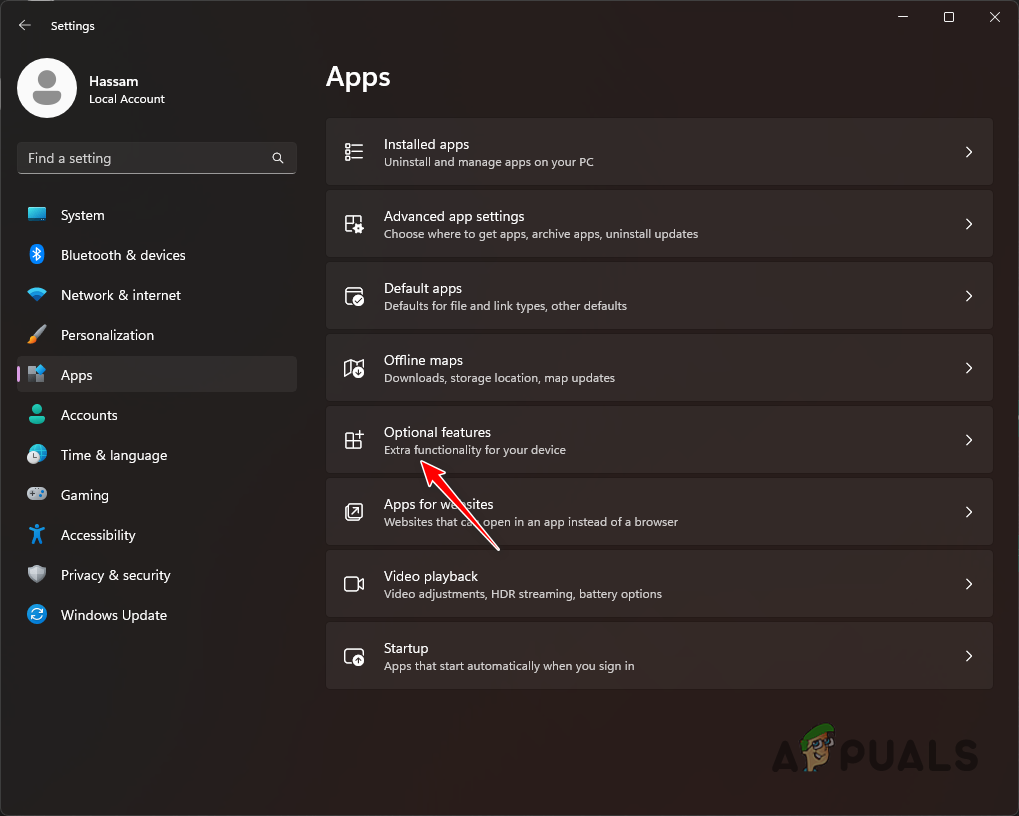
Navigating to Optional Features - There, click on the View features button.
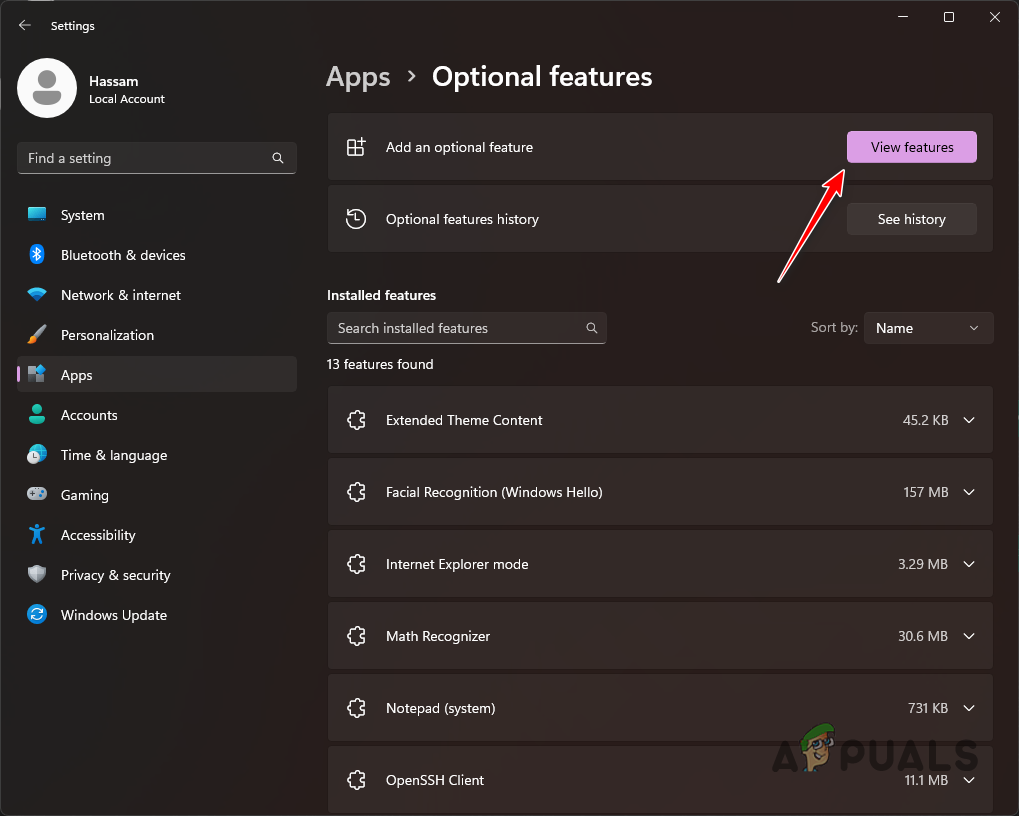
Viewing Windows Features - In the list of features, search for Media Feature Pack and select it. Click Next.
- On the follow-up screen, click the Install button to install the feature.
- Once you do that, restart your computer and see if the problem persists.
2. Disable Third-Party Extensions
In some scenarios, the third-party extensions installed on your browser can also cause the issue in question. This happens when the extensions interfere with the website and break some of its functionality. In most cases, this behavior is caused by ad blockers, however, they may not always be the responsible party.
In such an instance, you will have to disable the third-party extensions installed on your browser to resolve the issue. Disabling the extensions individually can be tiresome. As such, one solution would be to use private window mode on your browser for Twitch.
If the problem goes away in a private window, it will be evident that the issue is caused by one of your installed add-ons. This is because third-party extensions are disabled by default in private window mode. In such a scenario, start disabling the add-ons one by one to find the culprit and remove it from your browser.
3. Disable Hardware Acceleration
Hardware acceleration is a feature that makes use of the graphics card installed on your motherboard for various purposes, freeing up vital CPU time on your system. Normally, all of the tasks performed by a browser are carried out on the CPU. However, with hardware acceleration, some of these tasks are performed on the GPU, which eases the load on your CPU.
Using hardware acceleration can sometimes cause various playback and media-related issues on your browser. In such a scenario, you will have to disable the feature. Follow the instructions below for your respective browser to do this.
Google Chrome
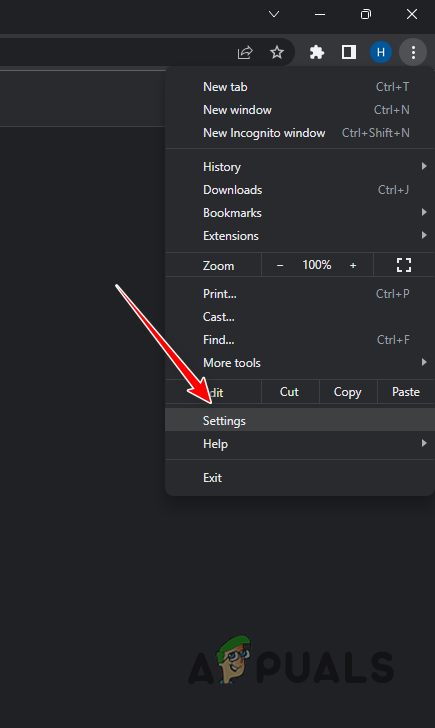
- First, click on the More menu option in the top-right corner.
- From the drop-down menu, choose Settings.
Navigating to Chrome Settings - On the Settings page, switch to the System tab on the left-hand side.
- There, use the Use hardware acceleration when available slider to turn it off.
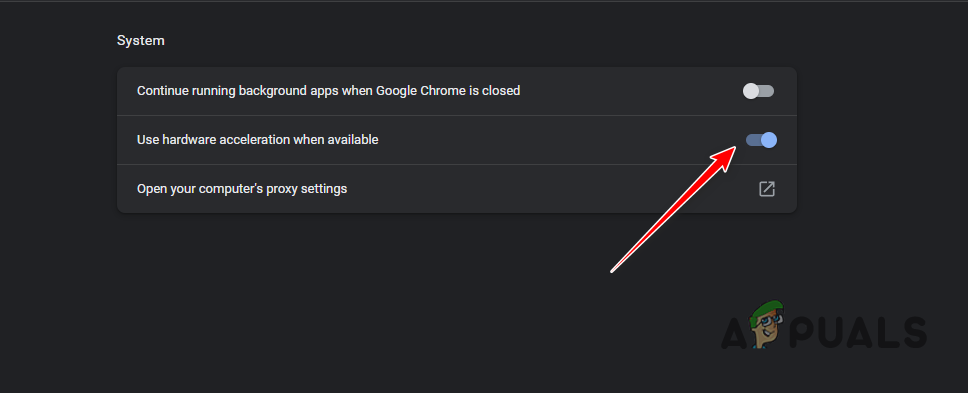
Disabling Hardware Acceleration on Chrome
Mozilla Firefox
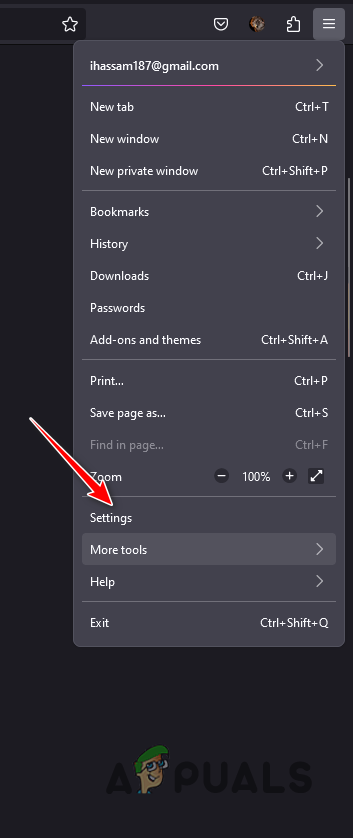
- Click on the More menu option in the top-right corner and choose Settings.
Navigating to Firefox Settings - After that, on the General tab, scroll down to the Performance section.
- Untick the Use recommended performance settings checkbox.
- Finally, untick the Use hardware acceleration when available checkbox.
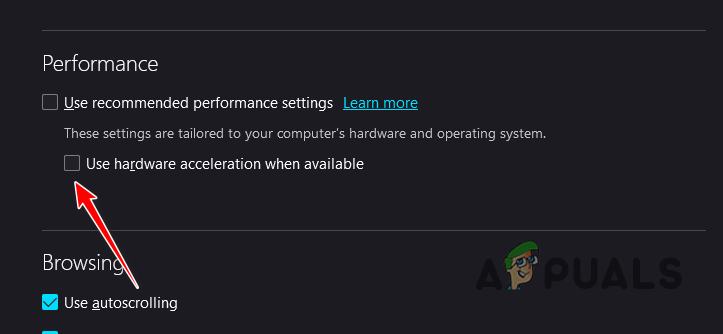
Disabling Hardware Acceleration on Firefox
Microsoft Edge
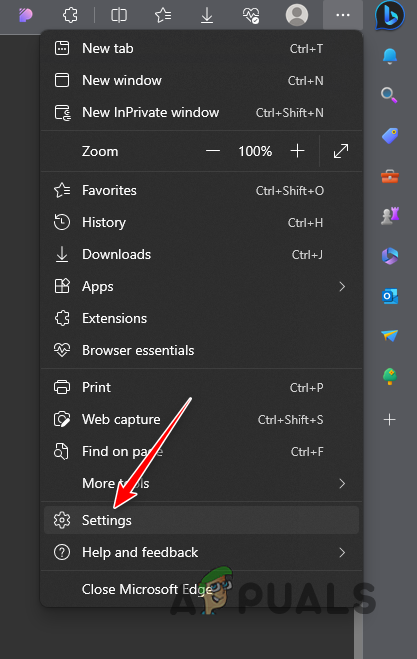
- Click on the More menu option and choose Settings from the drop-down menu.
Navigating to Edge Settings - On the left-hand side, switch to the System and performance tab.
- After that, click on the Use hardware acceleration when available slider to turn it off.
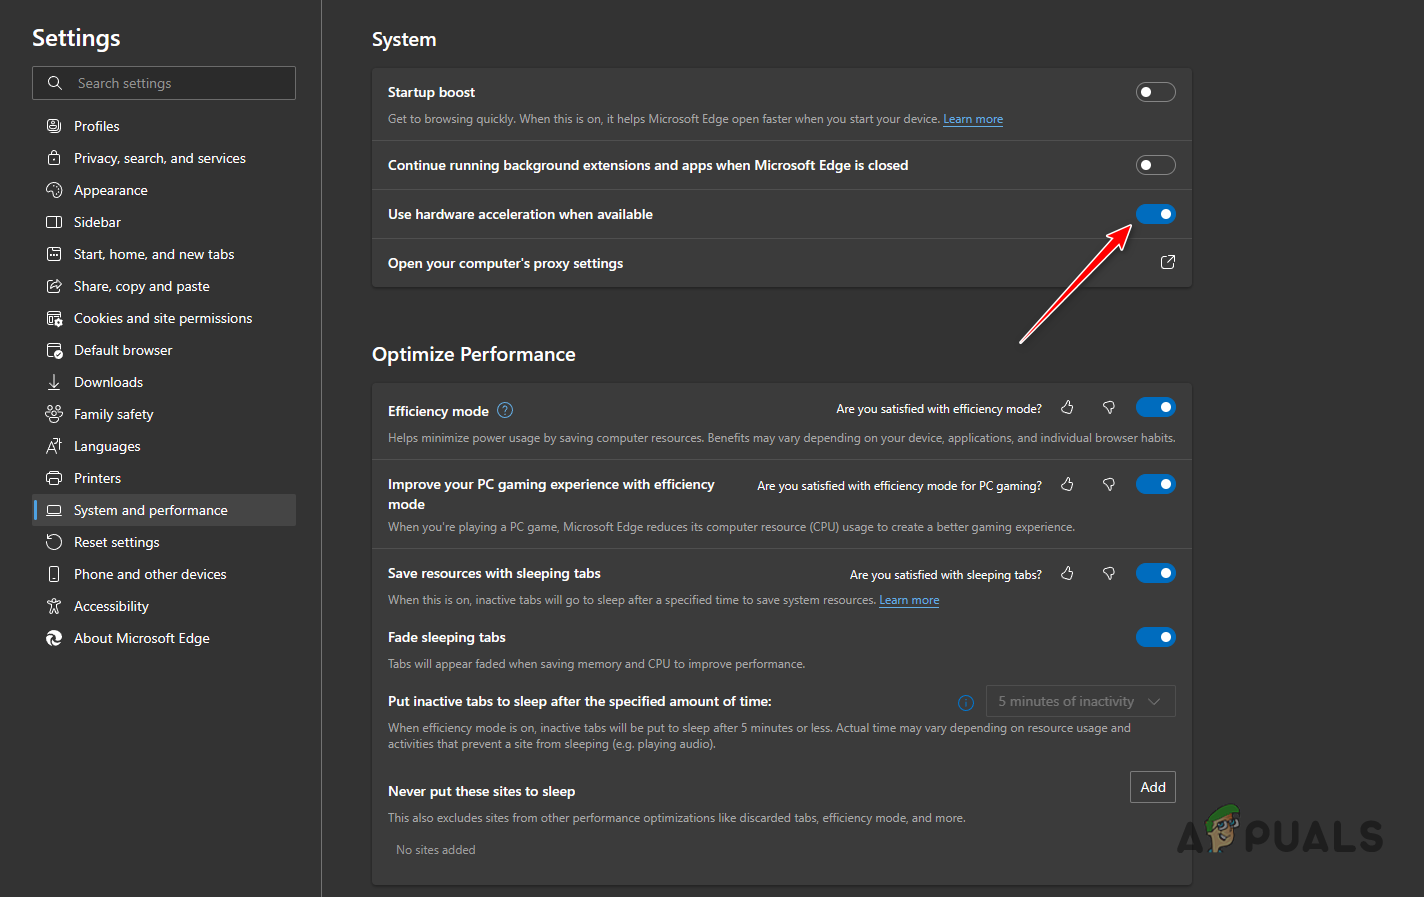
Disabling Hardware Acceleration on Edge
4. Clear Browser Cache and Cookies
The browser cache and cookies can be another reason for the Twitch 3000 error code. Websites store different assets on your browser in the local cache to improve web performance. This can include images or even small bits of videos.
In some scenarios, when the browser cache is corrupted, it can cause different issues with the websites you visit. In this instance, you will have to clear the browser cache to resolve the issue. To do this, follow the instructions below for your respective browser.
Google Chrome
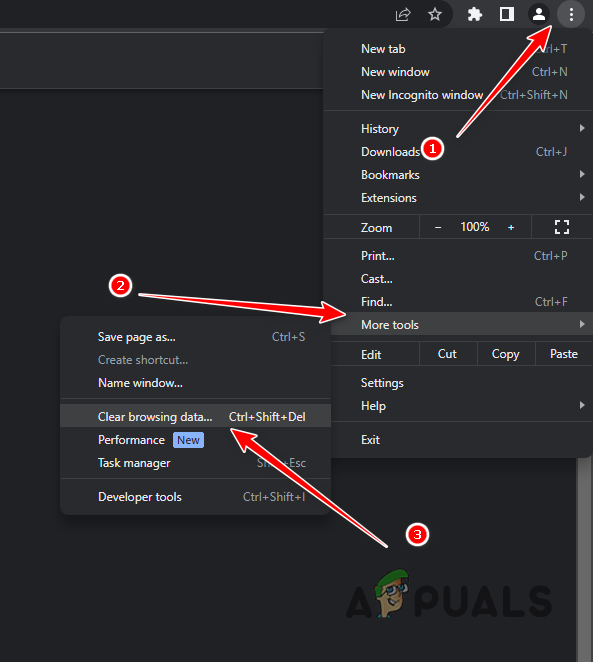
- First, click on the More menu option and choose More tools > Clear browsing data.
Navigating to Clear Browsing Data - After that, select All Time from the Time range menu.
- Then, tick the Cookies and other site data and Cached image and files checkboxes.
- Finally, click the Clear data option.
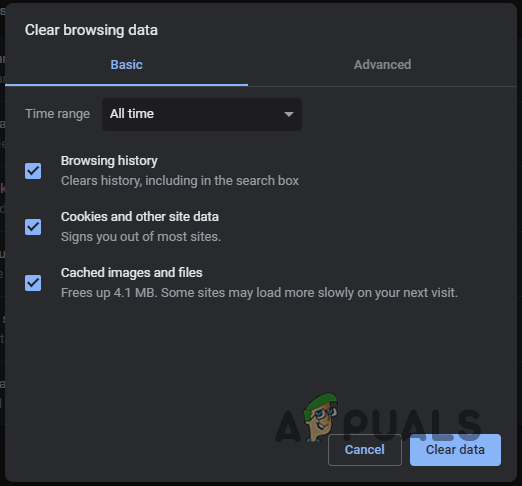
Clearing Browser Cache on Google Chrome
Mozilla Firefox
- Click on the More menu option in the top-right corner and choose Settings.
Navigating to Firefox Settings - After that, switch to the Privacy & Security tab.
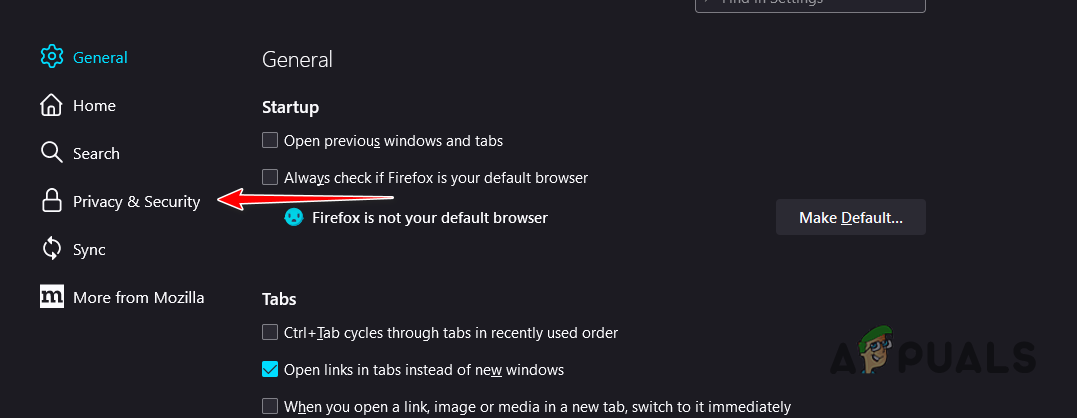
Navigating to the Privacy and Security tab - There, click on the Clear Data option.
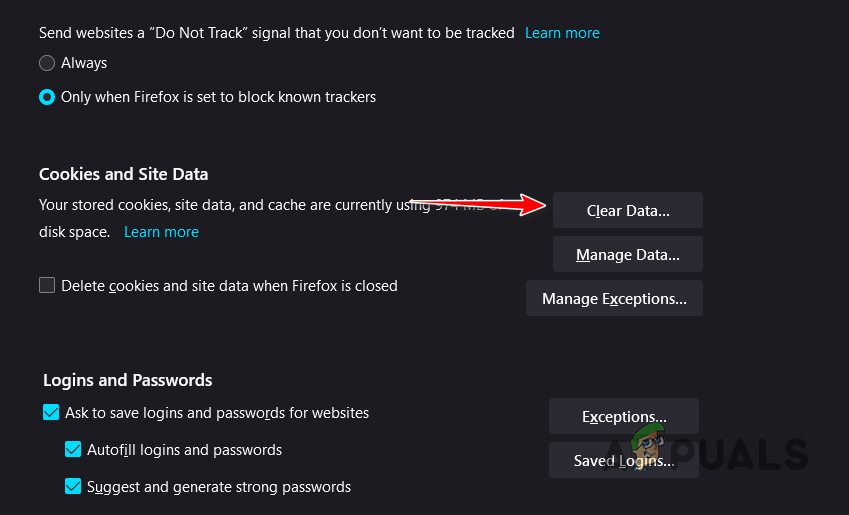
Clearing Browser Data on Firefox - Tick both the checkboxes and click on the Clear option.
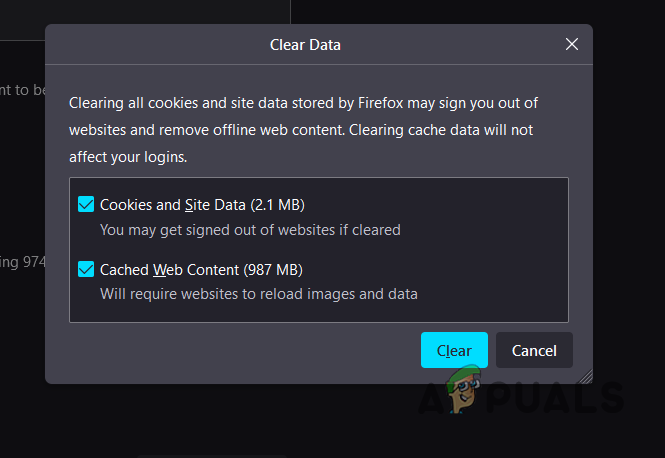
Clearing Browser Cache on Firefox
Microsoft Edge
- First, click on the More menu option and choose Settings from the drop-down menu.
Navigating to Edge Settings - On the Settings page, switch to the Privacy, search and services tab.
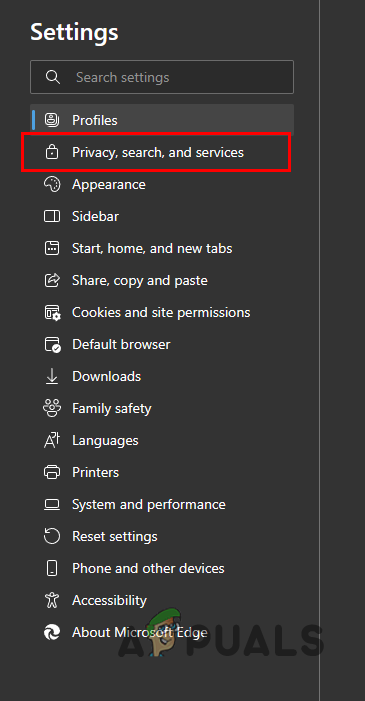
Navigating to the Privacy, Search and Services tab - There, click on the Choose what to clear option.
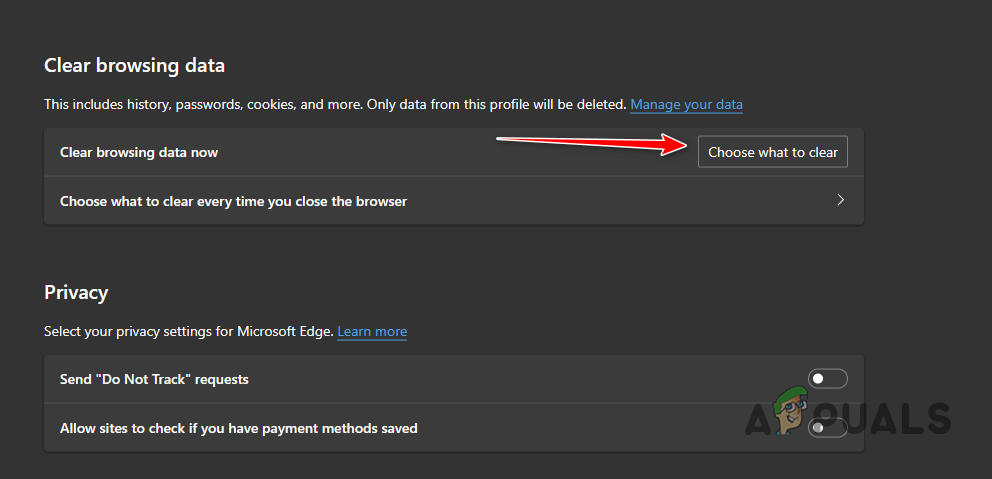
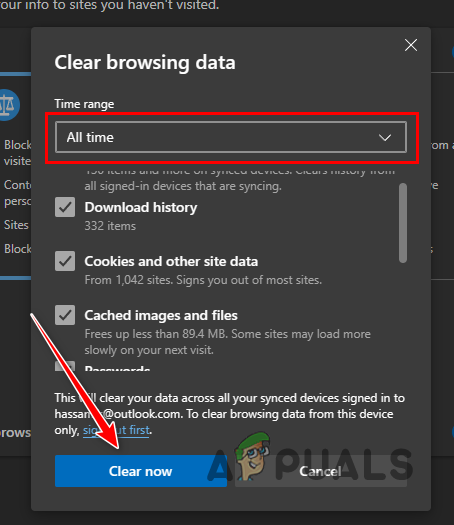
Navigating to Clear Browser Data - After that, select All Time as the Time range.
- Then, tick the Cookies and other site data, Cached images and files and Site permissions checkboxes.
- Finally, click the Clear now option.
Clearing Browser Cache on Microsoft Edge
5. Use a Different Browser
If the issue continues to persist even after clearing your browser cache, it is likely that the problem is due to the web browser you are currently using. This can often occur when the browser fails to effectively communicate with the web server, resulting in miscommunication and loss of data, which prevents the video from decoding.
In such a scenario, you will have to switch to an alternative browser on your device to determine if it resolves the issue. There are plenty of options available when choosing a browser, and you can install any browser on your device to see if the problem persists even there.
In case the problem goes away on a different browser, you can try reinstalling your current browser to see if that gets rid of the issue.
6. Update Graphics Drivers
Finally, if none of the above methods has resolved the issue for you, and the problem persists on alternative browsers, it is likely the issue is caused by your graphics drivers. The graphics drivers play a vital role on your device as they are used to communicate with the GPU on your motherboard which is effectively used for any media-related tasks.
As such, if the graphics drivers are obsolete or damaged, you will encounter the error code 3000 on Twitch along with many other things. In such a scenario, you will have to reinstall your graphics drivers. To do this, you can use a third-party utility such as Display Driver Uninstaller (DDU). If you have an AMD graphics card, you can also use the AMD Clean Uninstall Utility.
Follow the instructions below to reinstall your graphics drivers:
- First, download Display Driver Uninstaller from the official website here.
- Extract the downloaded file to any location and open the Display Driver Uninstaller.exe file.
- Once DDU opens, click on the Continue option on the General Options dialog box.

DDU General Options - Choose GPU from the Select device type drop-down menu.
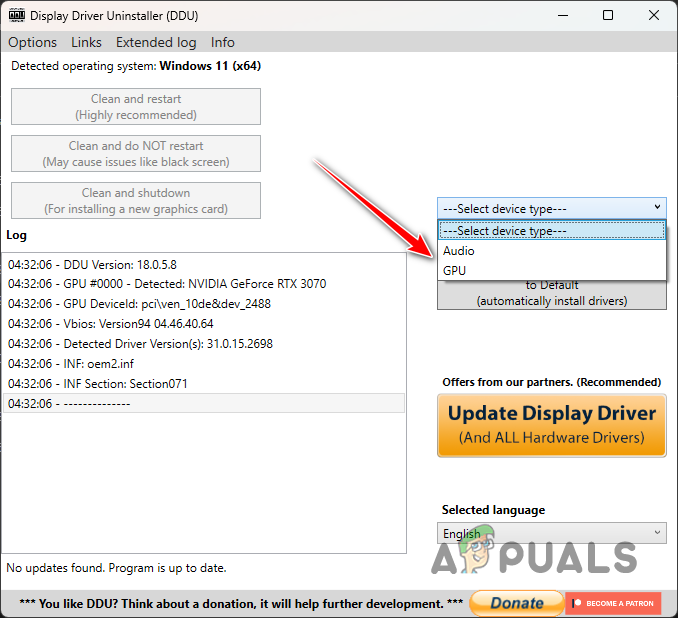
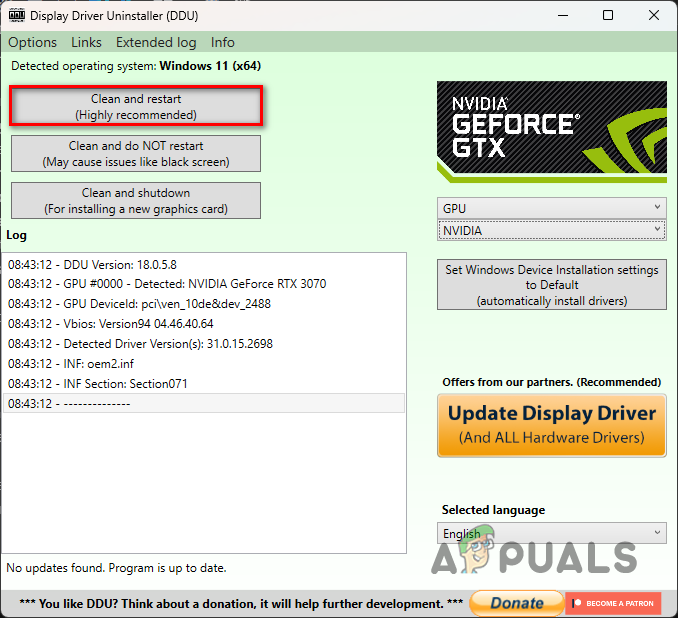
Selecting GPU as Device Type - Follow this up by selecting your graphics card manufacturer from the Select device menu.

Selecting GPU Manufacturer - After that, click on the Clean and restart option.
Uninstalling Graphics Drivers - Once your PC boots up, navigate to your manufacturer’s website and download the latest drivers available for your card.
- Install the new drivers and see if that resolves the issue.
Reviewed by Muhammad Zubyan