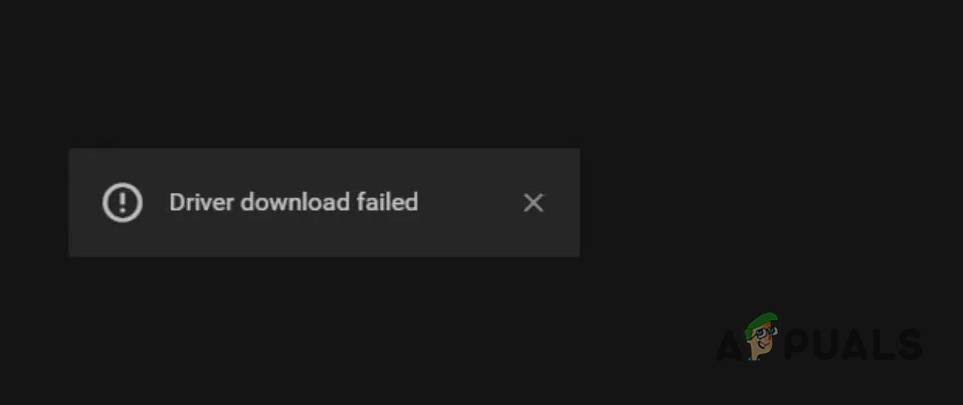
How to Fix Driver Download Failed Error in GeForce Experience?
Encountering a ‘Driver download failed’ error when updating your NVIDIA drivers through GeForce Experience can be a significant hindrance, especially when you’re looking to optimize your gaming or creative work. This error can manifest as ‘Installation Failed,’ ‘Driver download failed,’ or ‘Installation can’t continue,’ leading to understandable frustration. In this guide, we’ll walk you through a series of steps to resolve this issue efficiently
Before diving into the solutions, ensure that your Windows is up to date with all the latest updates installed. This can sometimes resolve compatibility issues that may be causing the GeForce Experience errors.
Many users on forums, such as Reddit, have reported success by performing a clean installation of both GeForce Experience and the NVIDIA drivers. This approach often resolves errors that occur due to corrupt installations or conflicts with previous driver versions.
1. Running GeForce Experience as an Administrator
One common solution to address the “Driver download failed” error in GeForce Experience is to run the GeForce Experience with administrative privileges. This helps ensure that GeForce Experience has the necessary permissions to carry out driver installations. Here’s how to do it:
- Close GeForce Experience if it’s currently running.
- Open your computer’s Start Menu and search for “GeForce Experience.”
- Right-click on the GeForce Experience icon and select “Run as administrator.”

Running GeForce Experience as Admin - If prompted by the User Account Control (UAC), click “Yes” to grant administrative privileges.
- Launch GeForce Experience and check if you can now download and install the driver without encountering any issues.
2. Disabling Your Antivirus Program
The “Driver download failed” error in GeForce Experience can sometimes be triggered by your antivirus software. These security programs are designed to protect your system, but they can occasionally interfere with the normal operation of applications like GeForce Experience. To address this issue, you may need to temporarily disable your antivirus program. Here’s how to do it:
- First, identify the antivirus software you have installed on your computer. Common examples include Windows Defender, McAfee, Norton, or third-party security suites.
- Specific instructions may vary depending on your antivirus software:- Windows Defender: To disable Windows Defender, open the “Windows Security” settings. Under “Virus & threat protection,” click “Manage settings” and toggle off “Real-time protection.”- Third-party Antivirus: For other antivirus programs, open the software’s settings or control panel and look for options like “Disable” or “Turn off real-time protection.”
- With the real-time protection temporarily disabled, launch GeForce Experience and attempt to download and install the drivers again.
- Once you’ve successfully downloaded and installed the drivers, it’s important to re-enable your antivirus program’s real-time protection to keep your system secure.
3. Manual Driver Installation
If you are unable to download the graphics drivers via the GeForce Experience app, manually installing the drivers can be a reliable alternative. To do this, you’ll need to identify your graphics card model and your Windows operating system version (e.g., Windows 10 or Windows 11). Follow these step-by-step instructions:
- Open your web browser and go to the official NVIDIA Drivers page by clicking here.
- On the NVIDIA Drivers page, use the drop-down menus to select your graphics card model under “Product Series” and “Product.” Choose your Windows version under “Operating System.” If you are unsure about your graphics card, visit our guide on how to identify your GPU’s model.
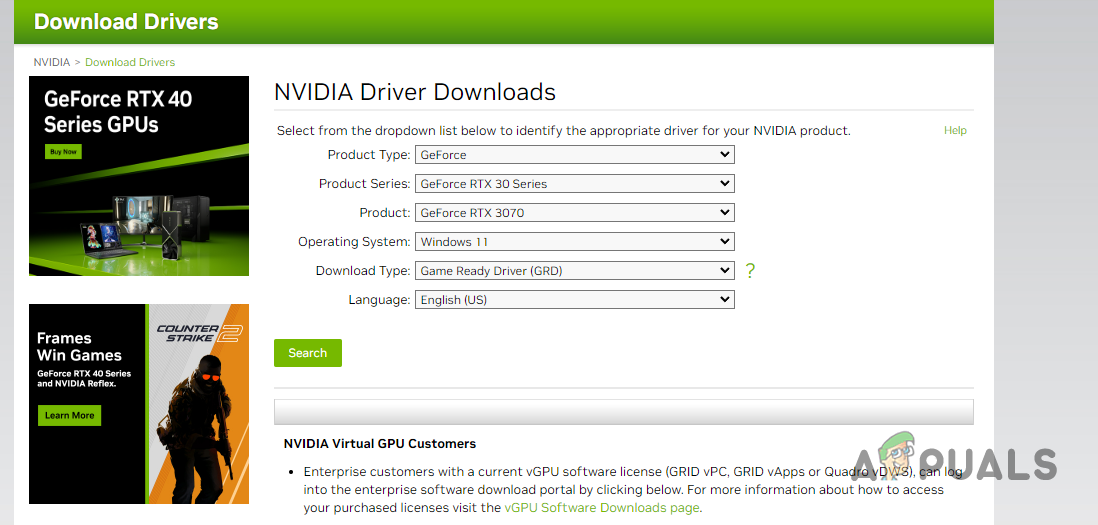
Searching for NVIDIA Driver - Click the “Search” button to view the available drivers compatible with your graphics card and Windows version.
- Then, click the Download button.
- Once the driver has been downloaded, Run the downloaded driver file and follow the on-screen prompts to complete the installation.
- After the installation is complete, restart your computer to ensure the changes take effect.
Manually installing graphics drivers ensures that you have the latest driver version tailored to your specific hardware and operating system. This can be a helpful workaround if GeForce Experience encounters difficulties.
4. Reinstalling GeForce Experience
If you’ve encountered the “Driver download failed” error and suspect that your GeForce Experience installation is causing the issue, a fresh reinstallation can often resolve the problem. This is particularly useful when your current installation is corrupted or outdated. Follow these detailed steps to reinstall GeForce Experience:
- Begin by opening your computer’s Start Menu and searching for “Control Panel.” Open the Control Panel.
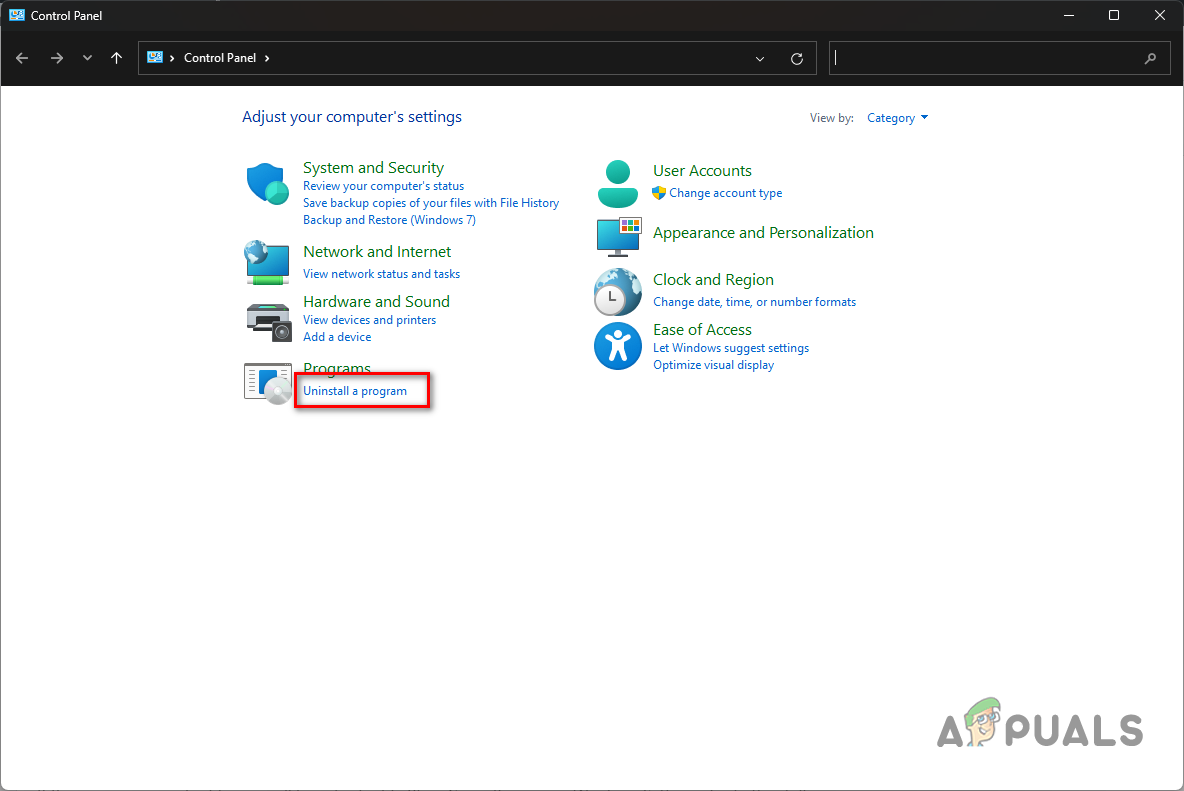
Opening Control Panel - In the Control Panel, click on the “Uninstall a program” option.
Navigating to Uninstall a Program - You’ll see a list of installed programs. Locate “GeForce Experience” from the list.
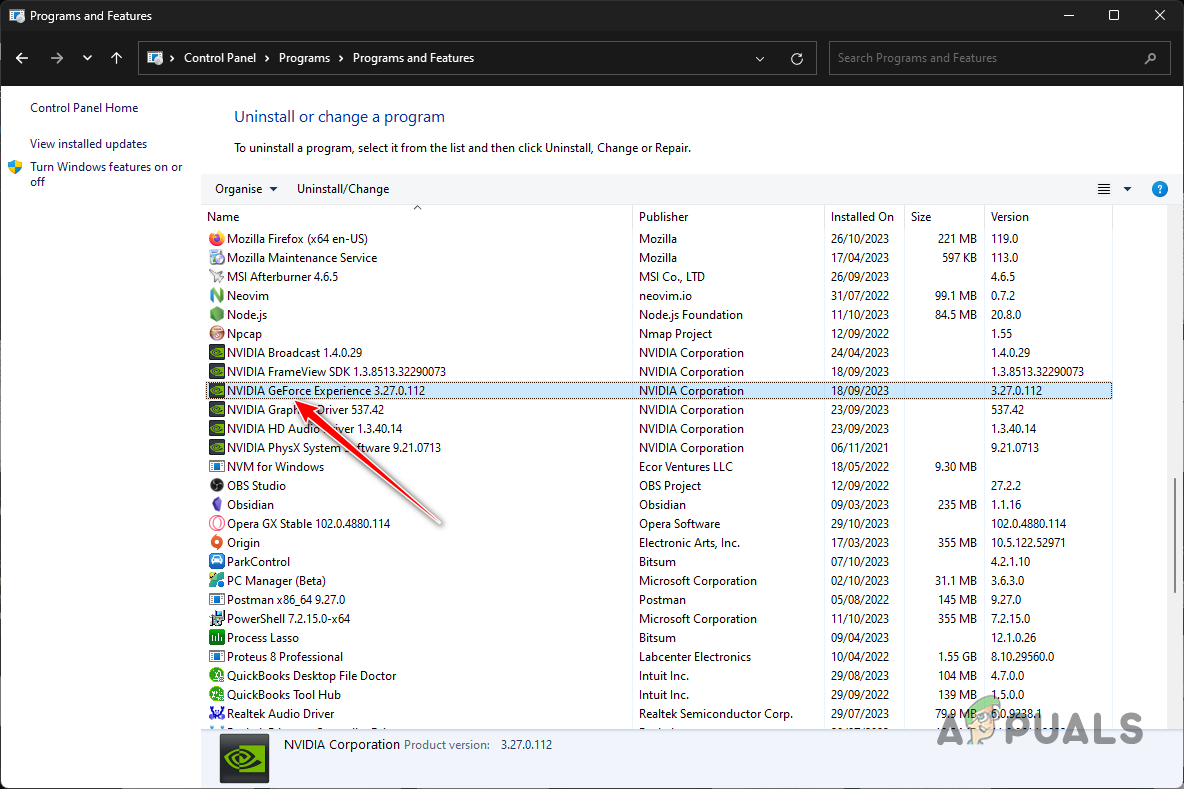
Uninstalling GeForce Experience - Double-click on “GeForce Experience” to initiate the uninstallation process.
- Follow the on-screen instructions to complete the uninstallation. This will remove GeForce Experience from your system.
- After successful uninstallation, go to the official GeForce Experience website. You can find it by clicking here.
- Download the latest version of GeForce Experience from the official website.
- Run the installer and follow the on-screen prompts to install GeForce Experience on your computer.
- Once the installation is complete, launch GeForce Experience and check if you can now download and install the driver without encountering the error.
5. Clean Installing NVIDIA Drivers
Sometimes, the “Driver download failed” error in GeForce Experience can be attributed to corrupted or problematic graphics drivers.
In such cases, performing a clean install of graphics drivers is a recommended solution to ensure a fresh and error-free installation. Here’s a step-by-step guide on how to do it:
- Download the Display Driver Uninstaller (DDU) utility from its official website. DDU is a third-party tool that assists in completely removing existing graphics drivers from your system.
- Once the DDU utility is downloaded, extract the file.
- Open the folder and run the tool via the Display Driver Uninstaller.exe file.
- When the DDU utility opens, you’ll be presented with options. Click “Continue” to proceed.
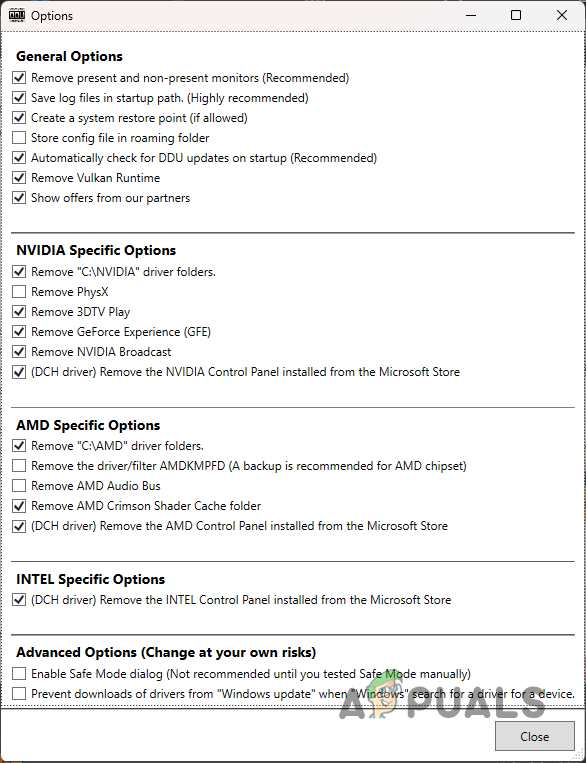
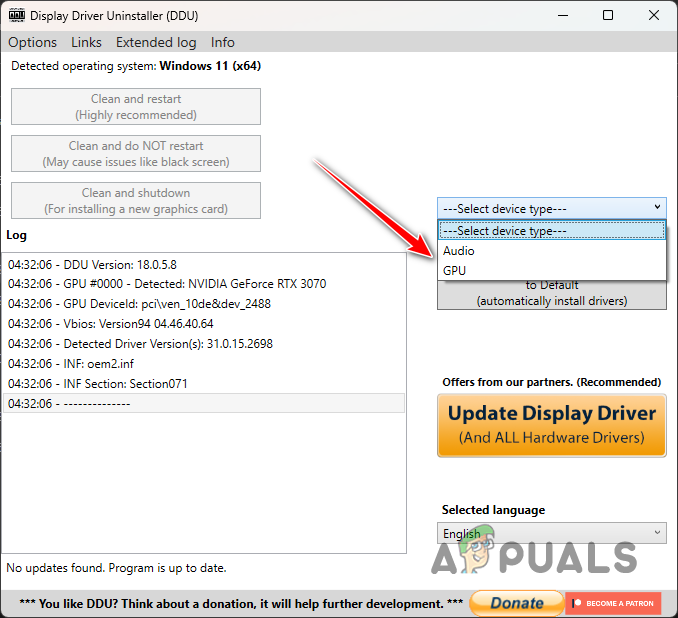
DDU Options Screen - In the device type menu, select “GPU.”
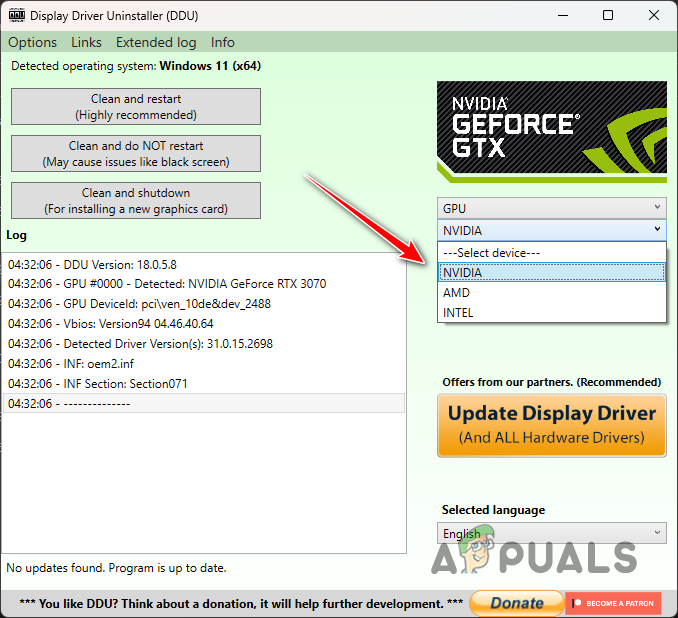
Selecting GPU - In the “Select device” menu, choose “NVIDIA” since we’re dealing with NVIDIA graphics drivers.
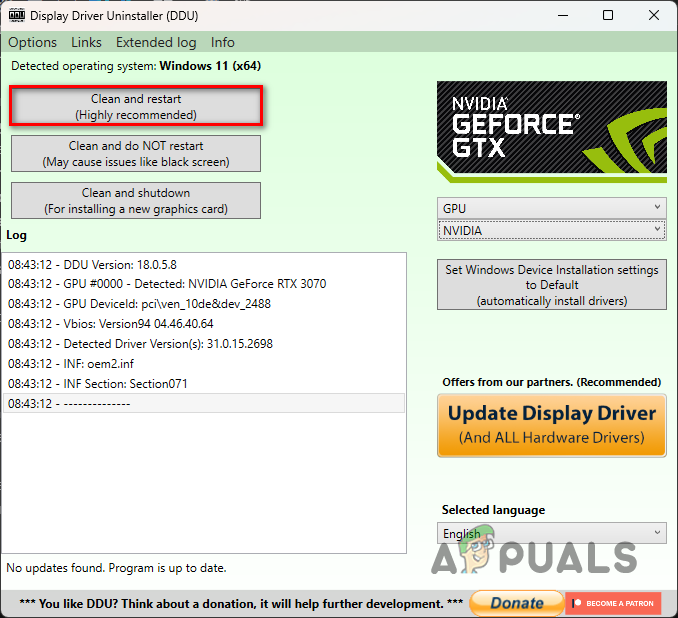
Selecting NVIDIA - Click “Clean and restart” to initiate the removal process. This action will completely remove your current NVIDIA graphics drivers, ensuring a clean slate for the new installation.
Uninstalling NVIDIA Drivers - Once your computer restarts, visit the official NVIDIA Drivers page to download the latest graphics drivers for your specific graphics card model and Windows version.
- Download the latest drivers and install them.
- See if the installation proceeds without any issue.
6. Clean Boot your PC
If none of the previous solutions have resolved the “Driver download failed” error, it’s possible that a third-party program or service is interfering with the driver installation process.
To identify and isolate this interference, you can perform a clean boot, which allows Windows to start with only essential system services running, blocking third-party services and startup applications that may be causing conflicts.
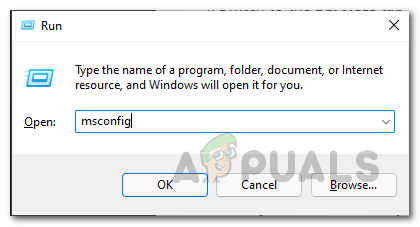
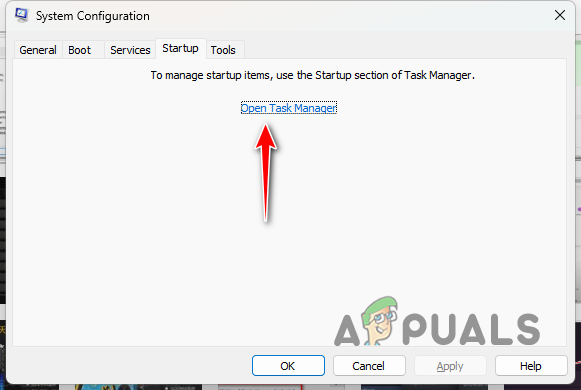
- Press the Windows key + R on your keyboard to open the Run dialog.
- Type “msconfig” and press Enter.
Opening System Configuration - In the System Configuration window, navigate to the “Services” tab.
- Check the box labeled “Hide all Microsoft services.” This ensures that only third-party services are displayed.
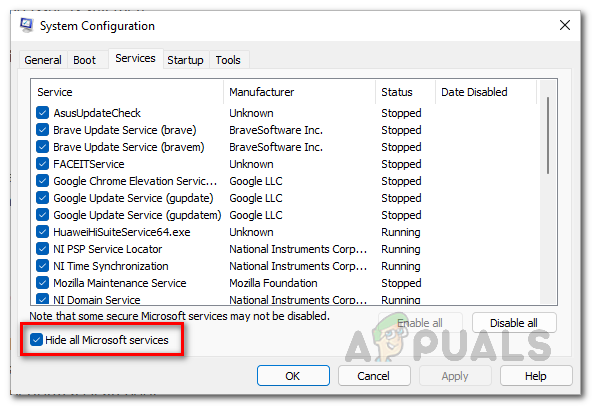
Removing System Services from the List - Click the “Disable all” button to disable all third-party services.
- Click “Apply” to save the changes and then click “OK.”
- You’ll be prompted to restart your computer. Click “Restart” to initiate the clean boot.
Opening Task Manager
After your PC reboots, it will start with minimal services and applications. This allows you to test if the “Driver download failed” error still occurs. If the problem disappears, it’s likely that a third-party program was causing the interference. You can then enable services and applications one by one to pinpoint the culprit.
These solutions should allow you to get around the driver download failed error in GeForce Experience. In case you are still not able to update to the latest version available, we recommend reaching out to the NVIDIA support team for further guidance regarding the problem.