DTS:X Ultra Not Working? Try these fixes
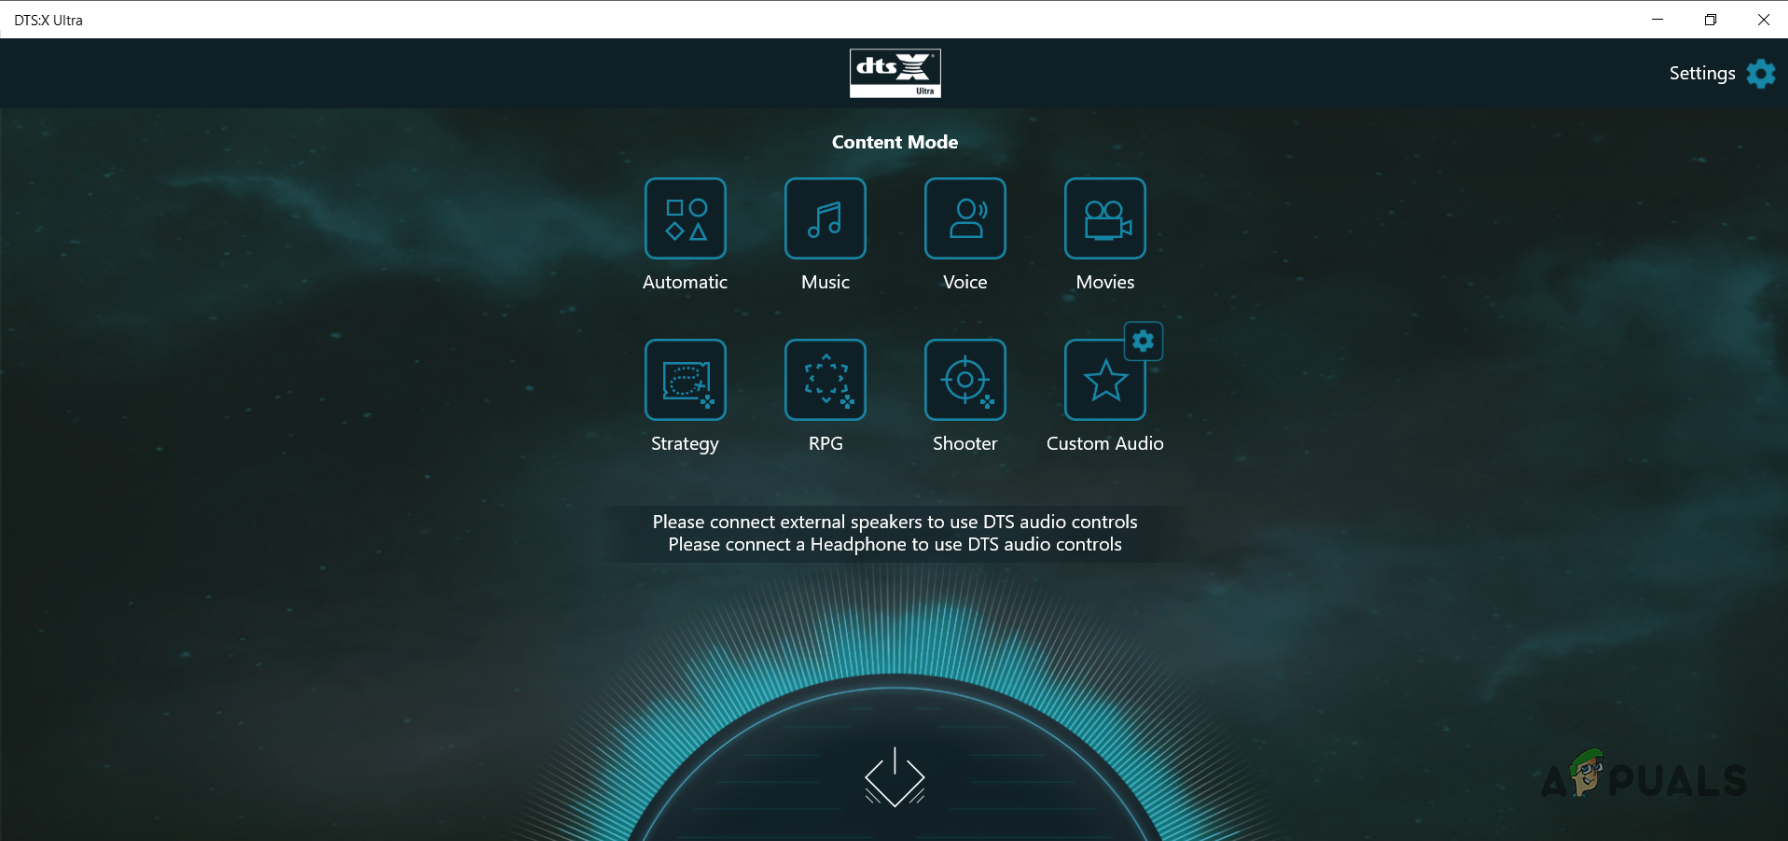
There are a number of reasons due to which DTS:X can stop working and they can vary depending on your setup. The DTS:X Ultra app suggests connecting a speaker or a headset in order to use DTS audio controls even if the respective output device has already been connected. For most of the users, the problem occurred after installing a Windows update but that may not always be the case.
In some cases, the issue can arise due to the presence of the AMD Audio CoProcessor driver along with many other things. In this article, we will walk you through a number of methods that you can employ in order to get around the problem in question.
As it turns out, DTS:X is a surround sound system that has its own set of drivers. Configuring surround sound on your system can be beneficial due to the dramatic improvement in the quality of the audio if you are an audio nerd. In most cases, you will encounter the problem in question if there’s an issue with the audio drivers that are installed on your computer or when the DTS:X Ultra app is damaged.
With that said, let us get started and show you a number of methods that you can use to get rid of the issue in question. So, without further ado, let us get started.
1. Reinstall Audio Drivers
The first thing that you should do when you encounter the problem in question is to go ahead and reinstall your audio drivers. In case your audio drivers are not working properly for whatever reason, it can result in a number of issues with the different audio software that you may be using on your computer.
That said, there are two you can go about this. First, you can have Windows install the audio drivers for you automatically or secondly, you can go through the manual way of downloading the audio drivers for your motherboard from your manufacturer’s website and then install them.
We would recommend going through with the second approach since this will get you the latest version of the audio drivers available for your system. To uninstall your current audio drivers, follow the instructions given down below:
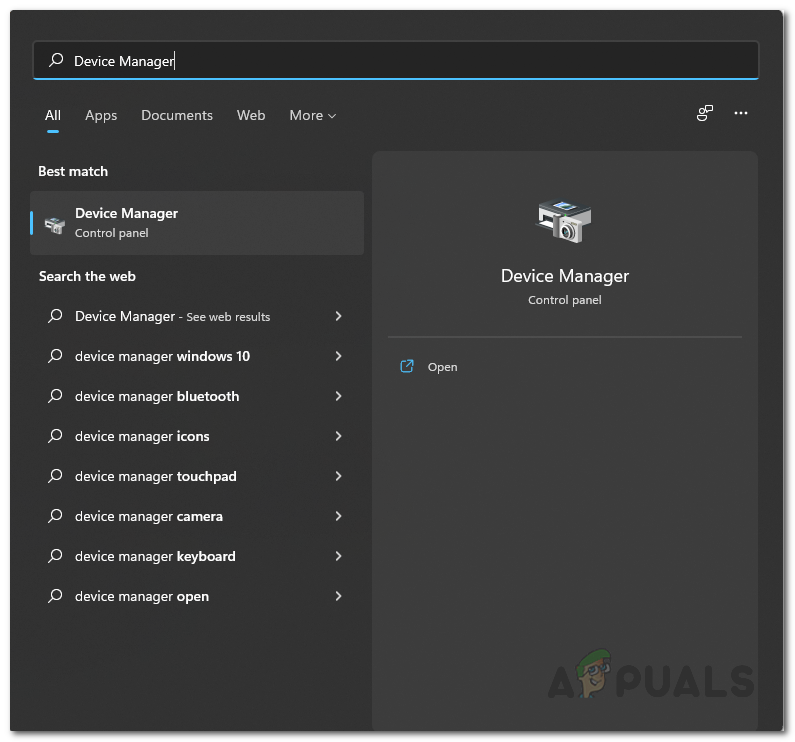
- To start off, open up the Start Menu and search for Device Manager. Open it up.
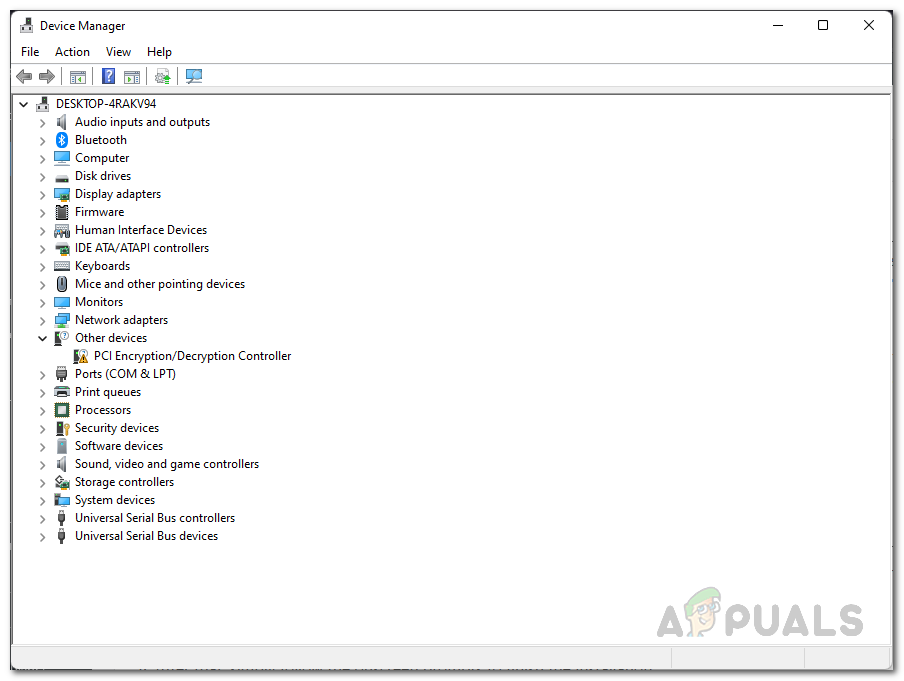
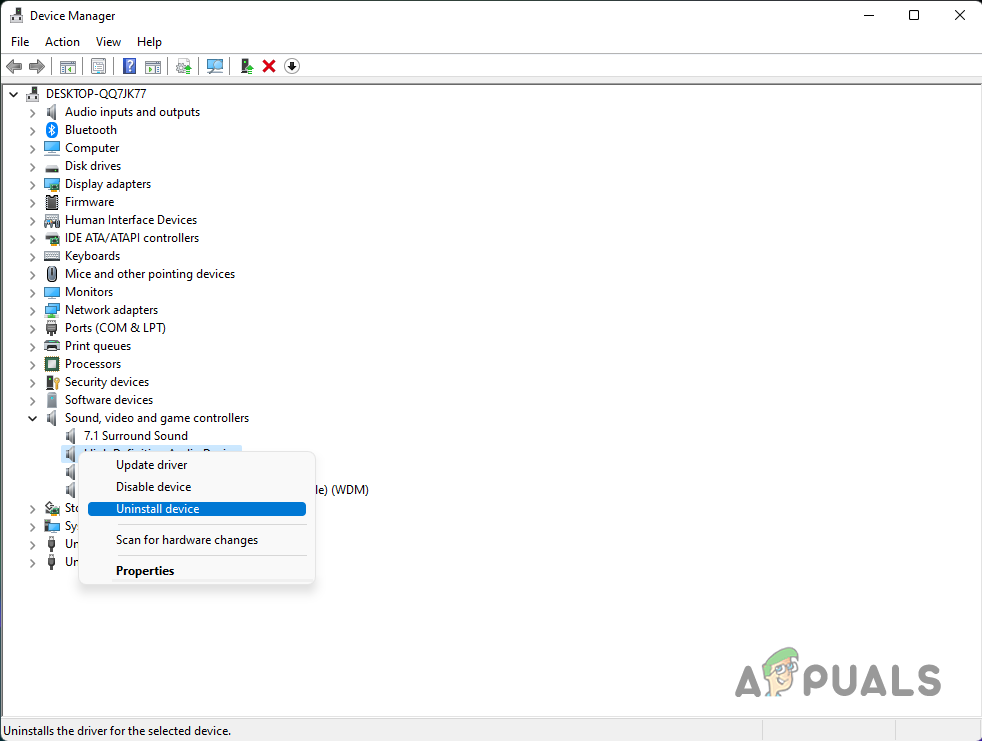
Opening up Device Manager - On the Device Manager window, expand the Sound, video and game controllers list.
Device Manager - From there, right-click on your audio driver and from the drop-down menu, choose the Uninstall device option provided.
Uninstalling Audio Driver - With that done, you can either restart your computer at this point which will automatically install the audio drivers for you once you boot up. Alternatively, you can download the respective audio drivers for your motherboard from your manufacturer’s website and install them before rebooting. We would recommend going with the second option.
- Once you have done that, see if the problem persists.
2. Disable AMD Audio CoProcessor Driver (if applicable)
If you are using an AMD processor on your computer, there is a good chance that the problem may be caused due to the presence of the AMD Audio CoProcessor driver. AMD Audio CoProcessor essentially serves as a dedicated co-processor for the calculation of advanced audio signal processing and more which can in return improve the quality.
If this is applicable, chances are that this may not go well with DTS:X Ultra due to which it isn’t working properly. In such a scenario, you can try disabling the driver temporarily to see if that fixes the issue. To do this, follow the instructions given down below:
- First of all, open up the Device Manager by searching for it in the Start Menu.
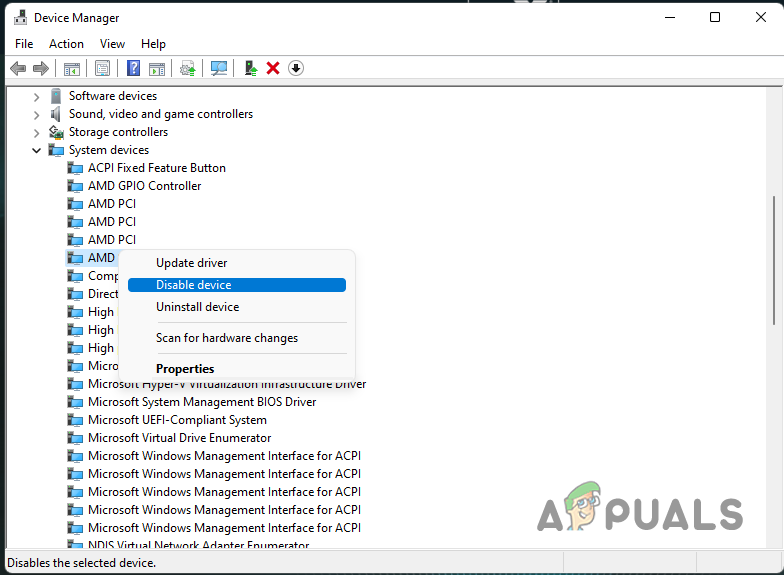
Opening up Device Manager - On the Device Manager window, expand the System Devices list.
Device Manager - From the list given, right-click on the AMD Audio CoProcessor driver and choose Disable device from the drop-down menu.
Disabling Device Driver - With that done, go ahead and restart your computer. See if the problem goes away.
3. Roll Back DTS Audio Effects Component Driver
As it turns out, as per some user reports, the problem can sometimes arise when you have two versions of the DTS Audio Effects Component driver installed. This can happen when you already have an up to date version installed on your system and Windows installs a different version through Windows updates.
In such a scenario, what you can do is simply roll back the DTS Audio Effects Component driver and see if that fixed the problem for you. To do this, follow the instructions given down below:
- Start off by opening up the Device Manager. You can do so by searching for it in the Start Menu.
Opening up Device Manager - After that, expand the Software components list.
Device Manager - From the list, double-click on the DTS Audio Effects Component driver.
- On the Properties window, switch to the Driver tab.
- There, click the Roll Back Driver option if it isn’t greyed out and wait for it to finish.
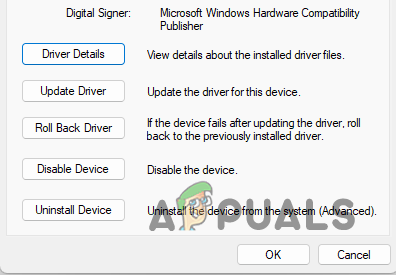
Rolling Back Driver - Once you have done that, open up DTS:X Ultra to see if the issue persists.
- In case it does, you can try updating the driver from the same window by clicking the Update Driver option provided.
- Check if the issue is still there.
4. Reset DTS:X Ultra App
It is also possible for the DTS:X Ultra app to not work properly if there is some corruption associated with it. This can sometimes happen due to the app data that is stored on your computer. In such a case, what you can do is simply reset the app via the Settings window to see if that fixes the issue.
Follow the instructions given down below to do this:
- First of all, open up the Windows Settings window by pressing the Windows key + I keys on your keyboard.
- On the Settings window, navigate to Apps > Apps & Features.

Windows Apps Settings - There, you will be shown a list of all of the apps installed on your computer.
- Here, look for DTS:X Ultra and then click on the three-dot icon next to it.
- Click on the Advanced options option from the drop-down menu.
- There, scroll down and click on the Reset button.
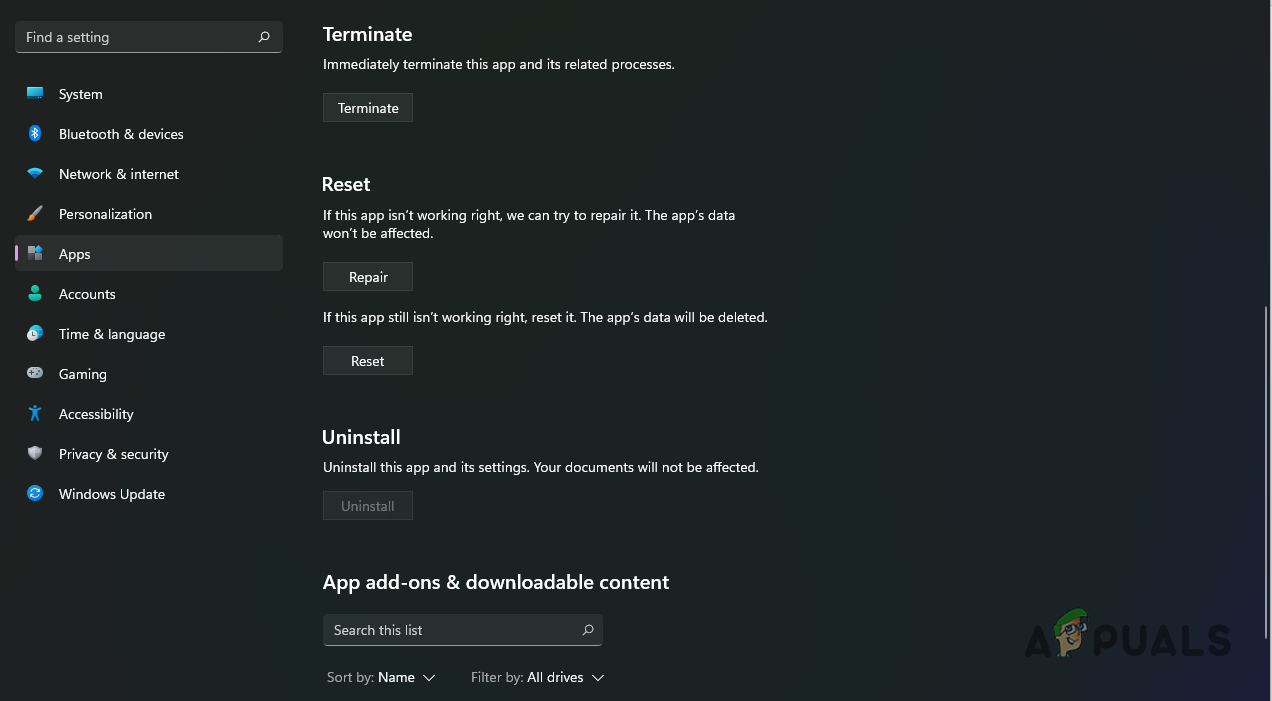
Advanced App Settings - Once that’s done, see if the problem has gone away.
5. Repair DTS:X Ultra App
In case resetting the application does not fix the problem for you, then it may be that the application itself is damaged or corrupted. If this case is applicable, you can try repairing the application to see if that get rids of the problem for you. To do this, follow the instructions down below:
- Open up the Settings window by pressing the Windows key + I on your keyboard.
- On the Settings window, make your way to Apps > Apps & Features.
Windows Apps Settings - There, search for DTS:X Ultra and click on the three-dot icon next to it. Click on Advanced options.
- From the app settings menu, click on the Repair button.
Advanced App Settings - Wait for it to complete. Once done, see if the problem is still there.
6. Upgrade Windows using Media Creation Tool
Finally, if none of the methods above has fixed the problem for you, then as a last resort, you will have to upgrade your Windows operating system in order to resolve the issue. This has been reported by many users who were facing a similar issue and were able to get through it after upgrading their system.
The process of upgrading your operating system is rather simple. You can use the official Media Creation Tool which will do the job for you with just a few clicks. Follow the instructions down below to do this:
- First of all, download the Update Assistant from the official Microsoft website by clicking here.
- Once you have downloaded the Update Assistant, go ahead and run it.
- Follow the on-screen prompts to fully update your system.
- After the Update Assistant is finished with the process, restart your computer and see if the problem is still there.