How to Downgrade macOS Monterey Beta to Big Sur
If you are someone like us who has already tried and tested out the newly introduced macOS Monterey Beta version, this blog might help you a lot more than you would have hoped for. Well, there is no doubt in the fact that there are loads of bugs and errors that need to be addressed and you simply cannot operate on this new version. Hence, you can keep reading this guide to downgrade macOS Monterey Beta to Big Sur.
Apple has upgraded the macOS Big Sur version as well to fix any errors and malware reported by the users. You can easily upgrade it to the new Big Sur 11.5.1 and above. But to get your system back to this version from Monterey Beta might have a few things that you need to look into. Instead of searching all over the internet, you can simply follow the steps mentioned here.
Let us jump over to the methods and steps to downgrade macOS Monterey Beta to Big Sur.
How to downgrade macOS Monterey Beta to Big Sur
Well, you can follow the steps here to downgrade your current Monterey Beta version to Big Sur. Let us see how.
1. Create a Backup
The first step that we will ask you to take before you can start with the process of downgrading the software update is to backup all your files, data, folders, and everything else. You can either choose to do it directly on the iCloud or else use an external hard drive for the same.
Apart from this, you can choose to go with the only reliable process that your system provides you. Yes, you guessed it right, you need to go with a Time Machine that every Mac user can find on their system. Here is how you can proceed with it.
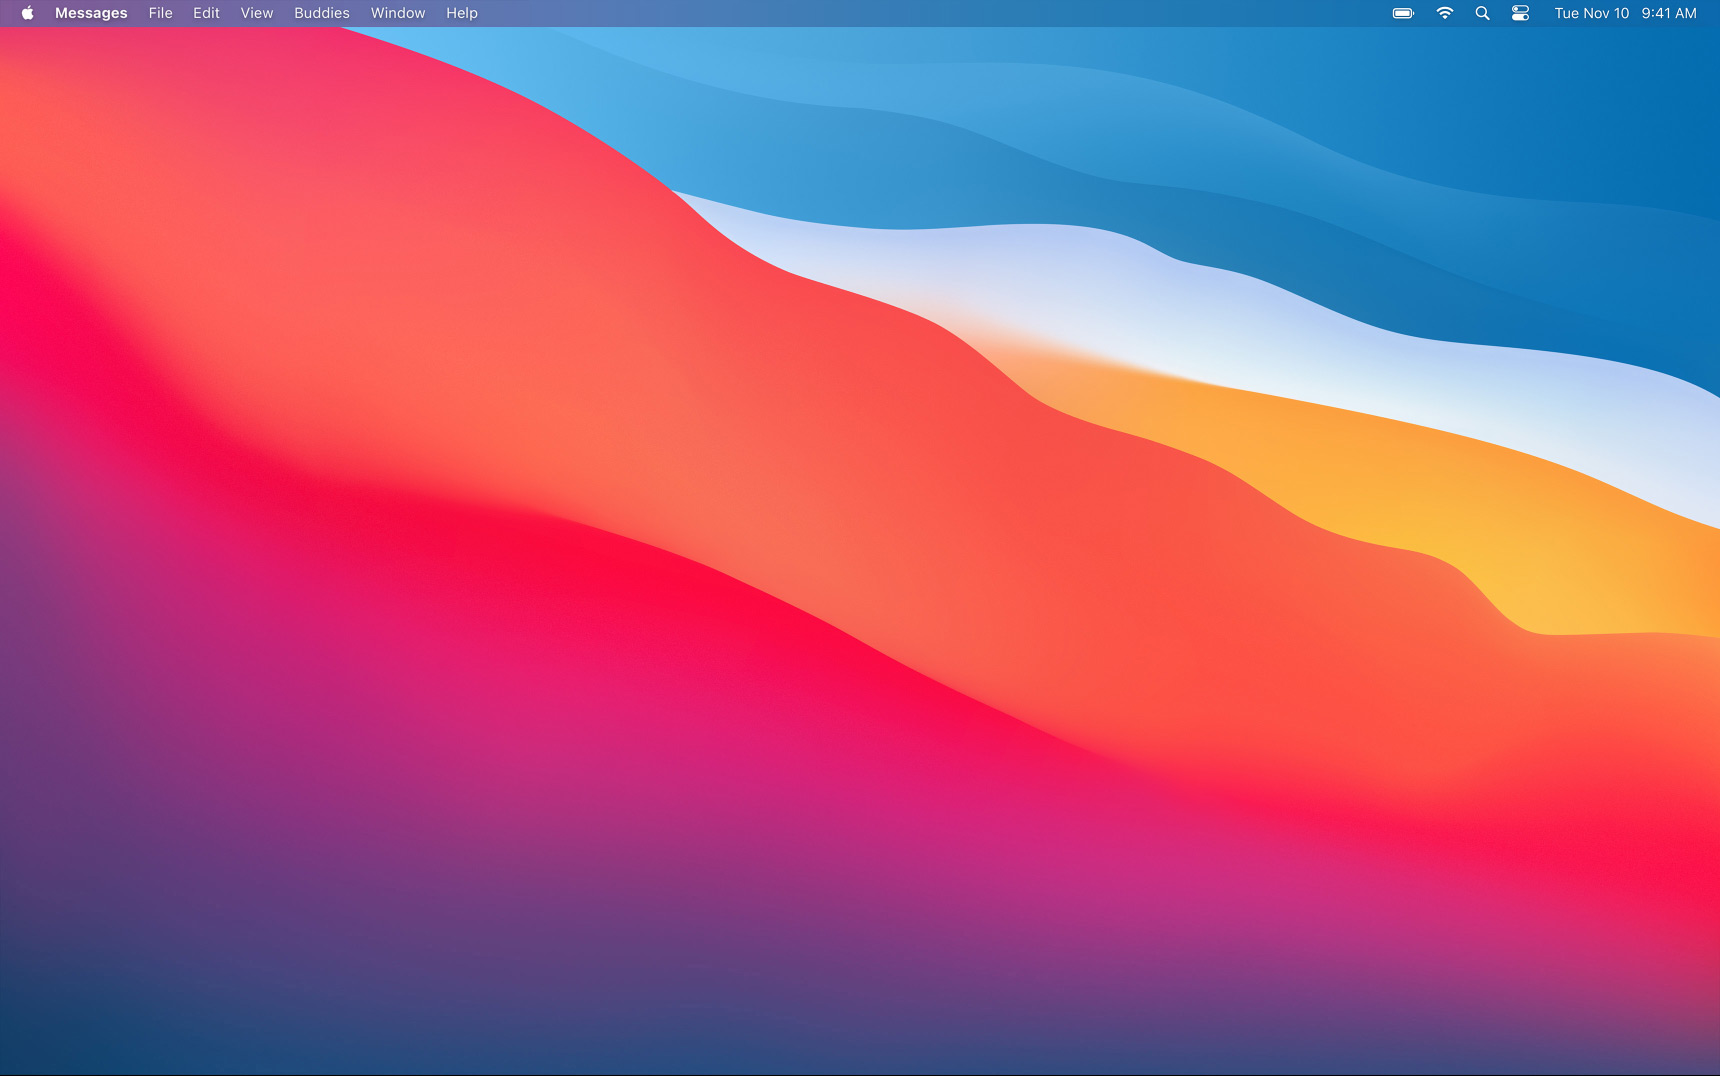
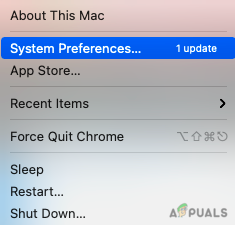
- Tap on the Apple icon on the top-right corner of the screen.
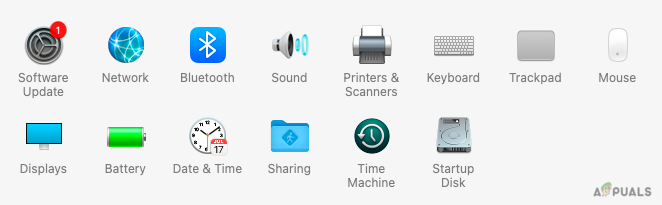
- Click on System Preferences.
- Now, bring down your cursor and choose Time Machine from the menu.
- Click on Select Backup Disk.
- From among the options available on the screen, choose your Backup Disk to backup all your files.
- Now, check the box beside Encrypt Backups to ensure safety.
- In the same window, click on Use Disk to confirm.
As soon as you follow all the steps above, your backup will start immediately. Wait for some time for the process to complete.
2. Downgrade macOS Monterey Beta
Now, we can head over to removing the current Beta version on your system so that you can proceed with bringing back the macOS Big Sur software. Since we now have two different technologies being used for MacBooks, we will look at both Intel-based Mac as well as the newly introduced M1.
For Mac M1
We will be first taking up Mac M1 to downgrade macOS Monterey Beta to Big Sur. Here are the steps you need to follow to remove the software upgrade.
- Shut Down Your Mac.
- Now, switch it back on and keep on pressing the Power button unless you see the Apple icon on the screen.
- Now, click on Options and then tap on Continue.
- Next, select a user on the screen to proceed.
- Click on Next, and then enter your password to continue.
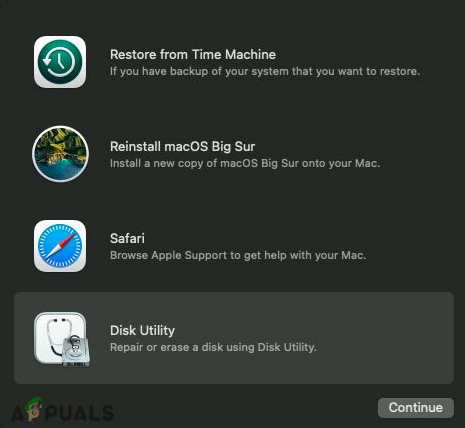
This process will bring you to the Recovery Mode after which you can simply select Disk utilities to erase the current software update.
For Intel-based Mac
Next up, we will be looking at the process to erase the current version of Mac on the regular Intel-based Mac.
- Tap on the Apple icon on the top-right corner of the Desktop.
- Now, click on Restart.
- While your Mac is restarting, keep pressing Command + R.
- Your Mac will enter the Recovery mode and the utility menu will appear on the screen.
- Click on Disk Utility and tap on Continue.
- Head over to Startup Disk and choose Macintosh HD.
- Click on Erase. (Make sure the Format selected is AFPS or else HFS+ accordingly)
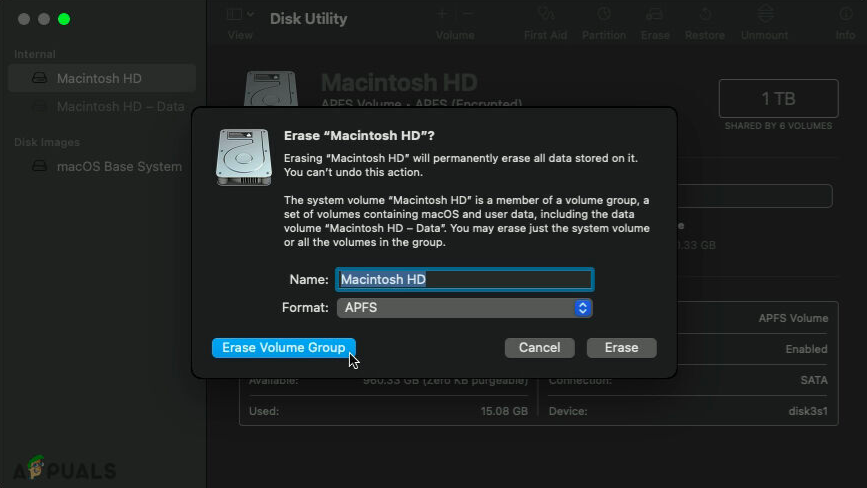
After you have simply clicked on Erase, your mac will now take a small amount of time to erase all your data and software updates from Monterey Beta. Now, we will learn how to reinstall macOS Big Sur.
3. How to reinstall macOS Big Sur via the Recovery Mode
Now, the step that we have been waiting for once you have successfully deleted the Beta version from your system. Here is how you can get back macOS Big Sur through the Recovery Mode. You already know how you can enter the recovery mode, if not, simply follow the process below.
- Click on the Apple icon on the screen.
- Now, restart your system and click on Restart from the drop-down menu.
- Press Command + R to enter the Recovery Mode while your system is restarting.
- As soon as you see the Utility Windows on-screen, let down the keys.
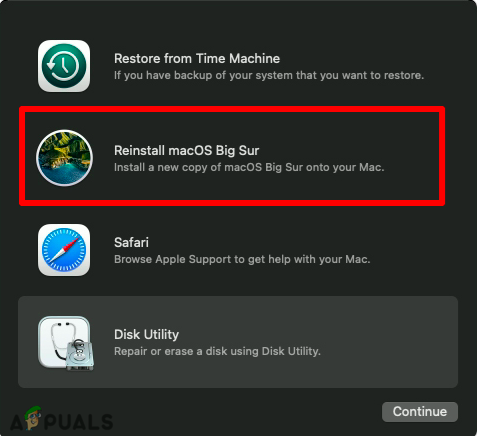
- Click on Reinstall macOS Big Sur and then Continue.
- Yet again tap on Continue and Agree to Terms and Conditions to proceed.
- Now, you can simply follow all the instructions on the screen to install the macOS Big Sur.
4. How to reinstall macOS Big Sur via Bootable USB Drive
You can also try to get back macOS Big Sur on your system using the Bootable USB Drive and the data stored on it. The process and the method here are very easy to follow.
- Connect the USB or the Bootable Installer to your Mac. Make sure you are connected to the Internet as well.
- Now, restart your Mac and keep pressing the Option (Alt) key on the keyboard.
- Release the key as soon as you see the screen with bootable volumes.
- Now, choose the Bootable Installer you have plugged in from the options on the screen and press Enter.
- Select the language on the screen.
- Click on Install macOS or Big Sur from the Window.
- Tap on Continue and simply follow all the instructions on the screen to go ahead with the installation.
Once done, you will get back your Big Sur on the system. After this, you need to also bring back all your files and data that you have backed up.
5. Restore Time Machine backup
The very first step we took was to backup all our data on Time Machine. Since we have now reinstalled Big Sur, it is time to also restore the Time Machine Backup on the system. For this too, we need to bring our system into Recovery Mode.
- Restart your system and keep pressing the Command + R keys on the keyboard.
- On the utility menu on the screen, select Restore from Time Machine.
- Now, tap on Continue.
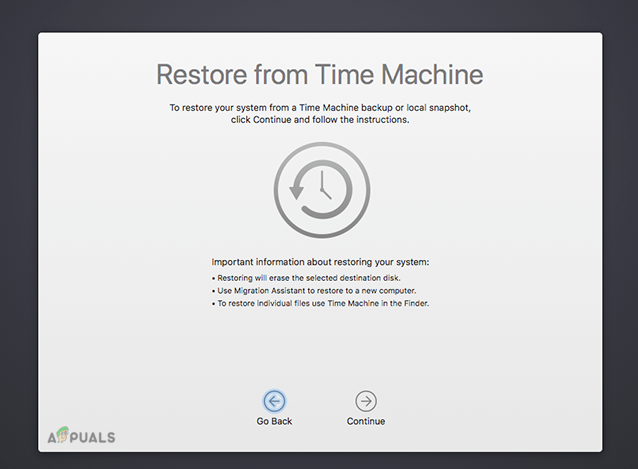
- Simply select the backup source from the window in front and backup all your files.
Final Words
Here is all you need to know on how to downgrade macOS Monterey Beta to Big Sur. The steps may look a little tricky. But if you are familiar with how to enter and use the Recovery Mode, it becomes much easier from the start. All the processes and steps are directly related by entering into the Recovery Mode.
Also, you may experience issues at times with few steps such as erasing the data and much more. However, you can simply leave the queries in the comment section below and we will get back to you. Make sure to backup all your data before even upgrading your software so that you do not lose any of your data.