How to Install macOS Monterey Beta Version
The macOS Monterey Beta Version is here. Apple has finally introduced its new software update with version macOS 12. If you are looking to learn more about it, you can always check out their latest conference held in June.
The best aspect of the Beta Version currently is that anyone willing to test out all the features on their MacBooks can easily install it within minutes. As of now, Apple has not launched the full-fledged version of it and will be made available somewhere around September.
Well, if you are looking at how to install macOS Monterey Beta version, keep following the steps below.
What does macOS Monterey Beta Version have to offer?
MacOS Monterey has a bunch of new features to offer to all its users. It is built on the same foundation as that of BigSur but Apple has brought in a lot to make your experience even better. Some of the major updates you will find here are brilliant new updates to FaceTime, existing new features for your Messages, Send FaceTime links and invite anyone to your calls, redesigned Safari, and much more.
Another incredible addition to your MacOS is Focus. Well, here you can manually attempt to keep yourself on track by limiting the use of other apps while you work on one particular aspect such as turn on Time tracker, DND, Auto-reply to messages, and much more. Similar to this, there are multiple other features as well included in this update.
How to install the macOS Monterey Beta version?
Here we are with all the steps you need to follow to install the macOS Monterey Beta version. Before you can head over the steps, it is important that you backup all your data. There are multiple times that within an update the system might not be able to save all the data you have been currently working on.
Well, Beta Versions are generally introduced for feedback and test the experience with users. Hence, it might bring bugs or certain errors on the system and you might not be able to work as smoothly. So, make sure that you are completely comfortable with the update before moving forward.
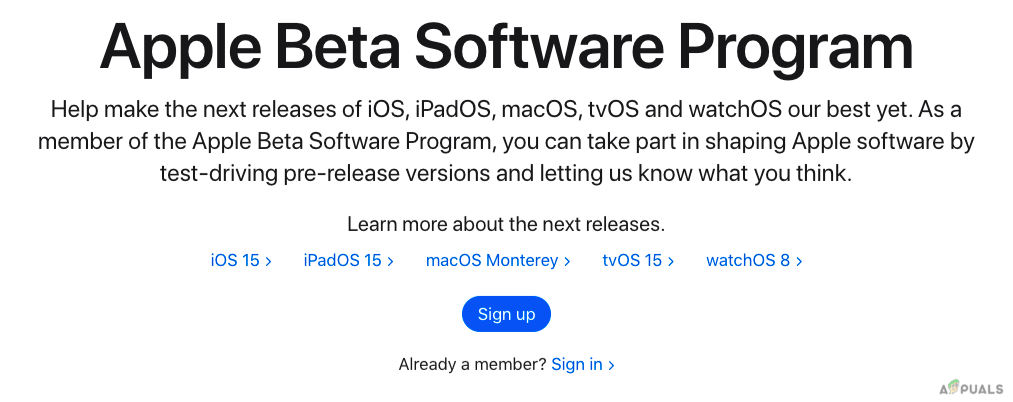
- Tap on the link to hear over the Apple Beta Software Program.
- Read through the instructions before moving forward.
- Now, click on Sign In if you have ever installed any Beta Version.
- Or else simply select Sign up to create an account.
Sign in to the Apple Beta Software Program - Now, simply log in and move through the security verification if enabled.
- Read through the Agreement Document or simply click on Agree.
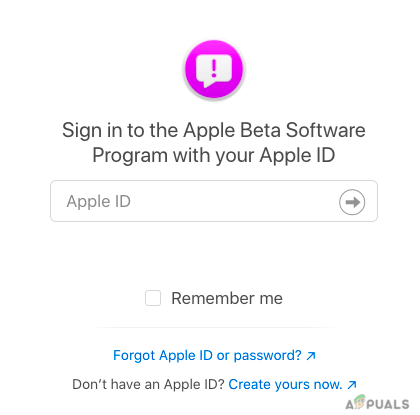
Enter your Apple ID and Password
You are now on the Guide for Public Beta page where you have to Enroll for installing the Beta version on the system. Once you tap on it, you have to now follow the five-step process as indicated on the screen.
Use Time Machine To Backup Data
As we have already mentioned, it is important to backup all your data on the system to remote cloud storage or any other external device to keep it safe. It is advised by the tech giant itself so that you can bring back all your data, as the risk of Beta versions does involve losing data.
Download the macOS Public Beta Access Utility
After you have enrolled or Signed upon, you can now simply download the Public Beta Access Utility file on your system. All you need is to simply tap on the highlighted option mentioned as “Download the macOS Public Beta Access Utility”.

After this, you will be asked to again login to your Apple account that you have created or enrolled in to proceed. Your downloading will immediately start and the .dmg file will be available in your Downloads section on Finder.
Install the Access Utility File on the System
Since you now have to download the file on your system, you need to head over and install it on your system too.
Here are the steps you will be prompted to follow.
- Double-click on the .dmg file downloaded.
- Now, yet again make a double click on the package file in the next window.
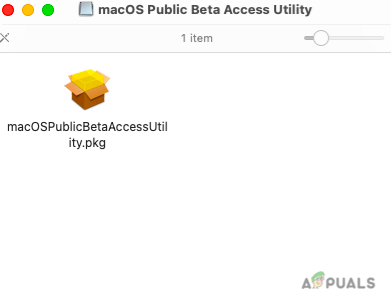
Open the Package File to Install Monterey Beta Version - If you haven’t yet backed up all your data using Time Machine, a warning message will be prompted on the screen.
- The steps involved here include Introduction, License Agreement, and Destination Select.
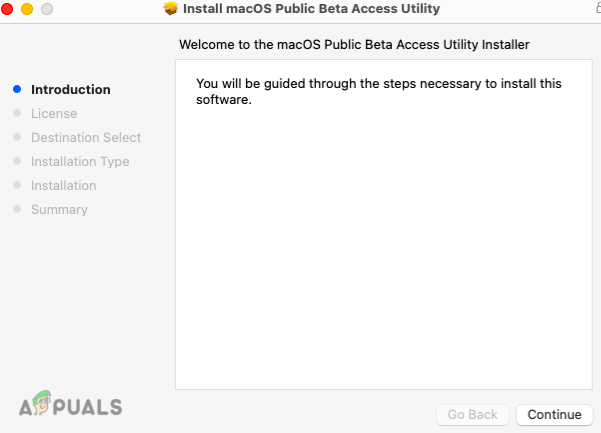
Continue to Install the macOS Public Beta Access Utility - Now, in the next Installation Type step, click on Install.
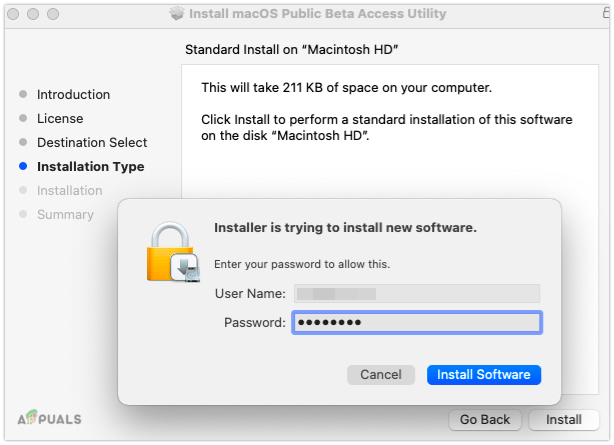
Install Software on Macintosh HD - Give Admin access to start Installation.
The entire process might take some time, but this is only to install the package and not the software update. Once done we can head over to the next step.
Upgrade your Software
Once we have done all the processes as mentioned, we can finally move on to installing the macOS Monterey Beta version on the system.
Here is how to get to it.
- Tap on Command + Space Bar to open Spotlight Search
- Enter Software and select Software Update from the list.
- Wait for the system to check for updates. You will see the macOS Public Beta on the screen.
- Click on Upgrade Now.
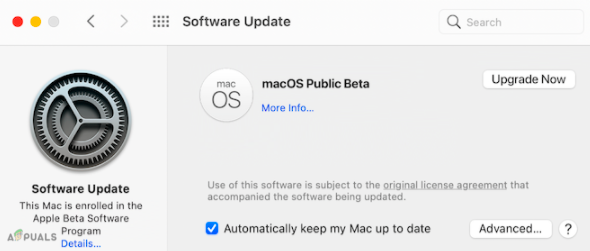
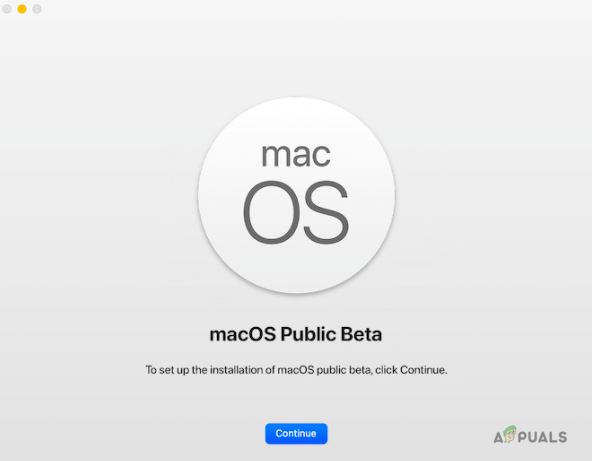
Upgrade to macOS Public Beta - Once this is done. Click on Continue to set up the installation of the macOS Monterey Beta version.
MacOS Monterey Beta Version - Follow the steps to install the software such as select the drive to install it, give admin access, and much more.
- Now, you can reboot your Mac to make the necessary changes.
Here onwards, you need to wait while your system is upgrading the software update. After the system restarts you can test out all the features.
How to Create a Time Machine Backup?
Like we had already mentioned that you need to backup all your files and data using Time Machine before you can even install Beta Version. The main reason behind it is to make sure that you can downgrade to Big Sur with all your files and data. Since this is the Beta version and there is no guarantee if it is stable to use.
Here are the steps you can follow.
- Connect your External Storage Device such as USB, Hard Disk, etc.
- Open Spotlight search using Command + Space Bar and enter Time Machine.
- Click on Backup Disk.
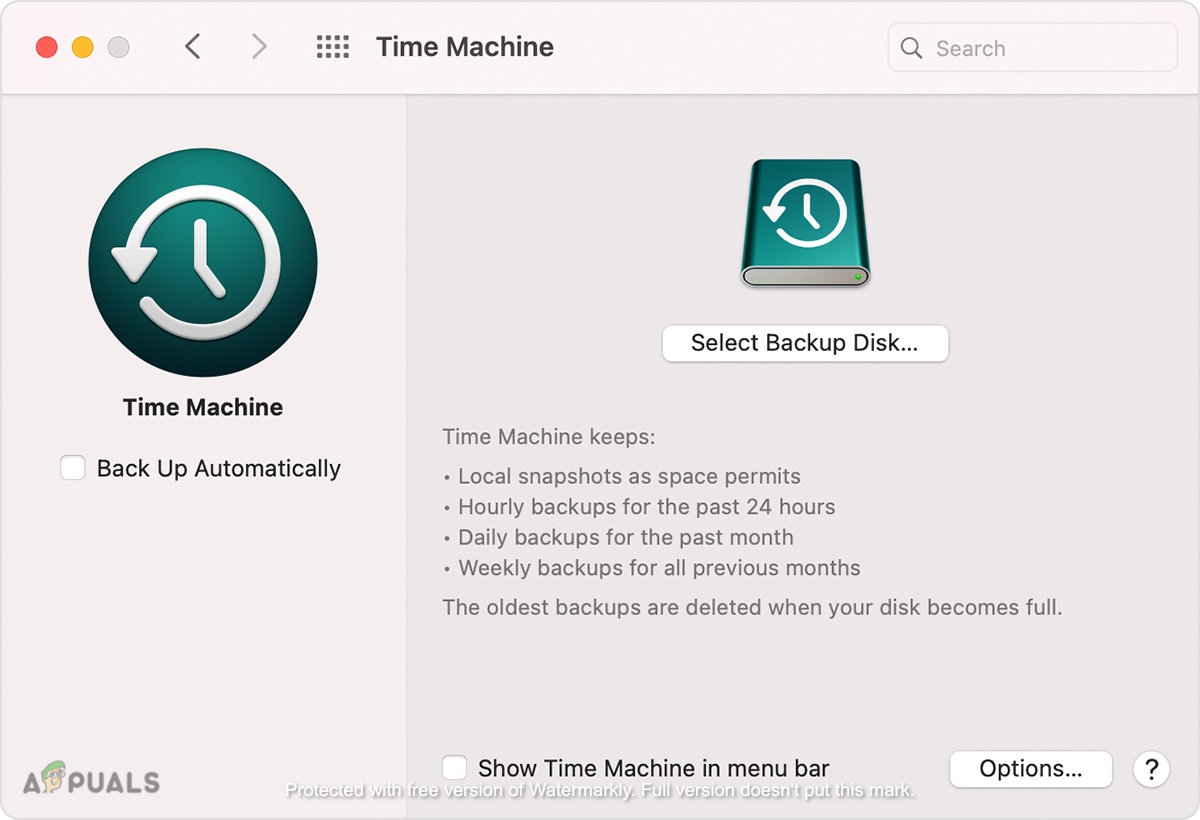
Create a Time Machine Backup - Now, select the Drive you wish to Backup and tap on Use Disk.
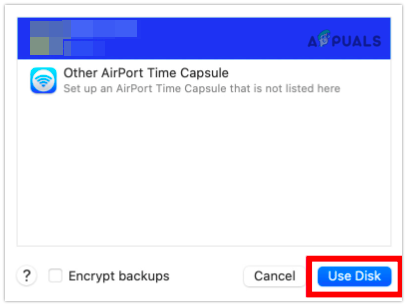
Choose the Drive for Backup - Your backup will start and might take a while in the first go.
Once done you can now check the box beside Back Up Automatically. Other than that if you’re looking to exclude some items from Backup, simply tap on Options and include the folders in the list you do not wish to backup.
Well, here are all the steps you need to follow in order to install macOS Monterey Beta version on your system. Also, it is not important or necessary for users to install the software since it is only launched in the Beta Mode. If you are a tech enthusiast like me and willing to learn more about the new version of macOS, you can follow the steps mentioned.
Or else, you can also wait till September when it will be officially available for everyone. The software update might still have certain bugs and errors that will be fixed using the feedback from multiple users who have installed the macOS Monterey Beta version. To know more updates on Monterey, keep following.