How to Disable Background Apps in Windows 11?
After installing the Windows operating system on your computer, you probably have noticed that some of the system resources are being utilized in the background by various applications. As it turns out, when you boot Windows up, certain applications run in the background by default. This includes applications that are not really needed to keep Windows running smoothly. You can disable the applications running in the background on your system which can save you the system resources that are being utilized and could improve your performance especially when you have a PC with very limited resources. Thus, in this article, we will be showing you the different ways of disabling background apps on your system which can be really beneficial on some computers.
As it turns out, the apps that are running in the background can be for several purposes which includes sending any notifications or looking up for any available updates. While this sounds good, there is a caveat. What essentially happens is when the apps in the background are doing whatever they are, they are using system resources even if it’s a small amount. This can affect the performance of your computer depending upon the number of apps that are running in the background as well as factors like how powerful your computer is.
Like we have mentioned, if you have a high end PC, then you do not really have anything to worry about as far as you don’t have a lot of bloatware running in the background. However, if you do not satisfy that condition, then the resources being can be really helpful for you otherwise. In such a scenario, to free up resources, you will have to prevent background apps from running. With that said, let us get started and take you through the process of disabling background applications in Windows 11 via a number of methods.
Before we proceed, it is important to note that disabling all of the background apps may not always be a good idea as doing so can prevent certain apps from working properly. This is something to consider and keep in mind when you are going through this article. We would recommend disabling the applications individually that are using a lot of system resources.
Use Windows Settings App
As it turns out, one of the ways that you can prevent background apps on your computer is to use the Windows Settings app. To do this, follow the instructions given down below:
- First of all, press the Windows key + I on your keyboard to bring up the Windows Settings app.
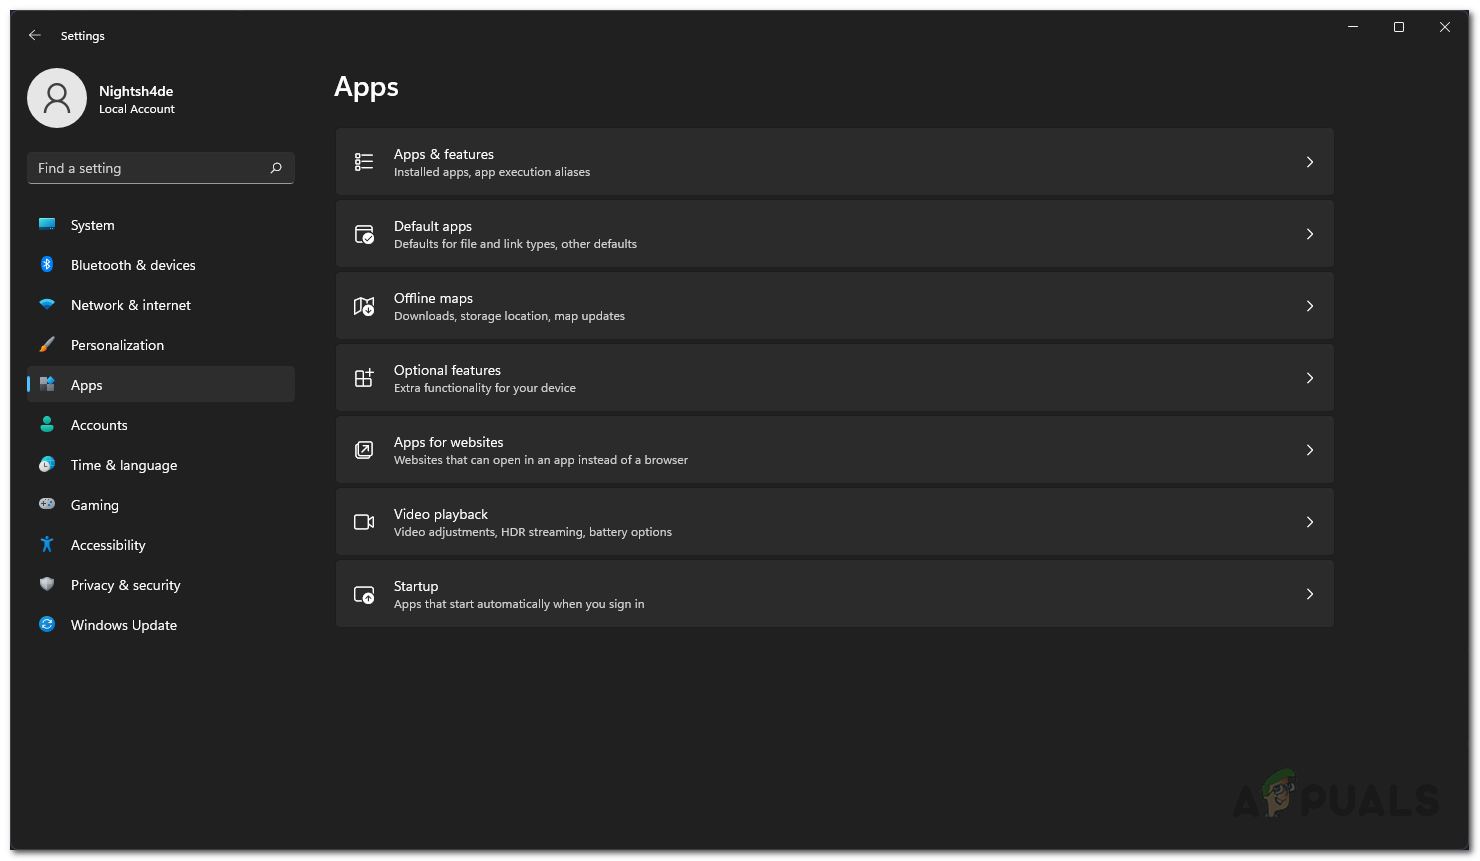
- Then, on the Settings window, click on the Apps option on the left hand side.

Windows Settings - Now, on the Apps screen, make your way to the Apps & features option.
Apps Settings - After that, search for the application that you wish to disable via the search bar provided.
- Once the result is shown, click on the three dots next to the app and from the drop down menu, choose Advanced options.
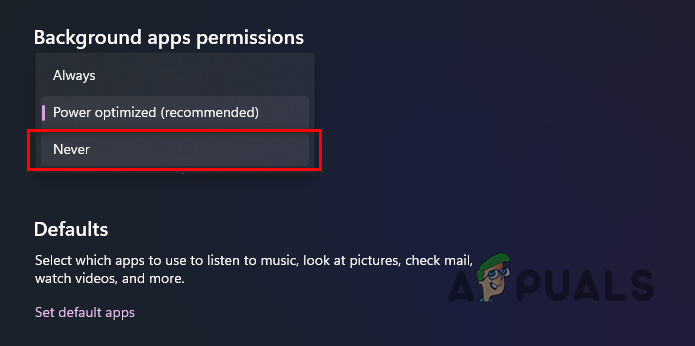
- Finally, on the Advanced options screen, look for Background apps permissions.
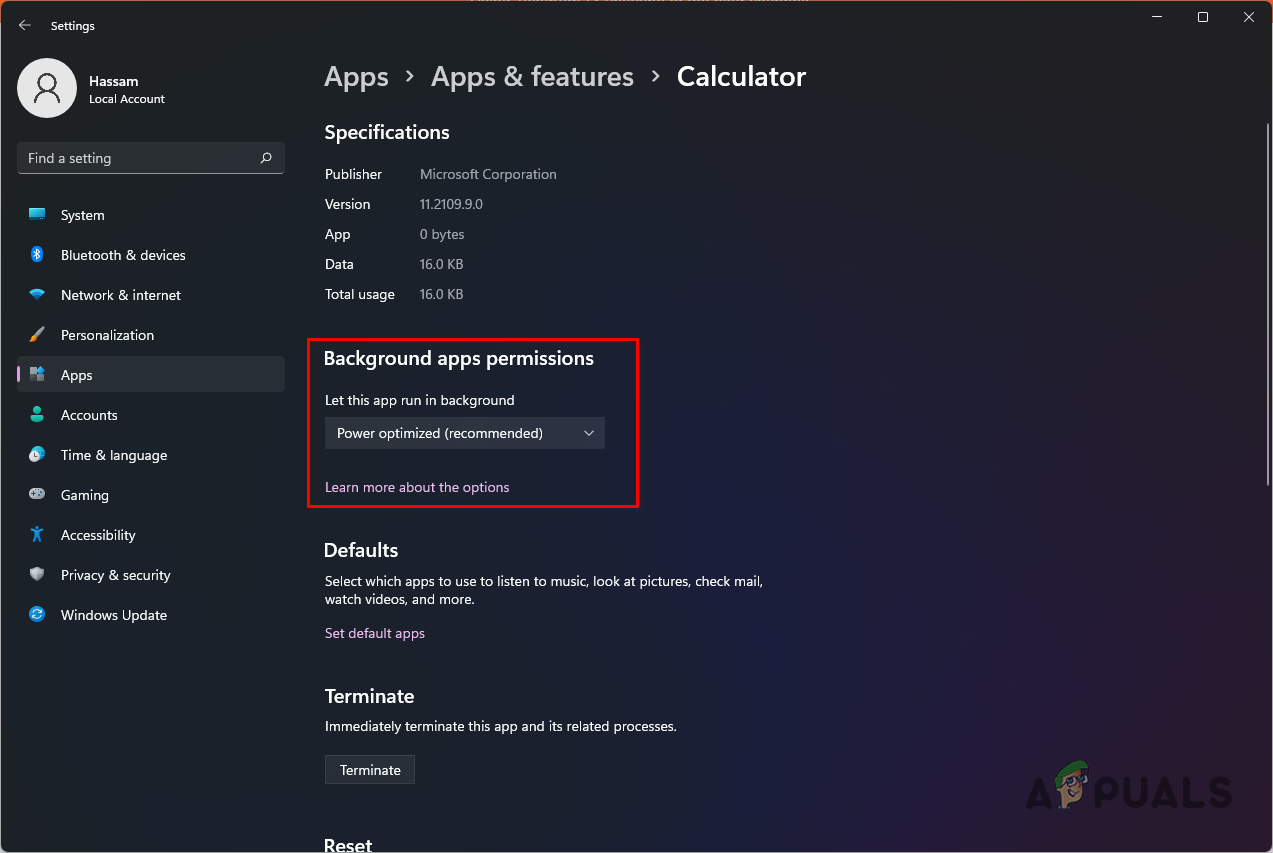
App Background Permissions - Click on the drop down menu and choose the Never option.
Disabling Background Apps via Windows Settings - Once you have done that, the app will no longer be allowed to run in the background.
Use Local Group Policy Editor
Another way you can disable background apps is through the Local Group Policy editor. These policies essentially define how your system operates and thus changing the policy for background apps will prevent them from running. To do this, follow the instructions that are given down below:
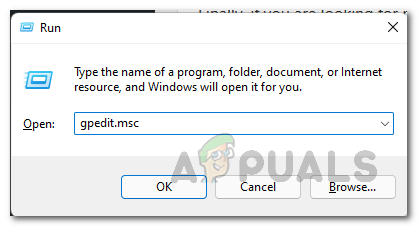
- First of all, open up the Run dialog box by pressing Windows key + R on your keyboard.
- In the Run dialog box, type in gpedit.msc and then hit the Enter key.
Opening up Local Group Policy Editor - Once the Local Group Policy window is up, you will have to navigate to the following path via the folders provided on the left hand side:
Computer Configuration\Administrative Templates\Windows Components\App Privacy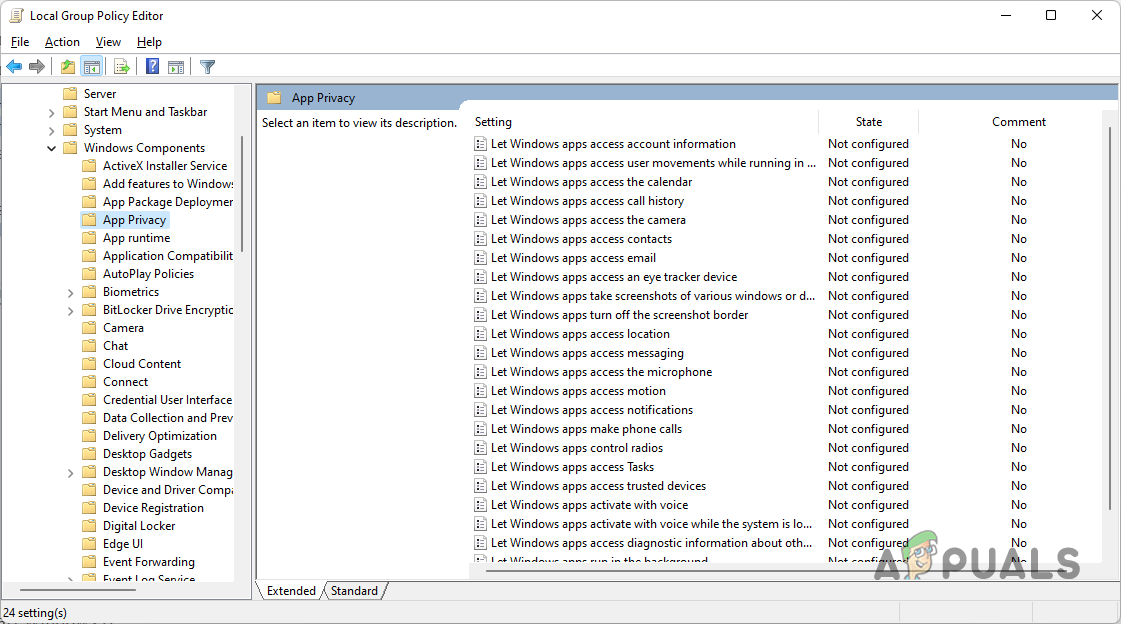
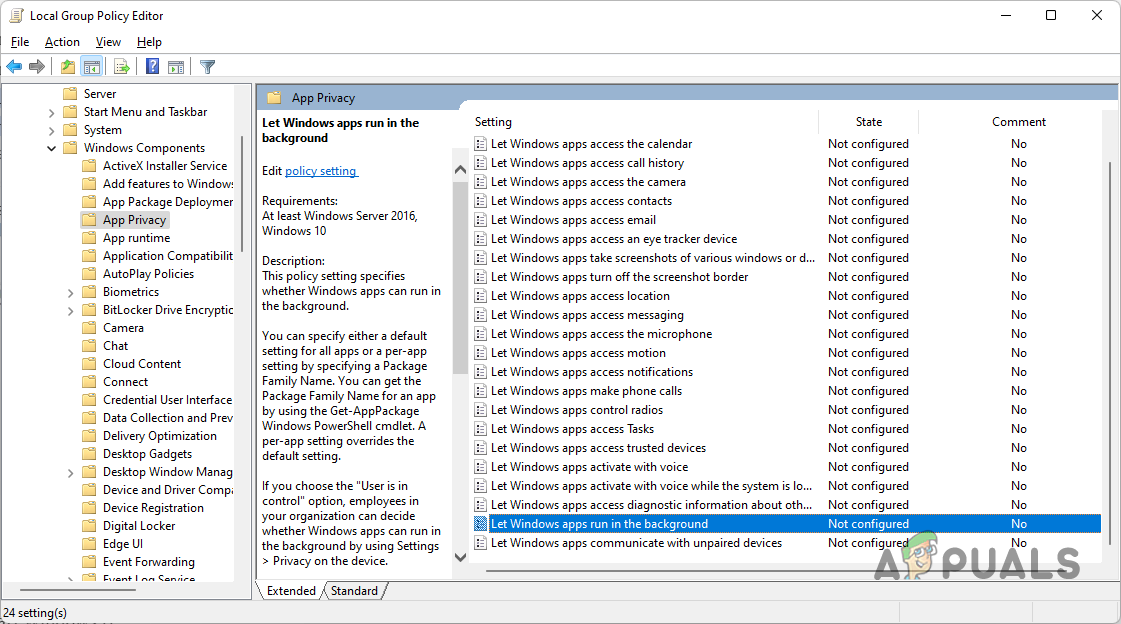
App Privacy Policies - Once you are there, on the right hand side, you should see a list of available policies. Here, look for the Let Windows apps run in the background and then double click on it.
Locating Background Apps Policy - On the new window that appears, choose the Disabled option and then click Apply. Finally, hit OK.
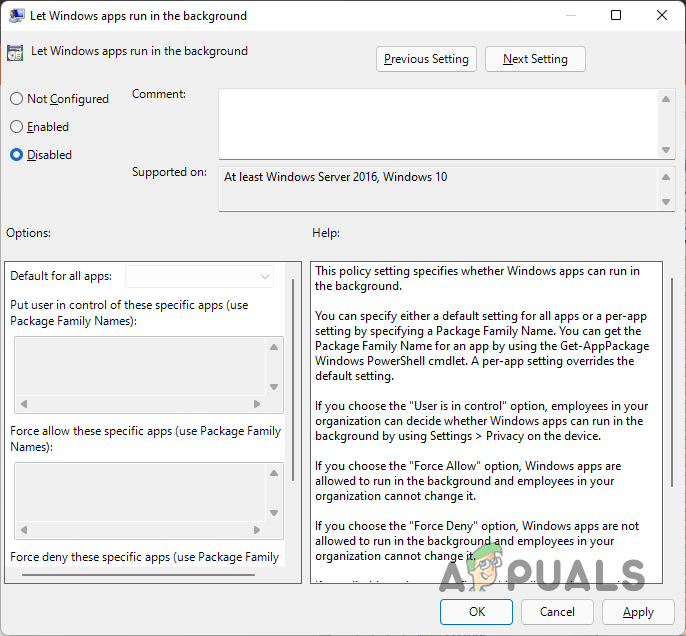
Disabling Background Apps via Local Group Policy Editor - After doing that, you will have to restart your computer for the changes to take effect.
Use Battery Settings
If you are using a laptop, you can disable background apps on your system by using the battery settings that are provided in the Windows Settings app. To do this, follow the instructions given down below:
- To start off, open up the Windows Settings app by pressing Windows key + I on your keyboard.
- Once the Windows Settings app is open, on the System tab, look for the Power & battery option and then open it up.
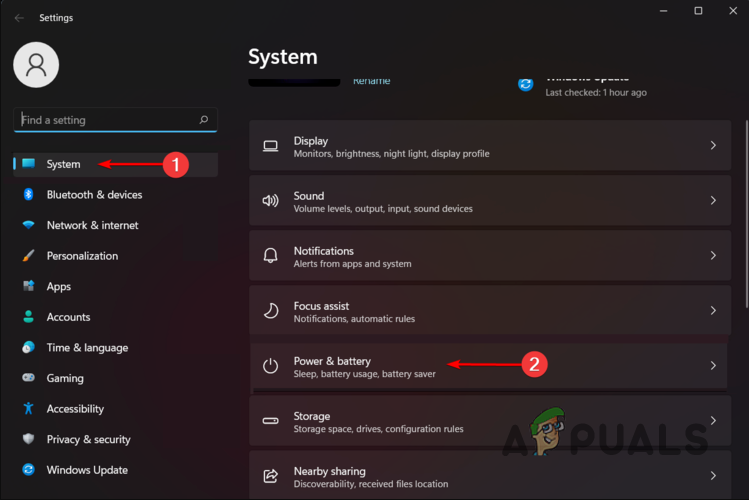
Power and Battery Settings - Then, scroll down to the bottom and then click on the Battery usage option.

Battery Usage - Now, under the Battery usage per app text, you can look for the apps that are consuming the most battery power.
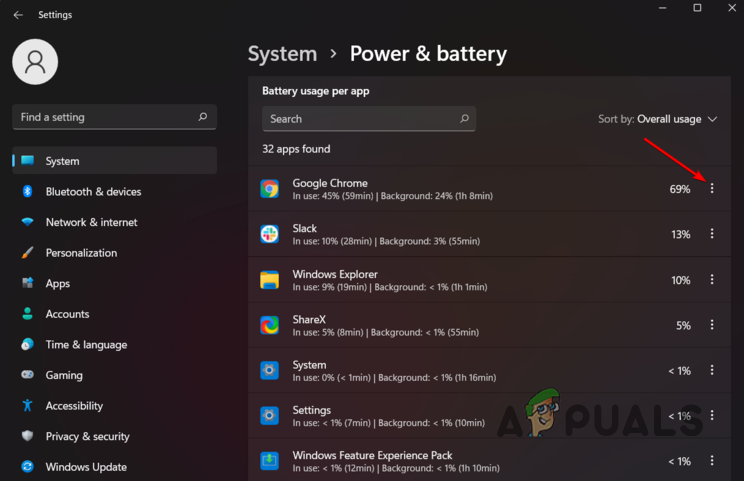
Battery Usage Per App - Click on the three dots next to the app.
- After that, click on the Manage background activity option which will take you to the Apps and features screen.
- Here, under Background apps permissions, choose the Never option.
Use Windows Registry
Finally, if you are an advanced user, you can choose to disable background apps by creating a new registry key in the Windows Registry. It is important to note that Windows Registry is responsible for how your system behaves and should anything unwanted happen, it can render your computer unusable. With that said, we would recommend creating a backup of Windows Registry before proceeding. To disable the Windows backgrounds app via the Windows Registry, follow the instructions given down below:
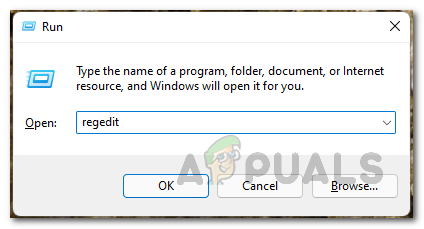
- First of all, open up the Run dialog box by pressing Windows key + R on your keyboard.
- In the Run dialog box, type in regedit and then hit the Enter key.
Opening up Windows Registry - This will open up the Windows Registry.
- In the address bar of the Windows Registry, copy and paste the following path:
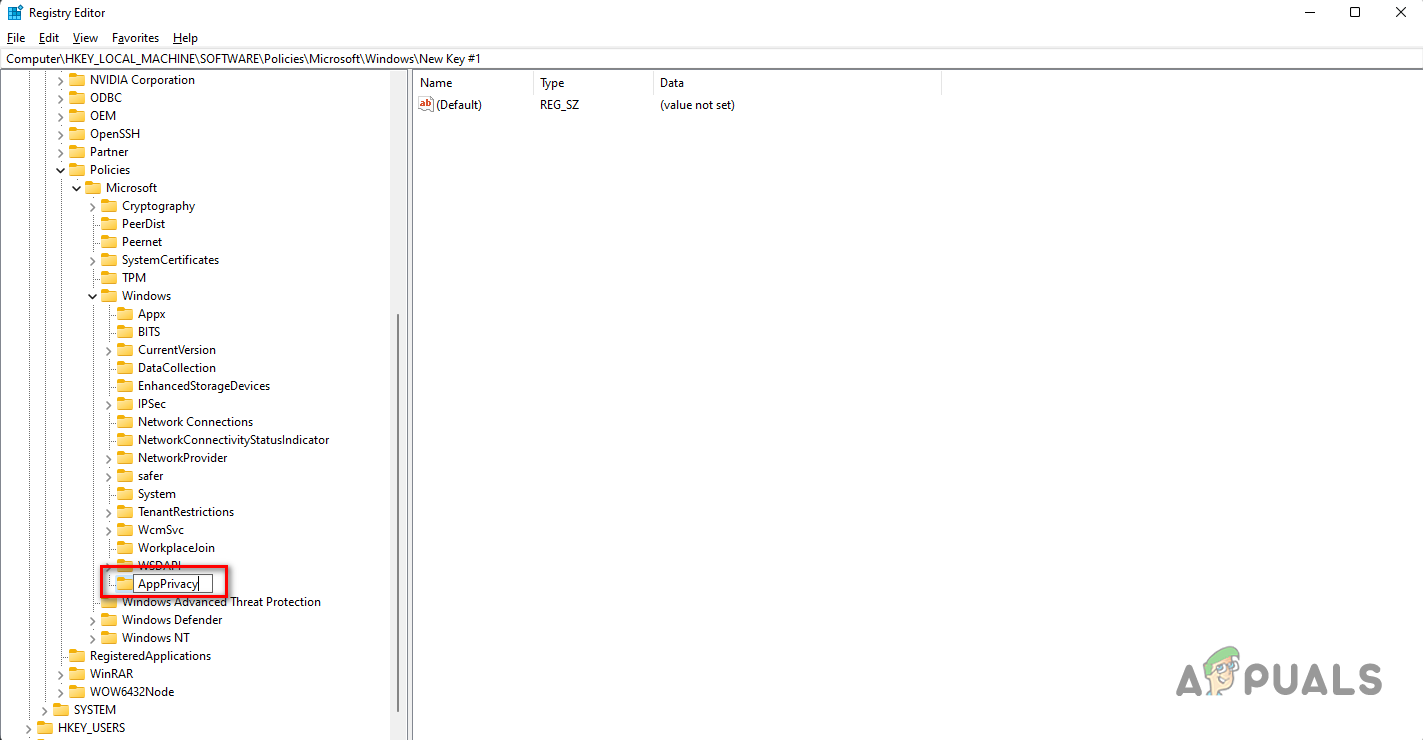
HKEY_LOCAL_MACHINE\SOFTWARE\Policies\Microsoft\Windows\AppPrivacy - In case you do not see AppPrivacy under the Windows key, right click on Windows and then from the drop down menu, click New > Key.
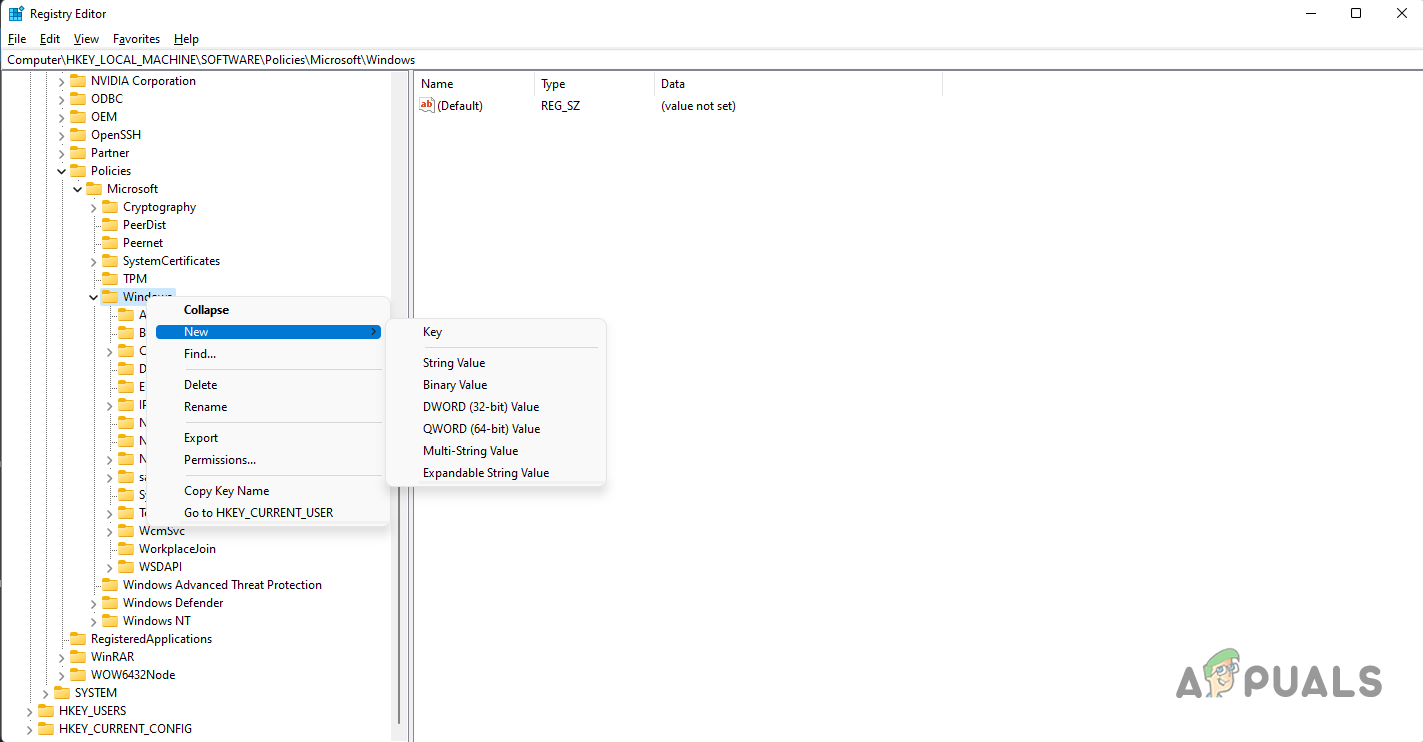
Creating New Key - Name it AppPrivacy.
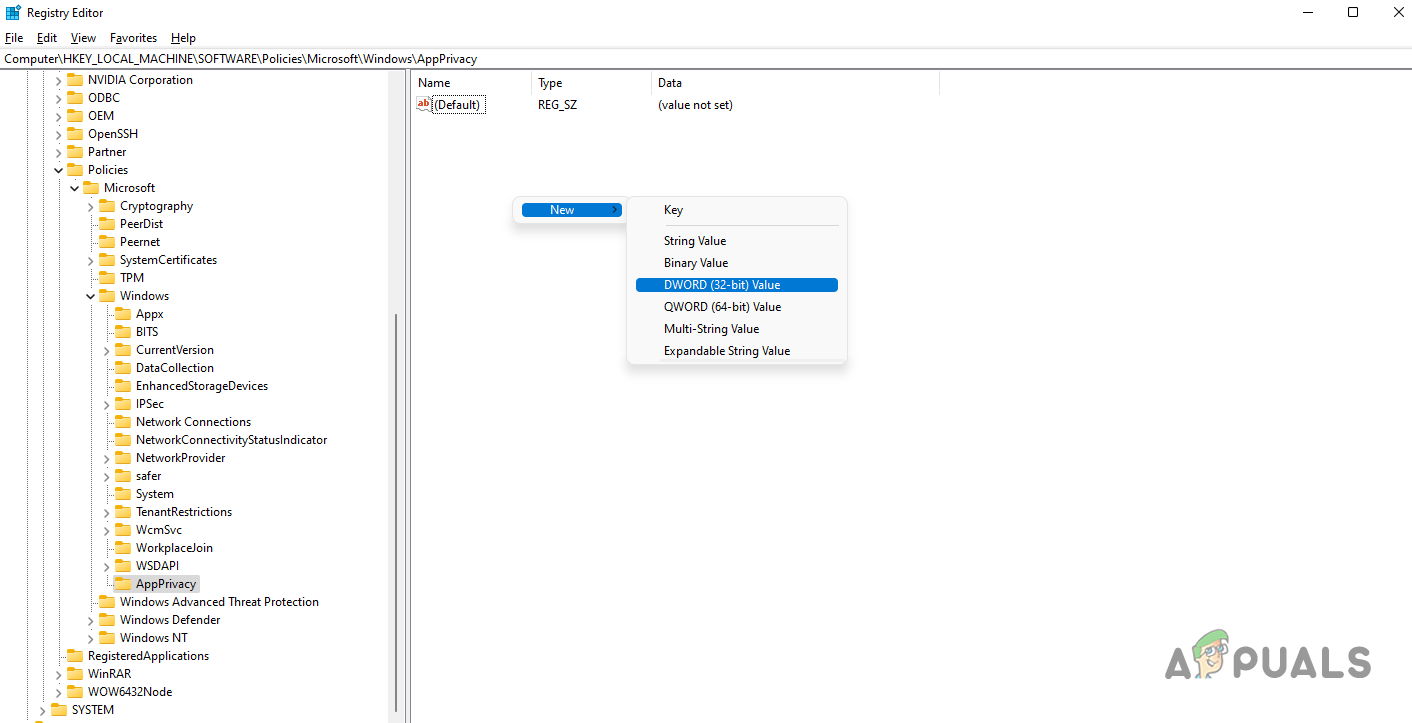
Renaming Newly Created Key - Then, on the right hand side, right click and from the drop down menu, choose New > DWORD (32-bit) Value.
Creating New Value - Name this value LetAppsRunInBackground.
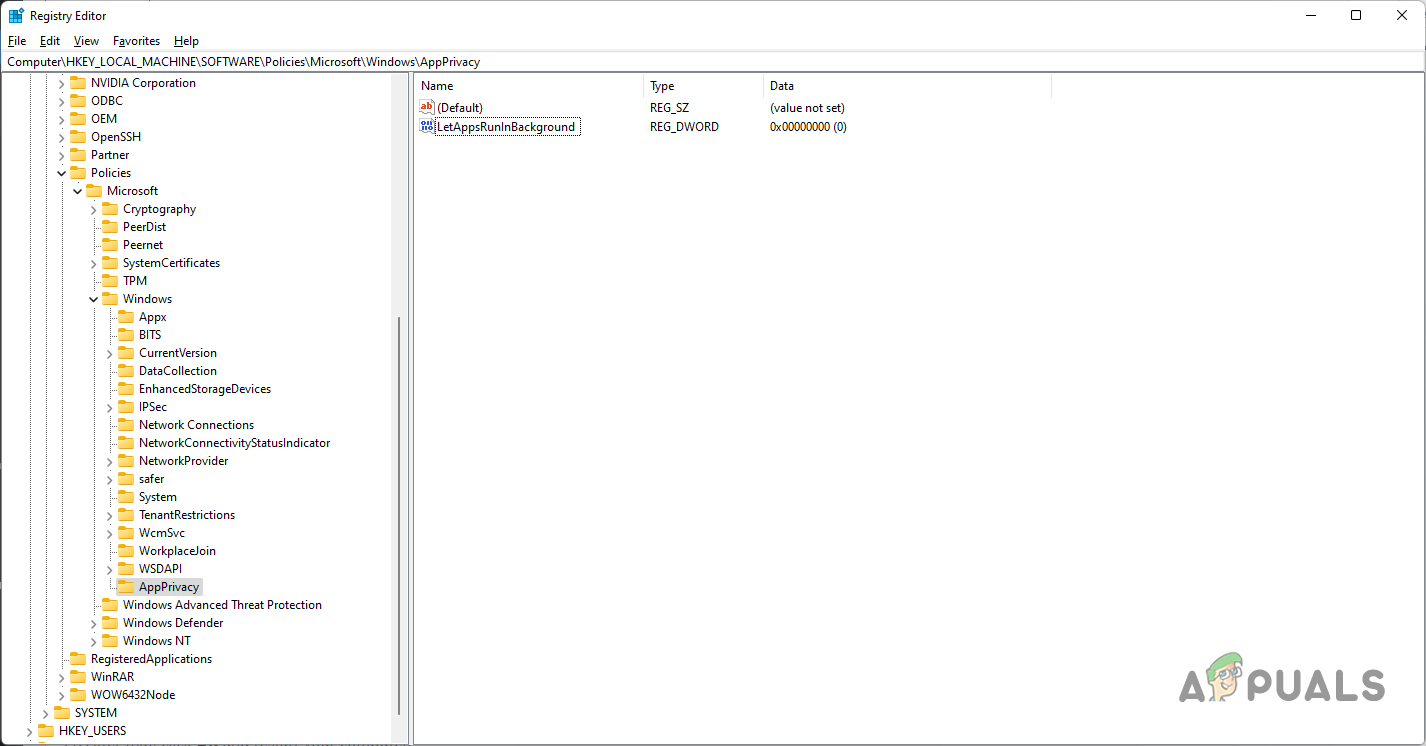
Renaming Newly Created Value - Once you have done that, double click it and then set its value to 2.
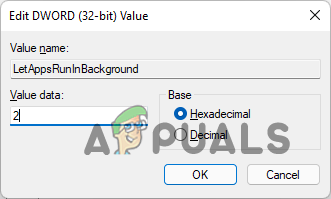
Changing Value to 2 - After that, click OK and restart your computer.
- Background apps should now be disabled on your system.


