How to Fix Deleted Folder Keeps Reappearing Issue in Windows?
Deleting files and folders from your Windows that are currently not in your use is the best way to free up some required space on your system. However, there are times when you failed to delete unwanted files and folders from your Desktop as they keep reappearing on your File Explorer. The cause of this issue occurs when your Desktop folder is synched with OneDrive which prevents the files from deleting.
In this guide, we will explain the methods to prevent your files and folders from reappearing after deletion.
1. Force Delete the Folder
When facing deleting your folder, you can simply force delete them. Doing so will delete them directly from your system without sending the folders to the Recycle Bin. You can perform force deletion with the instructions given below:
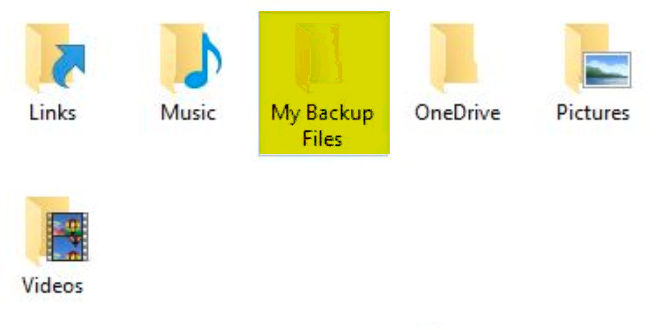
- Select the folder you want to delete by left-clicking on it.
- Press the Shift + Delete keys together.
- Click “YES” on the confirmation prompt to confirm the actions.
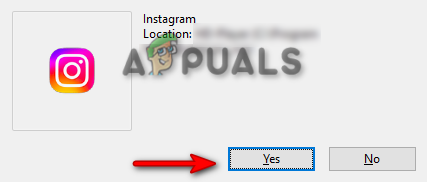
Confirming deletion - The folder will now be deleted from your system without going to the recycle bin.
2. Remove the Desktop folder from OneDrive
Windows links your Desktop folder to OneDrive by default to make sure it’s backed-up. This will mostly cause issues with your folder and prevents them from deleting from the system since OneDrive saved your data in its backup. Therefore, you must remove the Desktop folder from OneDrive with the steps listed below:
- Click on the OneDrive Icon on the right side of the Task Bar in the System Tray.
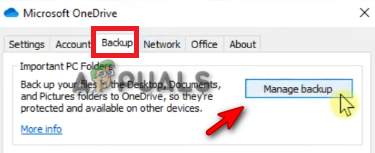
- Navigate to Help and Settings > Settings.
- Open the Backup tab and select “Manage backup” under “Important PC Folers.”
Managing backup - Un-Tick the Desktop folder on the Manage folder backup screen.
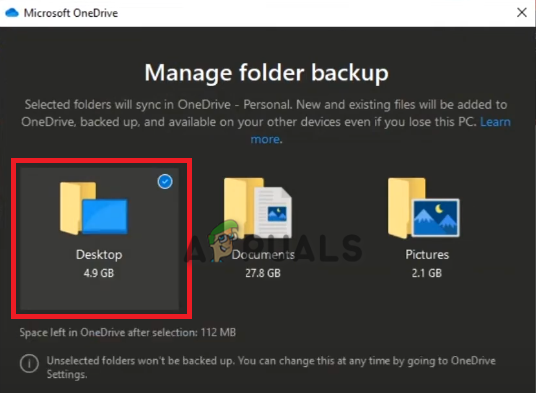
Removing the Desktop folder from OneDrive - This will unlink OneDrive from your desktop and you can delete your folders.
3. Allow permission for the system
When deleting certain folders on your system, you must need administrative permissions to take any further actions. Therefore, you must manually allow permission for the folder to be deleted from your system. With the instructions listed below, you can allow folders to be deleted from your system:
- Right-click on the folder you want to delete.
- Select the “Properties” option.
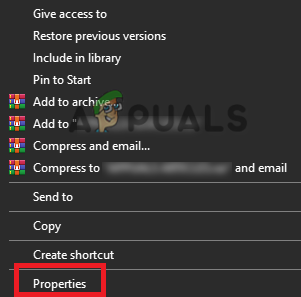
Folder properties - On the “Security” tab, click on the “Edit” option.
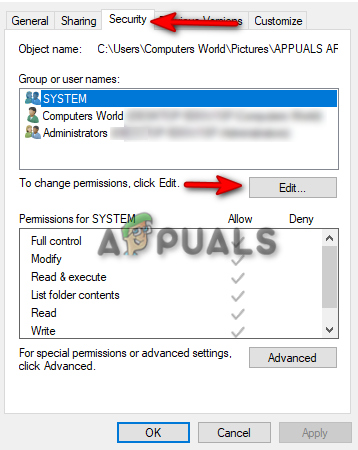
Editing the permissions - Now, click on the “Add” option next to “Remove”
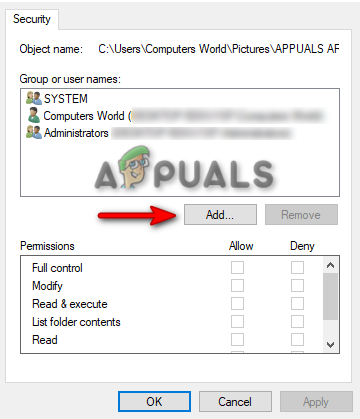
Adding Group or user names - Type “Everyone” in the box and click OK.
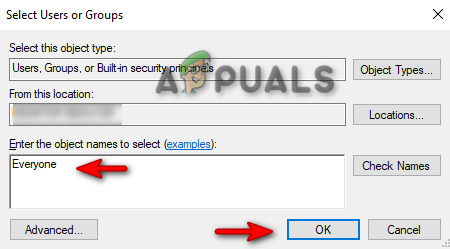
Entering name - Now click on the newly created folder under “group and user names.”
- Check all the boxes under “permissions for Everyone”
- Click on Apply and OK to confirm the changes.
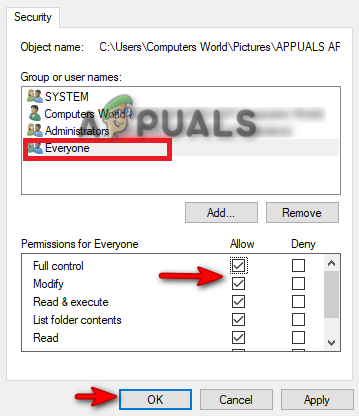
Permissions for Everyone - Now delete the files with administrative permissions.
4. Remove the Directory from the Command Prompt
When normal methods fail to delete your directories, you can move on to another method which is the use of the Command Prompt. There are certain command lines that help delete files an d folders from your system that cannot be deleted simply with the delete option. Therefore, using them will help you resolve your file deletion issue:
- Open the Windows start menu with the WIN key.
- Type “cmd” and Run as an administrator.
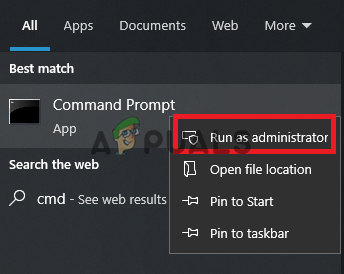
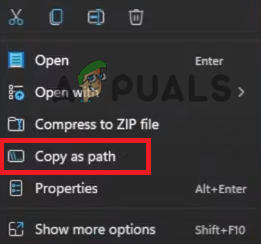
Running command prompt as administrator - Right-click on the file you want to delete and copy its path.
Copying the file path - Paste the file path with the command line given below and press Enter to delete the file:
del /f /q /a "paste path here"
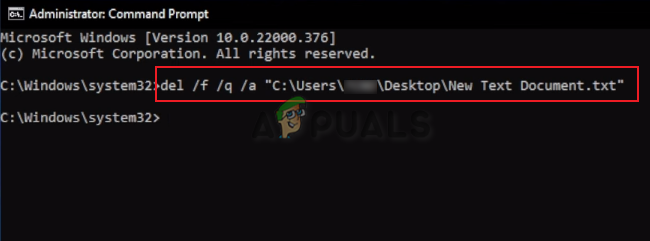
Removing the file - Right-click on the folder you want to delete and copy its path.

Copying the folder path - Paste the folder path with the command line given below and press Enter to remove the directory:
rmdir /s /q "paste folder path here"
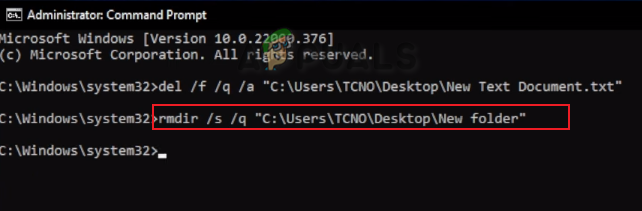
Removing the directory
5. Remove printer software configuration.
Unknowingly, when you scan different types of files using the printer control center software, you end up creating folders on your desktop via the printer software configuration. This configuration will prevent the created folders from being deleted and enables them to re-appear as they are manually deleted from your desktop.
Therefore, you must check for any program and printer software on your system that have you configured a designation for files and folders. Removing them will solve the reappearing issue with your files.
6. Take Ownership of the folder
Windows does not allow certain files and folders from being deleted from your system. This happens because they are currently being used by another process and the process does not allow any changes to be made to that particular folder. Therefore, taking ownership of the folder will grant you full permission over it and you can freely modify and delete the folder as per your choice.
7. Boot into Safe Mode to delete the folder
You must resort to using Safe Mode when the folders cannot be deleted in a normal state, This is a built-in feature in Windows that allows you to boot your system with default programs and a minimal set of drivers. This feature will help you solve the reappearance of deleted folders from your system. Below is how you can boot your system on safe mode:
- Open the Windows Start menu with the WIN Key.
- Click on the power option and click on the “Restart” option while pressing the Shift key.
- Navigate to Troubleshoot > Advanced options.
- Select the button option “See more recovery option” to open more advanced options.
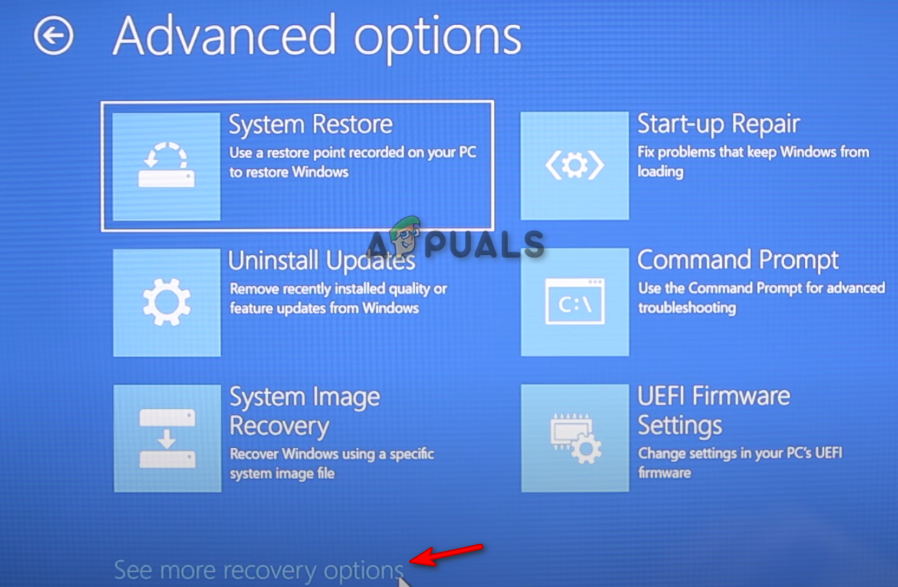
Opening more recovery options - Click the “Start-up Settings” option.
- Restart the system by clicking on the “Restart” option.

Restarting the system - Here you will have multiple options to choose from, press “4” on your keyboard and boot your system in Safe Mode.

Enabling Safe Mode - Once the system is in Safe Mode, find the folder and delete it.
- After deleting the folder, get out of Safe Mode.


