How to Fix “Printer Driver Unavailable” Error on Windows?
The Printer driver is unavailable error indicates that the driver installed for your printer is incompatible, outdated, or corrupted. As a result, the computer is unable to recognize it.

When the computer cannot recognize or interact with the printer driver, you are prevented from printing. Fortunately, this common issue in the printing world is often resolvable with a few adjustments. Explore the solutions below to fix the problem.
1. Run the Printer Troubleshooter
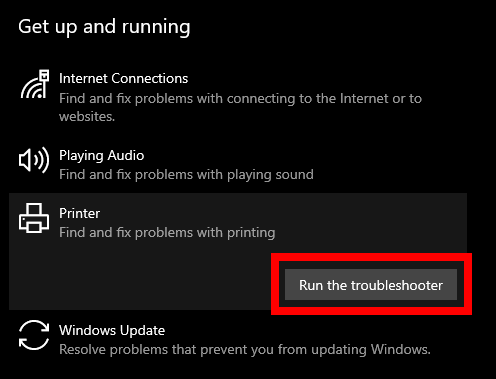
Windows Printer troubleshooter goes through your system, identifies any issues with the printer’s connectivity or configuration, and attempts to automatically fix them. It’s an optimized solution that can resolve the issue without requiring extensive technical knowledge from the user. By simply running the troubleshooter, you set in motion a process that could bring your printer back to operational status in no time.
- Navigate to Settings > Update & Security > Troubleshoot.
- Click on Additional troubleshooters and then select Printer.
- Choose to Run the troubleshooter and follow the on-screen instructions.
2. Make Sure the Print Spooler Service Is Running
Print Spooler service is an essential background process that manages the print queue and interfaces with your printer. If it’s stopped, your print jobs won’t be processed. Making sure that the Print Spooler is active and running smoothly can restore this critical link, allowing your pending documents to reach the printer once again.
- Press Windows + R, type services.msc, and hit Enter.
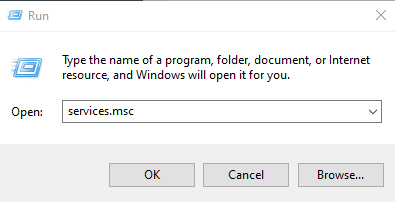
- Find and right-click Print Spooler, then choose Restart. If the service is not running, select Start.
3. Verify the Correct Printer Is Set as Default
When the wrong device is set as default, documents sent for printing may go to a different printer or not print at all. By making sure the right printer is set as default, you align the print jobs with the intended device, effectively clearing a common issue that could be mistaken for a driver issue.
- Open the Control Panel and navigate to Hardware and Sound.

- Go to Devices and Printers.
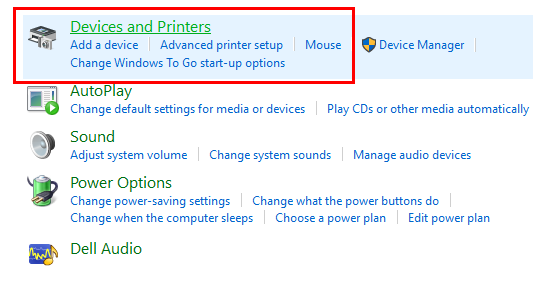
- Right-click on the intended printer and select Set as default printer.
4. Download Drivers from the Manufacturer’s Website
When original equipment manufacturers (OEMs) release new drivers, they make sure the software is optimized to facilitate smooth communication between your system and the printer. By hand-picking the most recent drivers released for your exact printer model and operating system, you not only guarantee compatibility but also get potential enhancements and critical fixes that resolve known issues.
- Visit your printer manufacturer’s official website.
- Locate the Support or Downloads area.
- Use the site’s search function or navigation tools to find the appropriate drivers for your printer model and operating system.
- Download the driver that is compatible with your printer.
- Run the downloaded installer file and follow the on-screen instructions to complete the setup.
By sourcing drivers directly from the manufacturer, you reduce the likelihood of encountering compatibility issues that can occur from using incorrect drivers.
If you are unable to locate the correct drivers, you might consider using a driver updater tool for automated updates. Here are the 5 best driver updater programs for Windows.
5. Uninstall the Printer Driver
Uninstalling the printer driver removes any existing software conflicts or corruption that might be blocking communication between your printer and computer. By reinstalling, you make sure that the most compatible and up-to-date drivers are in place, which can often resolve the issue and restore your printer’s functionality.
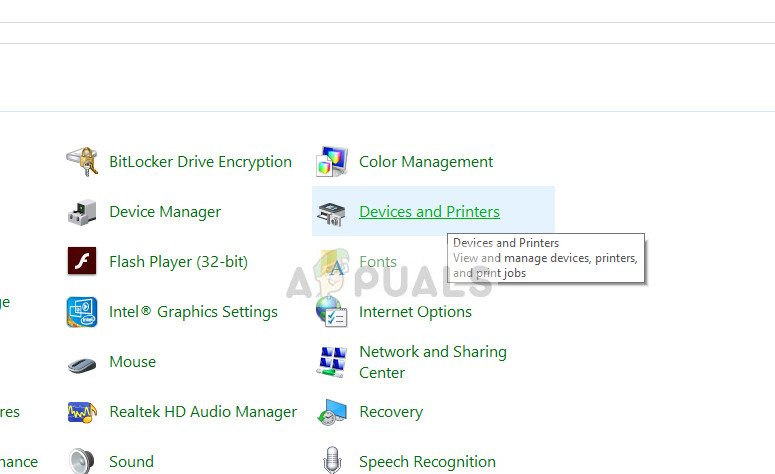
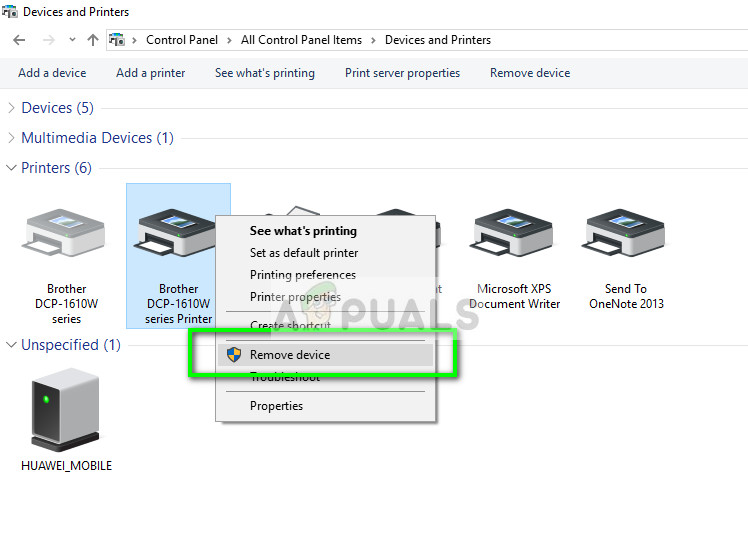
- Press Windows + R, enter control into the dialogue box, and hit Enter. Make sure the Control Panel is set to View by: Large icons, then click Devices and Printers.
- Right-click on the problematic printer and choose Remove device.
- Reopen the Run box with Windows + R, type devmgmt.msc, and go to Print queues. If your printer is displayed, right-click it and select Uninstall device.

- Type appwiz.cpl after pressing Windows + R and hit Enter. Uninstall any software related to your printer.
- Detach your printer from your computer or router, shut everything down, and unplug their power cords.
- After about 10 minutes, reconnect and power up all devices. Initially, link the printer to your computer via USB to allow automatic driver installation.

- In the Control Panel, right-click on the printer and select Set as default printer. Test the printer to determine if the issue has been fixed.
6. Install the Latest Drivers Manually
If reinstalling the printer does not solve the problem, you might need to update the drivers manually. For example, following a Windows update, printer functionality might be disrupted; this was notably the case with some HP printers. To prevent such issues, download the specific drivers for your hardware from the manufacturer’s site and disable Windows from updating drivers automatically.
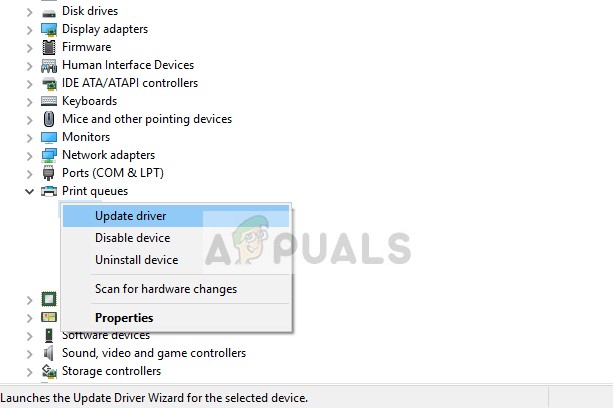
- Open Device Manager by pressing Windows + R and typing devmgmt.msc.
- Navigate to Print queues, right-click on your printer, and select Update driver.
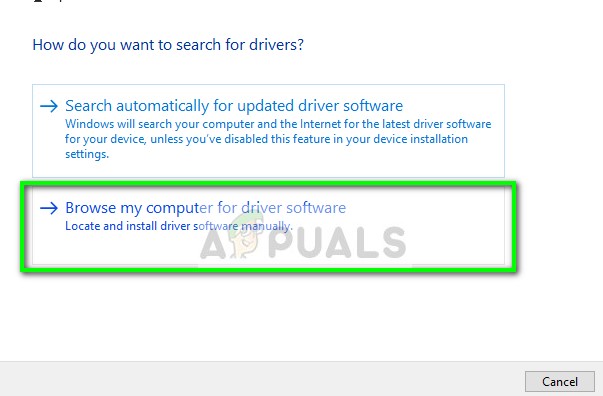
- Choose Browse my computer for driver software when prompted about how to update your driver.
- Select the downloaded driver file using the browse feature to update it accordingly.
Note: If your printer doesn’t appear in Device Manager, run the driver installer you’ve downloaded for automatic installation.
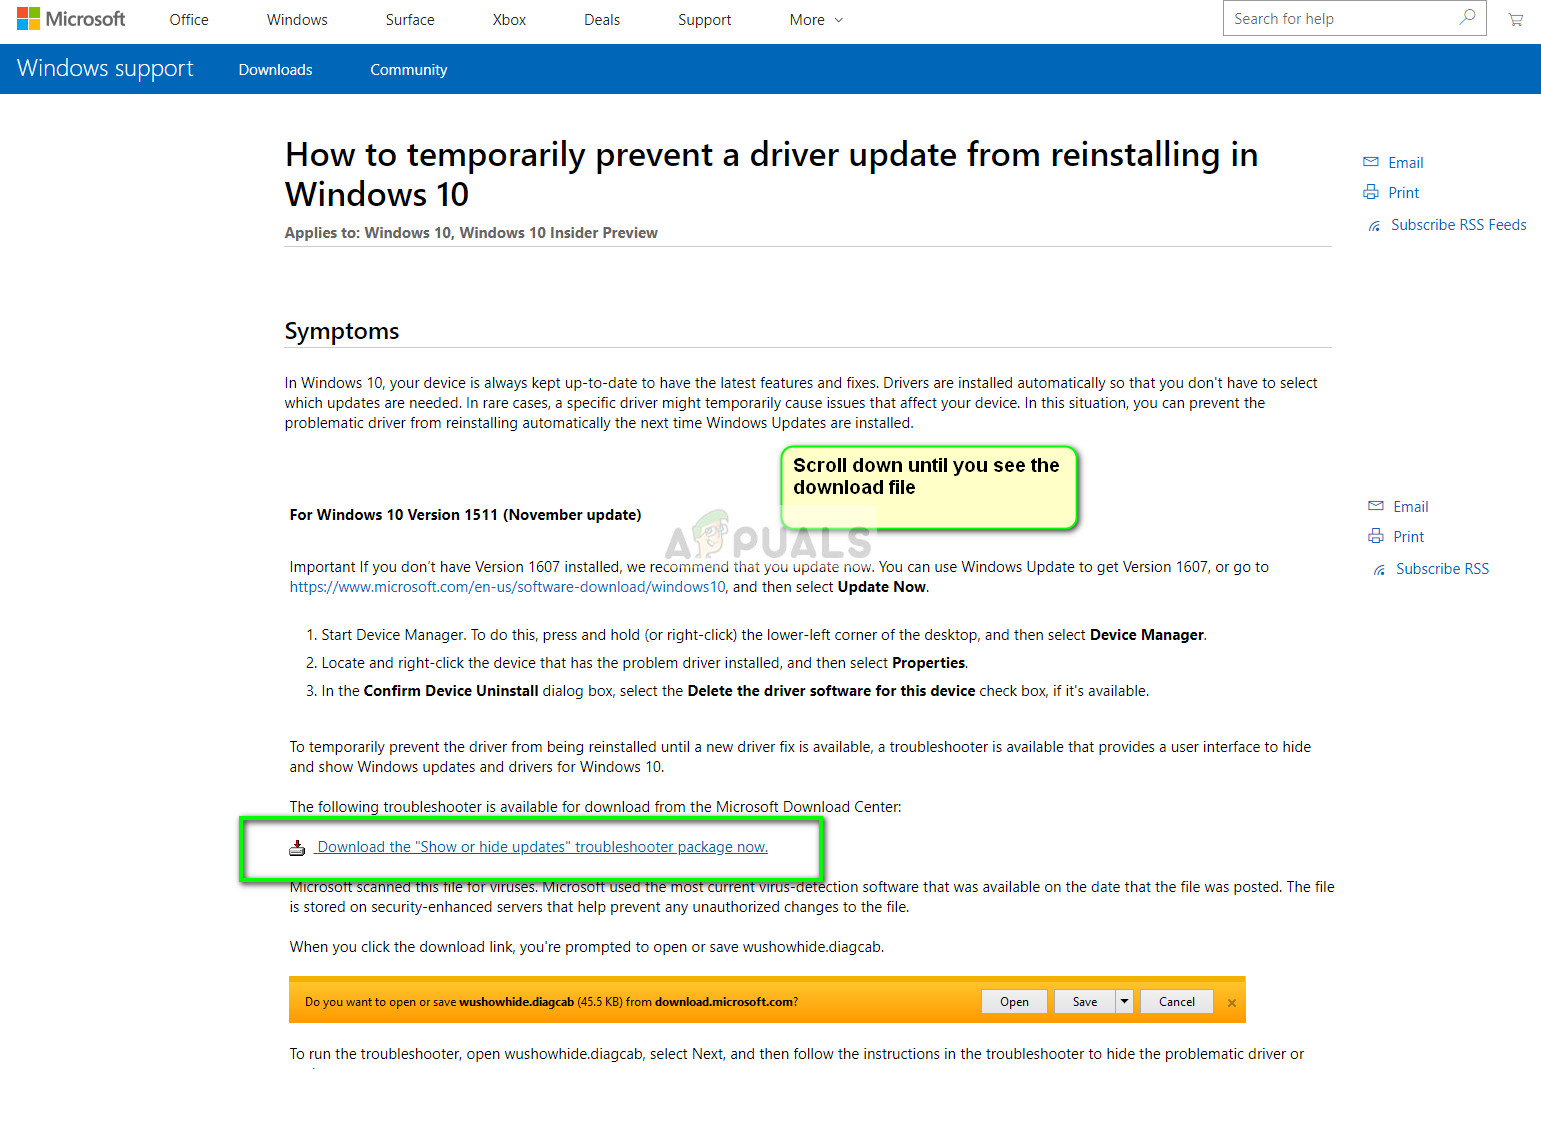
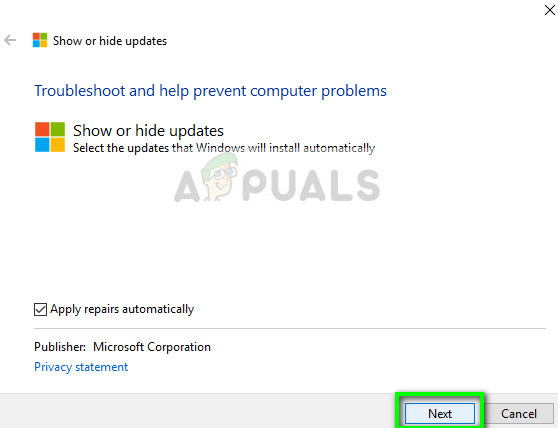
- After confirming the printer is functional, download wushowhide.diagcab from the official Microsoft website.
- Run the package and click Next.
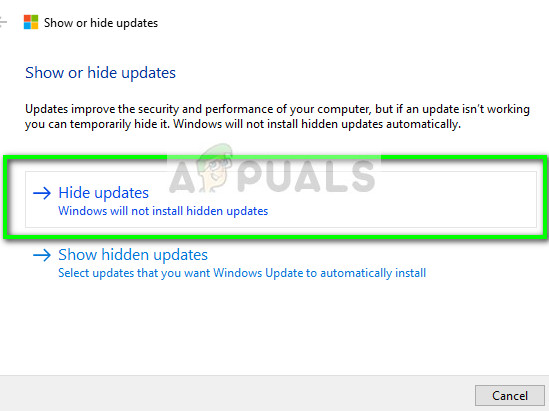
- Choose Hide updates.
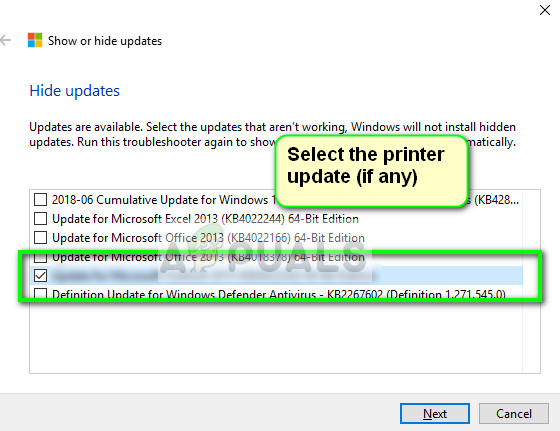
- Select any shown printer updates and continue. This action prevents Windows Update from automatically updating your printer’s drivers unless you approve it.
7. Install Generic Printer Driver
If previous methods have failed and your printer is undetected by your computer or appears as an “Unknown device”, you might need to install a default generic printer driver manually.
These universal drivers are designed to work with a wide range of printers and provide basic printing capabilities. Although they may not enable all the advanced features of your device, they ensure that your printer is operational and can perform the basic tasks, thereby allowing you to continue printing while you seek a more permanent fix or support from the manufacturer.
- Press the Windows key and hold it, then press X. Choose Device Manager.
- In Device Manager, locate your printer. If you cannot find it there, check under Unknown Devices.
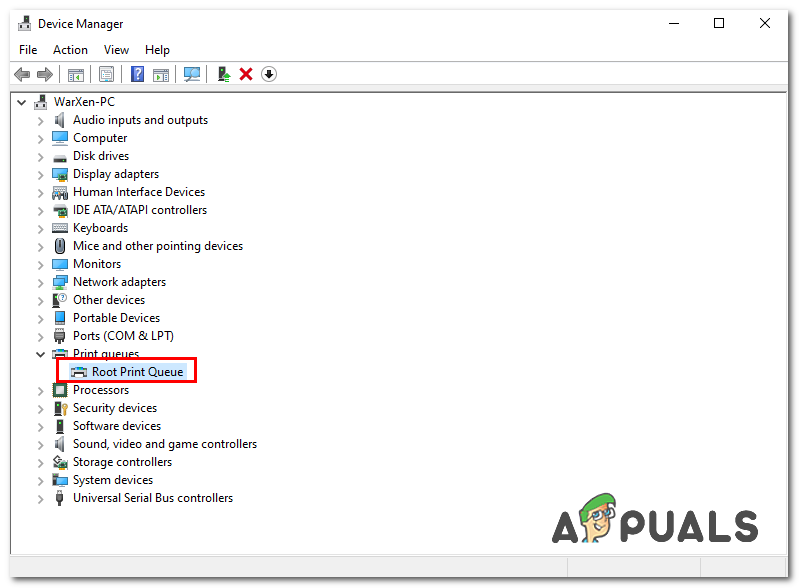
Locating your Printer
- Right-click on your printer and choose Update Driver.
- Select the Browse my computer for drivers option.
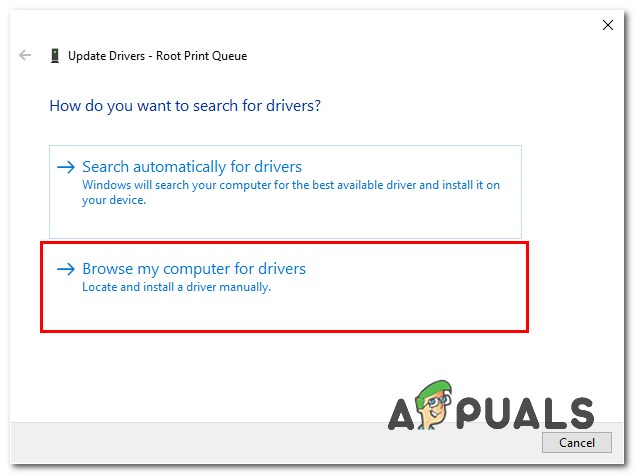
Installing Default Driver
- Choose Let me pick from a list of available drivers…. and then select Generic Software Device.
- Click Next and restart your computer. Be aware that this generic driver may not support all the functionalities of your printer, but it will enable basic operation.
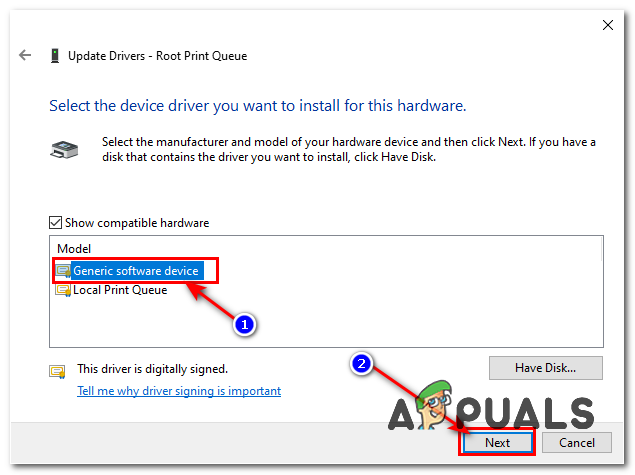
Installing Generic Driver
8. Contact Manufacturer Support
Manufacturer support teams have specialized knowledge and access to advanced troubleshooting techniques that might not be available to the general public. By contacting them, you might receive personalized guidance, firmware updates, or even learn about known issues with specific drivers.
In some cases, they might offer remote assistance or direct you to a service center if a hardware issue is suspected.


Thank you!