How to Enable the Dark Mode on iPhone, iPad or a Mac?
Dark Mode (or Night Mode) has been all the rage with app/OS developers and device manufacturers since it gained traction back in 2017. Dark Mode, as a concept, is pretty simple – the usual black-text-on-white-background display is inverted and turned into a white-text-on-black-background display, leaving images and other graphical elements intact. But if it’s that simple, what makes it so great? Dark Mode reduces eye strain and makes for a much more comfortable viewing experience, especially at night and in low-light situations. To top it all off, your display is going to go a lot easier on your battery in Dark Mode, especially on devices with OLED screens that simply turn pixels off for a natural black.
With the release of iOS 13, iPadOS 13 and MacOS Mojave, Apple is the latest entrant to the Dark Mode game. Apple may not be the first manufacturer to bring a Dark Mode to its devices, but Rome wasn’t built in a day – and Apple took its sweet time perfecting the tech giant’s take on the oft-demanded Dark Mode feature. Apple’s Dark Mode, available on the iPhone, iPad, iPod Touch and Mac, has quickly become one of the defining features of the company’s most recent line of Operating Systems. With Dark Mode enabled, your Apple device assumes a much darker and more conservative theme system-wide, as do all stock apps and any third-party apps or websites that support Dark Mode.
How to Enable Dark Mode on iPhone, iPad and iPod Touch
On any Apple device running on iOS 13 or iPadOS 13 (or later), there are a number of different ways you can go about enabling Dark Mode.
1. Enable Dark Mode in Settings
- Navigate to Settings.
- Tap on Display & Brightness.
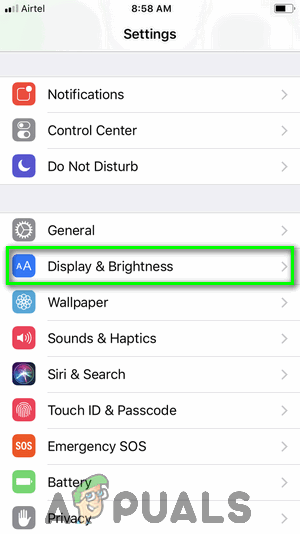
Tap on Display & Brightness in Settings - Under the Appearance section, tap on Dark to enable the Dark Mode feature. To disable the feature, simply tap on Light instead.
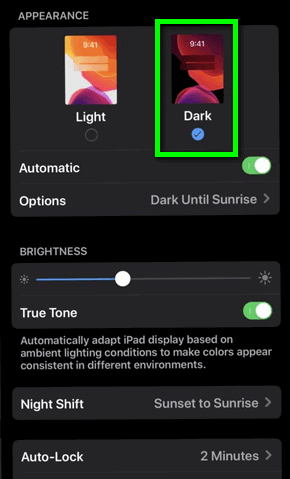
Tap on Dark to enable Dark Mode
2. Enable Dark Mode using the Brightness slider in the Control Center
You can enable Dark Mode from absolutely anywhere on your device at any time as the feature is baked into a little nook in the Control Center.
- If you’re using an iPad or an iPhone with a notched display (iPhone X and later), pull down from the top-right corner of your device’s screen. If you’re using an iPhone with a physical Home button, pull up from the bottom of your device’s screen. This will bring up the Control Center.
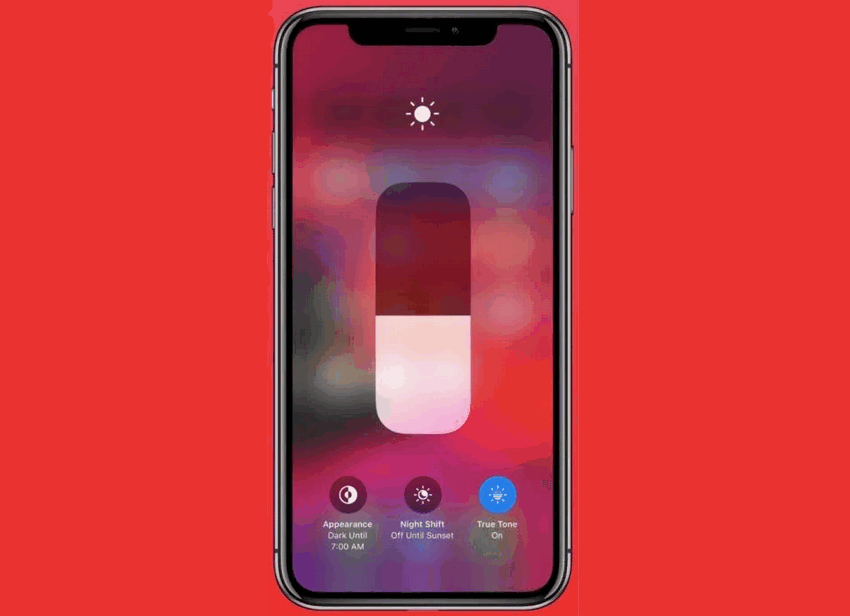
- Tap and hold on the Brightness slider in the Control Center.
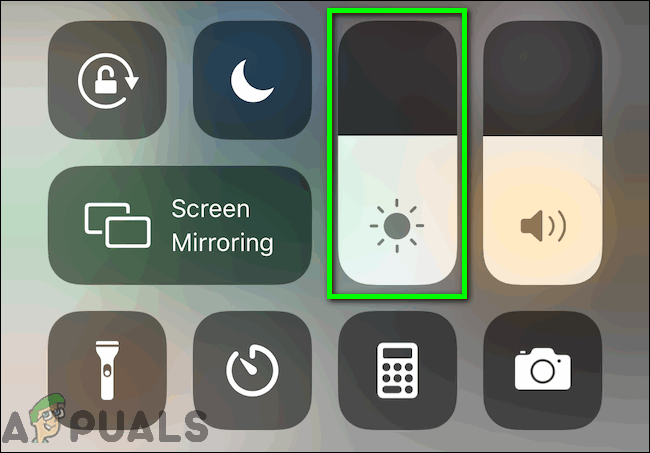
Tap and hold on the Brightness slider - Tap on the Dark Mode button to turn the feature on. Tap on the button again when you want to turn Dark Mode off.
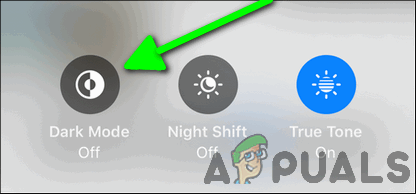
Tap on the Dark Mode button
3. Enable Dark Mode using a dedicated toggle in the Control Center
If Dark Mode is a feature you use often, you can make the process of toggling it on and off even more straightforward by eliminating one entire step. You can add a dedicated Dark Mode toggle to your device’s Control Center, allowing you to simply bring up the Control Center and tap on it to enable or disable the feature without ever having to interact with the Brightness slider. In order to do so, you need to:
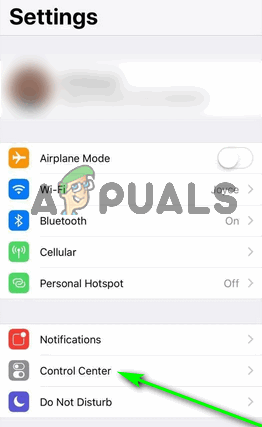
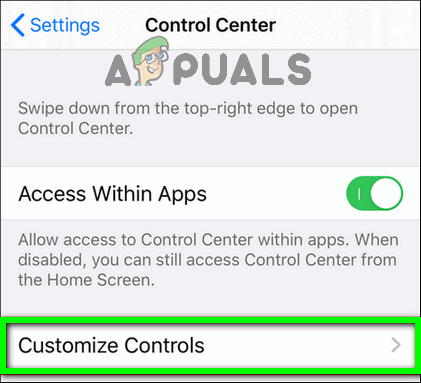
- Navigate to your device’s Settings.
- Tap on Control Center.
Tap on Control Center - Tap on Customize Controls.
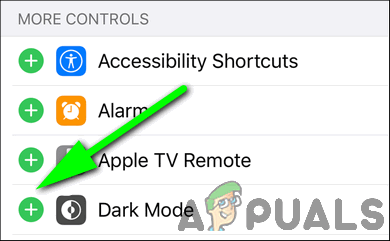
Tap on Customize Controls - Under the More Controls section, locate the Dark Mode option, and tap on the + button right next to it.
Tap on the + next to the Dark Mode option
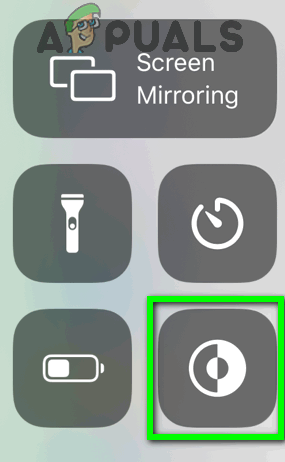
Once you do so, bring up your device’s Control Center and you will see a dedicated Dark Mode toggle in there. You can now, from anywhere on your device, simply pull up the Control Center and tap on the dedicated Dark Mode button to enable or disable the feature.
4. Configure your device to turn Dark Mode on and off on a schedule
If you are a creature of habit and only require your device to be in Dark Mode at certain times throughout the day, you can automate the process. Apple devices that support Dark Mode can be configured to turn Dark Mode on and off at specific times, or when the sun sets and rises respectively.
- Navigate to your device’s Settings.
- Locate and tap on Display & Brightness.
Tap on Display & Brightness in Settings - Under the Appearance section, tap on the toggle next to Automatic to automate the enabling and disabling of the Dark Mode feature.
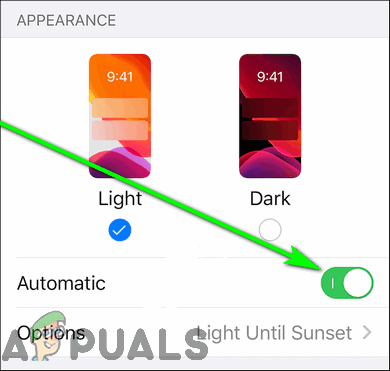
Tap on the toggle next to the Automatic option to enable it - Tap on Options to specify when you want Dark Mode to be turned on and off.

Tap on Options - If you would like Dark Mode to be enabled when the sun sets and then disabled when the sun rises, tap on Sunset to Sunrise, and you’re all done. If, however, you want Dark Mode to be enabled and then disabled at specific times, tap on Custom Schedule and proceed to the next step.

Tap on Sunset to Sunrise 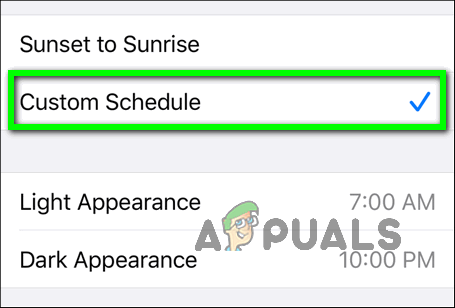
Tap on Custom Schedule and proceed - Tap on Light Appearance.
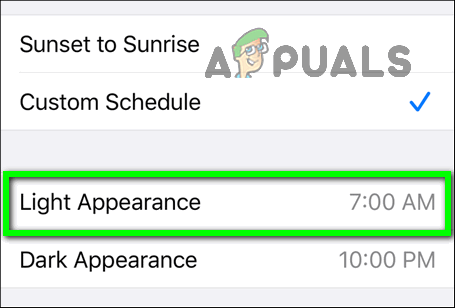
Tap on Light Appearance - Specify the time of day you want Dark Mode to be disabled at, and confirm the action.
- Tap on Dark Appearance.
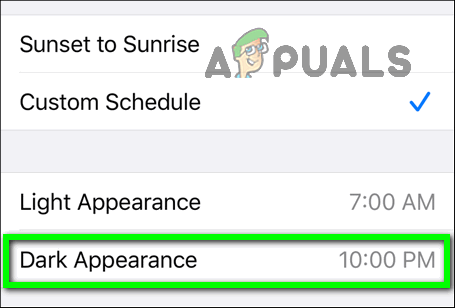
Tap on Dark Appearance - Select the time of day you want Dark Mode to be enabled at, and confirm the action.
That’s it – your device will now automatically switch between Dark Mode and its default Light Appearance at the times you have specified.
How to Enable Dark Mode on a Mac
No more unsuccessful searches on the App Store for an app to make your Mac’s overall aesthetic a bit darker – Apple’s native Dark Mode is also available on any Mac running on MacOS Mojave or later. Apple’s Dark Mode for Macs is designed to not only be easier on the user’s eyes but also allow the user to focus better on their work as it makes actual content more prominent and windows, controls and other UI elements less noticeable and in your face. To enable Dark Mode on a Mac, you need to:
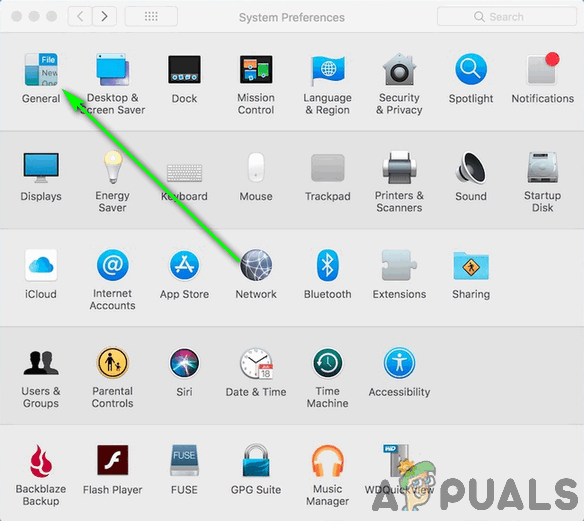
- Click on the Apple menu (represented by the Apple icon) in the toolbar at the top of your screen.
- Click on System Preferences….
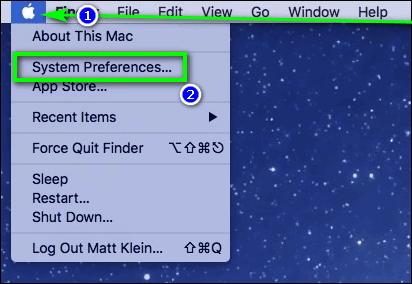
Click on the Apple menu and then on System Preferences… - Click on General.
Click on General - Next to Appearance , click on the Dark option to select it and enable the Dark Mode feature. To disable the feature, simply click on the Light option.
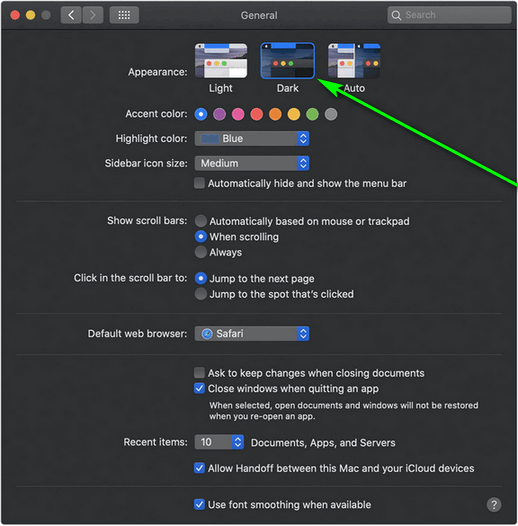
Click on the Dark option next to Appearance
Note: If you’re using MacOS Catalina or later and would like to schedule the Dark Mode feature so that your Mac enables the feature at night and then disables it when the sun rises, click on the Auto option.