(Solved) Wi-Fi Settings icon missing from Task Tray in Windows
The Wi-Fi icon disappears when the Wi-Fi Network Adapter gets disabled or uninstalled. This issue often occurs when the computer or laptop wakes up from sleep mode. Moreover, if you have any third-party optimization application or your Wi-Fi services are set or disabled, then your WIFI icon can be disappeared from the taskbar for these reasons.
This issue cannot be caused by a hardware problem, but it is possible that the Network adapter stopped receiving power from the motherboard, preventing the internet from working, which results in a missing Wifi icon.
| Issue | Wi-Fi Icon is Missing from taskbar |
| Indications | Wifi does not work at all. Wifi icon gets disappeared after sleep mode. |
| Mostly Caused by | Disable WIFI Network Adapter Disabled WLAN Autoconfig Service Faulty Network Adapter driver Faulty Network Settings |
| Solutions | Power Flush Your System Enable Wifi Network Adapter Run Internet Connection Troubleshooter Restart WLAN Autoconfig Service Reinstall the Wifi Network Driver |
1. Power Flush Your System
When your system is working properly, but its components are behaving unexpectedly or doing unusual things, power flushing is the best way to troubleshoot these problems. If your Network adapter has stopped working suddenly, which results in a missing Wi-Fi icon, then you can try power-fishing your laptop or computer to see whether it helps or not.
To power flush your device:
- Press and hold the Power button for 60 seconds to turn off your system.
- Once done, wait for 10 to 15 seconds and turn on your system.
- Once done, your issue should be fixed. If not, move on to the other methods.
2. Enable Wi-Fi Network Adapter
It is possible that your Wi-Fi network adapter gets disabled automatically for no reason, resulting in a missing Wi-Fi icon. To ensure that, check if your Network Adapter is disabled or not. If it is, then enabling it will fix your issue.
But if your network adapter is enabled and facing this issue, try disabling and enabling it, which will reload the network adapter from the RAM and can fix your issue.
To enable the Network Adapter:
- Press the Windows key and type Control Panel.
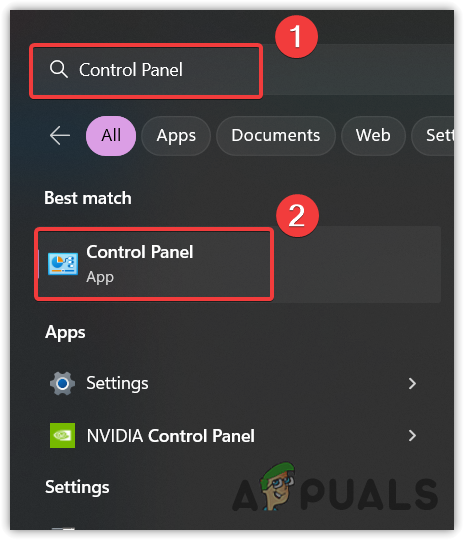
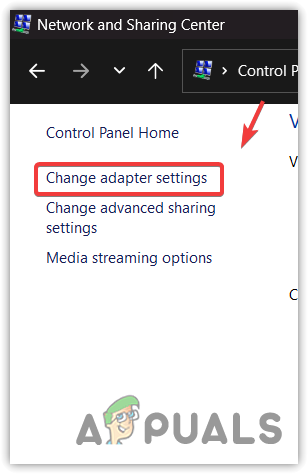
Opening Control Panel - Open the Control Panel and navigate to Network and Internet\Network and Sharing Center.
- Click Change Adapter Settings from the left sidebar.
Navigating to Network Adapters - Right-click on your wireless network adapter and select Enable.
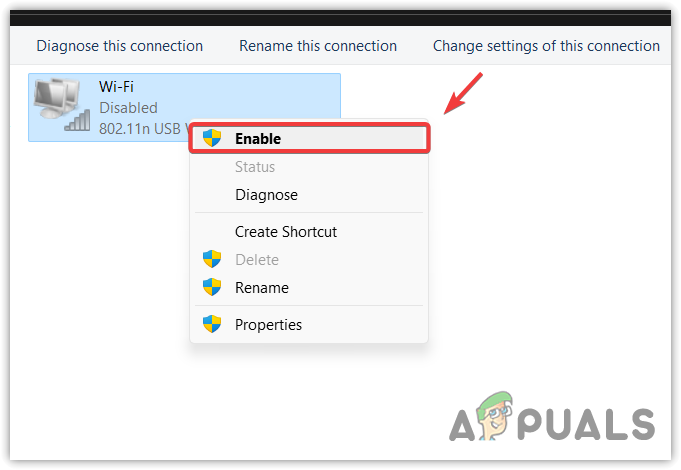
Enabling Network Adapter - Once done, the missing Wi-Fi icon will appear. If it’s not disabled, right-click the Network adapter, select Disable, and repeat the same step to enable the network adapter.
- Once done, check if your problem is fixed or not.
3. Run Internet Connection Troubleshooter
Since there are various built-in components in Windows, there are also troubleshooters for them that allow users to fix the problems automatically regarding the components.
For instance, if you run the internet connection troubleshooter, it will first enable the disabled network adapters, and then it will install the necessary network drivers if they are missing.
To run the internet connection troubleshooter:
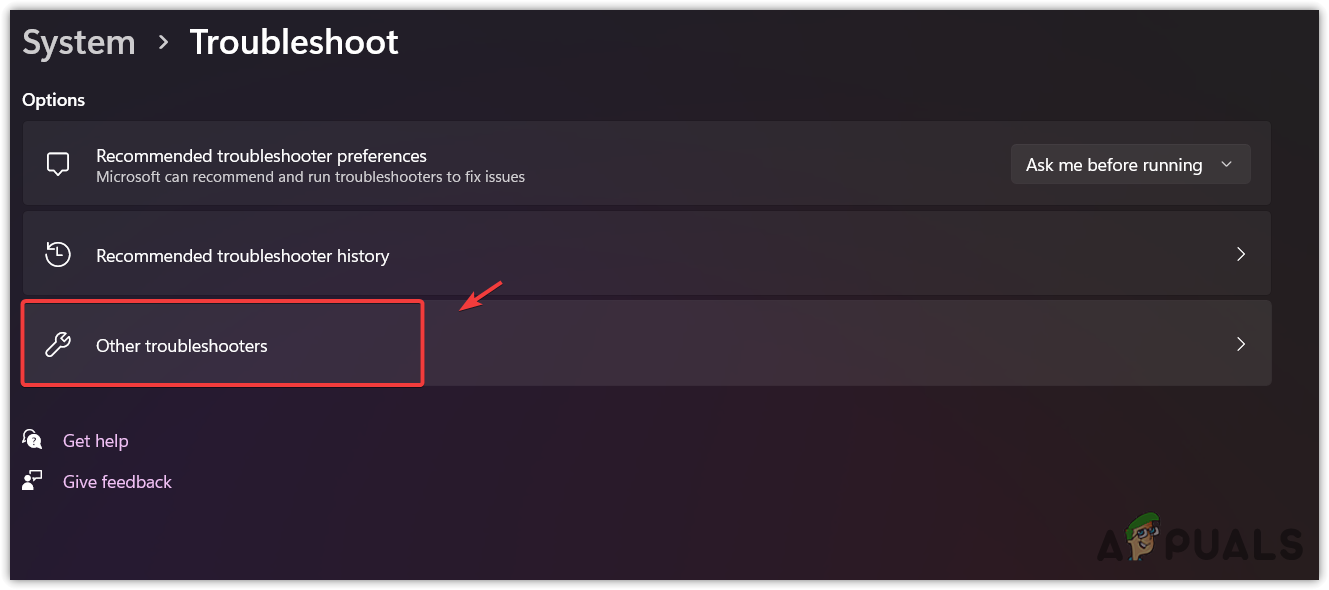
- Press the Windows key and type Troubleshoot Settings.
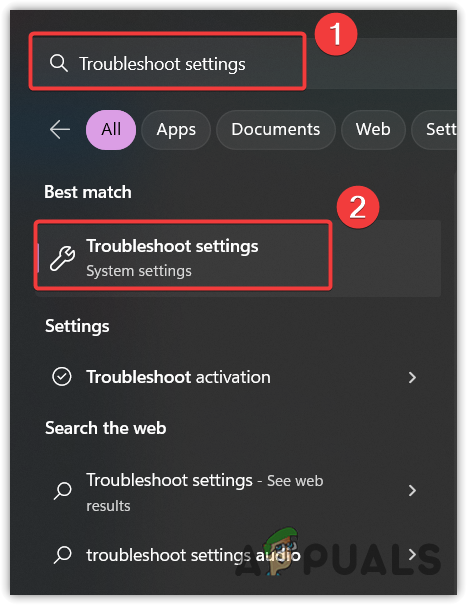
Opening Troubleshoot Settings - Then, go to Other troubleshooters.
Navigating to Other Troubleshooters - Run the Internet Connections troubleshooter. If it detects the problems, it will ask you to fix them. Just click Apply Fix.
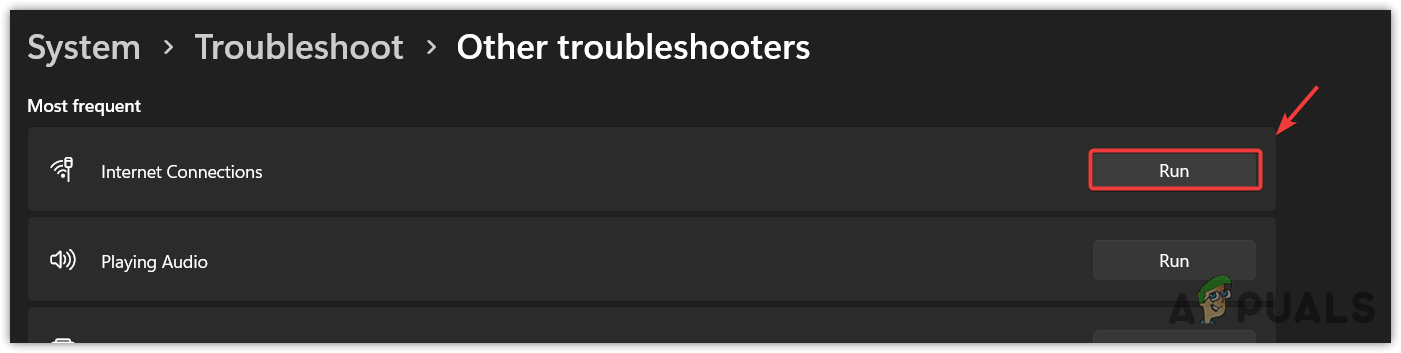
Running Internet Connections Troubleshooter - With that, also run the Network Adapter troubleshooter, which will fix all the problems related to the network adapter.
- Once done, check if the problem still persists.
4. Restart WLAN Autoconfig Service
WLAN Autoconfig is a service that contains logic that is used to configure, discover, connect, and disconnect from the wireless local area network (WLAN). It is an essential service required for Wi-Fi to run properly. If this service is disabled or set to manual, you cannot use Wifi or see Wifi icon on the bottom right menu.
It is possible that some third-party optimization software disables that service, causing Wifi icon to disappear. Therefore, you need to make sure that this service is running properly and set to automatic.
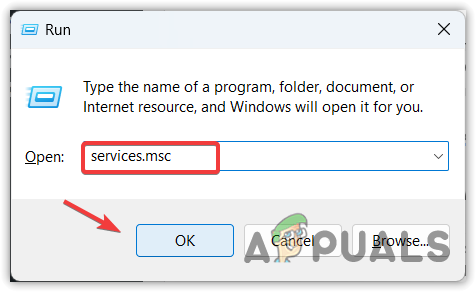
- To do so, press the Win + R keys together to open the Run program.
- Enter services.msc in the box and click OK to open the services Window.
Opening Services Window - Then, find the service named WLAN Autoconfig and right-click on it.

Opening WLAN AutoConfig Service Properties - Go to Properties.
- Change the startup type to Automatic.
- Once done, click Apply and click OK and check if the Wifi icon appears.
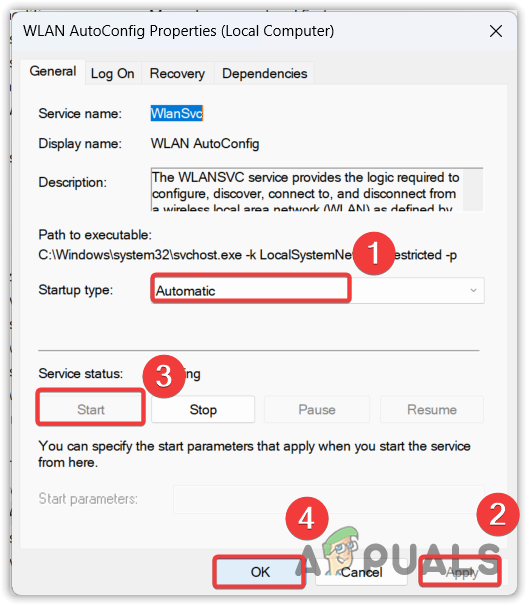
Restarting WLAN AutoConfig Service
5. Update or Reinstall the Wifi Network Driver
If the issue persists, then it is possible that your network adapter is corrupted, preventing the hardware from communicating with your system. Windows has drivers for commonly used devices such as network adapters, keyboards, mouse, and more. You can easily reinstall your driver without even connecting to the internet.
To fix this issue, you can either reinstall or update your network adapter by following the steps:
- To do so, right-click the Start Menu and type Device Manager.
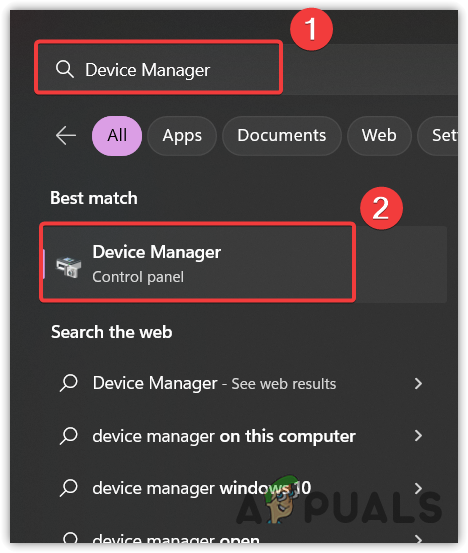
Opening Device Manager - Open the device manager and expand the network adapters.
- Right-click your wifi network adapter and select Update driver.
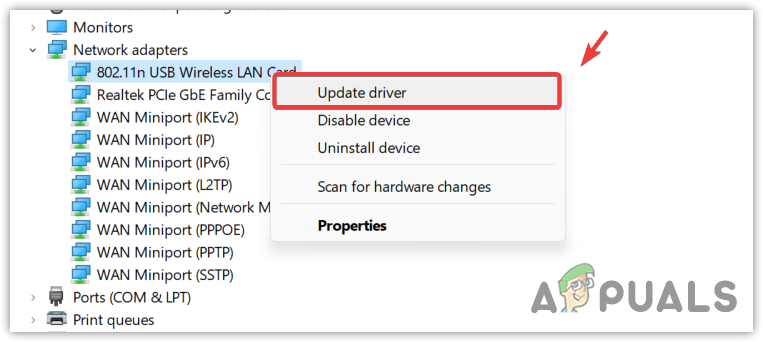
Updating Network Adapter from the device manager - Then select Browse my computer for drivers.

Browsing the computer for drivers - Click Let me pick from a list of available drivers on your computer.
- Select one of the compatible drivers and click Next to install.
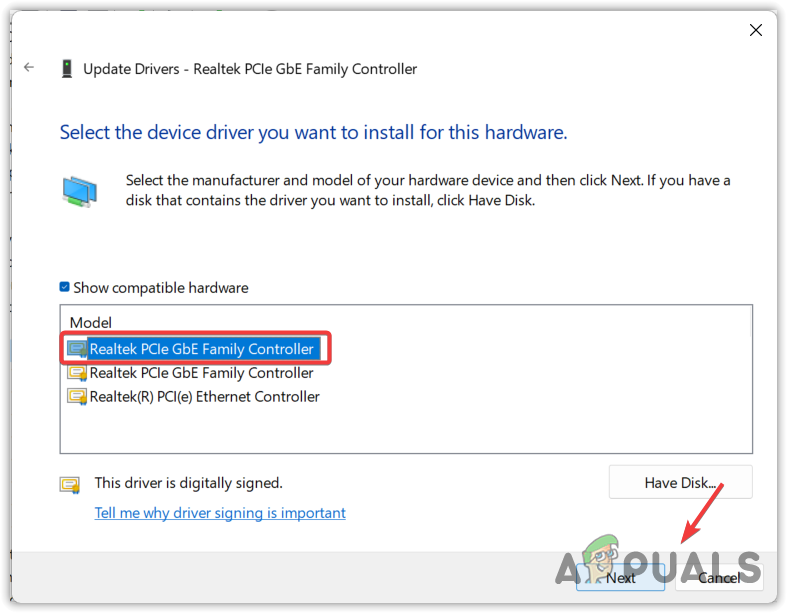
Installing the compatible driver for the Wi-Fi network driver - Once done, check if your problem is fixed. If not, right-click your network adapter from the device manager.
- Select Uninstall device from the listed options.
- Again, click Uninstall and restart your computer to install the driver again.
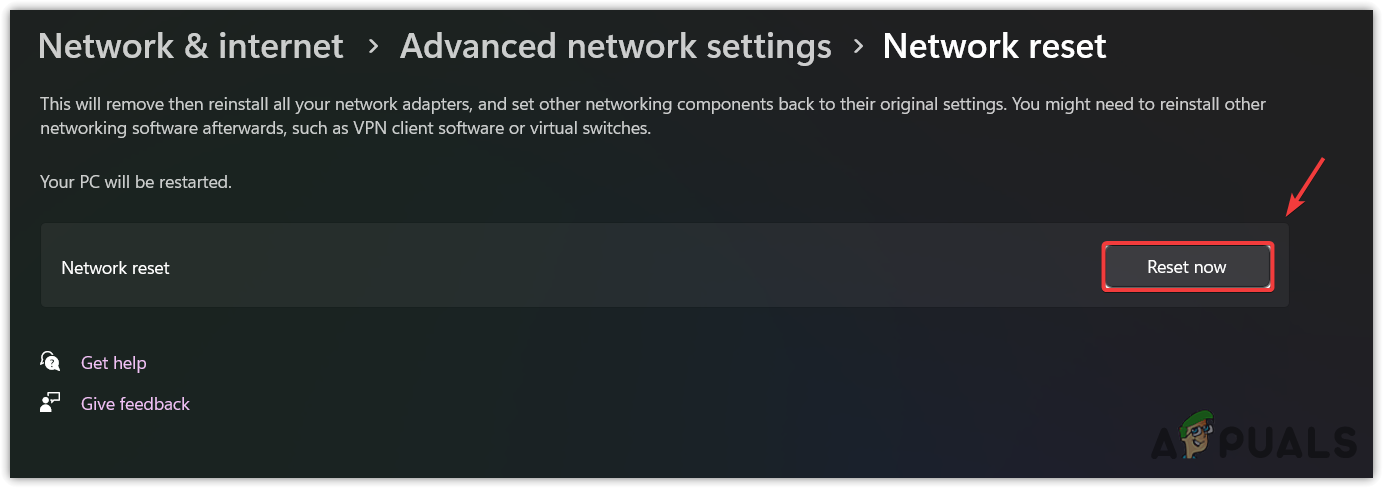
6. Reset Network Settings
If you use any third-party application for optimization, then your network adapters can be disabled, resulting in missing a Wifi icon. Since all the methods have failed to fix your issue, the last step is to reset the network settings, which will reinstall all the network adapters and also reset the network configurations to their default, such as DNS and proxy settings.
To reset the network settings:
- Press the Windows key and type Network Reset.
- Press Enter to open the settings.
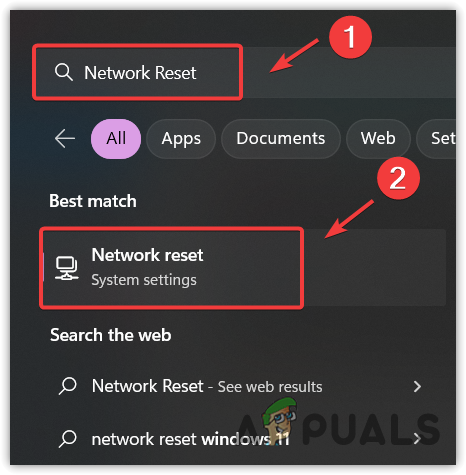
Opening Network Reset settings - Click the Reset Now button. This will restart your computer with new network settings.
Resetting Network Settings - Once done, check if your issue is resolved.
Wi-Fi Icon is Missing from the taskbar - FAQs
To get your Wi-FI icon back, go to Device Manager, expand the Network Adapters, right-click your Wi-Fi network adapter, and click Enable device. If it is already enabled, try disabling and enabling it.
If you cannot see the Wi-Fi icon, you probably cannot use the internet either. It is because your Wi-Fi adapter has been disabled, corrupted, or uninstalled from Windows. To fix this, you need to either reinstall or update the network driver.
To add a Wi-Fi icon, click the Internet icon from the bottom right and then click the Edit icon. Then, click the Add button and choose the Wi-Fi icon. Once done, click Done, and your Wi-Fi icon will appear in the taskbar


Thank you!!! Your guide was so helpful and solved my problem. 🙂