How to Fix NETIO.SYS Blue Screen on Windows 10/11
NETIO.SYS is a core Windows networking system file. If a Blue Screen of Death points to NETIO.SYS, the file itself is usually not the real problem. In most cases, it means a network driver, VPN, firewall, antivirus, or another network-related component crashed while interacting with the Windows network stack.
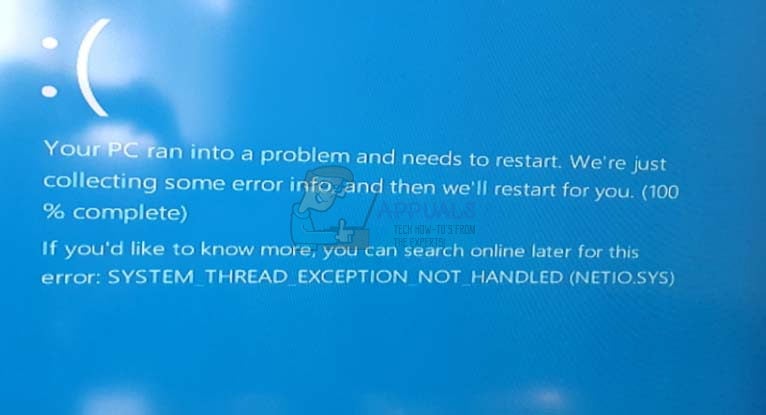
This issue commonly appears with stop codes such as DRIVER_IRQL_NOT_LESS_OR_EQUAL and SYSTEM_THREAD_EXCEPTION_NOT_HANDLED. The most effective fixes usually involve updating or rolling back the network adapter driver, removing conflicting security or filtering software, resetting the network stack, or repairing Windows system files.
If your PC is stuck in a crash loop, boot into Safe Mode first and then apply the solutions below. If you don’t know how to boot into safe mode, we have a detailed guide on it: How to Boot Windows 11 in Safe Mode
If the blue screen started right after installing a network driver, VPN, antivirus, or a recent Windows update, start with that change first.
1. Update or Roll Back the Network Adapter Driver
Because NETIO.SYS works closely with the Windows networking stack, a faulty or incompatible network adapter driver is one of the most common reasons this BSOD appears. This is especially likely if the crashes started after a driver update, Windows update, or after switching from Ethernet to Wi-Fi.
First, try updating the network driver from your PC or motherboard manufacturer’s support page. If the problem started immediately after an update, rolling the driver back is often the better option.
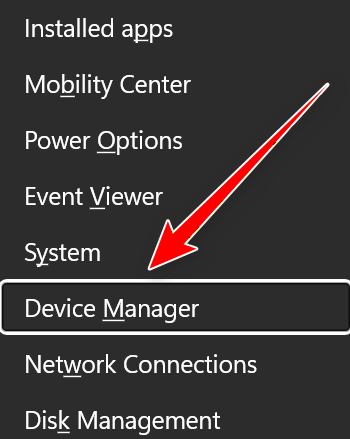
- Press Windows + X and select Device Manager.
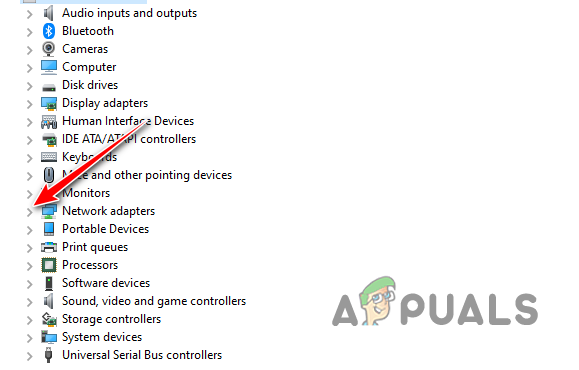
- Expand Network adapters.
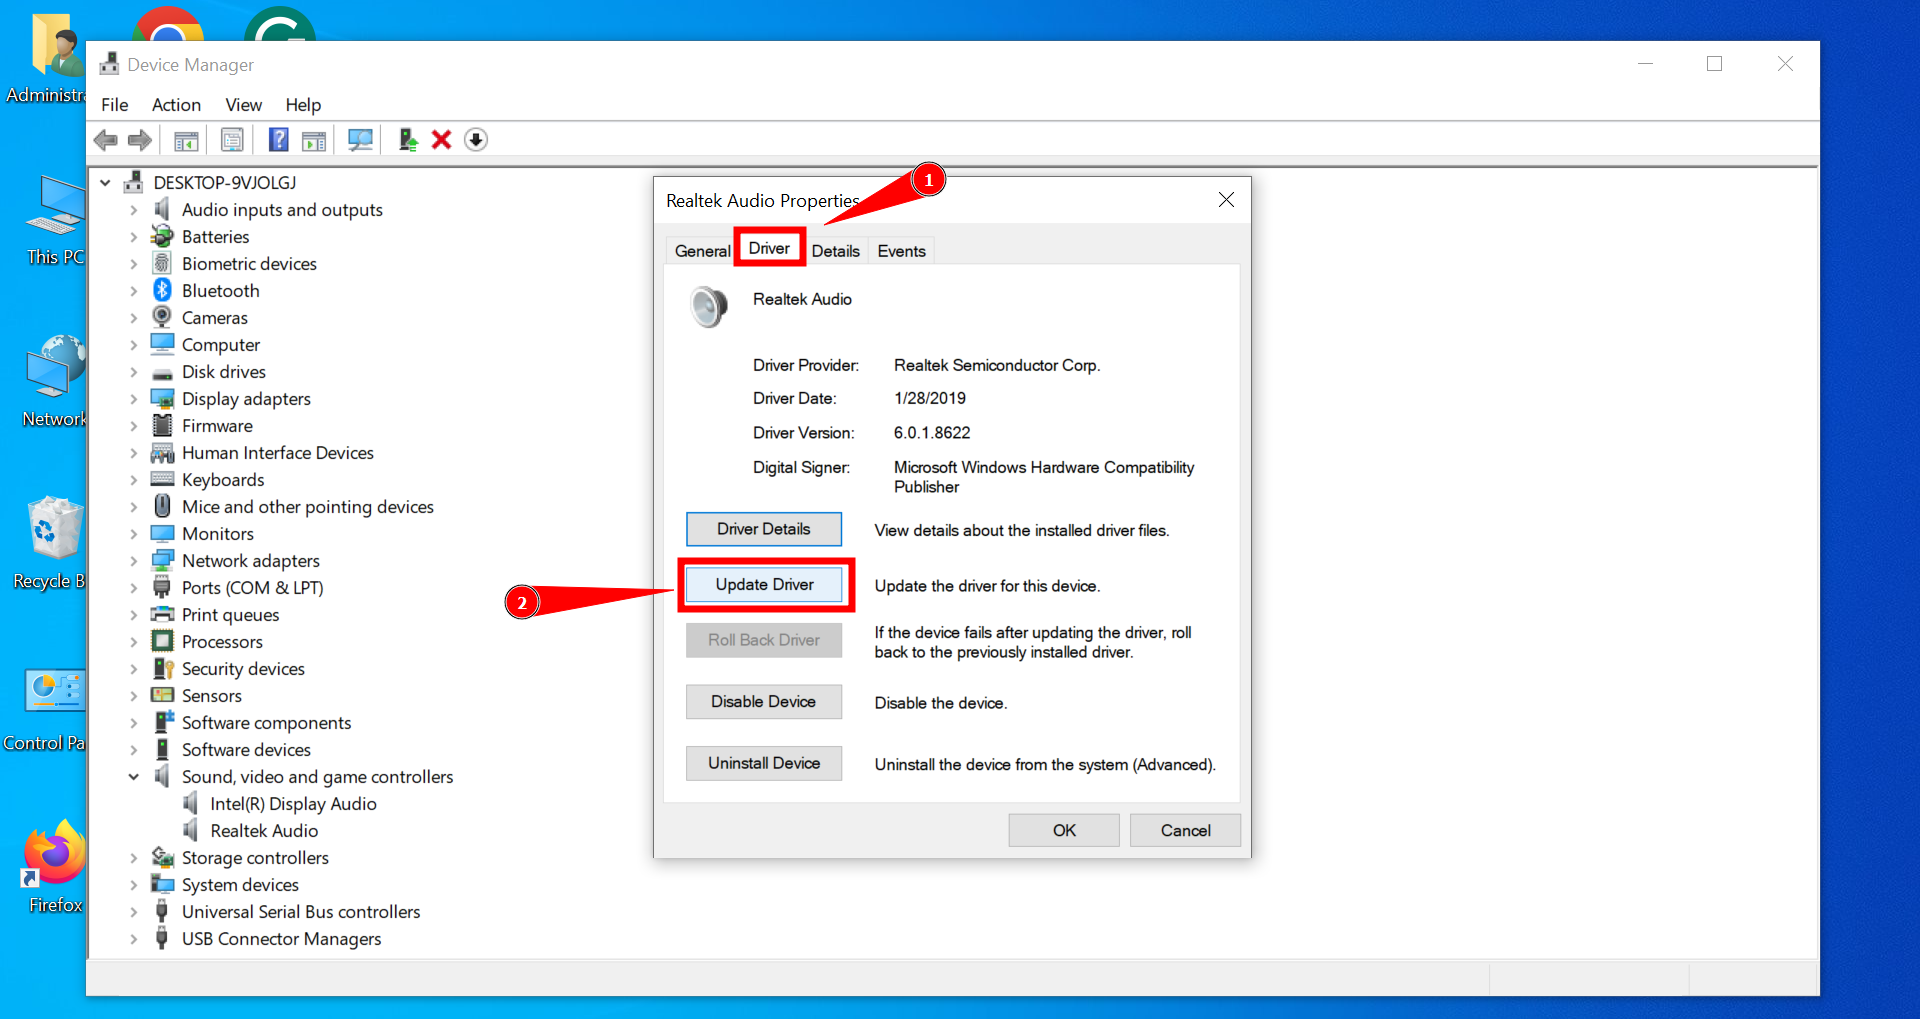
- Right-click your active network adapter and select Properties.
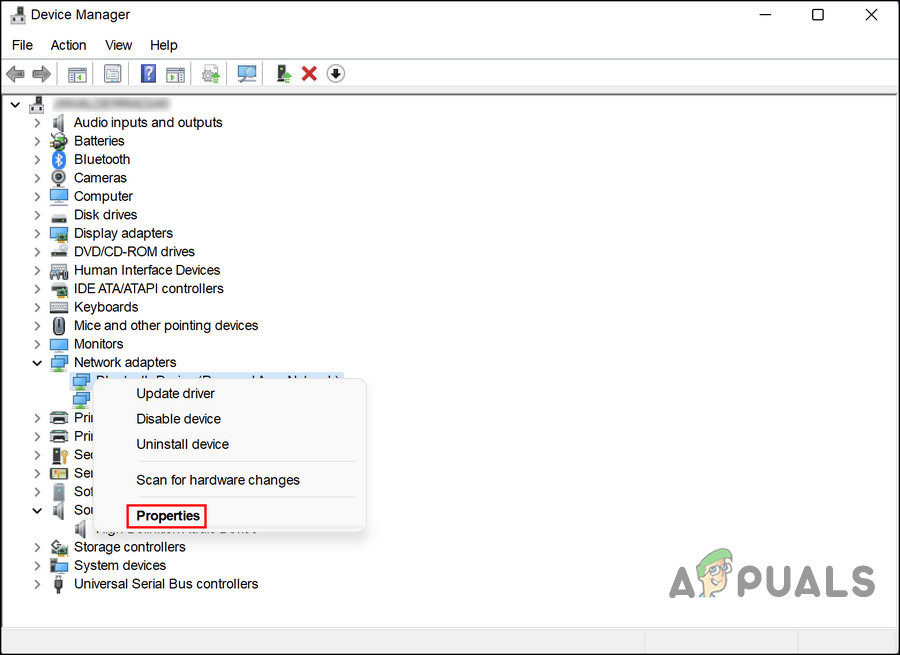
- Open the Driver tab.
- Click Update Driver to install a newer version, or click Roll Back Driver if the crashes began after a recent update.
If Windows does not find anything useful, download the latest stable driver manually from the device manufacturer and install it yourself.
2. Remove Third-Party VPN, Firewall, Antivirus, or Network Filtering Software
Another common cause of NETIO.SYS BSODs is software that inserts itself into Windows network traffic. This includes some VPN clients, third-party firewalls, antivirus suites, web protection tools, ad blockers with network filtering, and similar software.
These apps can install filter drivers that sit between Windows and your network adapter. If one of those drivers becomes corrupted or incompatible, Windows may crash and blame NETIO.SYS.
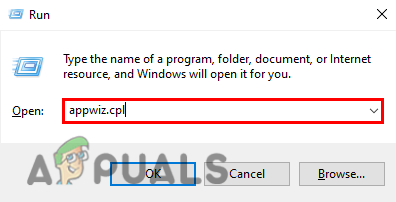
- Press Windows + R, type appwiz.cpl, and press Enter.
- Find any recently installed or active VPN, firewall, antivirus, or network monitoring software.
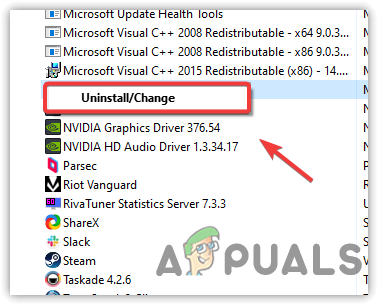
- Uninstall it completely.
- Restart your PC and check if the BSOD stops.
If your system becomes stable afterward, reinstall the latest version only if necessary, or switch to a different product.
3. Reset the Network Stack and Reinstall the Adapter
If the driver itself is not obviously broken, the next possibility is a damaged or misconfigured network stack. Resetting the network configuration can remove corrupted settings and force Windows to rebuild the adapter setup.
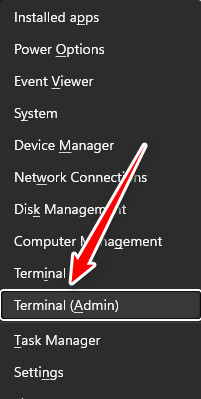
- Press Windows + X and open Terminal (Admin) or Command Prompt (Admin).
- Run the following commands one by one:
netsh winsock reset
netsh int ip reset
ipconfig /flushdns
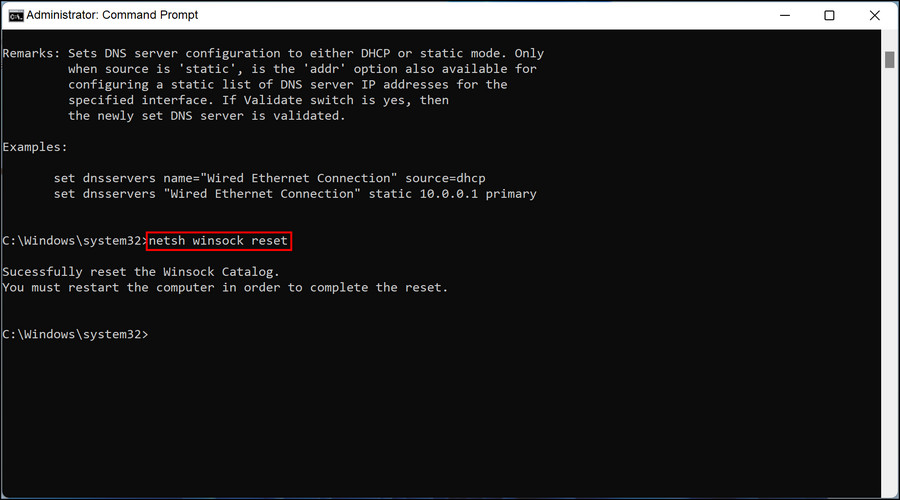
- Restart your PC.
After that, reinstall the network adapter:
- Open Device Manager.
- Expand Network adapters.
- Right-click your adapter and select Uninstall device.

- Restart the PC so Windows can reinstall the adapter automatically.
This step is useful when the crash is caused by a damaged driver installation or broken network bindings.
4. Repair Corrupted System Files
Although NETIO.SYS itself is usually not the root cause, corrupted Windows system files can still make the crash harder to resolve. Running SFC and DISM helps repair missing or damaged system components and is worth doing before moving to more drastic solutions.
- Open Terminal (Admin) or Command Prompt (Admin).
- Run these commands one at a time:
sfc /scannow
DISM /Online /Cleanup-Image /RestoreHealth
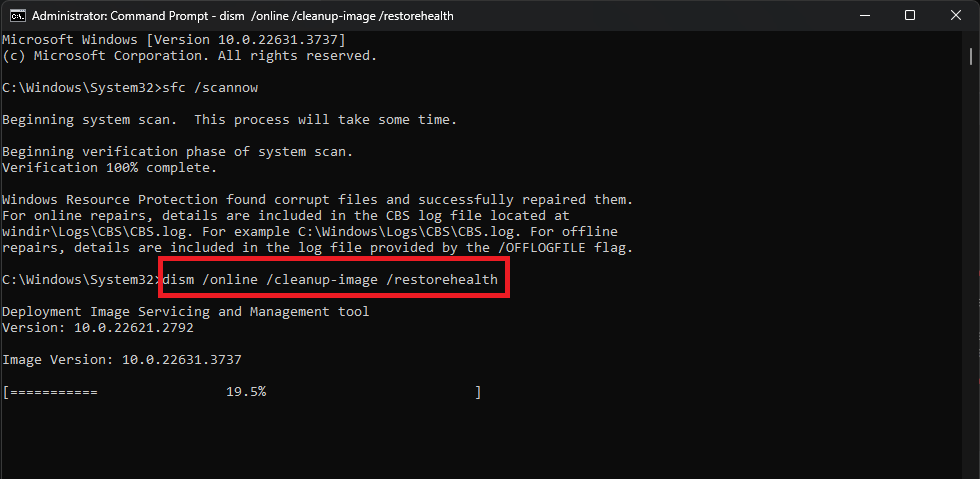
Wait for both scans to finish, then restart your PC. If corruption was contributing to the crash, this can stabilize the system.
5. Uninstall a Recent Windows Update or Use System Restore
If the BSOD started after a recent Windows update, optional driver update, or system change, rolling that change back may solve the issue faster than trying random fixes. This is especially useful if the system was stable before the change.
- Go to Settings > Windows Update > Update history > Uninstall updates.
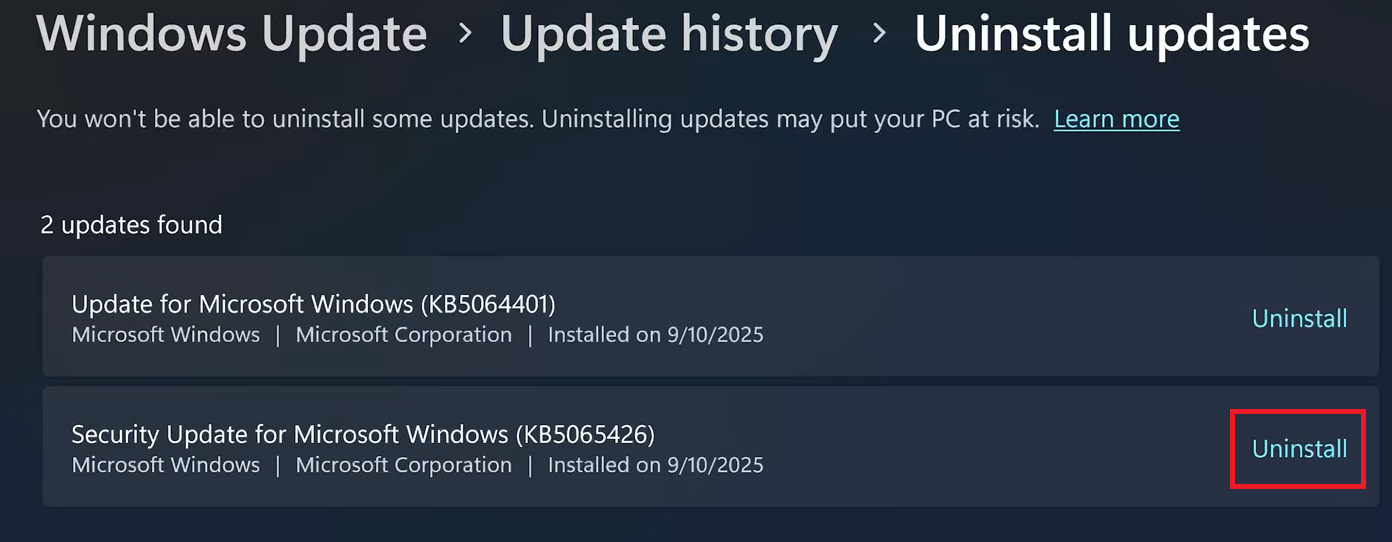
- Remove the most recent update installed before the crashes started.
If uninstalling updates is not enough, use System Restore:
- Press Windows + S and search for Create a restore point.
- Open it and click System Restore.
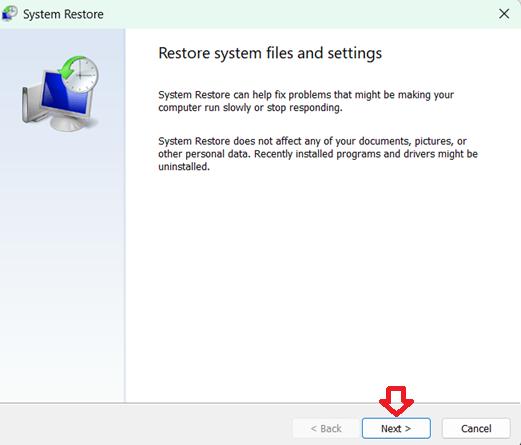
- Select a restore point from before the BSOD began.
This is one of the best options when the issue appeared suddenly without any hardware change.
6. Check RAM and Other Hardware Only If the Crash Still Continues
If none of the network-focused fixes work, the problem may not be limited to networking alone. A failing RAM module, unstable overclock, overheating component, or motherboard issue can also trigger stop codes that happen to name NETIO.SYS.
At that point, it is worth doing the following:
- Run Windows Memory Diagnostic.
- Remove any CPU, RAM, or GPU overclock.
- Update the BIOS only if your manufacturer specifically lists stability fixes related to crashes or hardware compatibility.
- Disconnect newly added hardware and test again.
If the system keeps crashing after all of the above, then a deeper hardware diagnosis or a repair install of Windows may be necessary.
It is rare that I look up an error message and find the solution this easily. I had installed ZoneAlarm as a convenient way to block and sniff traffic from an application I was testing. I didn’t correlate it with my recent Blue Screen crashes, but removing ZoneAlarm fixed my problem. Thanks Kevin