How to Fix Black Screen After Changing Refresh Rate?
Changing the refresh rate on a monitor can sometimes cause a black screen or display problems. This happens if the refresh rate is set higher than what the monitor can handle, or if the graphics card and monitor do not work well together.
The monitor goes black because it cannot show the image from the graphics card. Usually, the problem is setting the refresh rate too high. Other possible reasons include using the wrong cables, old software drivers, or incorrect display settings.
We’ll walk you through these steps below:
1. Boot Into Safe Mode
- Shut down your computer and turn it back on.
- As soon as the Windows logo appears, shut down the computer again. Do this three times. On the fourth attempt, Windows should start Preparing Automatic Repair.
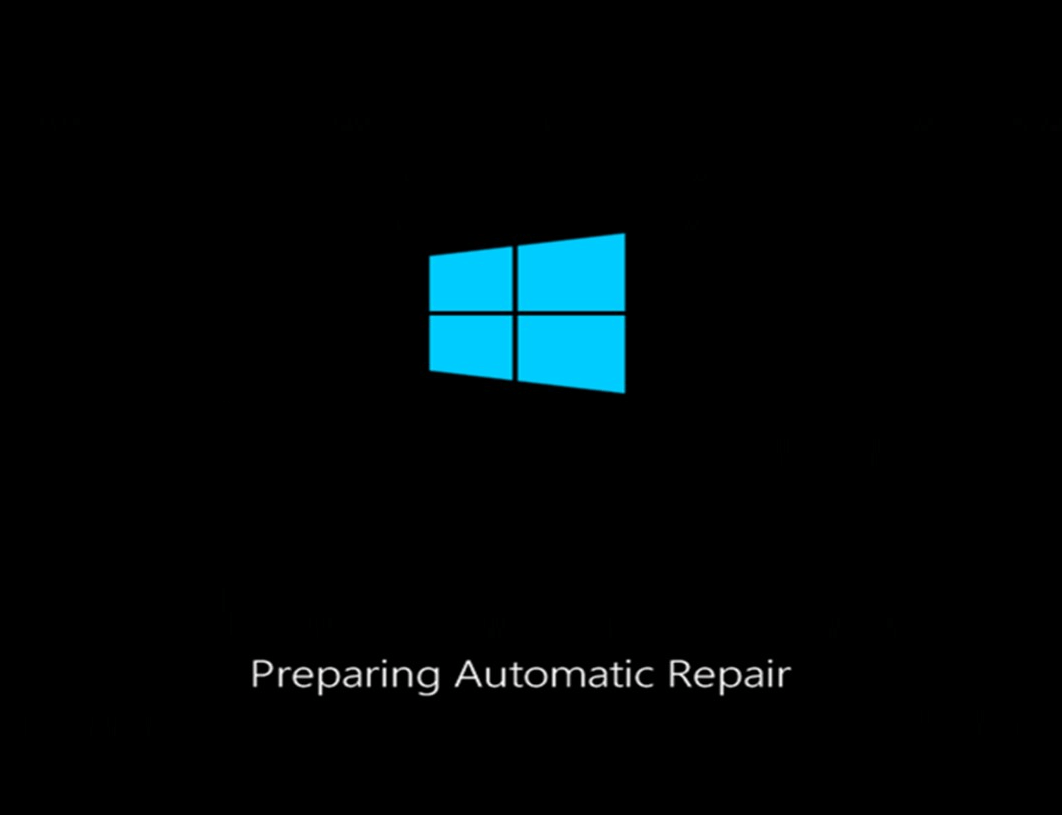
- Once it loads, click on Advanced Options.
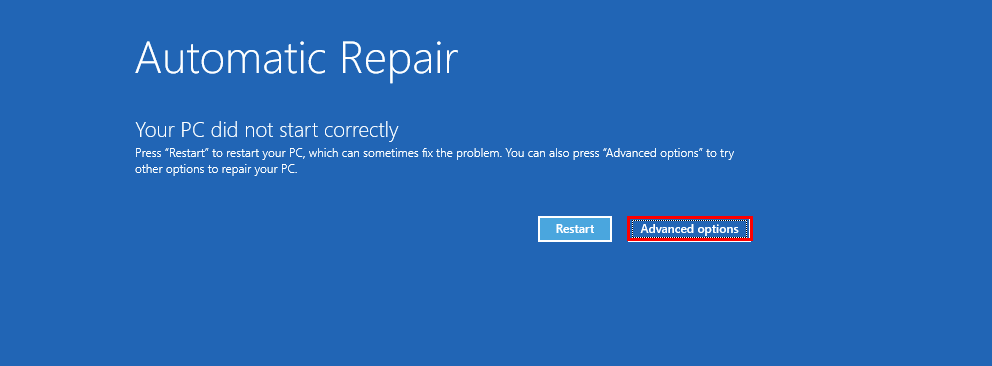
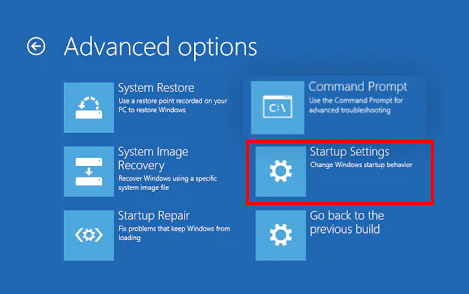
- Go to Troubleshoot > Advanced options > Startup Settings.
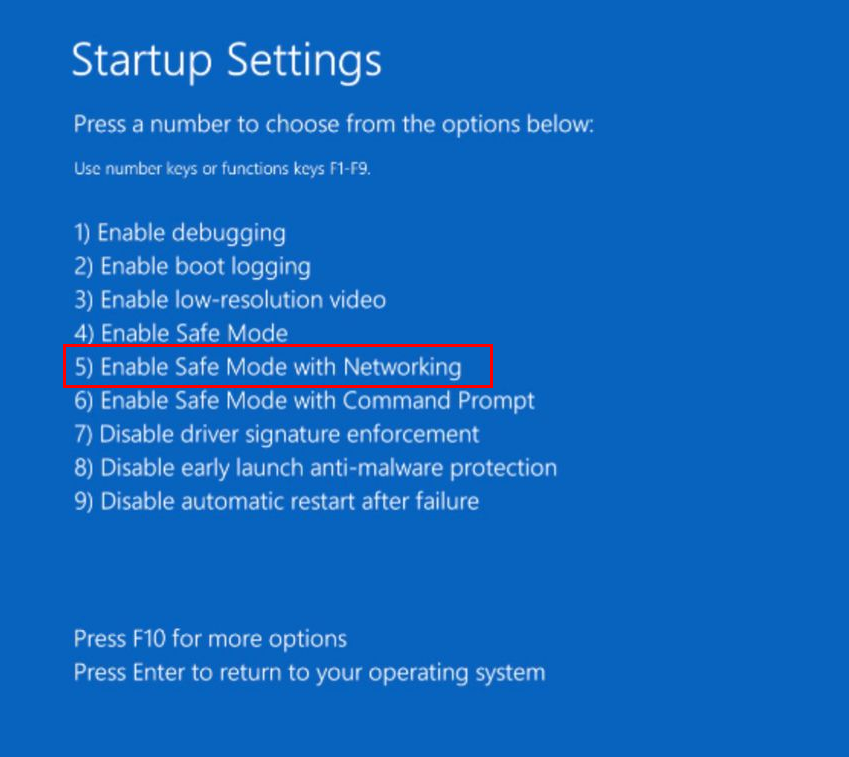
- Press 5 or F5 to Enable Safe Mode with Networking.
2. Download DDU
DDU, or Display Driver Uninstaller, is a trusted and easy-to-use tool that helps fully remove your display or graphics drivers from your computer. The built-in removal in Windows often leaves behind some files and settings, so we recommend this tool for a thorough uninstall.
Note: If your network drivers are not working in Safe Mode, you can download DDU from another computer and transfer it to your computer using a USB drive or other means.
- Go to this website.
- Pick Mirror (EU) or Mirror (USA) depending on which is closer to you.
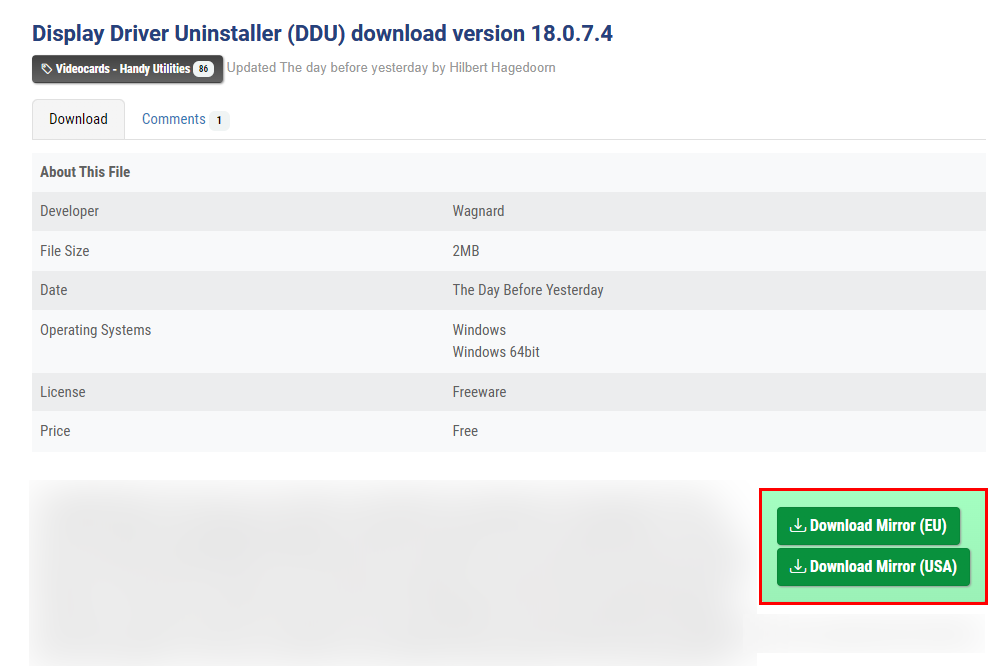
- Download and extract the files to a folder.
- Double-click the .exe file you just extracted.
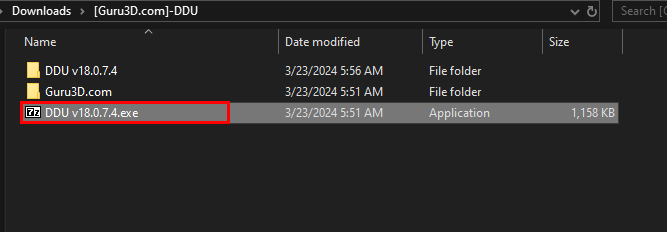
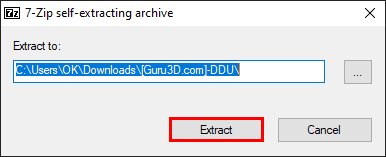
- Choose where you want to save the files and click Extract.
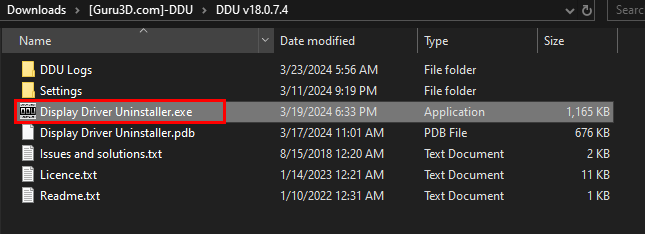
- Open the extracted folder (DDU v18.0.7.4).

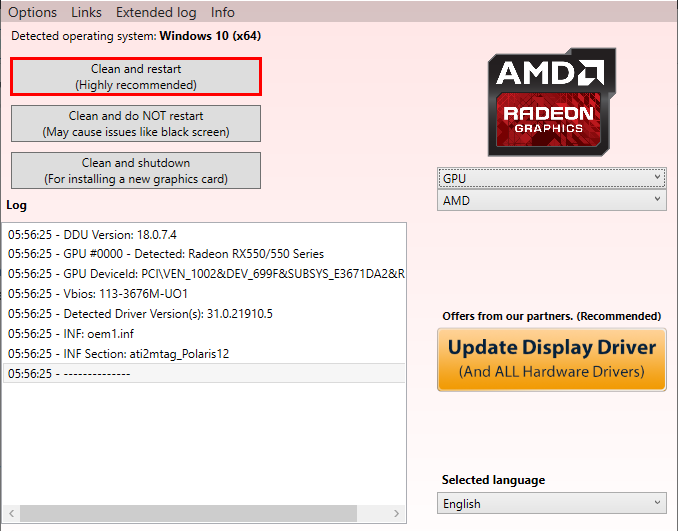
- Double-click on Display Driver Uninstaller.exe to start the tool.
- Select your Device type on the right—usually “GPU” or “Graphic Card”.
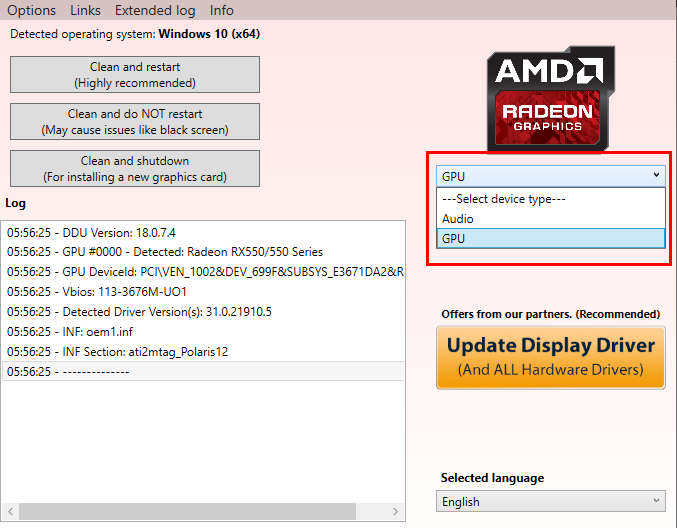
- Finally, click on Clean and restart. Your computer will restart after the drivers are fully removed.
3. Re-install Graphics Drivers
Once you have finished removing your display drivers using DDU, you will need to reinstall the correct graphics drivers for your computer.
For simple instructions, you can check our detailed guide here: https://appuals.com/update-graphics-driver-windows/


