How to Properly Backup your Android Device?
Having a backup in place when you are about to change your smartphone is quite handy. There are several ways you can go about backing up your Android device. You can use cloud services to automate the backing up of your data, which is truly efficient.
However, that is not something everyone prefers, for privacy concerns or whatever reason. In such a scenario, you can back up your data manually to a local PC.
The process of backing up your phone can differ depending on your device. There is a difference that exists, even if it is slightly. However, everything falls in place once you have set up a regular backup mechanism. You do not have to worry about losing your data in case of a mishap or something similar.
Not everyone likes to go about their backup process in the same way, which we understand. This is why, in this article, we will show you how to back up your device in various ways. This allows you to follow a method that is convenient and easy for you. So, without further ado, let us start right away.
1. Back up your device to Google
Using Google’s services to back up your phone is inevitable. This might be the easiest and most efficient method of backing up your data weekly or monthly.
You can use Google’s services to back up your phone in two ways. One is integrated into almost all Android devices in the Settings app. On the other hand, you can also use a dedicated such as Google One to back up your data. We will go through both of these so you can follow either one.
1.1. Use Google Sync in the Settings app
The first method of backing up your data would be to use the Google Sync option in the Settings menu. As mentioned, this is available on almost all Android phones and is pretty straightforward.
Before we start, it is essential to note that the instructions may vary depending on your manufacturer and the user interface due to so many flavours of the Android operating system. However, it will mostly be an inconvenience of the location of the options we will use. The concept and idea remain the same. With that in mind, to enable Google sync on your phone to back up your data, follow the instructions down below:
- First, open up the Settings apps on your Android device.
- In the Settings app, find the Google option and tap on it.
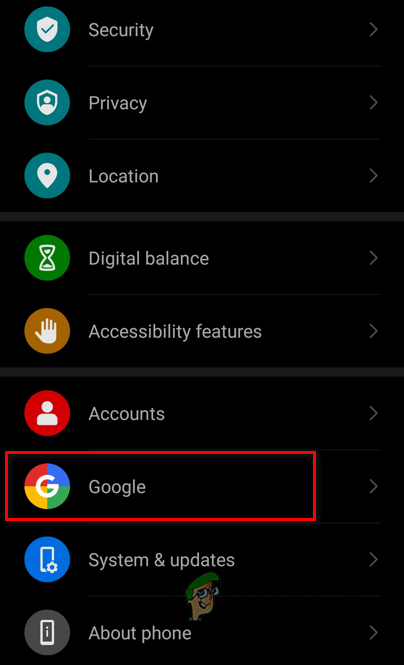
Navigating Google Settings - On the Google settings screen, tap on the Backup option.
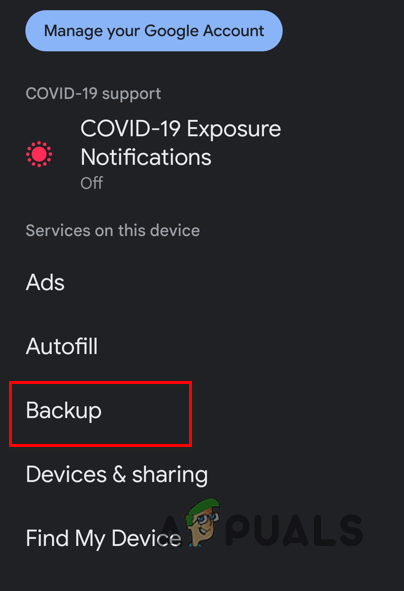
Navigating to Backup Settings - After that, you will be able to see how much Google Drive storage you have left for the Google account you are using.
- Tap the Back up now button to create a new backup of your device.

Starting Google Backup - Once you do that, a backup of your data will be created and uploaded to Google’s servers.
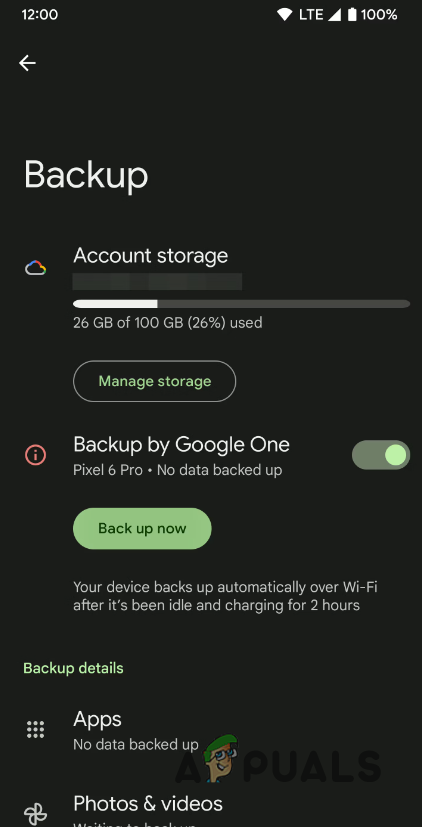
1.2. Use Google One App
Google has a dedicated app that lets you manage your storage and backups. In addition, you are also able to create any new backups. The app in question is called Google One. It does not come by default on your device, so you must download it from the Google Play Store.
Google One provides an excellent experience for backing up your data without any effort. With Google One, you can back up your messages, photos, installed apps, and more. By default, Google backs up your data automatically when your phone has been charging and idle for 2 hours. This applies when connected to a WiFi network, not mobile data.
Follow the instructions down below to back up your data with Google One:
- To start, open up the Play Store. Download and install Google One on your phone.
- Once you have Google One on your phone, open it up.
- On the Google One screen, tap the Set up device backup button.
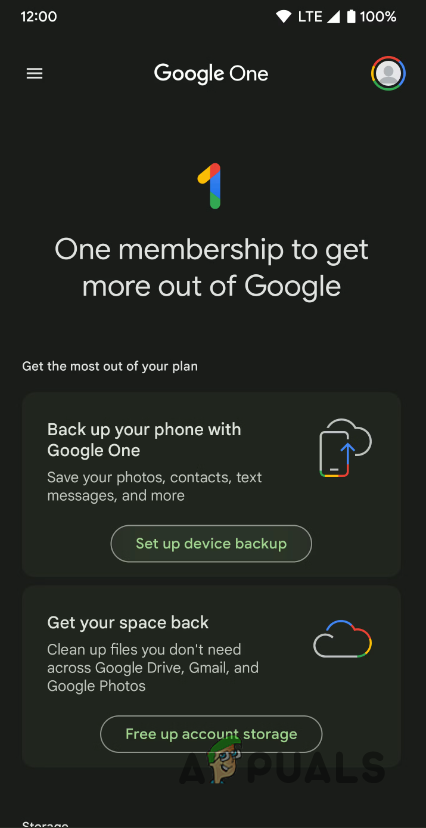
Setting Device Back up on Google One - After that, tap the Turn on button on the follow-up screen.
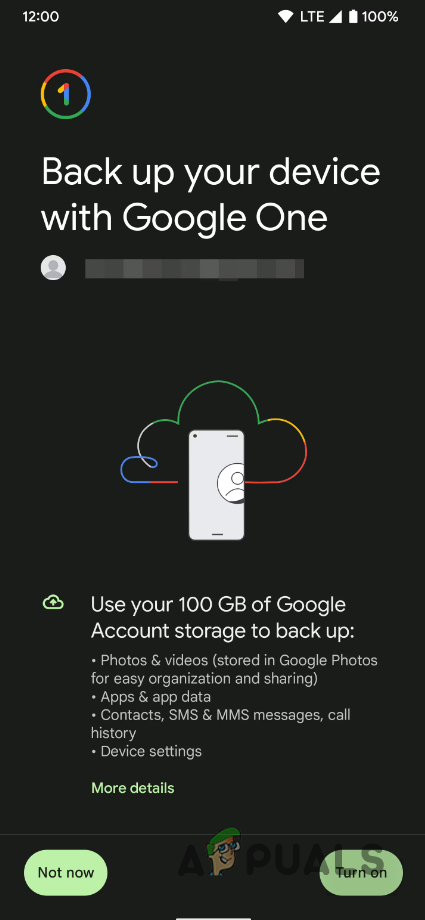
Enabling Back up on Google One - Tap on the Continue button when asked for permission to access photos. You can always cancel if you do not want to back up your photos.
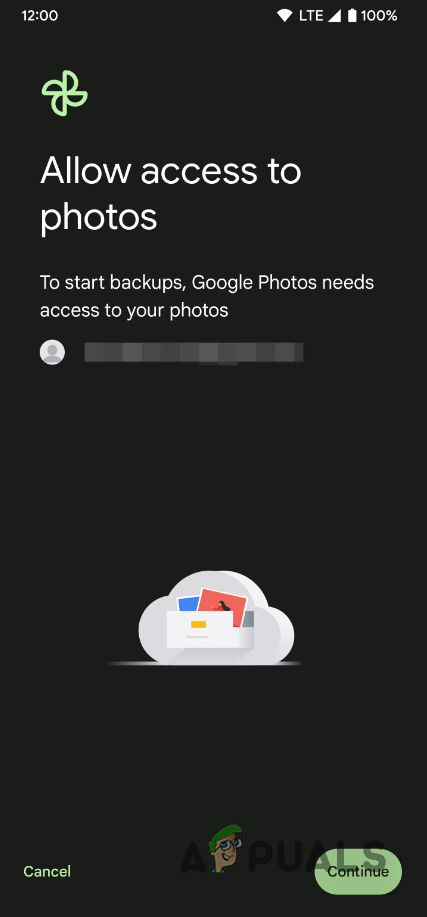
Allowing Photos Access to Google One - Once you do that, tap on the Back up now button to start the process.
Starting Google One Back up - Wait for the process to complete, and you are all done.
If you do not want to back up all of your data but rather something like your photos and videos, you can use the Google Photos application instead. With Google Photos, you can create a backup of only your photos, and the rest of your data will not be backed up.
2. Use your Manufacturer’s Cloud Service
Android devices are built by several manufacturers and companies. Most of these companies offer their service of cloud backups that you can use on your device. This can be helpful if you do not want to use Google’s services for backing up your data.
Now, the availability of this feature depends solely on your device’s manufacturer. If your manufacturer does not offer such features, you will not be able to use this method. In such a scenario, move on to the following method below. HUAWEI and Samsung phones are some devices you can utilize this feature on.
The instructions for this will again vary depending on your version of Android and the manufacturer. We will be using a HUAWEI phone in our case to show you how this is done. You can follow and replicate the steps on a different manufacturer’s device. On a Samsung device, you will be using the Samsung Cloud app.
- First, open the Settings app on your phone.
- At the top of the Settings app, tap on your account for your respective manufacturer.
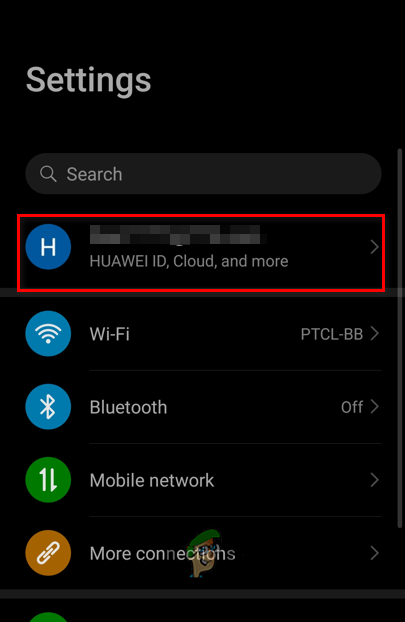
Navigating to Account Centre - On the Account settings screen, look for the backup section. In our case, it would be the Cloud option. This may vary in your case and maybe something like Back up.
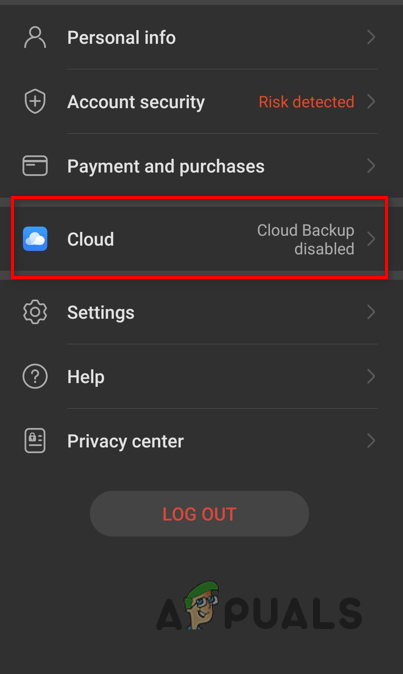
Enabling Back up - From there, follow the instructions on-screen to complete the backup process.
3. Create a Manual Back up on your PC
If you do not want to use any cloud services, you can create a backup of your phone on your computer. This method requires more effort as you will manually connect your phone to your computer and back up the data.
The procedure can differ slightly depending on whether you use a Windows PC or a Mac. Therefore, we will be dividing this into two parts, respectively, for Windows and Mac.
3.1. Create Manual Backup of your Android Device on Windows
If you are a Windows user, creating a backup of your Android device is quite straightforward. You must connect your smartphone to your computer and use the File Explorer window to back up your data. Follow the instructions down below to do this:
- Connect your Android device to your computer via a USB-C cable that supports the transfer.
- Once you do that, you will have to choose what you want to do on your Android device. Slide down the notification menu and tap on the Charging this device via USB option.
- From the menu that appears, tap on the Transfer Files option.
- After that, open up the File Explorer window on your Windows machine.
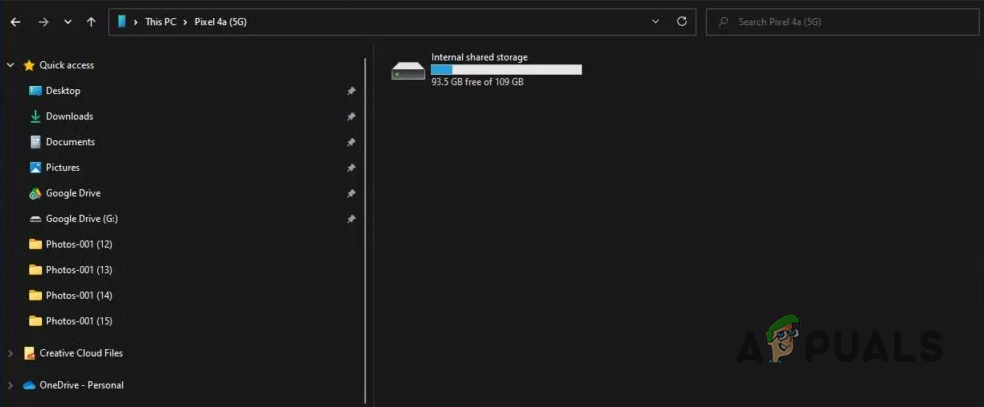
- On the This PC tab on the left-hand side, look for your phone and open it up.
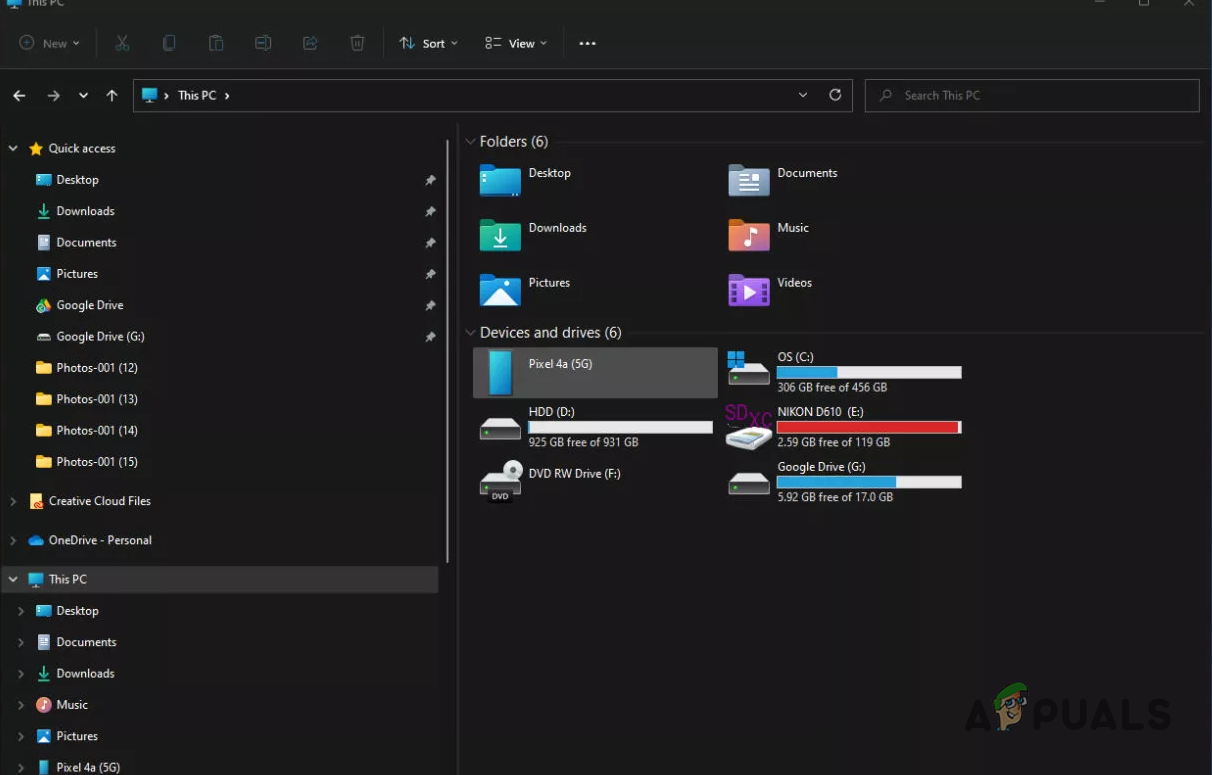
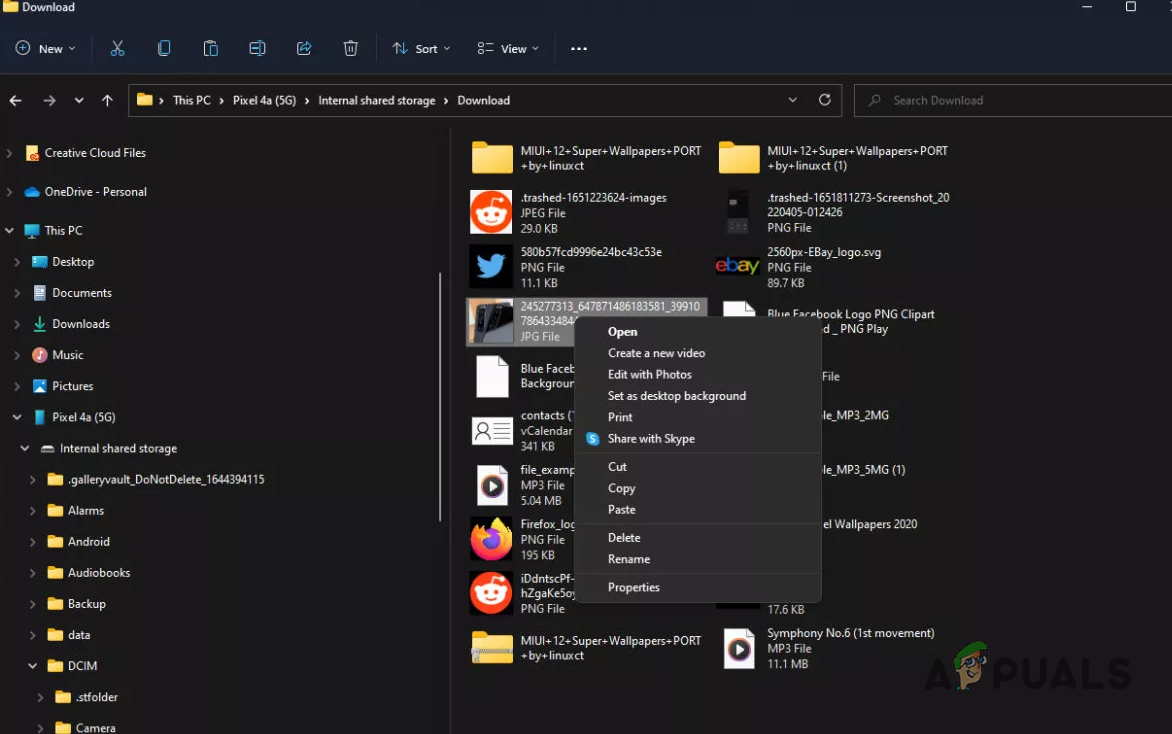
Navigating to Phone in File Explorer - Navigate through the directories to find the files you want to back up.
Navigating to Phone’s Storage - Once you find the files, highlight them and right-click. From the drop-down menu, choose Copy.
Copying Data - After that, paste the files into your desired location on your Windows PC.
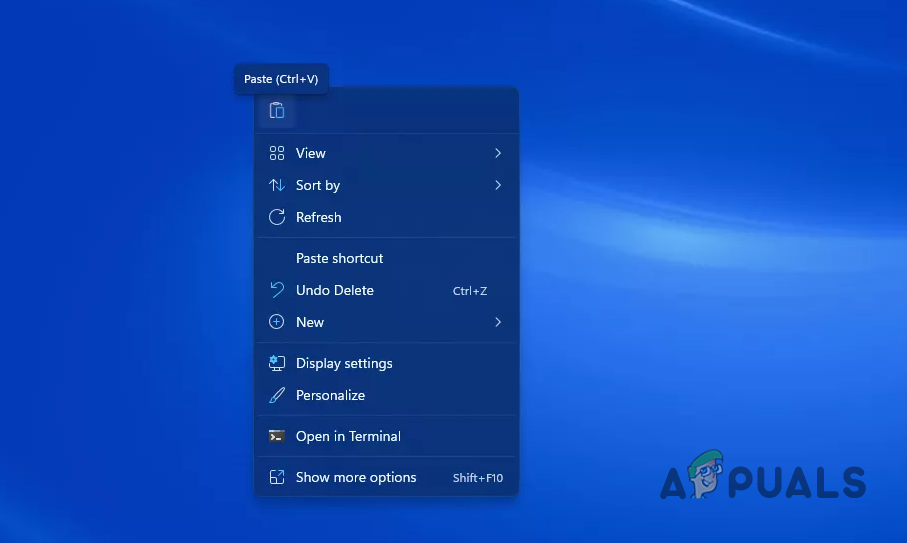
Pasting Copied Files
3.2. Create Manual Backup of your Android Device on Mac
If you have a Mac computer, you will need to download the Android File Transfer app to manually create a backup of your phone data. Follow the instructions down below:
- First, download and install Android File Transfer from this link.
- Once you do that, connect your phone to your Mac via a USB-C cable.
- After that, open up the Android File Transfer app.
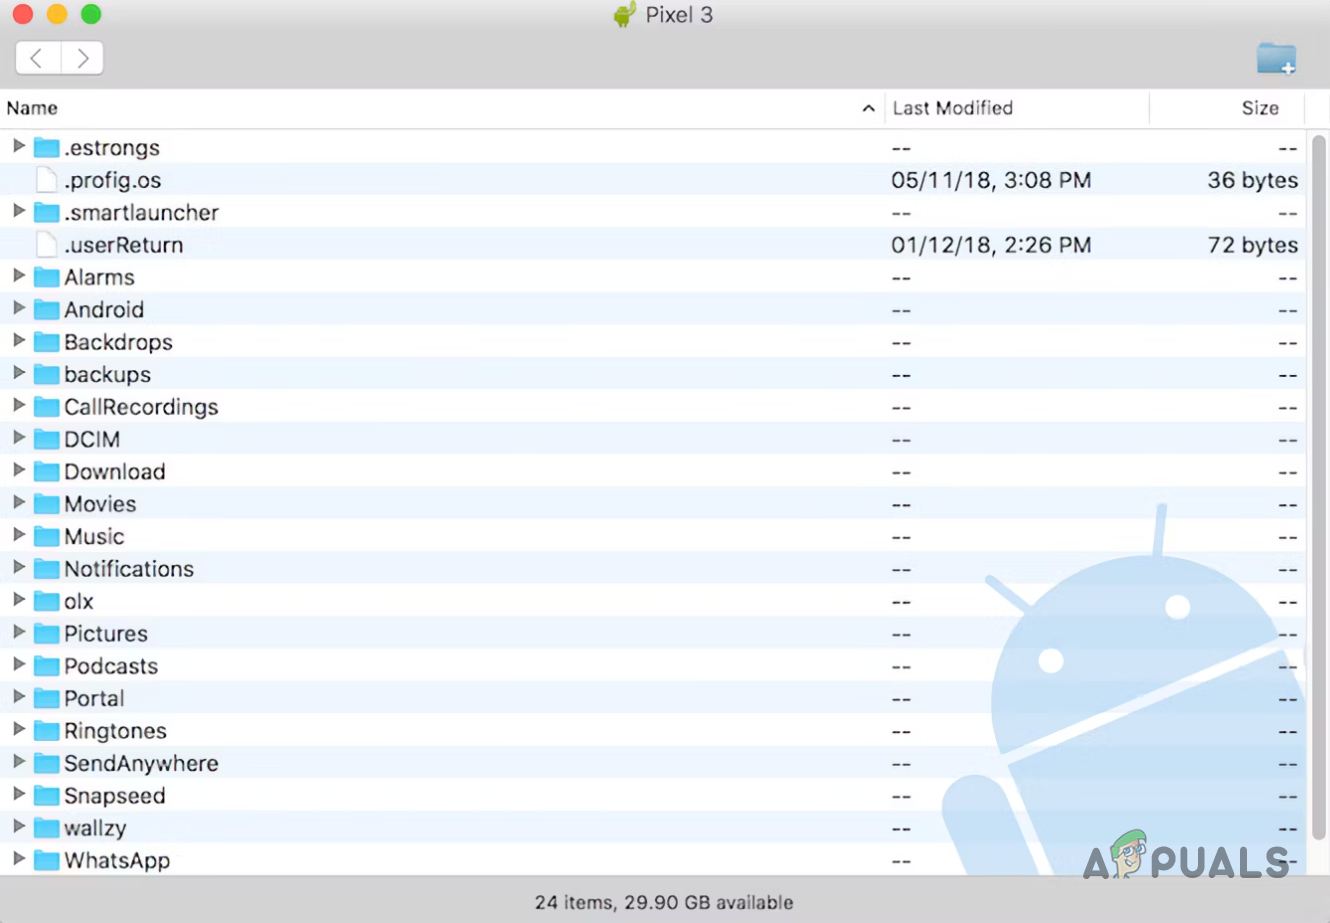
Android File Transfer - Navigate through the directories and find the files you want to back up.
- Copy and paste the files to your desired location.
4. Use Third-Party Apps
Finally, there are dozens of third-party applications available that you can use to create a backup of your Android device. One of the most popular third-party apps for backing up your phone is Super Backup & Restore.
You can find many more applications on the Google Play Store to create a backup. However, there is always a privacy concern with using such third-party apps. Therefore, we recommend sticking with either one of the methods that we have provided above.