How to Fix Autodesk Issue: Requested Service Not Available
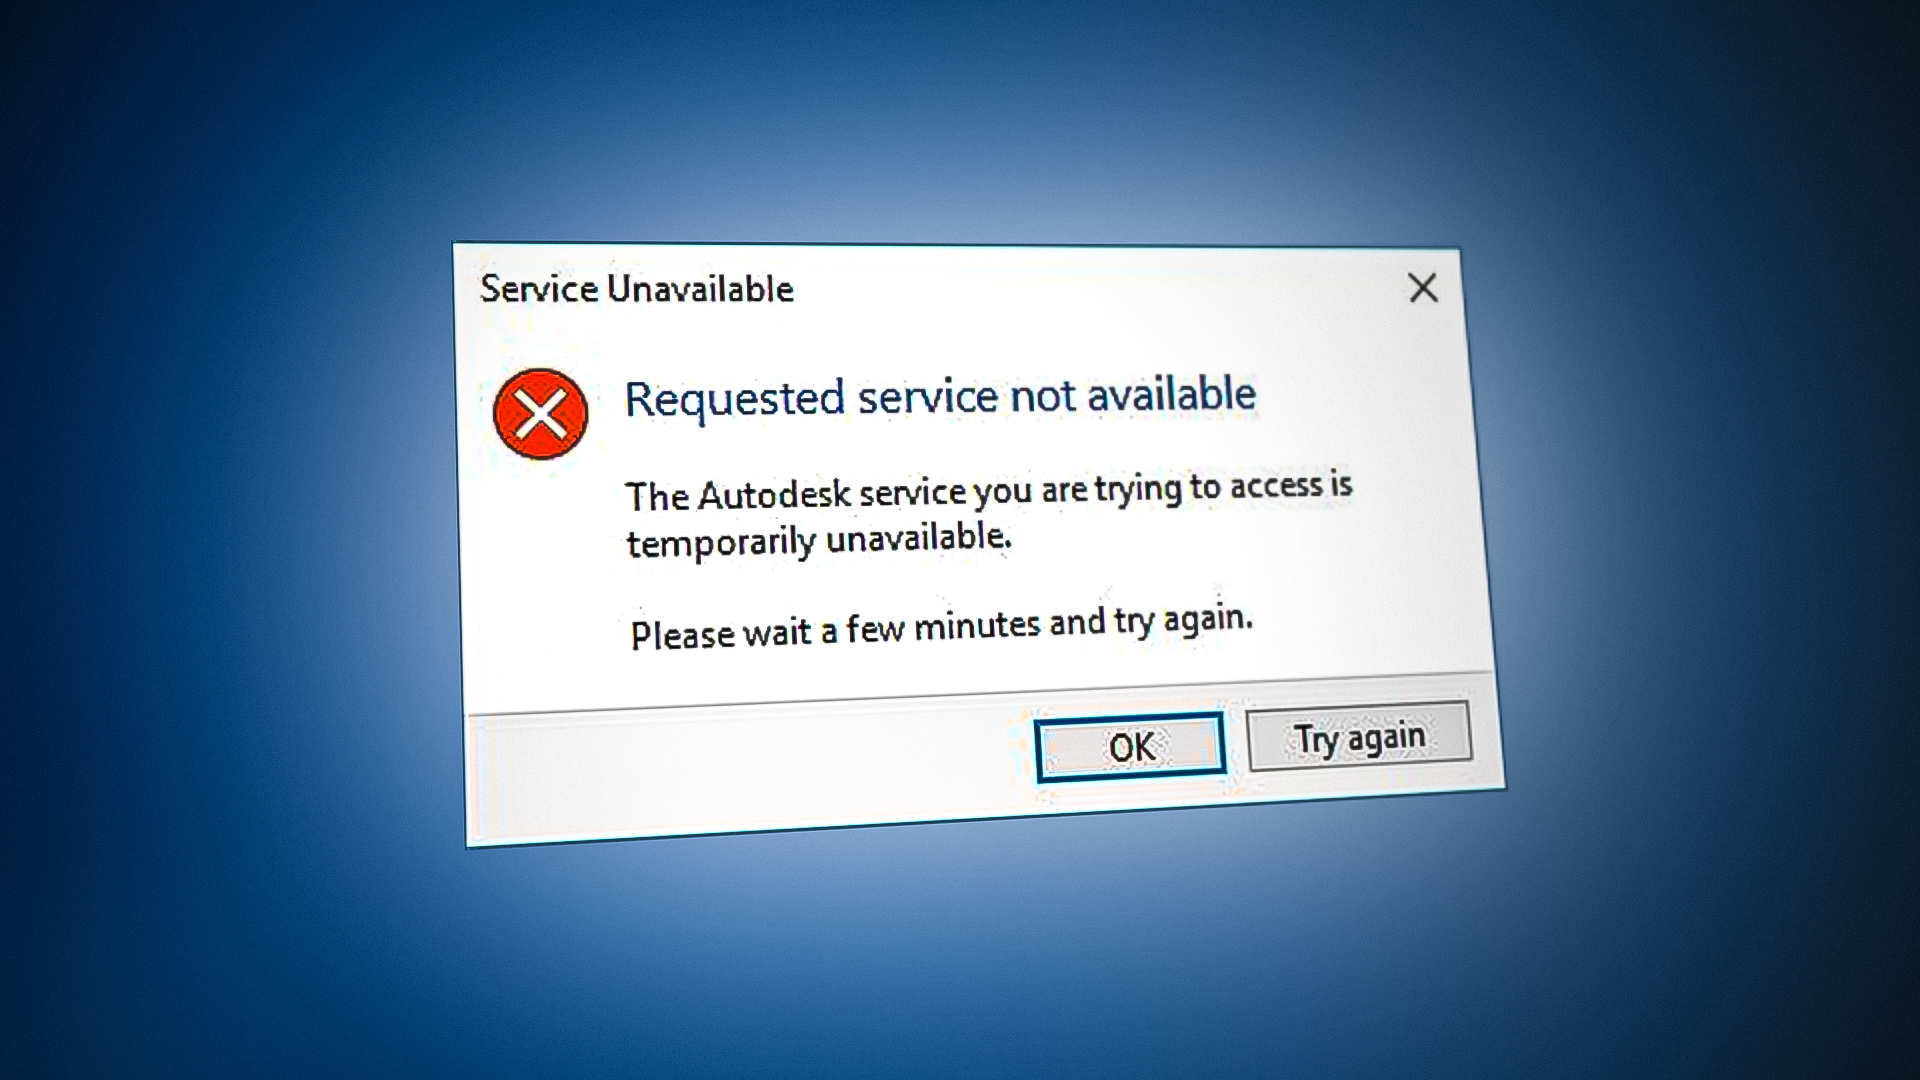
Autodesk apps may suddenly stop working or fail to sign you in, showing the message, “Requested Service Not Available” before closing or freezing. This error usually means that the application can’t reach important Autodesk services needed to check your license, confirm your user account, or sync your projects.
The most common reason for this error is a broken or outdated Autodesk Identity component. This can often happen after software updates, reinstalling the program, or making changes to your system. Other possible causes include a damaged login cache, incorrect Single Sign-On (SSO) setup, or missing TLS security files on Windows.
In this guide, we’ll walk you through different methods to fix the “Autodesk Requested Service Not Available” error.
1. Change the Time Zone
This error can often occur when your computer’s time zone doesn’t match the current local time. It’s important to check and adjust your system clock and time zone according to your region.
- Open Windows Settings by pressing Win + I together.
- Go to Time and Language > Date and Time.
- Set the time zone to match your actual location by turning on “Set time automatically” and “Set time zone automatically”.

Setting time automatically - Once your time and time zone are correct, try logging in to Autodesk again.
2. Turn Off Your VPN Connection
Autodesk programs usually don’t work well with a VPN connection. Because VPNs act as third-party networks, they can interfere and cause login errors
- Open Windows Settings with Win + I.
- Go to Network and Internet > VPN.
- Click the connected VPN and select Advanced options.
- In the Manual Configuration section, turn off “Use a proxy server”.
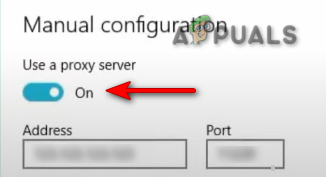
Turning off Proxy Servers
3. Create a New Windows User Profile
A corrupted Windows user profile can prevent you from logging in to Autodesk, causing this error. If you suspect your profile might be corrupted, you should create a new Windows user profile. Before creating a new one, back up your important data to avoid losing it.
4. Update Your Windows
An outdated version of Windows can sometimes interfere with Autodesk products, leading to login or connectivity issues. Make sure your Windows is fully updated.
- Open Windows Settings by pressing Win + I.
- Go to Update and Security > Windows Update.
- Click Check for Updates.
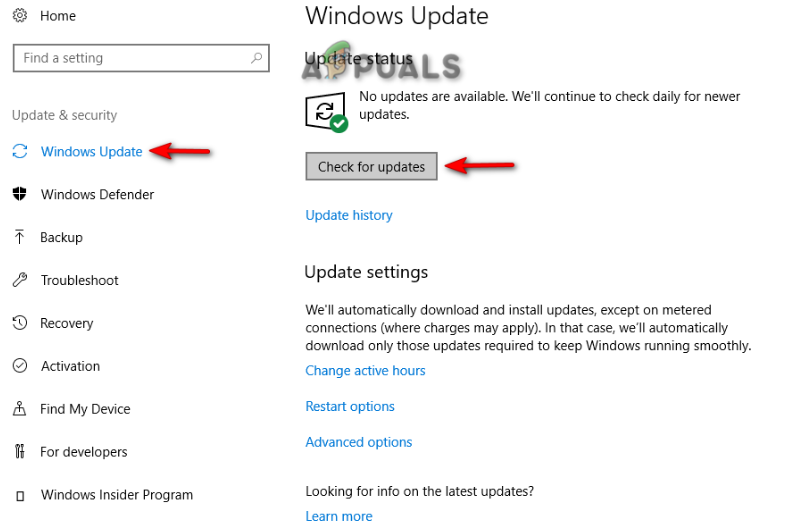
Checking an available Windows Update - If updates are found, click Download to install the latest updates.
- Restart your computer once updates are installed.
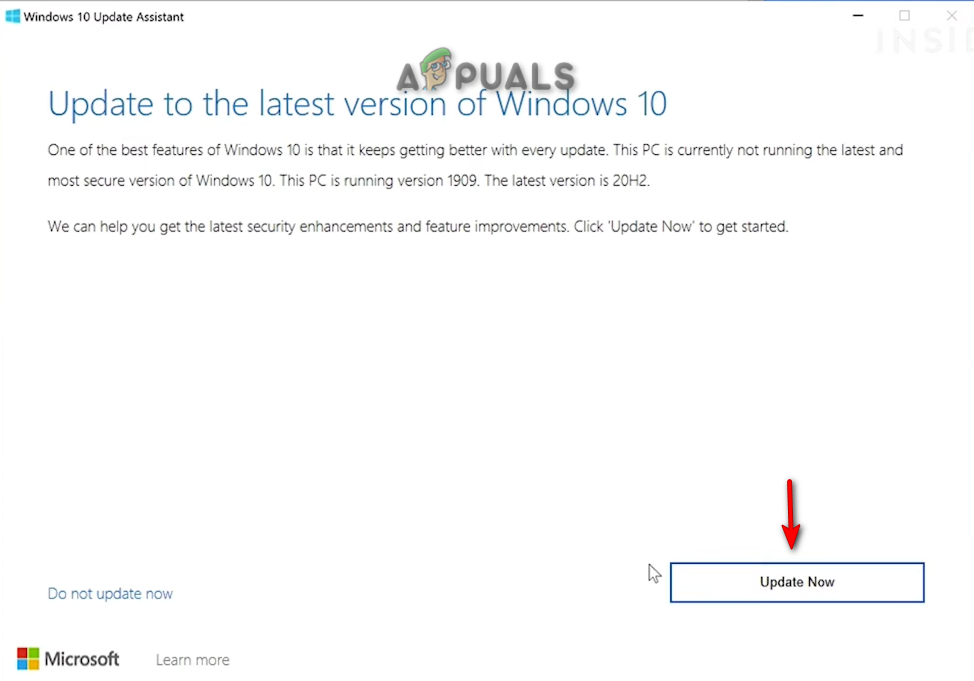
- Visit the official Microsoft download page.
- Click Update Now to download the latest update.

Downloading the Latest Windows Update - Once downloaded, run the installer and click Update Now.
Installing Windows Update - When finished, restart your computer by clicking Restart Now.

Restarting the Computer - Try running Autodesk and logging in again.
5. Disable Windows Protection
Windows protections like Windows Defender or Firewall can sometimes block Autodesk software from running correctly. To see if they are causing your issue, try temporarily disabling them.
- Open Windows Settings using Win + I.
- Navigate to Update and Security > Windows Security > Firewall & Network Protection.
- Turn off all active firewalls by selecting the network types (Domain, Private, or Public) and switching off the firewall.
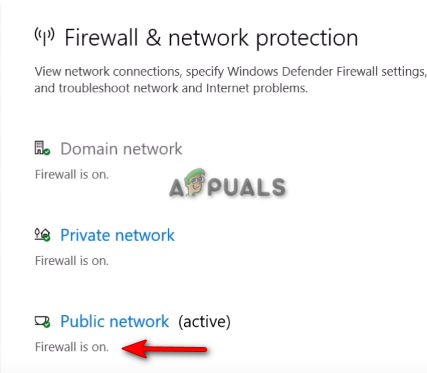
Opening the active Firewall Network - Disable Windows Defender Firewall by toggling the “Windows Defender Firewall” switch to Off.
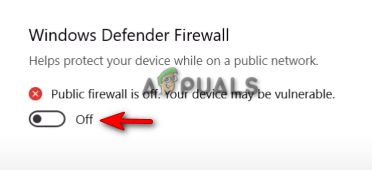
Turning off Windows Defender - Confirm any prompts by clicking YES if asked by User Account Control.
5.1. Disable Windows Defender via Command Prompt
- Type “cmd” in the Windows search bar.
- Right-click on “Command Prompt” and choose Run as administrator.
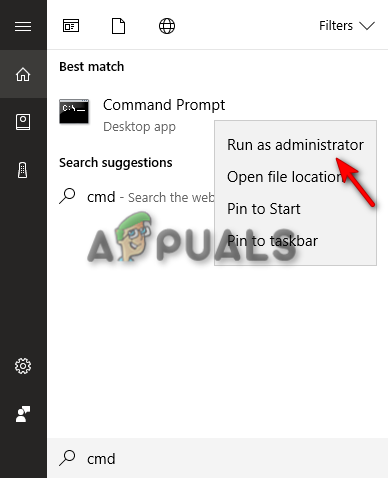
Running the Command Prompt as an administrator. - Enter the following command and press Enter:
netsh Advfirewall set allprofiles state off
- Now, launch Autodesk and try signing in.
6. Delete Corrupted Login Cache
A corrupted login cache might be stopping Autodesk from logging you in. To resolve this, you can delete the local Autodesk login cache using these steps:
- Right-click the Start Menu and select Task Manager.
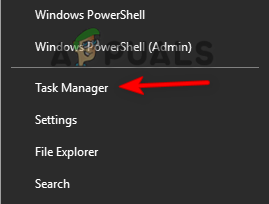
Opening the Task Manager - Go to the Details tab and look for these processes:
AdSSO.exe
AdAppMgrSvc.exe
AutodeskDesktopApp.exe
AdskLicensingAgent.exe
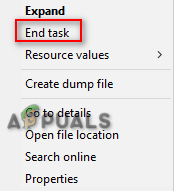
- End each by right-clicking and selecting End Task.
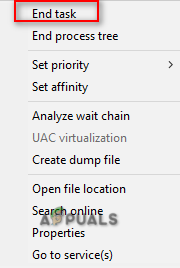
Ending the Processes - Open File Explorer using Win + E.
- Go to the Web Services folder by pasting this in the address bar:
%localappdata%\Autodesk\Web Services
- Find the LoginState.xml file.
- Delete it by right-clicking the file and selecting Delete.
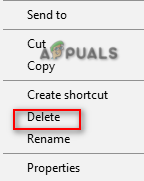
Deleting the Login cache file - Restart Autodesk and attempt to log in.
6.1. Login Reset Tool
- Download the Login Reset Tool.
- Select a location to save the file.
- Save the file by clicking Save.
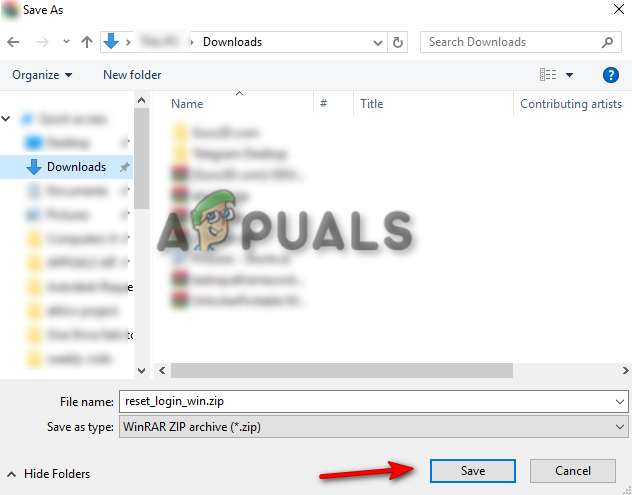
Saving the file in the folder - Go to your browser’s Downloads page.
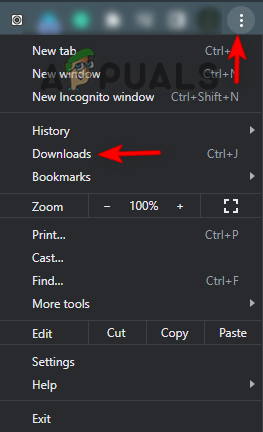
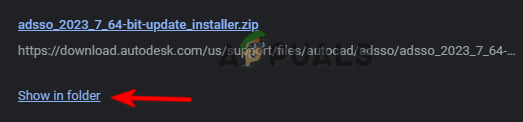
Opening the Downloads tab - Click Show in Folder.

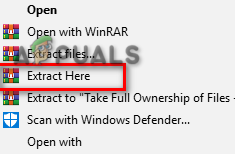
Opening the zip file in the folder - Right-click the ZIP file and select Extract here.
Extracting the File - Open the extracted file by right-clicking on it and choosing Open.
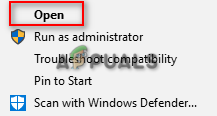
Opening the extracted File - The Command Prompt will automatically open and reset your login cache.
- Once finished, restart Autodesk and log in again.
7. Update the Autodesk Single Sign-On Component
If your Autodesk Single Sign-On (AdSSO) component is outdated, you might face login issues. It’s important to update AdSSO to the latest version. Here’s how to do it manually:
- Close all Autodesk programs.
- Right-click the Start Menu and select Task Manager.
Opening the Task Manager - In the Processes tab, right-click any Autodesk applications and click End Task.
Ending the Task - Open the Autodesk app and sign in again.
- Go to the Updates tab.
- Click on the update titled Single Sign On Component-V13.7.7-2020.7 SecurityFix English-US 64-Bit or the latest available.
- Restart Autodesk after the update is installed.
7.1. Autodesk Single Sign-In Update Installer
- Download the Autodesk Single Sign-In Update Installer.
- Save the file as prompted.
Saving the file in the folder - Open your browser’s Downloads page.
Opening the Downloads tab - Find your file by clicking Show in Folder.
Opening AdSSO Installer in the folder - Right-click and choose Extract here.
Extracting the File - Start the installer by right-clicking the setup file and choosing Install.
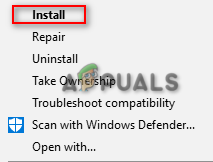
Installing the Setup - Accept the License Agreement and click Next.
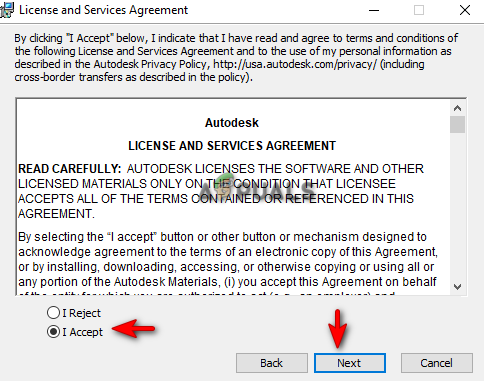
Accepting the License and Services agreement - Click Install to begin installation.
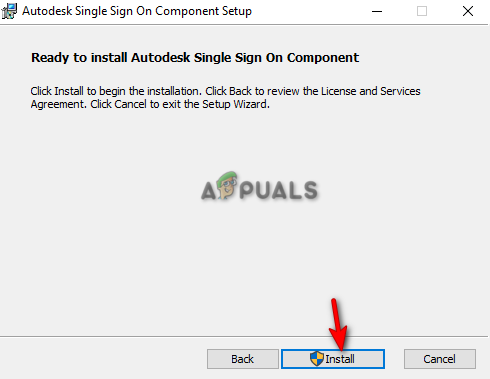
Installing the AdSSO Component setup - After installation, click Finish.
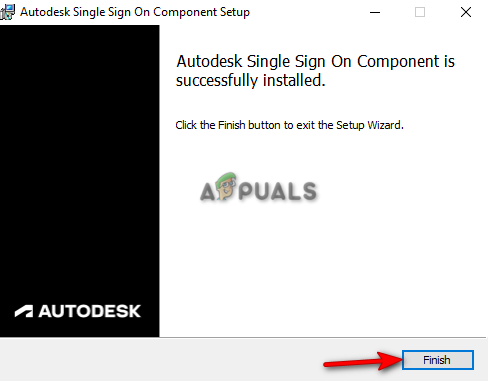
Finishing the installation - Open the Start menu and click the Power icon.
- Restart your computer to complete the update.
Restarting the Windows computer
8. Manually Update the DLL Files (AutoCAD)
If your libeay32_Ad_1.dll and ssleay32_Ad_1.dll files are outdated (earlier than 2018), it can also cause this error. To manually update these, follow:
- Download the required DLL files.
- Choose where to save the file and click Save.
Selecting the folder to download the file - Open the browser’s Downloads page.
Opening the Downloads tab - Find your file and select Show in Folder.

Showing file in the folder - Right-click the ZIP file and select Extract Here.
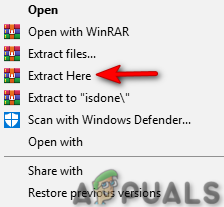
Extracting zip file - Select libeay32_Ad_1.dll and ssleay32_Ad_1.dll among the extracted files.
- Hold the CTRL key and left-click each file to highlight them both.
libeay32_Ad_1.dll
ssleay32_Ad_1.dll
- Copy the files with CTRL + C.
- In your AutoCAD installation folder, locate the existing files with the same names and select them.
- Delete those existing files, then paste the new files with CTRL + V.
- Restart your computer for the changes to take effect.


