Asus LAN Driver Not Installing?
 Reviewed by Muhammad Zubyan
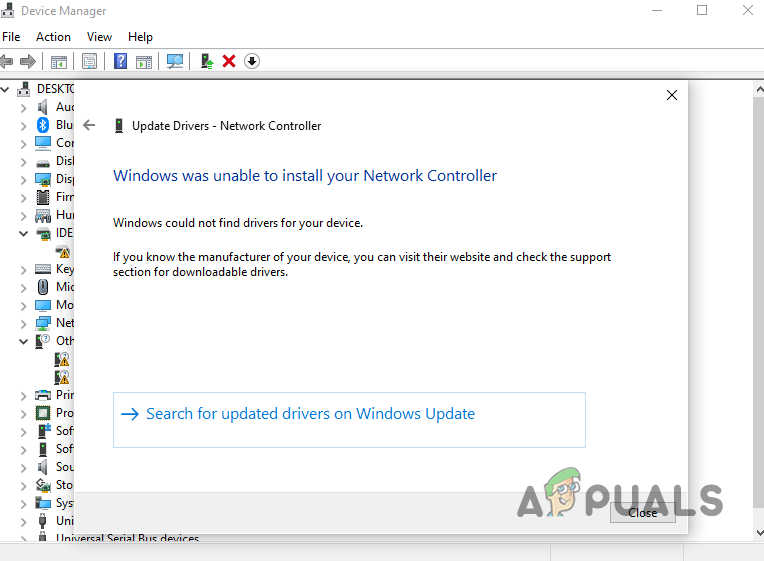
The Asus LAN driver installation issue usually means that nothing happens when you click “Install,” and your network adapter does not show up in Device Manager. You might see a message saying, “Cannot install drivers. No Intel(R) Adapters are present in this computer.”
This often happens because the LAN controller is turned off in the BIOS, or because the chipset or management engine drivers are not installed yet. These drivers need to be installed before you can add the LAN driver.
Now that you know the causes, let’s discuss the solutions.
1. Download the LAN Driver from the Asus Website
If you are using the drivers from the CD that came with your Asus Motherboard and the LAN or Wi-Fi Driver is not installing, one possible reason is that the file on the CD may be corrupted.
Fortunately, you can solve this by downloading the LAN Driver file directly from the Asus website. Before you do this, you’ll need to know the exact model of your motherboard.
1.1. Finding the Model of Your Motherboard
To find your motherboard model, you can either check the manual that came with your motherboard or use the System Information tool on your PC. To use System Information, follow these steps:
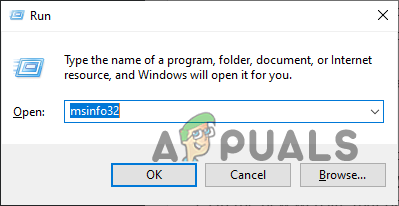
- Press Windows Key + R at the same time to open the Run dialog box.
- Type msinfo32 in the search bar and press Enter.
- In the System Information window, look for the section called “System Model.”
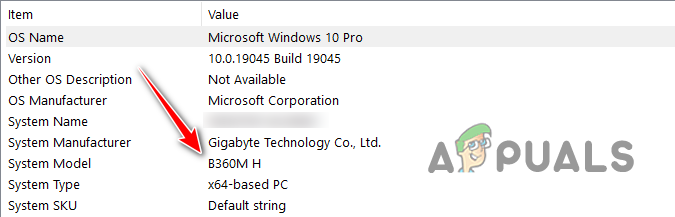
Checking the model of your Motherboard
1.2 Downloading the Driver File
Now that you know your exact motherboard model, you can go online and download the correct drivers. Since your system doesn’t have internet access because the LAN Driver isn’t installed, here are three ways you can get the file:
- Option 1: Connect your phone to your PC with a USB cable and enable USB Tethering on your phone to share your mobile internet connection. You’ll find this option in your phone’s settings.
- Option 2: Download the driver file onto your phone and then transfer it to your PC using a USB cable, or Bluetooth if your motherboard supports it.
- Option 3: Use a USB flash drive or portable SSD/HDD and another computer with internet access. Download the drivers, copy them to the USB drive, and then transfer them to your PC.
Once you’re ready, follow these steps to download the driver:
- Open this Asus download center website.
- Use the search bar to enter your motherboard model.
- Click on “Driver and Utility” on the right.
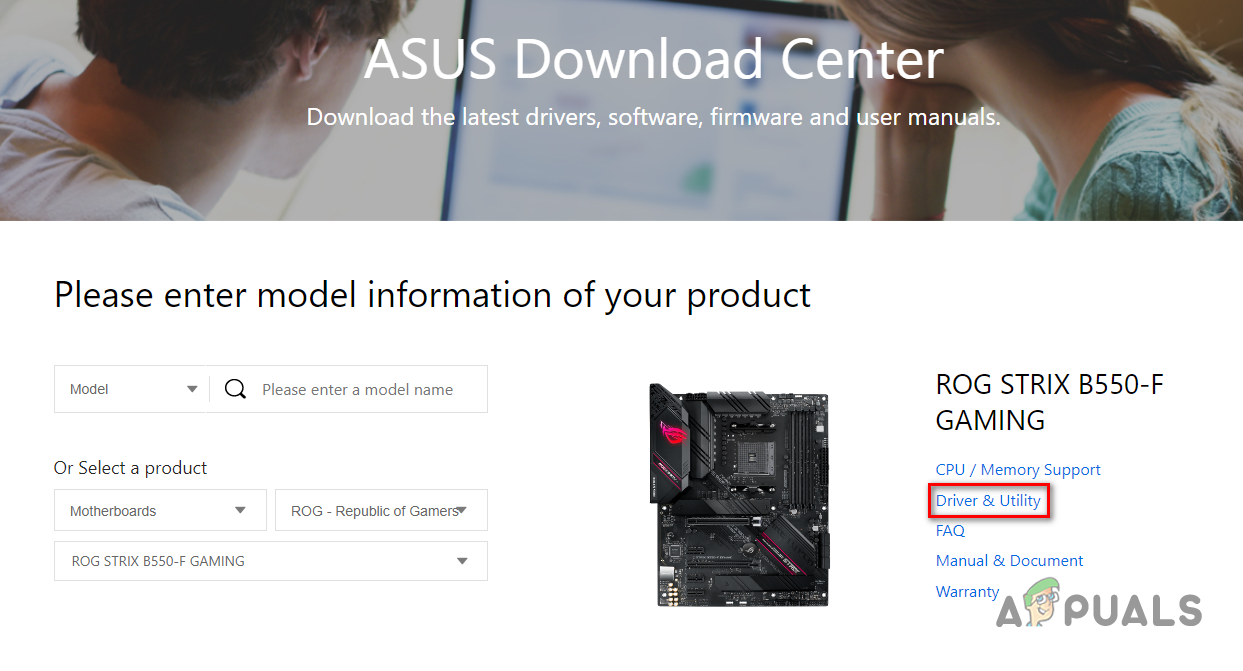
Finding the Drivers - Select your Operating System on the new page.
- Download the LAN Driver.
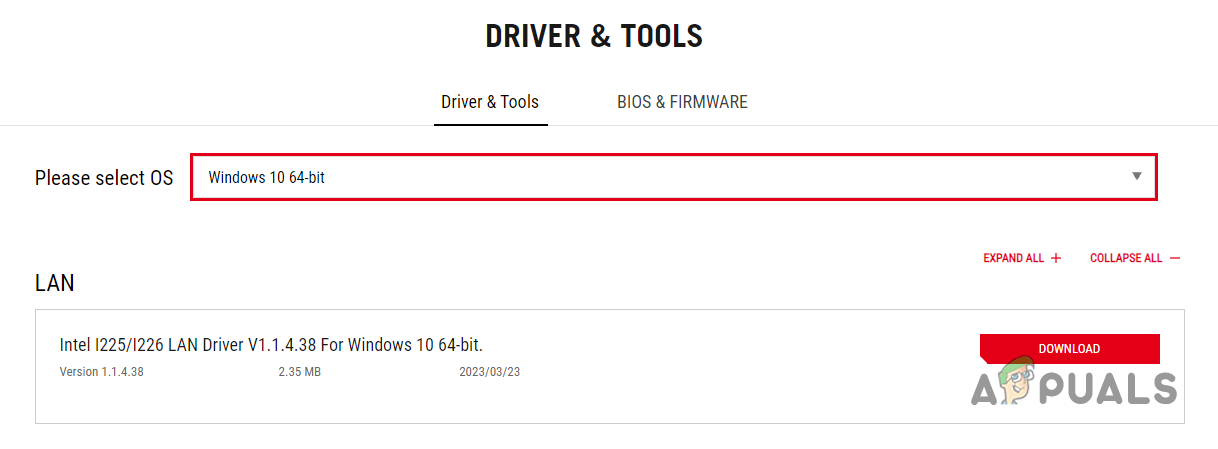
Downloading the drivers
1.3. Installing the Drivers
Once you’ve downloaded and transferred the zip file to your PC, you can install the drivers. The easiest way is through Device Manager. Here’s how:
- Create a folder named “LAN Drivers” anywhere on your PC.
- Right-click the zip file and extract it into the folder you just created.
- When extraction is done, press Windows Key + X and select Device Manager.

Opening Device Manager - Click the small arrow next to “Network Adapters” to expand the list.
- Right-click on “Network Controller”.
- Choose “Update Drivers.”
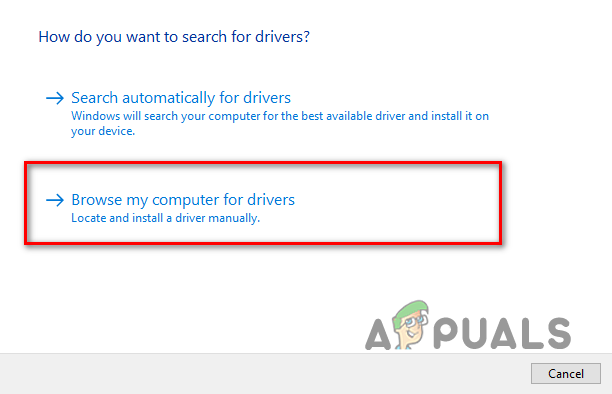
- Select “Browse my computer for drivers”.
Browsing the computer for drivers - Click “Browse” and choose the LAN Drivers folder (make sure “Include subfolders” is selected).
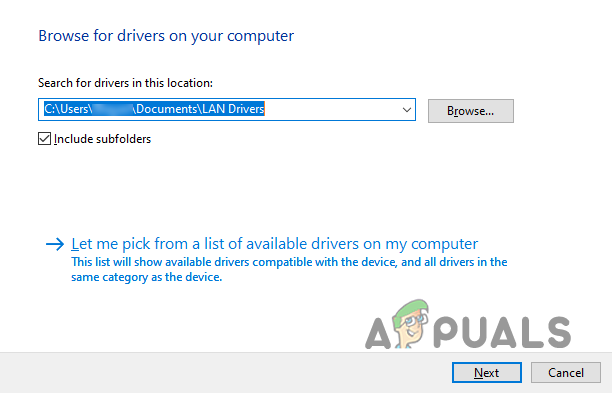
Selecting the LAN Drivers folder - Click Next and install the driver.
- Wait for the installation to finish.
Once the driver is installed, restart your PC. After restarting, your Ethernet or Wi-Fi should work without any issues.
If you still see an error message during installation, your drivers might not be compatible with your current version of Windows. If that’s the case, try the next solution below.
2. Update Windows to the Latest Version
Before you start, check which version of Windows you are currently using. If you’re already on the latest version, your operating system is not the problem. To check your Windows version:
Press Windows Key + R, type winver, and press Enter.
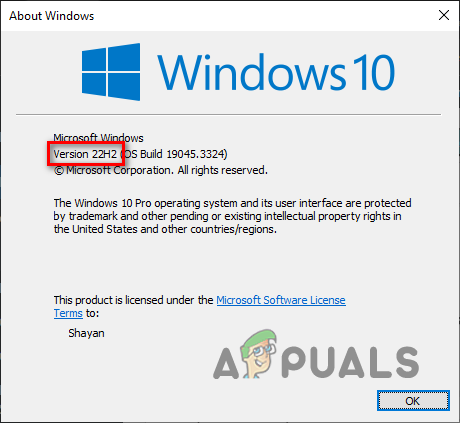
As of September 2023, the latest versions for Windows 10 and Windows 11 are 22H2. If you are on an older version, follow these instructions. If your system is up to date, skip to the next solution.
To update your Windows, use the Media Creation Tool. You’ll need an active internet connection for this tool to work, so use USB Tethering if you need to, or another PC.
The Media Creation Tool helps you download an ISO file of the latest Windows update, which you can then use to upgrade your system.
Follow these steps to use the Media Creation Tool:
- Visit this website.
- Click the “Download tool now” button and wait for the download to finish.
Downloading the Media Creation Tool - After downloading, right-click the file and select “Run as administrator.”
- Wait for the program to load (this might take up to 10 minutes, depending on your PC).
- When the tool loads, click Accept to agree to the terms.
- Select the “Create installation media” option.
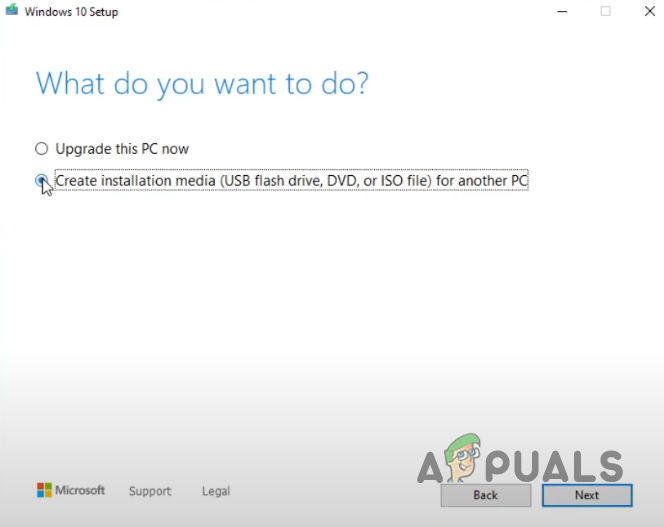
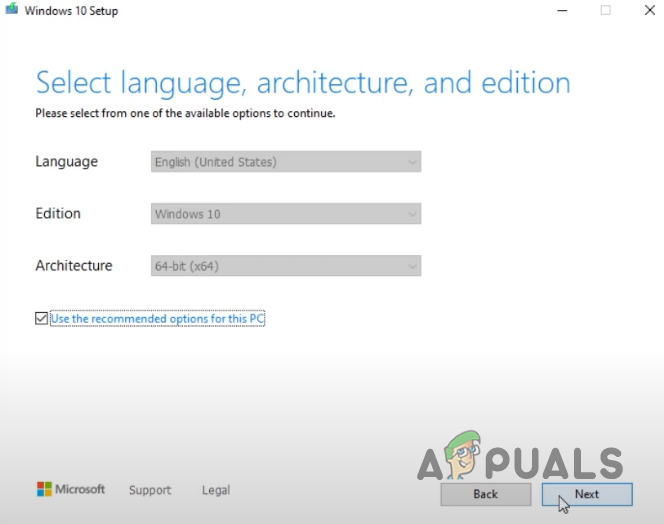
Selecting the “Create Installation media” option - Choose the appropriate language, edition, and architecture for your PC, then click Next.
Selecting language, architecture, and edition of OS - Select the ISO file option and click Next.
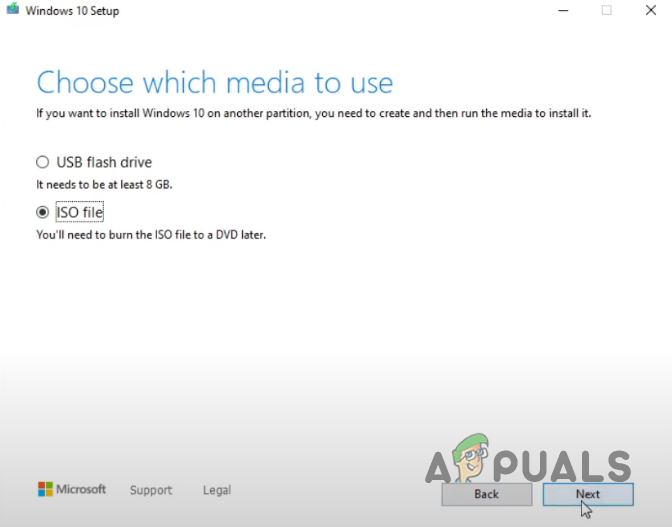
Selecting the ISO file option - Choose where to save the ISO file on your computer.
- Wait for the ISO file to finish downloading.
- Once complete, click Finish.
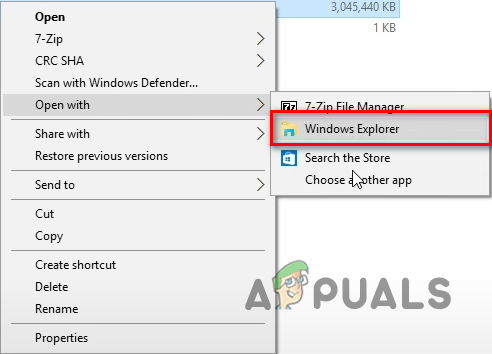
Now, transfer the ISO file to your PC using a USB drive or other portable storage device. Once done, right-click the ISO file, pick “Open With”, and select Windows File Explorer.
After mounting the ISO, update your Windows by following these steps:
Note: While this process is generally safe, it’s a good idea to create a System Restore Point beforehand. This helps you recover if there are any unexpected issues, like a power failure during installation.
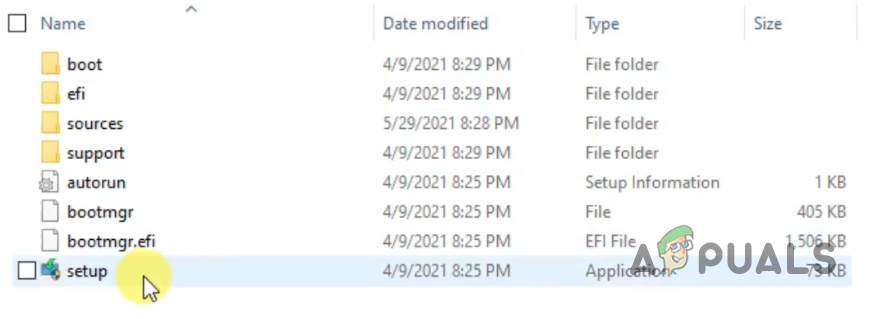
- Right-click the “setup.exe” file and choose Run as administrator.
Running the setup file - Wait for the setup program to load completely.
- Accept the license agreement and click Next.
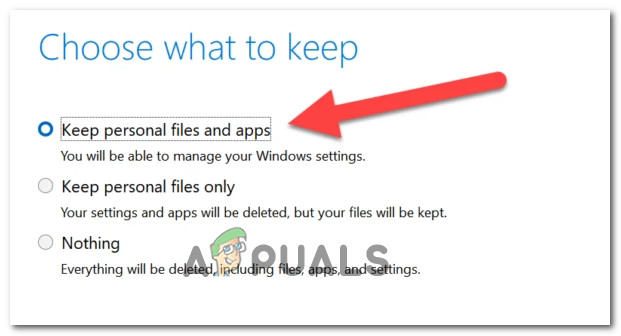
- On the “Ready to Install” screen, select “Change what to keep”.

Selecting the “Change what to keep” option - Select the option “Keep personal files and apps“.
Keep personal files and apps - Click Next and press Install to start upgrading your Windows.
- Wait for installation to finish (it may take 30 minutes or longer, depending on your system).
When installation is done, your PC will restart and your Windows will be updated. You can check by typing winver in the Run box to see your Windows version.
Now, reinstall the LAN Drivers you downloaded earlier. They should install without any issue this time.
3. Contact Asus Support
If you still can’t install the LAN Drivers after updating Windows, there may be another issue with your system. The best step now is to contact Asus Support for further help.
Asus has a skilled support team available 24/7. To get their assistance, visit this page, log into your Asus account (or create one), and click the “Proceed to Chat” button. Let the support expert know exactly what’s happening and mention all the troubleshooting steps you’ve already tried. They will guide you through the next steps to solve your issue.
Reviewed by Muhammad Zubyan


