(Solved) Deployment Failed when Installing APPX Package
When you see the “Deployment Failed when Installing APPX Package” message, it means the installation process suddenly stops. PowerShell will show an error code (called an HRESULT), and the app package doesn’t finish installing or won’t open at all. The error code, like 0x80073CF0, is a signal that Windows couldn’t open the APPX package. Usually, this means “The package couldn’t be opened.”
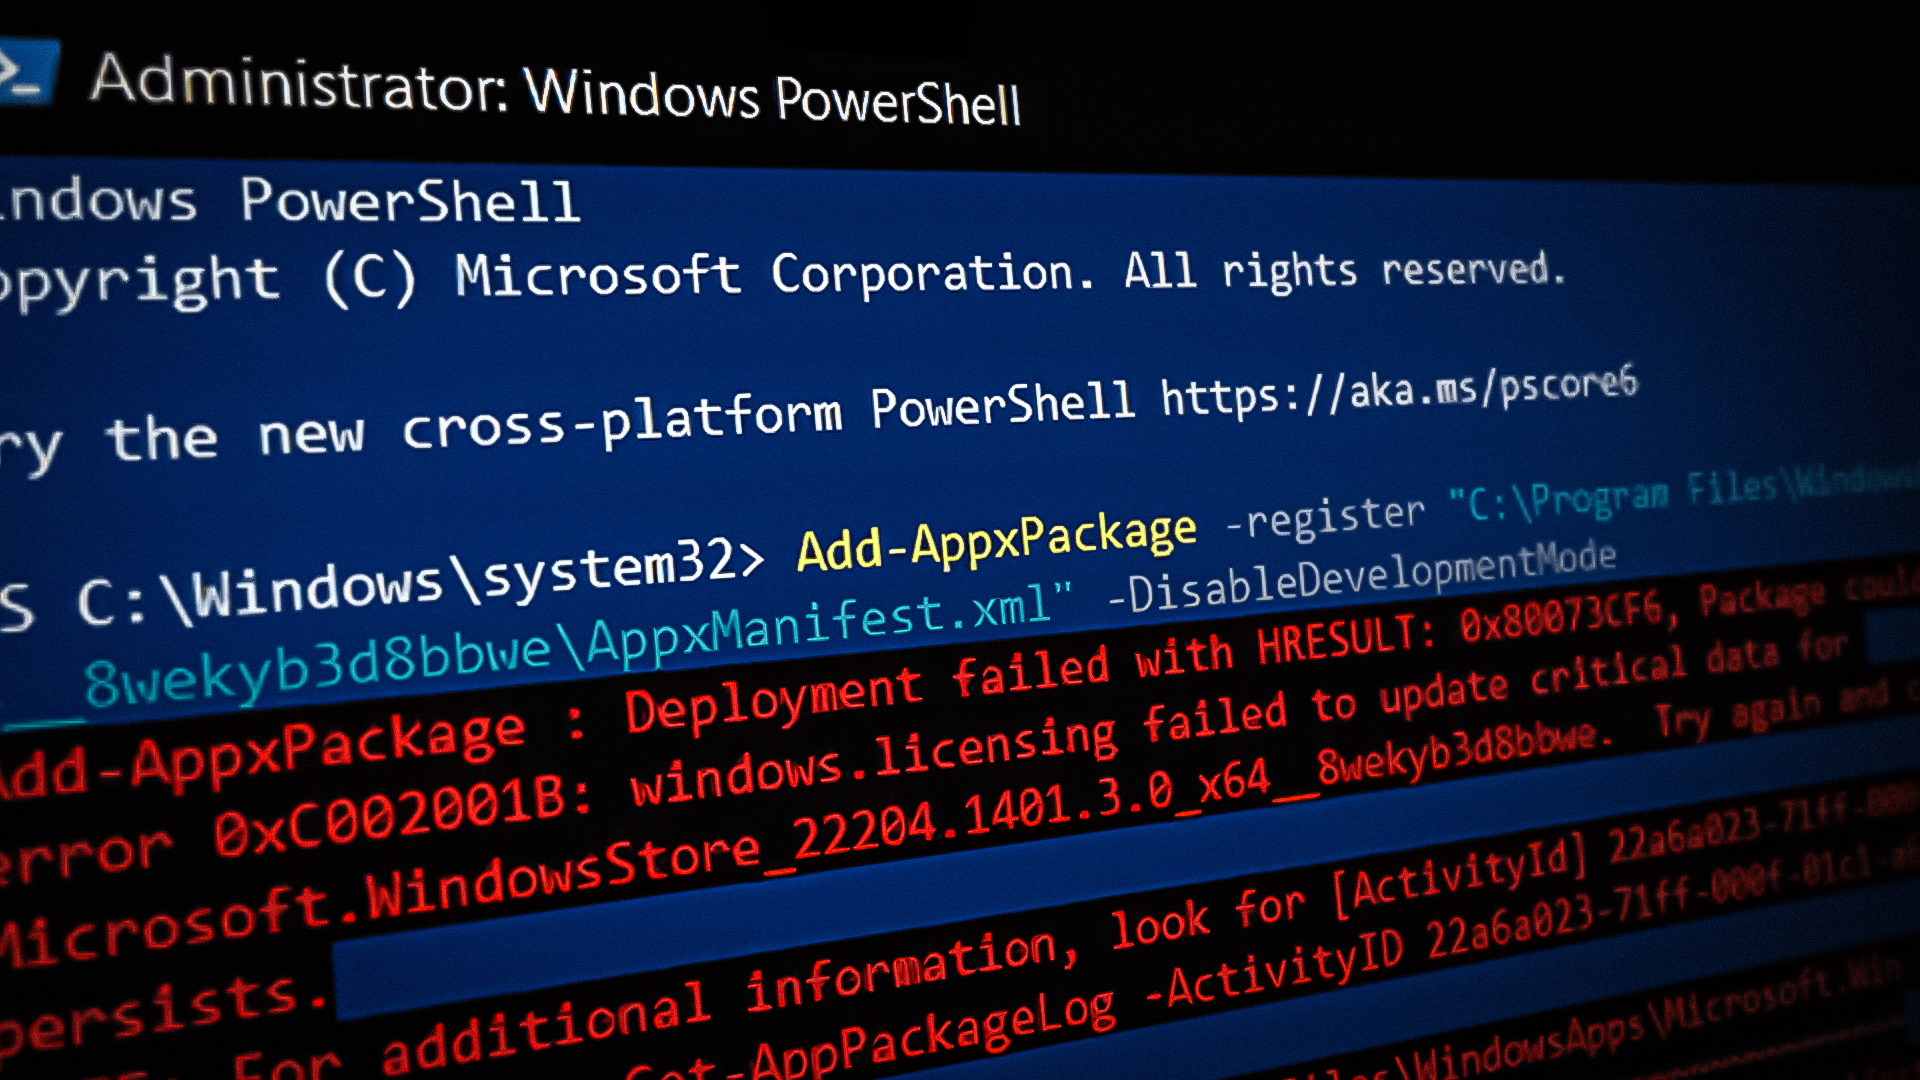
The most common reason for this is a missing or damaged APPX file. Other possible causes include not having the right permissions or not running PowerShell as an administrator.
This guide will walk you through several solutions to fix the “Add-AppxPackage Deployment failed with HRESULT” error.
1. Restart Your Computer
If you get an error in Windows PowerShell, simply restarting your computer can often solve the problem. Restarting ensures all system processes and services start fresh, which may quickly resolve the error.
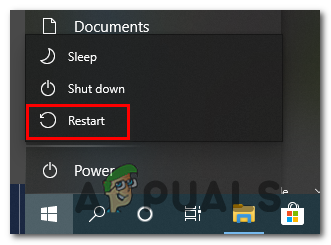
- Open the Windows Start Menu by pressing the Win key.
- Click the Power icon, and Restart your computer by clicking the “Restart” option.
Restarting the Windows computer
2. Run the Windows Store Troubleshooter
Windows includes a built-in troubleshooting tool that can automatically find and fix problems with Microsoft Store apps. Running the troubleshooter is a good first step to detect and resolve issues causing errors like this one.
- Press Win + I to open Windows Settings.
- Go to System > Troubleshooter.
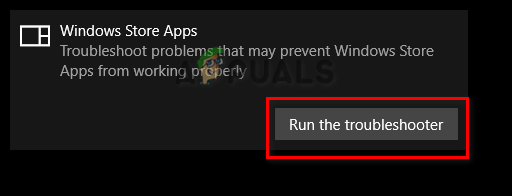
- Scroll down and click the “Windows Store Apps” option.
- Start the troubleshooter by clicking “Run the troubleshooter“.
Running the Windows Store troubleshooter - After it finishes detecting any issues, choose a recommended solution (for example, resetting the Windows Store app to fix the problem).
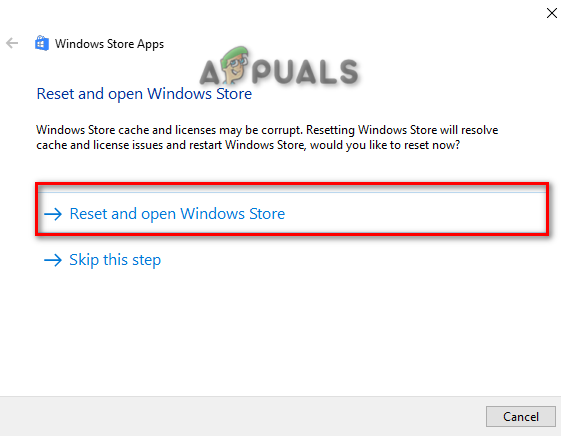
Resetting the Windows Store
3. Disable the StartMenuExperienceHost EXE Process
The StartMenuExperienceHost.exe process helps manage the Windows Start Menu, but it can sometimes interfere with PowerShell commands. Disabling it temporarily before running your PowerShell command may solve the problem.
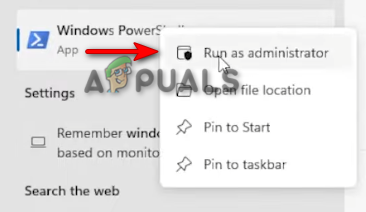
- Open the Start Menu by pressing the Win key.
- Type “PowerShell” in the search bar.
- Right-click PowerShell and select “Run as administrator“.
Running Powershell as an administrator - Copy and paste the following command into PowerShell and hit Enter:
- Right-click the Start Menu again and select “Task Manager“.
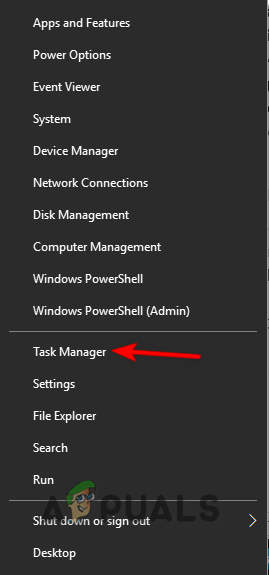
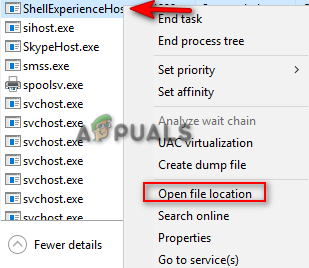
Opening the Task Manager - Click the “Details” tab, and find the StartMenuExperienceHost.exe process.
- Right-click it and choose “Open file location“.
Opening the file location - Right-click the EXE file in the folder, then select “Cut“.
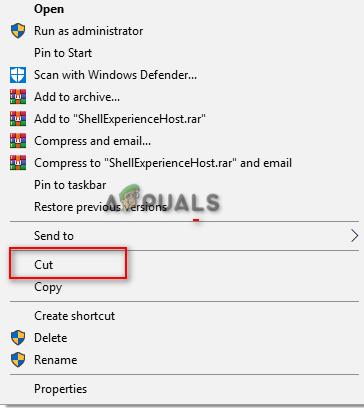
Cutting the EXE file - Paste the file into another folder by pressing Ctrl + V.
- Switch back to Task Manager.
- Find the EXE process again, right-click, and select “End task“.
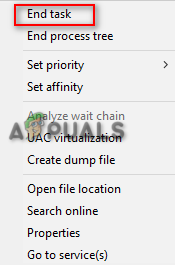
Ending the task - Now, retry the PowerShell command that was causing the error.
WARNING: After running your command, remember to move the StartMenuExperienceHost.exe file back to its original folder. If you don’t, your Start Menu and Taskbar might stop working.
4. Run System File Scans
Corrupted system files are a common reason for this error. These files can block some actions from running correctly in your system. Running a system file scan will help find and repair any damaged files.
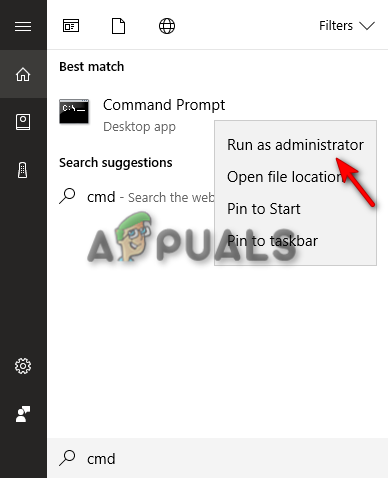
- Press the Win key to open the Start Menu.
- Type “cmd” in the search bar.
- Right-click “Command Prompt” and select “Run as administrator“.
Running the Command Prompt as an administrator. - Type the following command, making sure there’s a space between “sfc” and “/”:
sfc /scannow
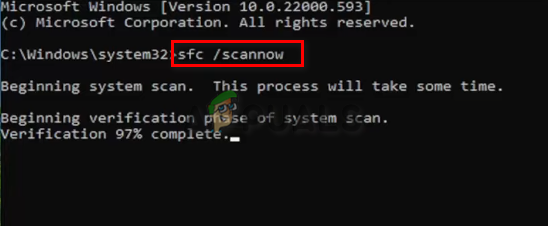
Running system file checker on the command prompt. - The System File Checker will scan and automatically repair corrupted files it finds.
- Copy and paste the following command into Command Prompt and press Enter:
Dism.exe /online /cleanup-image /restorehealth
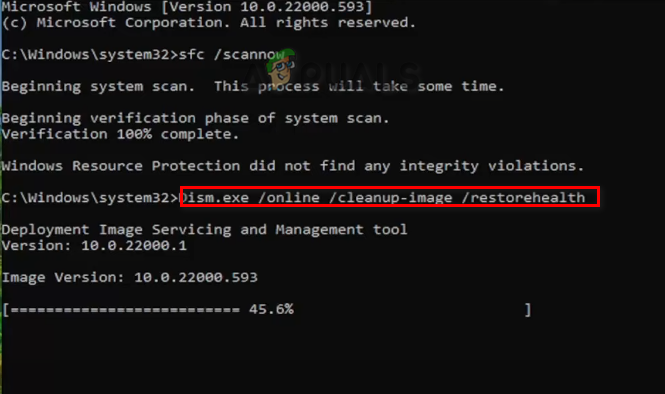
Running DISM Command on the Command Prompt - Restart your computer once it’s complete so the repairs can take effect.
5. Update Your Windows
An outdated version of Windows might prevent some programs or updates from working properly and can contribute to these errors. Keeping Windows up to date is essential.
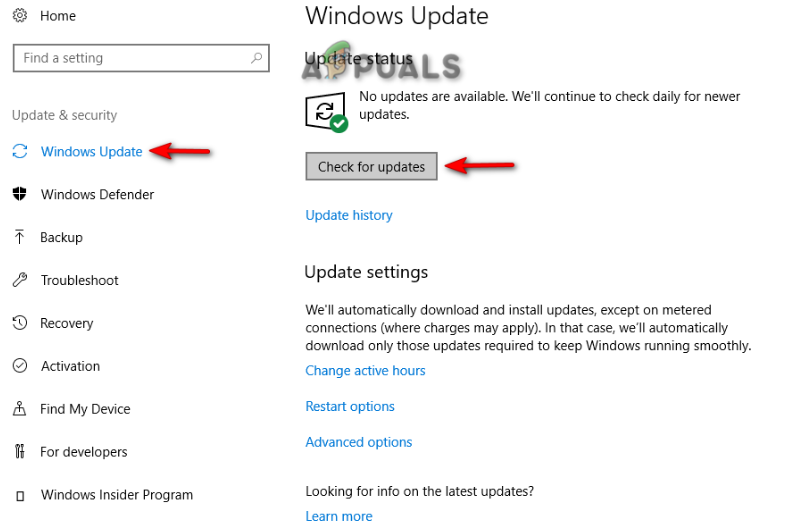
- Open Windows Settings with Win + I.
- Go to Update & Security > Windows Update.
- Click “Check for Updates“.
Checking an available Windows Update - After a Windows update is found, download it by clicking Download.
- Restart your computer to finish installing updates.
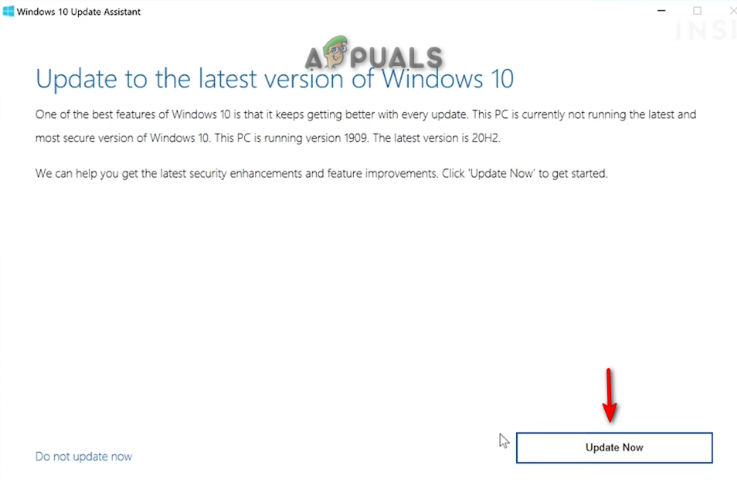
- Go to the Official Microsoft Web Page.
- Download the latest Windows Update by clicking “Update Now“.

Downloading the Latest Windows Update - Install the update by clicking “Update Now” on the Windows Update Assistant page.
Installing Windows Update - After installation, restart your computer by clicking the Restart option.

Restarting the Computer
6. Run Windows in Safe Mode
If you’re still facing the error, try starting Windows in Safe Mode. In Safe Mode, your computer starts with a basic set of drivers and programs, which can help isolate what’s causing the problem.
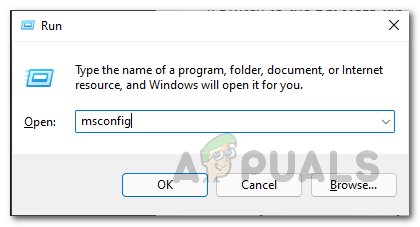
- Press Win + R to open the Run dialog.
- Type “msconfig” and click OK to open System Configuration.
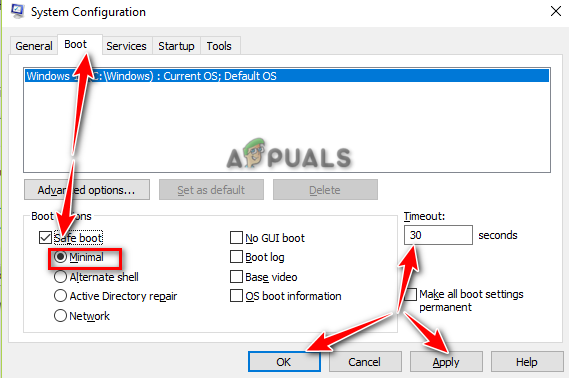
Opening System Configuration - Go to the Boot tab and check “Safe Mode“.
- Select “Minimal“.
- Set a timeout if needed, then click Apply and OK.
Booting System on Safe Mode - Restart your computer when prompted.

Restarting computer - Once you’re in Safe Mode, open PowerShell again as administrator (see previous steps).
- Run the command that was failing, for example:
$manifest = (Get-AppxPackage Microsoft.WindowsStore).InstallLocation + '\AppxManifest.xml' ; Add-AppxPackage -DisableDevelopmentMode -Register $manifest
7. Use an In-Place Upgrade
An In-Place Upgrade lets you repair Windows without deleting your personal files or apps. Use this only as a last resort if everything else fails.
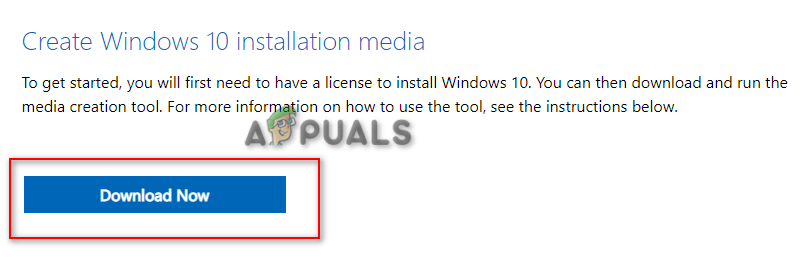
- Go to the Official Microsoft Website.
- Click “Download Now” under “Create Windows 10 installation media”.
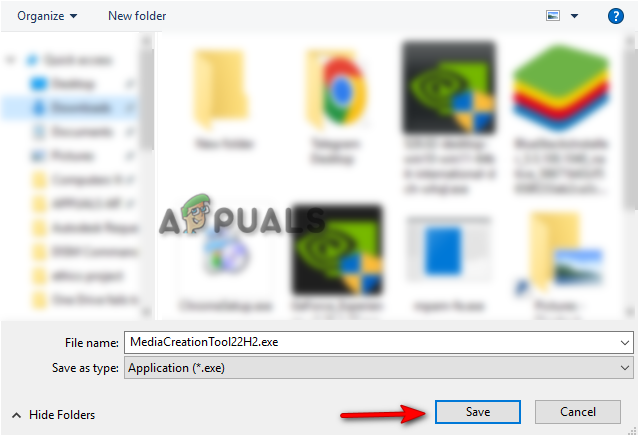
Downloading the tool - Select the folder where you’d like to save the file, then click Save.
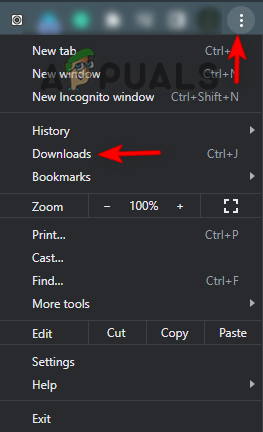
Saving the file in the folder - In your browser, open the Downloads page.
Opening the Downloads tab - Right-click and select “Show in Folder” to find the file.

Opening the EXE file location - Open the EXE file by right-clicking and selecting “Open“.
Opening the EXE File - Choose “YES” in the User Account Control prompt.
- Accept the license terms by clicking “Accept“.
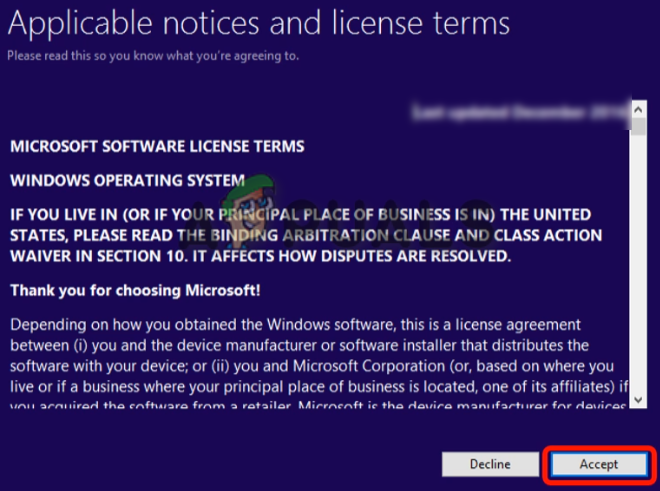
Accepting the terms and conditions - Pick “Upgrade this PC now” when prompted.
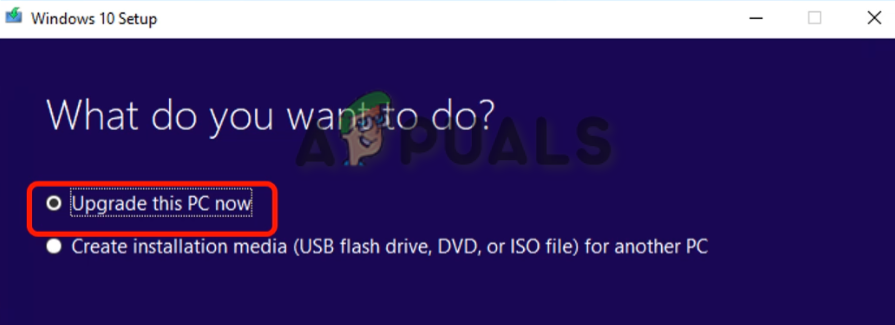
Upgrading this PC now - Click “Install” to start the setup.
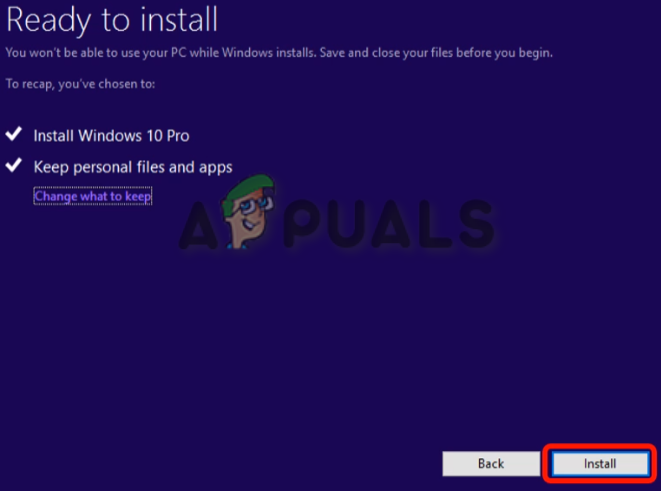
Installing the tool - Log in with your account after installation.
- Choose your preferred privacy settings and click “Accept“.
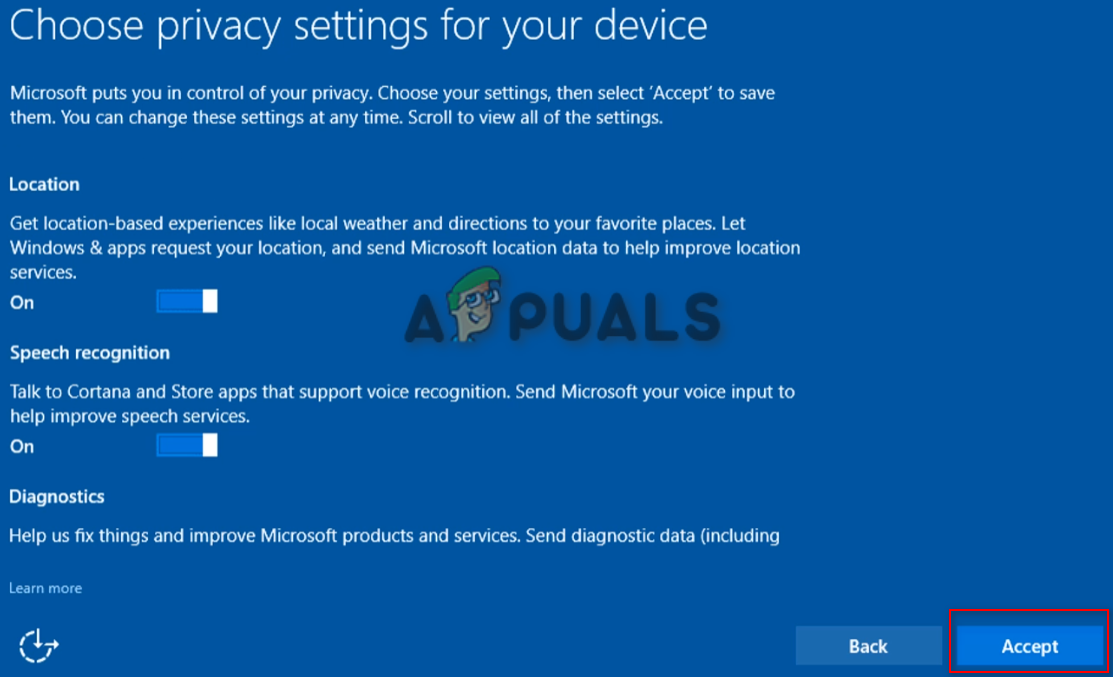
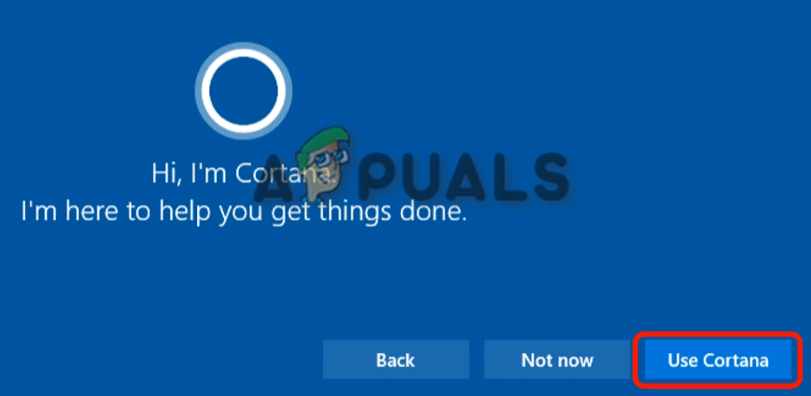
Choosing Privacy Settings for your device - Enable Cortana if you wish by clicking “Use Cortana“.
Using Cortana - This will bring you to the Windows sign-in screen.


