Fix: Start Menu Not Responding After Latest Update on Windows 10/11
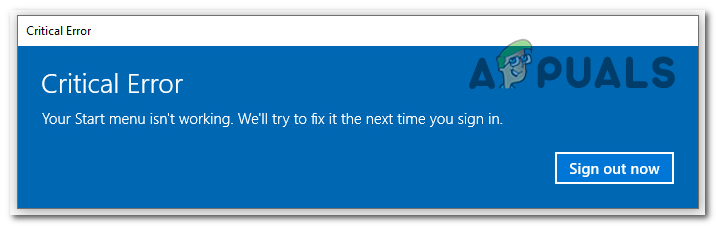
Many Windows users have reported that their Start Menu is not responding after they have installed the latest Windows updates on their PCs. This error appears as a message on the screen, telling them that the Start Menu is not responding and to try later. But in other cases, this error has appeared simply breaks the Start Menu or makes it invisible or inaccessible. This error has been typically encountered on Windows 10 and 11.
After a lot of reports were made by people that are going through this error, we have decided to take a deeper look into it to see what can cause this issue. Here is a short list that contains all the potential causes:
- Hidden taskbar – One of the possible causes for this issue is that the hidden taskbar could be hidden from the Taskbar Settings. Even if you have nothing to do with this, the last update that you’ve installed might have changed the setting, activating the option that hides the taskbar. All you have to do is to go to the Taskbar Settings and find the option associated with the taskbar, then make sure that the taskbar is not hidden.
- File Explorer not working – Another cause that might make the Start Menu not work is the Windows File Explorer. In some cases, this was making the Start Menu not work properly, resulting in the appearance of this error. To fix this, all you have to do is to open the Task Manager and find the Windows File Explorer, then you need to restart it to make it work.
- Newer updates available – Even if this issue has appeared after installing an update on your Windows computer, you should be checking the Windows Update section to see if there are any new updates available. Those updates will probably fix your issue because they are made by the devs, who have most likely fixed it. You can also try to roll back your Windows driver, but it is not worth the time because after that you will encounter the issue again.
Now that you know what can cause this issue, here is a list of all the methods that players recommend you to use in order to fix this issue on both Windows 10 and 11:
1. Make sure that the taskbar is not hidden
The first thing you should do when the Start Menu is not responding after the latest update is to check if your taskbar is not hidden. If that’s the case, the taskbar is inaccessible because you can’t see it on the screen. This could be a side effect of the latest update that you’ve installed.
In this case, all you have to do is to go to the Windows Settings. There you will be able to go to the taskbar settings, where you need to change the behavior of it and disable the option.
In case you don’t know how to do this, here are the steps you need to follow:
- The first thing you need to do is to open the Windows Settings. To do this, you need to press the Windows key + R to open a Run dialog box and type inside the search box ‘ms-settings:‘, then press Enter. If you are unable to open a Run dialog box, you can simply press the Windows key + I.
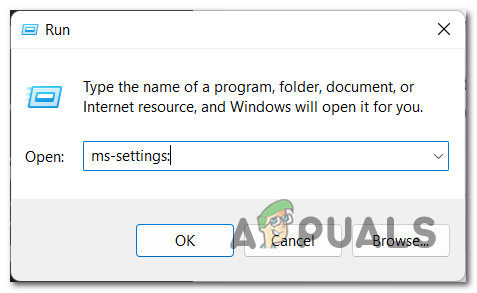
Using a Run dialog box to open the Windows Settings - Now that you are inside the Windows Settings, you need to select the Personalization section from the left-side menu, then scroll down and click on Taskbar when you find it.
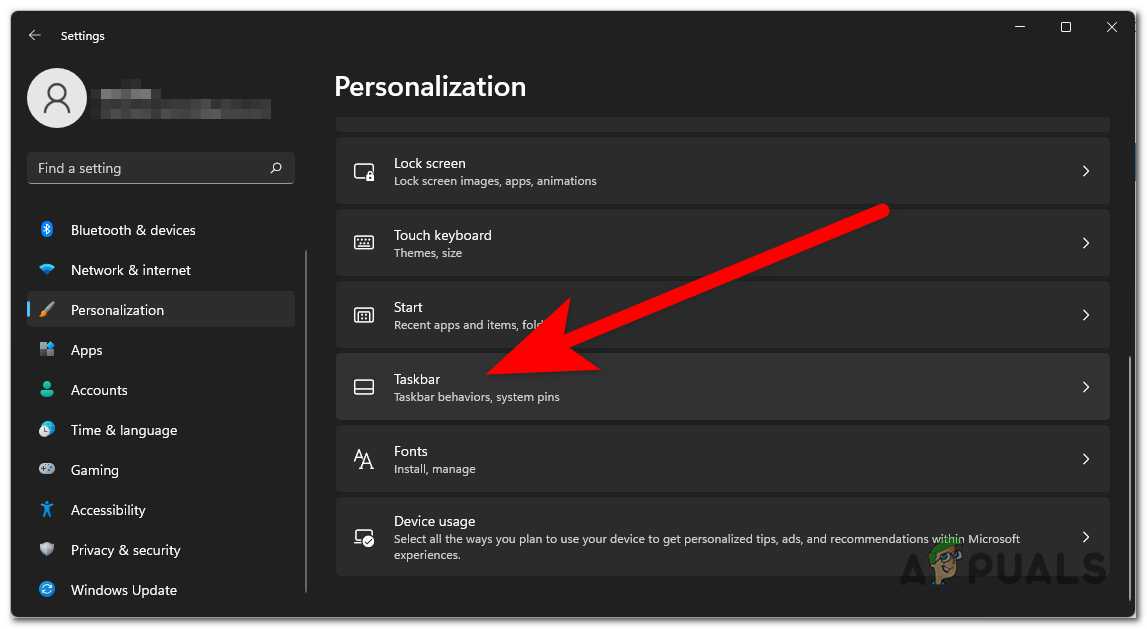
Selecting the Taskbar settings from the Personalization section - Now that you are inside the Taskbar settings, you need to expand the menu that is associated with Taskbar behaviors.
- After that, all you have to do is to make sure that the box next to Automatically hide the taskbar option is unchecked(the color should be grey, and not blue).
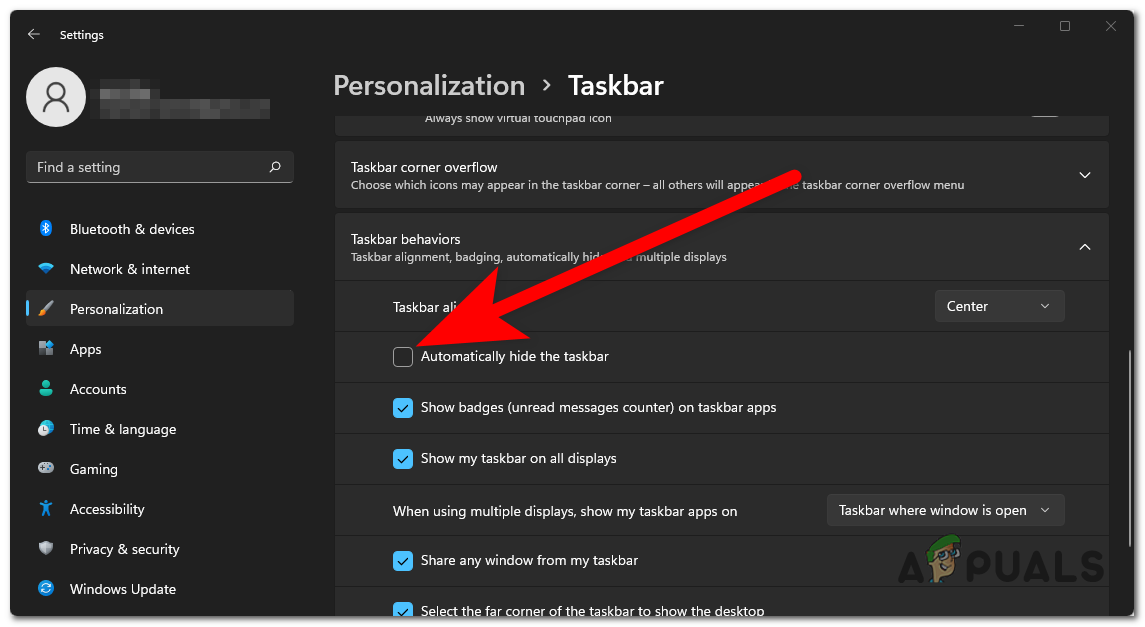
Make sure that the taskbar is not automatically hidden - After you uncheck the box, you should be able to see the taskbar and use the Start Menu.
If the option was already unchecked and you still can’t use the Start Menu, go to the next method below.
2. Make sure your Windows is up to date
The second thing you need to do when the Start Menu is not responding is to make sure that your Windows has the last update available installed. If you are encountering this issue after installing an update, you should check if there are newer updates available. You might be able to find Windows updates available because the devs might have released an update that should fix this issue.
The only thing you have to do is visit Windows Update to see if any updates are available, and if so, make sure you install them. Inside your computer’s Settings, you can find the Windows Update.
In case you don’t know how to check for updates, here’s how you can do it:
- You must first access Windows Settings. To do this, hit Windows key + R to open the Run dialog box. Then type “ms-settings” into the search field and press Enter.

Opening the Windows Settings using a Run dialog box - When you are in the Windows Settings, use the menu on the left to scroll down until you see Windows Update. Click on it when you locate it.
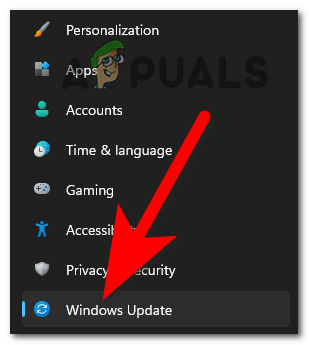
Accessing the Windows Update section inside the Windows Settings - Once you are inside the Windows Update, click the Check for updates button on the right side to see if there are any updates available. If there is, select Install from the menu.
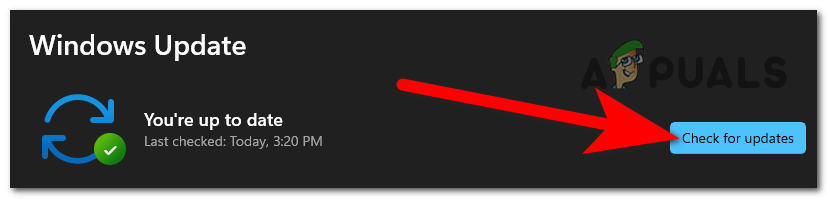
Checking for available updates for your Windows - Restarting your computer after the update has been fully installed will ensure that the update is properly applied.
- Check to see if you can now use the Start Menu.
Check the following possible solution below if the Start Menu is still not responding.
3. Restart the Windows File Explorer
People that have gone through this problem have managed to fix this by restarting the Windows File Explorer. The Windows File Explorer could make the Start Menu not work because of a problem that is happening.
All you have to do to fix the Start Menu error is to restart the Windows File Explorer. You can do this from the Task Manager, where you will be able to see the option that restarts it.
In case you don’t know how to do this, here is a guide that will help you restart File Explorer:
- The first thing you should do is to open the Task Manager. There are many ways that you could use in order to do this, but the simplest one is to simultaneously press the CTRL + Shift + ESC keys and it will open automatically.
- Once you are inside the Task Manager, you need to select the Processes section.
- After that, through the list of processes, you have to search for Windows Explorer. When you find it, select it and click on Restart.
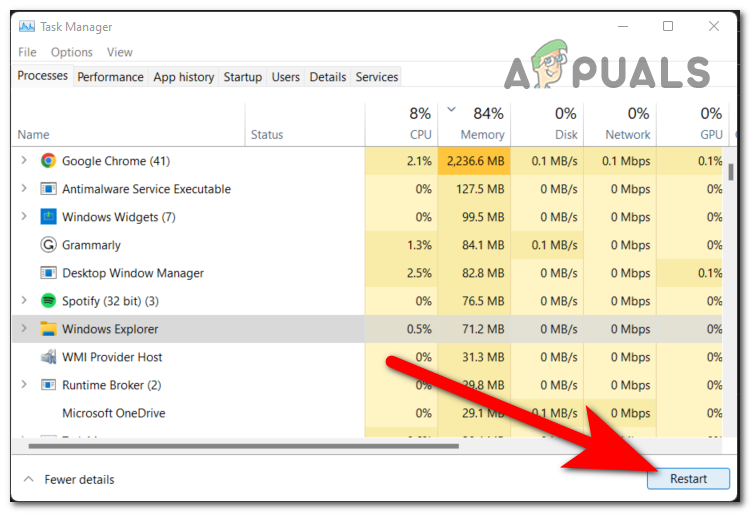
Restarting the File Explorer from the Task Manager - This process will take a few seconds. Wait until it’s complete, then close the Task Manager.
- Now test to see if you are able to use the Start Menu.
If the error still persists even after doing this, go to the next possible fix below.
4. Use the Command Prompt to fix the registry
If the methods before didn’t help, this one has been suggested by many to be efficient in fixing your Start Menu not responding error. A lot of people have managed to make their Start Menu work again by using the Command Prompt to fix the registry
Note: The command line interpreter program Command Prompt is available in the majority of Windows operating systems. It is employed to carry out entered orders. The majority of those commands execute complex administrative activities, automate tasks using scripts and batch files, and troubleshoot or resolve particular types of Windows errors.
One of the errors that can be fixed with the Command Prompt is this one. To do this, all you have to do is to open the Command Prompt and insert a code that will automatically fix your Start Menu issue. But you have to use the Command Prompt with administrator privileges for this method to work.
Here is a guide that will show you step by step how to use to Command Prompt to fix your Start Menu not responding error:
- You need to start by opening the Command Prompt with administrator privileges. To do this, press the Windows key + R to open a Run dialog box, then inside the search bar type ‘cmd‘. To open it with admin privileges, press the CTRL + Shift + Enter keys.
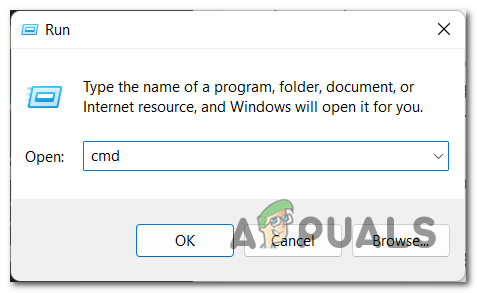
Using a Run dialog box to open the Command Prompt - You will be prompted by the User Account Control to confirm that you want to give the Command Prompt admin privileges. Click on Yes to continue.
- Now that you are inside the Command Prompt, you have to copy the following code and paste it inside the Command Prompt. After that, hit Enter for the command to take effect. The command is:
REG ADD HKLM\SOFTWARE\Microsoft\Windows\CurrentVersion\Run /v ctfmon /t REG_SZ /d CTFMON.EXE
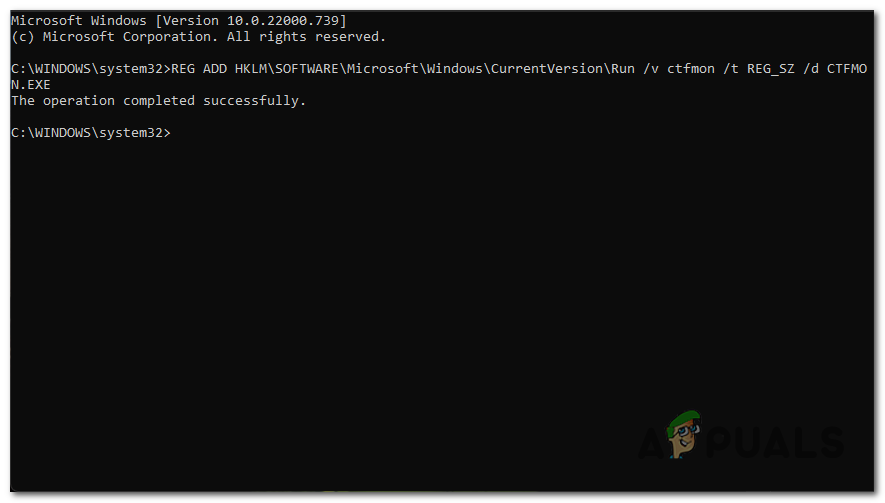
Inserting a code inside the Command Prompt that will make the Start Menu work - Once you’ve done that, you can close the Command Prompt. To do this, type exit inside the program or simply close it using your mouse.
- Now you should be able to use the Start Menu without problems.
In case this method didn’t work as well and you are still encountering the Start Menu not responding after the latest update error, go to the last one below.
5. Use Powershell to refresh dependencies
The last thing you should try is to use the Powershell utility to enter some different commands. This method has been highly recommended by users that are going through this issue, fixing the error for a lot of them.
This method is similar to the one before, but the difference is we will use an elevated Powershell command to fresh every dependency that is used to achieve the functionality of the Start menu. There are more chances that this one will do the job and fix your Start Menu, as people report.
Here are the steps you need to follow in order to do this:
- To begin, you must launch the Powershell with administrator rights. To do this, open the Run dialog box by pressing Windows key + R, then type “powershell” into the search bar. Press CTRL + Shift + Enter to open it as an administrator.
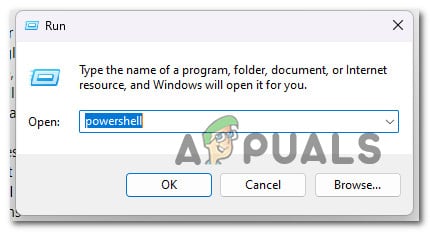
Access the Powershell component - The User Account Control will ask you to confirm that you want to grant the Powershell administrative rights. Select Yes to proceed.
- Now all you that’s left to do is to copy and paste the following command one by another. Wait for every command to complete to make sure that the process is going well. Here is the first command:
PowerShell -ExecutionPolicy Unrestricted
- After that command was inserted successfully, you have to insert the next one. Wait until it’s complete, then you can continue with the next and last command. Here is the second one:
Get-AppXPackage -AllUsers |Where-Object {$_.InstallLocation -like "*SystemApps*"} | Foreach {Add-AppxPackage -DisableDevelopmentMode -Register "$($_.InstallLocation)\AppXManifest.xml"} - Once the process is complete and you are allowed to continue, insert the next and last code:
$manifest = (Get-AppxPackage Microsoft.WindowsStore).InstallLocation + '\AppxManifest.xml' ; Add-AppxPackage -DisableDevelopmentMode -Register $manifest
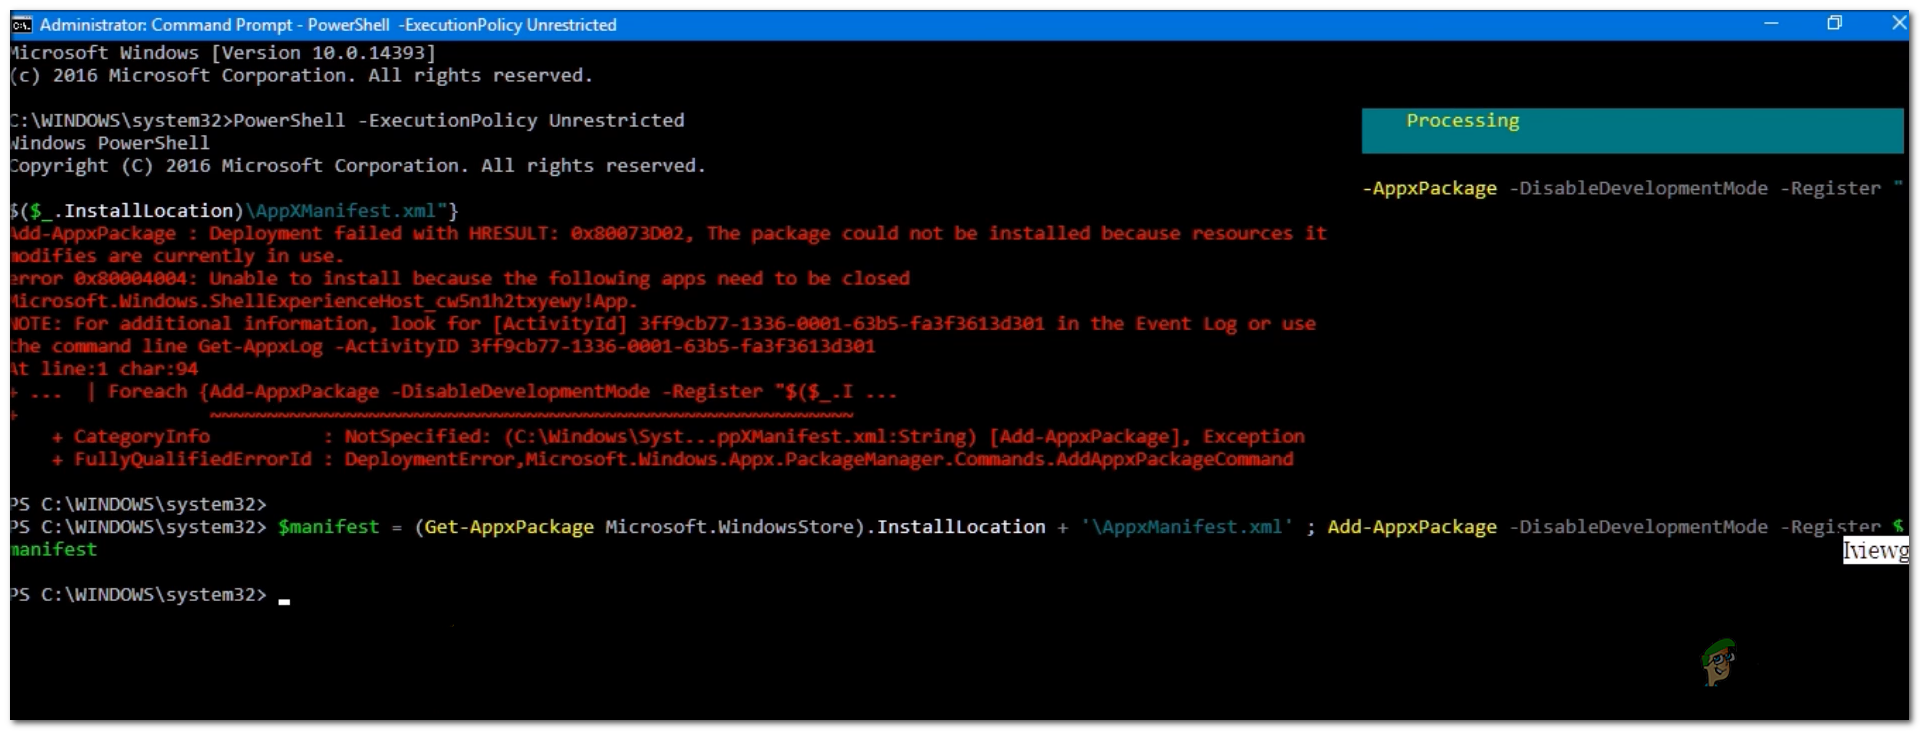
Inserting some command that will make your Start Menu work - Once you’ve done that as well and the process is complete, all that you need to do is to restart your PC for this method to take effect.
- After your PC boots back and you are on the desktop, the Start Menu not responding after the latest updates issue should be fixed.


