How to Adjust the Display Brightness in Windows 11
Regardless of whether you’re using a Windows 11 desktop, laptop, or notebook, you’ll probably want to adjust your display’s brightness at some point. This is especially true if you use your Windows 11 device both outdoors and in dimly lit rooms.
Some PCs can automatically adjust your Windows 11 screen’s brightness, but there will always be times when you want full control over the brightness level yourself. Just remember: A brighter screen will use more battery.
To help you easily manage your screen brightness, we’ve put together a straightforward guide covering all the different ways you can adjust brightness on your Windows 11 computer.
Here’s a short list of methods you can use to adjust display brightness on your Windows 11 PC:
- Adjust Display Brightness using On-Screen Display (OSD) settings
- Adjust Display Brightness using your keyboard
- Adjust Display Brightness using Quick Settings
- Adjust Display Brightness using Settings
- Adjust Display Brightness using Windows Terminal
- Adjust Display Brightness using Command Prompt
- Adjust Display Brightness using the Mobility Center
- Adjust Display Brightness using the Intel Graphics Control Panel
- Adjust Display Brightness using the Nvidia Control Panel
Important: The brightness slider in Windows might not be available on desktop PCs with external monitors. If that’s the case, you’ll need to use the physical buttons on your monitor to adjust brightness.
1. Adjust Display Brightness using On-Screen Display (OSD) Settings
Note: This option works only on Windows 11 PCs connected to an external monitor (or all-in-one PCs).
Instructions for accessing your monitor’s OSD menu and adjusting the brightness will vary depending on the manufacturer.
Most often, you’ll press the Menu button on your monitor to open the OSD menu, then look for a Picture or Settings tab where you can adjust brightness.
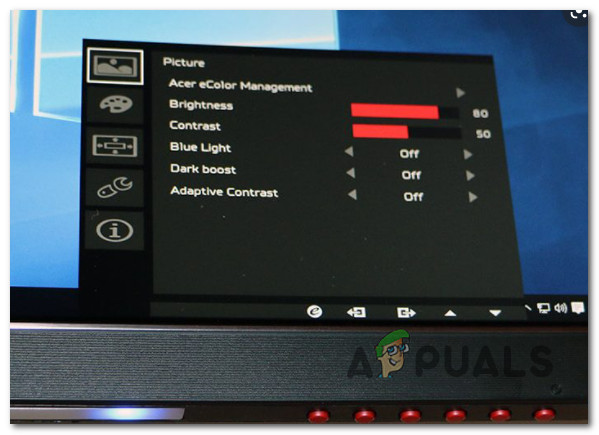
Note: Some monitors may have a separate button or a knob for directly adjusting display brightness.
2. Adjust Screen Brightness Using Keyboard Shortcuts
Note: This method works only on Windows 11 computers with a built-in display.
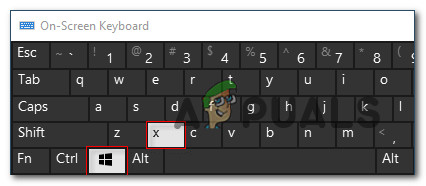
Most laptops, notebooks, and ultrabooks have dedicated shortcut keys for adjusting screen brightness. Manufacturers commonly use F2 + F3, F5 + F6, or F11 + F12 for brightness control.

To adjust brightness, hold down the Fn key and press the corresponding shortcut keys (for example, FN + F2 to decrease and FN + F3 to increase brightness).
Note: Shortcut keys for brightness might differ between manufacturers. You can check for brightness symbols on your keyboard, refer to your laptop’s manual, or look up your model online for specific shortcuts.
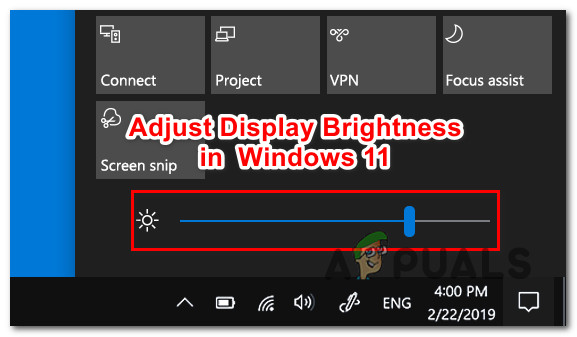
3. Adjust Display Brightness from the Quick Settings Menu
Note: This option is available only on PCs with built-in displays.
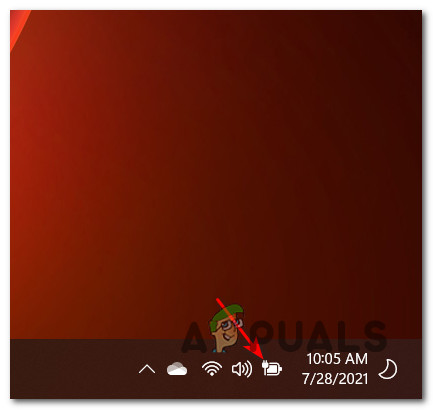
- Press Windows key + A to open the Quick Settings menu. You can also click the battery, Wi-Fi, or sound icon cluster at the bottom-right corner of your screen.
Accessing the Quick menu - In the Quick Settings menu, use the brightness slider at the bottom to adjust your display brightness.
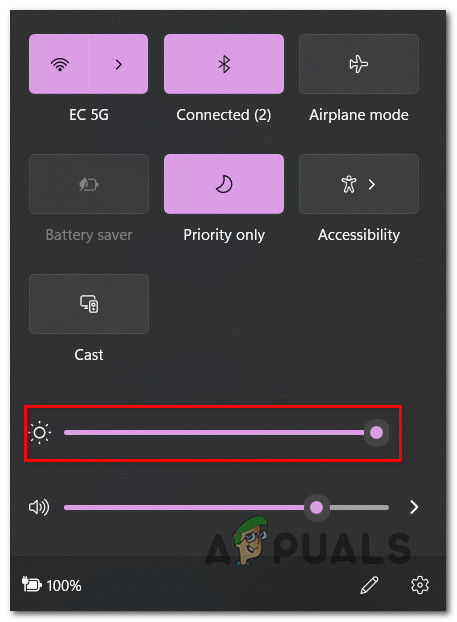
Adjusting the Brightness slider
4. Adjust Display Brightness from the Settings Menu
- Press Windows key + I to open the Settings menu.
- Click on System from the left pane, then select Display in the right pane.
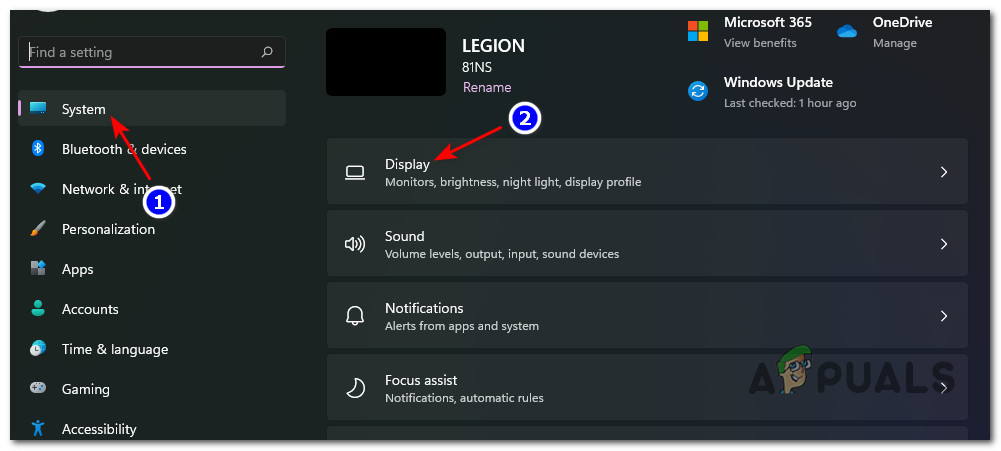
Accessing the Display settings - In the Display tab, adjust the Brightness slider under Brightness & color to set your preferred brightness.

Adjust the brightness of your display Note: If you want Windows to adjust brightness automatically based on lighting conditions, check Change brightness automatically when lighting changes. This option is only available if your device supports it.
- Your changes will take effect immediately. You can close the Settings window when you’re done.
5. Adjust Display Brightness Using Windows Terminal
Note: This method works only if your Windows 11 PC has a built-in display.
- Press Windows key + X to open the quick link menu. Then click on Windows Terminal. If prompted by User Account Control (UAC), click Yes to allow changes.

Accessing the Windows Terminal app - In Windows Terminal, enter the following PowerShell command, adjusting the brightness level to your preference, then press Enter:
(Get-WmiObject -Namespace root/WMI -Class WmiMonitorBrightnessMethods).WmiSetBrightness(1, <Brightness Level>)
Note: Replace <Brightness Level> with a value from 0 to 100, indicating the brightness percentage. For example, to set brightness to 35%, use:
(Get-WmiObject -Namespace root/WMI -Class WmiMonitorBrightnessMethods).WmiSetBrightness(1, 35)
- Once the command is processed, your screen brightness will change. You can close Windows Terminal when you’re finished.
6. Adjust Display Brightness Using Command Prompt
Note: This method works only on Windows 11 PCs with a built-in display.
- Press Windows key + R to open the Run dialog. Type cmd and press Ctrl + Shift + Enter to open Command Prompt with admin rights.

Opening an elevated CMD prompt - At the User Account Control prompt, click Yes to grant admin access.
- In the Command Prompt window, type this command (change the brightness value as needed) and press Enter:
powershell (Get-WmiObject -Namespace root/WMI -Class WmiMonitorBrightnessMethods).WmiSetBrightness(1, <Brightness Level>)
Note: Replace <Brightness Level> with a number from 0 to 100. For example, to set brightness to 100%:
powershell (Get-WmiObject -Namespace root/WMI -Class WmiMonitorBrightnessMethods).WmiSetBrightness(1, 100)
- Your brightness will change instantly. You can close Command Prompt once you’re done.
7. Adjust Brightness Through the Mobility Center
Note: This option works only if you have a laptop with Intel’s Mobility Center pre-installed.
- Press Windows key + X to open the quick link menu, then select Mobility Center.
Opening up the quick link menu on Windows 11 - In Windows Mobility Center, use the Display brightness slider to get the brightness level you want.
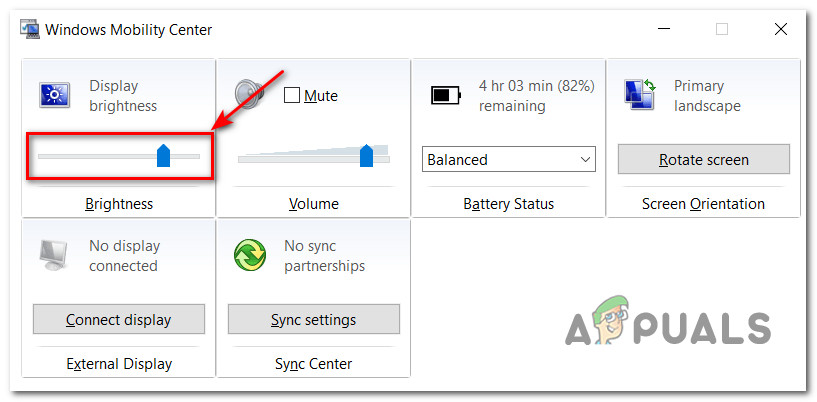
Adjusting the brightness via the Windows mobility center - When you’re finished, you can close Mobility Center.
8. Adjust Display Brightness Using Intel Graphics Control Panel
- Press the Windows key to open the Start menu, then search for and open the Intel Graphics Control Panel.

Accessing the Intel Graphics Control Panel - In the Intel Graphics Control Panel, click the Display icon (bottom left).
- Select Color Settings from the left sidebar.
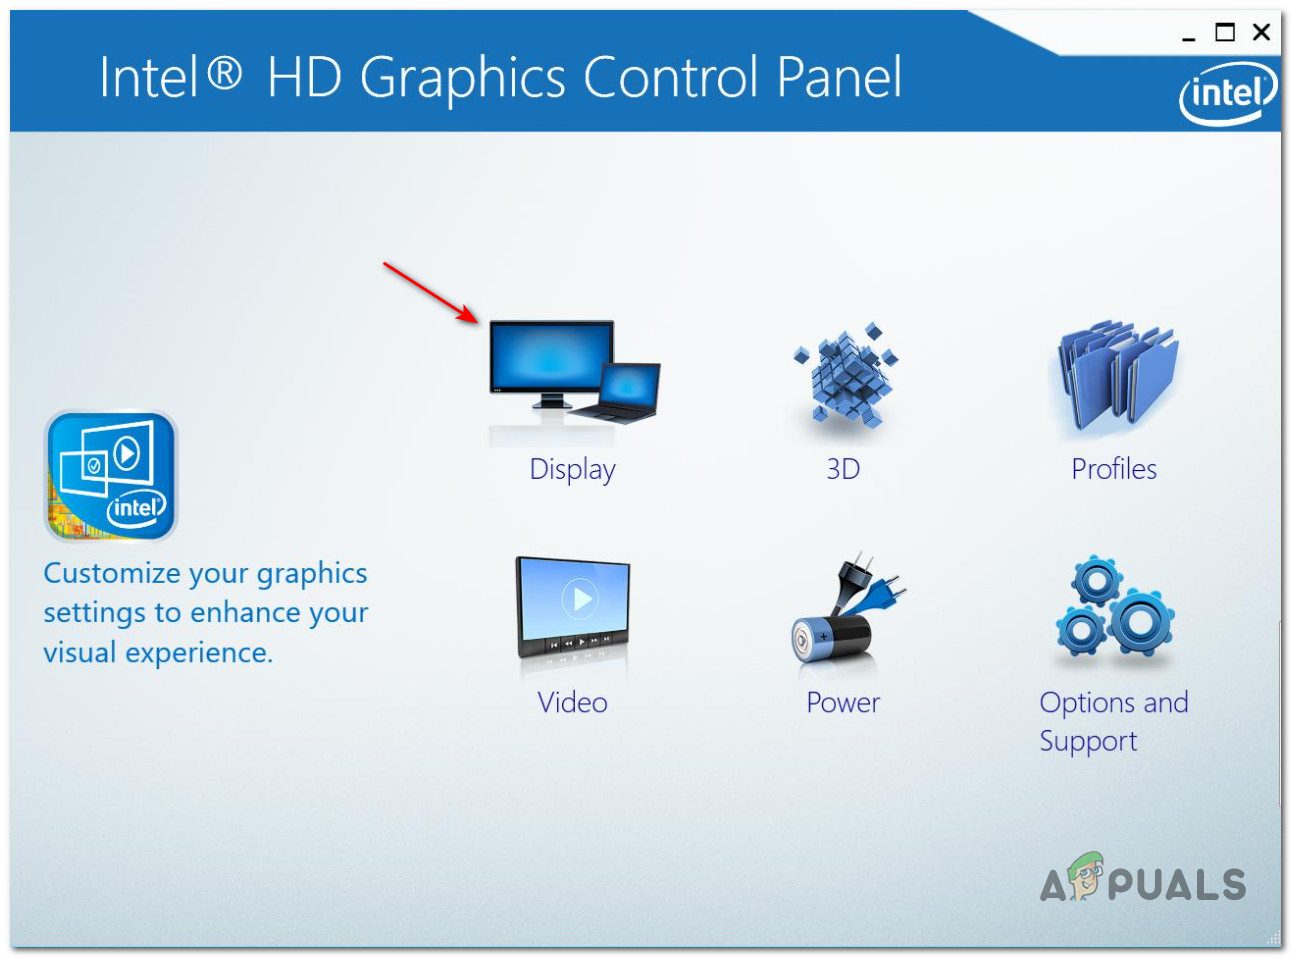
Accessing the Display menu - On the right, choose the display you want to adjust under Select Display. Then move the Brightness slider to your preference.
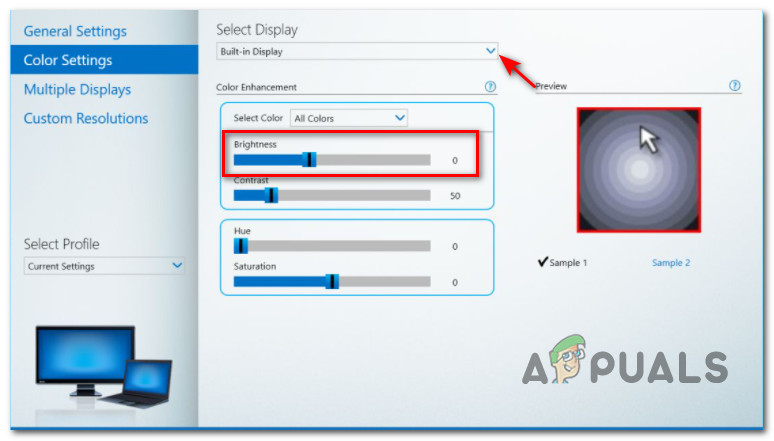
Modifying the Brightness slider - Click Yes to confirm your changes.
Note: If you don’t confirm within 15 seconds, your changes will automatically revert. - When finished, you can close the Intel Graphics Control Panel—your changes are already saved.
9. Adjust Screen Brightness Using Nvidia Control Panel
Note: This method works if you are using an Nvidia GPU and have the Nvidia drivers installed.
- Open the Nvidia Control Panel via the taskbar icon, by searching the Start menu (press Windows key), or by right-clicking on the desktop and choosing Nvidia Control Panel from the menu.
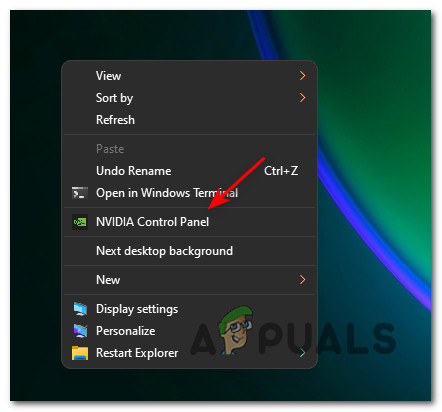
Opening the Nvidia Control Panel Note: You might have to click Show More Options to see Nvidia Control Panel in the menu.
- In Nvidia Control Panel, click Adjust desktop color settings under Display in the left pane.
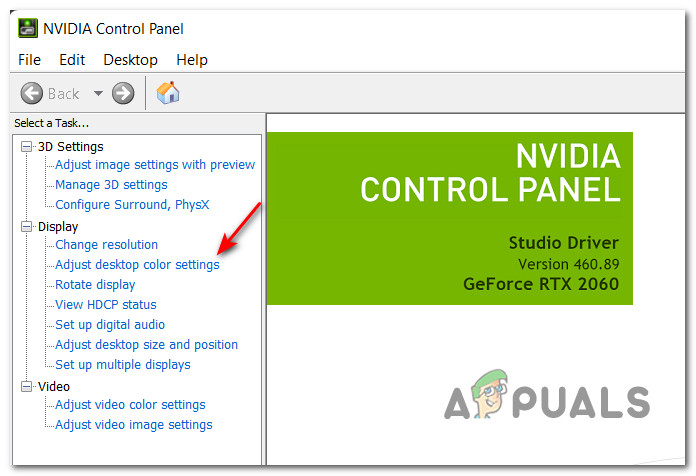
Accessing the Desktop Color settings Note: If this is your first time opening Nvidia Control Panel, you’ll need to accept the License Agreement by clicking Agree and Continue.
- If you have multiple displays, select the one you want to adjust on the right side.
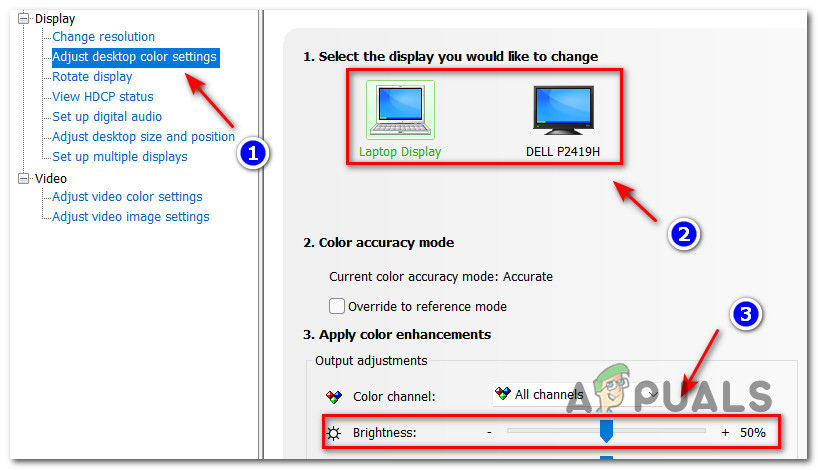
Adjusting the Brightness level via Nvidia Control Panel - Scroll down to Output adjustments and use the Brightness slider to change your screen brightness to your liking.


