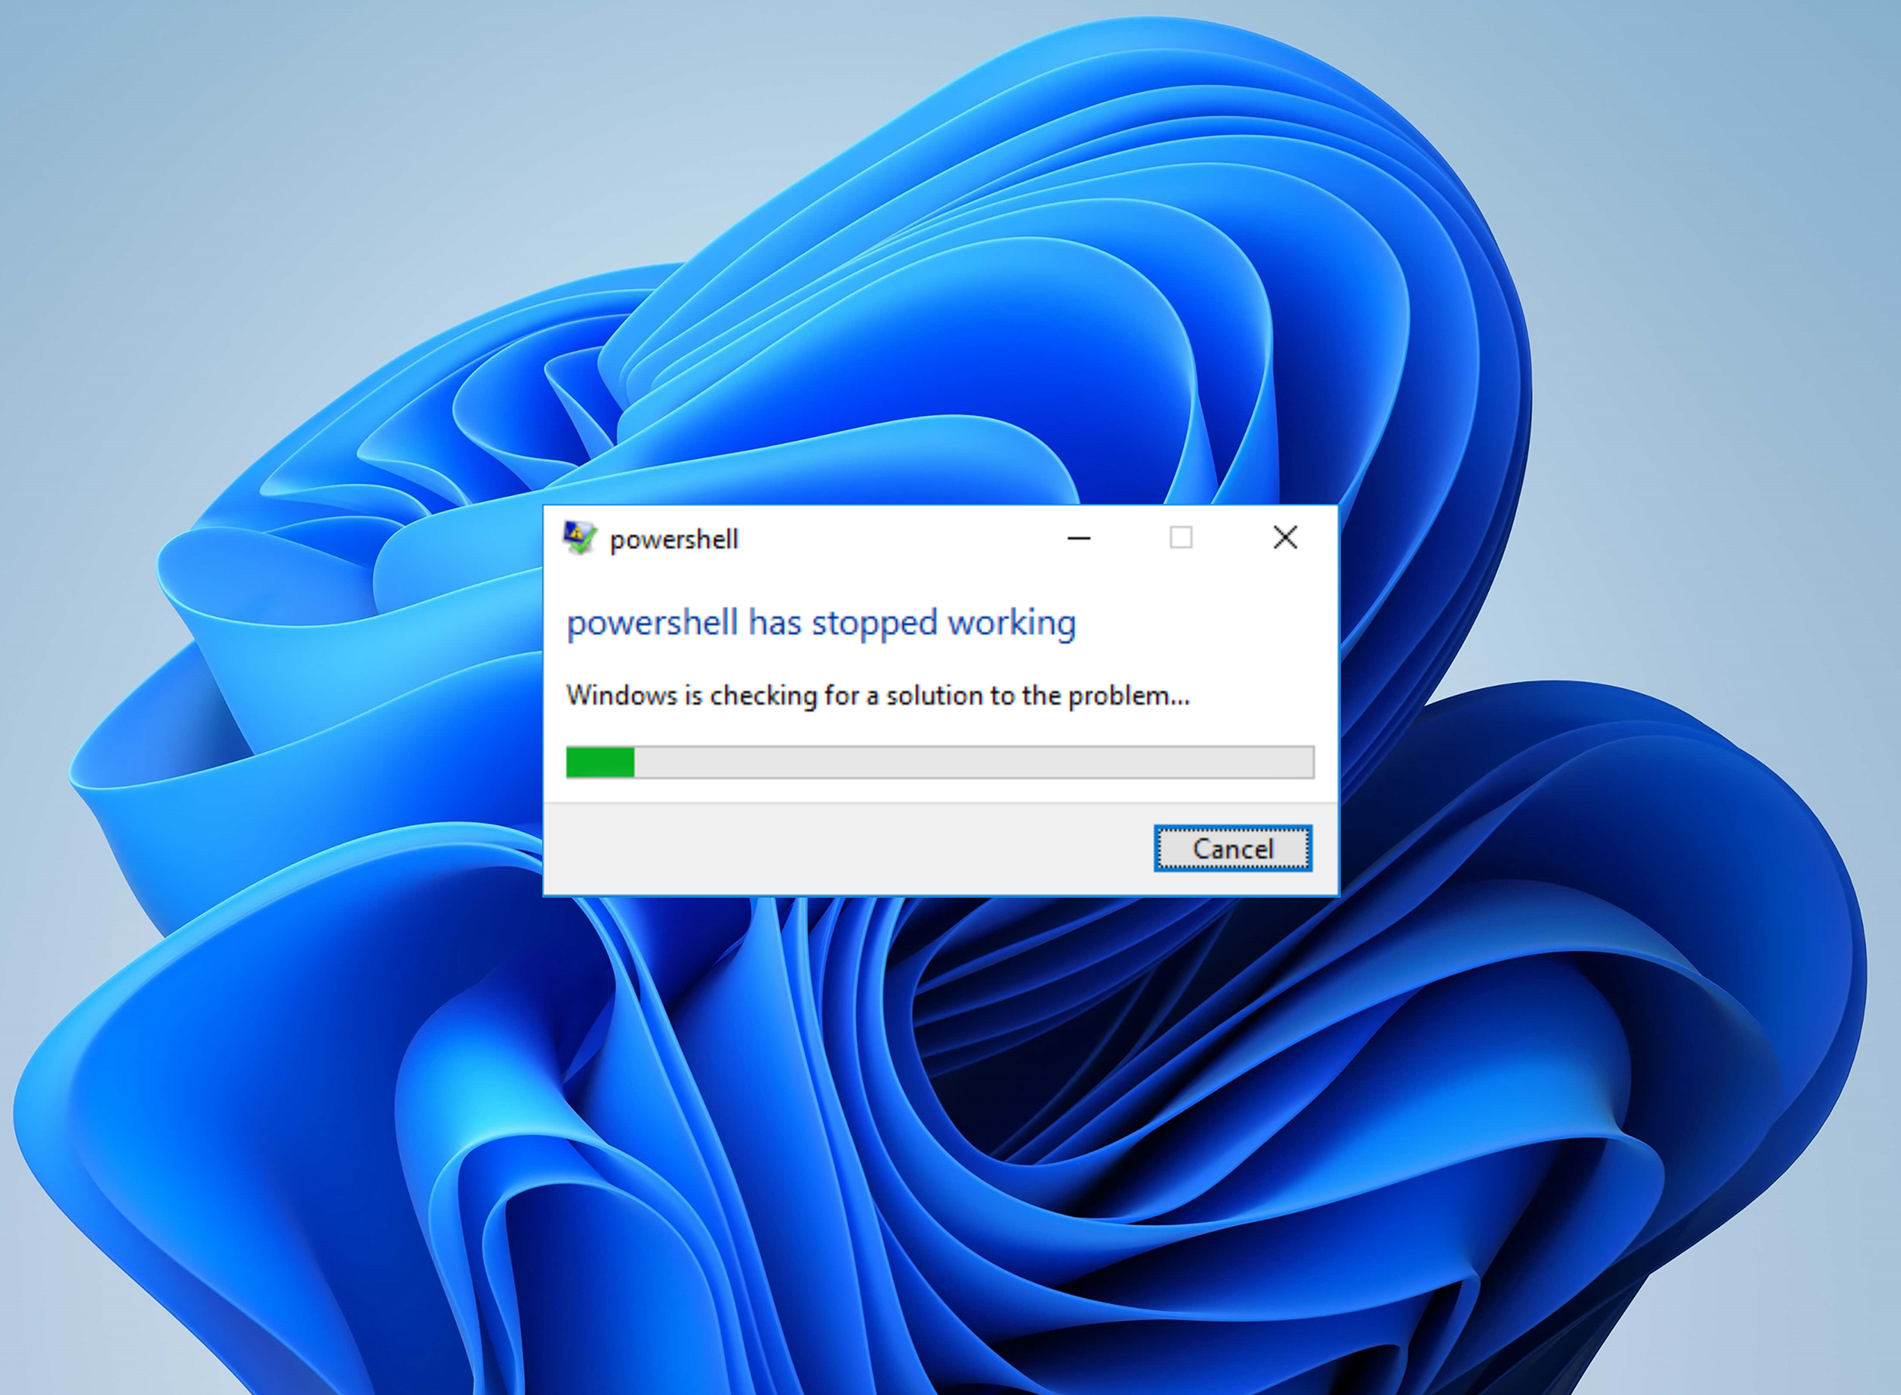
How to Fix PowerShell Has Stopped Working in Windows?
When the PowerShell has stopped working error appears, it usually forces PowerShell to close and sometimes even prevents scripts from executing properly. This error message generally indicates a crash within PowerShell due to various underlying issues. The most common cause of this error is a problem in the system or script execution that PowerShell cannot handle, leading to its sudden termination.
Additional causes include conflicts from running multiple scripts simultaneously, memory limitations, or corrupted PowerShell components.
In many cases, this error occurs simultaneously with high CPU usage or insufficient system resources that fail to support the load required by PowerShell operations. It’s also important to note that this error can be caused by external factors like malware or system corruption.
1. Run System File Checker (SFC) and DISM:
Note: We are aware that you can’t run these commands on PowerShell, but we can run these commands on Command Prompt. However, if your Command Prompt ceases to work, it may be a serious issue caused by malware or a virus.
Both SFC and DISM are official utilities provided by Microsoft, used to repair broken Windows components. They also repair corrupted DLL files, which is one of the common issues that prevent applications from opening and working as intended.
You can learn more about both utilities in our separate detailed guides: DISM & SFC SCAN.
Both utilities can be run directly by just executing certain command lines in Command Prompt.
- Open Command Prompt as an administrator.
- Run the following commands one by one:
sfc /scannow
DISM /Online /Cleanup-Image /ScanHealth
DISM /Online /Cleanup-Image /RestoreHealth
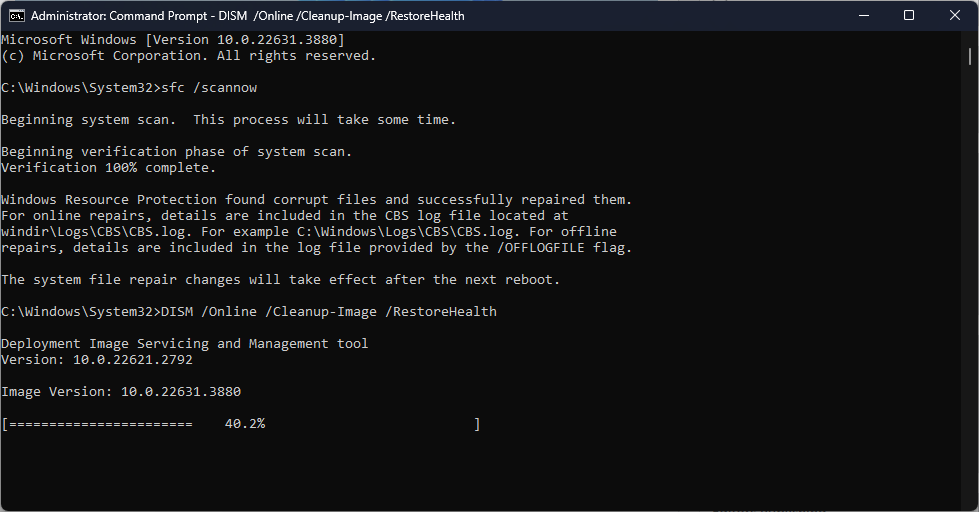
- Restart your computer and check to see if PowerShell works correctly now.
2. Disable and Re-enable PowerShell:
When facing issues with PowerShell not functioning correctly, one possible explanation could be that the feature has been accidentally disabled or turned off within the Windows operating system. Re-enabling PowerShell through the Windows Features settings can restore its functionality, effectively resolving errors caused by its absence.
Essentially, this step ensures that the PowerShell component is active and available for use, which is crucial for running scripts and various administrative tasks on your computer.
- Press the Windows + S keys together to open the search pane.
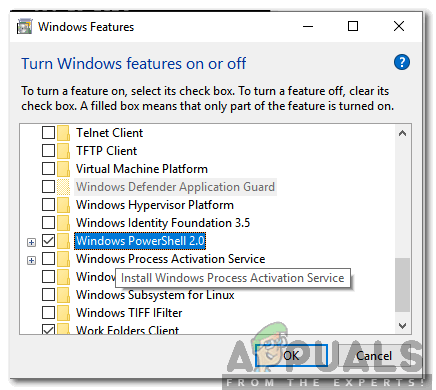
- Type Windows Features and then click on the Turn Windows Features ON or OFF option.

Clicking on “Turn Windows Features ON or OFF” - Wait for the list to populate, scroll down, and search for the PowerShell or Windows PowerShell entry.
Selecting the “Windows PowerShell 2.0” option - Upon locating it, double-click to expand and tick both checkboxes.
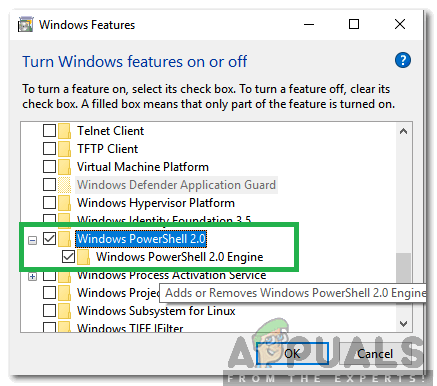
Checking both boxes - Finally, click OK and verify if the issue has been resolved.
3. Perform a Clean Boot:
Malicious programs and viruses tend to block PowerShell from running so it can’t be used to run remedy commands. In that case, we can use the help of the ‘clean boot’ option in Windows. This option basically only allows officially Microsoft-signed services and drivers to run on startup.
This way no third-party program (including the malicious ones) can be executed, and this may resolve the PowerShell issue in question.
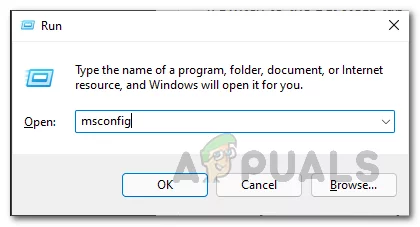
- Press Windows + R, type msconfig, and hit Enter.
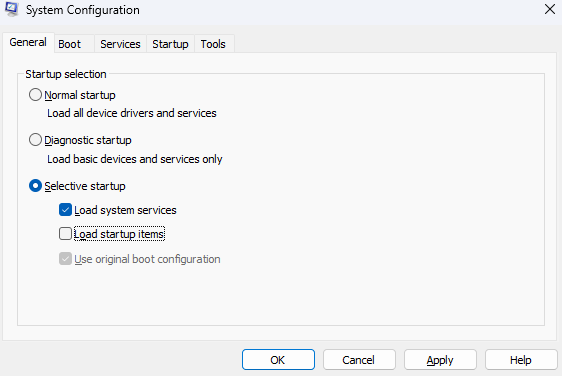
- Select Selective startup and uncheck Load startup items.
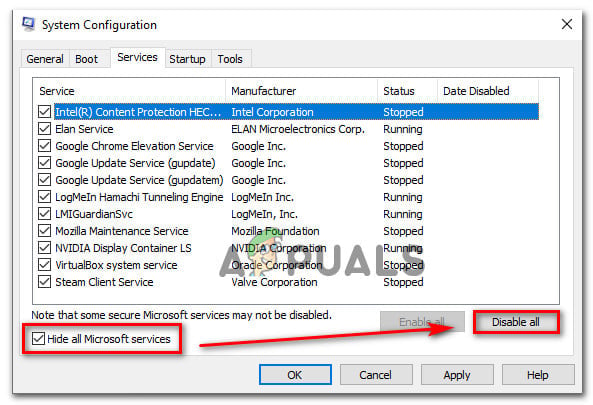
- Move to the Services tab, Check Hide all Microsoft services, and then click Disable all.
- Restart your computer and check to see if the issue still occurs.
4. Use the ESET Poweliks Cleaner
The ESET Poweliks Cleaner is specifically mentioned as a solution because the Poweliks trojan is a known cause of this error. The Poweliks virus is a type of malware that can severely affect system stability and performance, including causing applications like PowerShell to stop working.
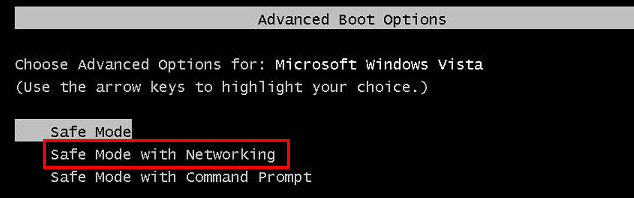
- Restart the computer and repeatedly tap the F8 key to access the Advanced Boot Menu. Press F8 before the Windows logo shows up, and at the POST screen, continue tapping until the Advanced Boot Menu is displayed. If it doesn’t appear, you should repeat the procedure.
- In the Advanced Boot Menu, choose Safe Mode with Networking.
- Log into Windows; it will appear limited and stripped down in functionality, which is necessary to remove the Poweliks virus that is causing the PowerShell errors.
- Before you move to the next step, make sure that you have followed the steps in the guide titled “Your current security settings do not allow this file to be downloaded.” Then, return to this page and continue from step 5.
- After downloading, install and run the program. Then, scan your system and follow the on-screen instructions.
- Once complete, restart your computer and enter Safe Mode again, as outlined in Step 1.
- Next, click here to download Malwarebytes.
- Install and execute Malwarebytes.
- Perform a full system scan, address the detected issues, and then reboot back into Safe Mode. Refer to Step 1.
- Download the ESET Poweliks Cleaner.
- Run the downloaded file, ESETPoweliksCleaner.exe. If the system prompts you, click Run, then click Agree to accept the terms of use.
- If the ESET tool notifies you that Poweliks is detected, press the Y key on your keyboard to remove it. If not, then your system is clear.

Followed your instructions and when I got to step 8 to download AdwCleaner, the link did not work. Still having some problems and laptop is slow. Any suggestions