How to Fix “Your organization has disabled the ability to change some options” on Firefox?
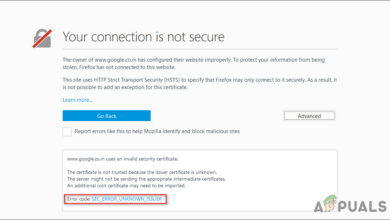
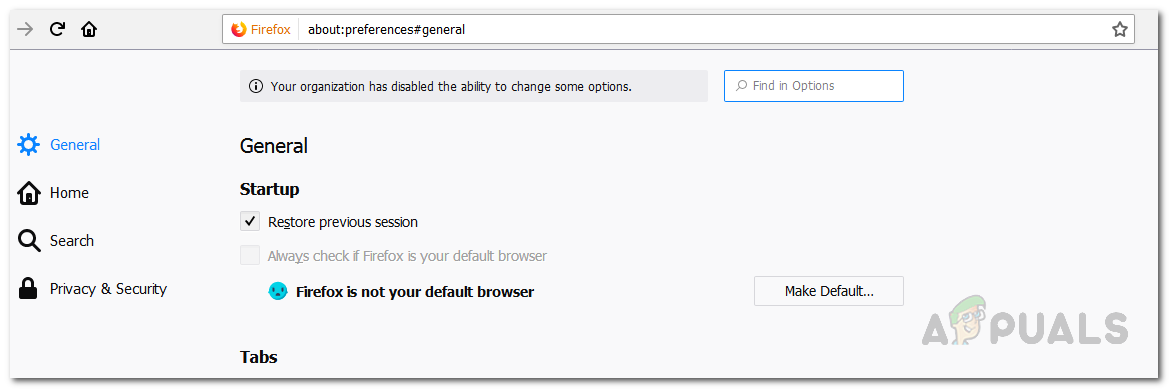
The error message “Your organization has disabled the ability to change some options” can be seen when you open up the options page of Mozilla Firefox which can be also accessed through about:preferences. As the error message suggests, the problem is that it prevents you from changing certain options on Firefox. In some cases, you might not even be able to use the copy and paste functionality in your browser which can be really frustrating. The error message can be really weird if you are a sole user of your computer as well as the administrator which means you should have all the permissions to change every option on the web browser per your needs.
As it turns out, the reason why you are encountering the mentioned message on the settings page of Firefox is due to the interference of a third party. To elaborate this a bit more, what basically happens is if you have a third-party antivirus installed on your system especially Avast or AVG, you will most likely be encountering the problem in question. This is because of the fact that your third-party antivirus applies some policies on your web browser due to which the message is being displayed on the settings page. One of the great features of Firefox is that it comes with policies support which means that you can use policies to enable or disable certain features in Firefox. The policy support is essentially there to prevent users from accessing certain features in the web browser.
In addition to the third-party antivirus software, there are also chances that your installed add-ons could be causing the problem. In such a case, you will have to disable or remove the extensions from your web browser to see if that resolves the issue. With that said, now that you know why the problem is being caused, let us show the different ways of actually resolving the problem in question. So, without further ado, let us get right into it.
Delete Firefox Policy Key from Windows Registry
As we have mentioned, the primary reason that you are encountering the issue in question is due to policies being applied to Firefox by a third-party software on your system. This is more often caused by Avast or AVG antivirus software. In such a case, you can choose to completely uninstall the third-party security program from your computer and we would recommend that as the Windows Defender in Windows 10 is powerful enough to keep your computer safe and protected. With that said, one of the ways you can actually fix this issue is by deleting the policy key that is stored in Windows Registry.
As it turns out, for the policies that are added to Firefox, a key is created for it in the policies directory of the Windows Registry. Once you delete the key from there, the policy will no longer be applied to your Firefox browser and as a result, the problem should vanish as well. Before we proceed, however, making changes to Windows Registry can be critical if you don’t know what you are doing. Therefore, to be on the safe side in case you make a mistake, we would recommend creating a backup of Windows Registry. With that out of the way, follow the instructions given down below to do this:
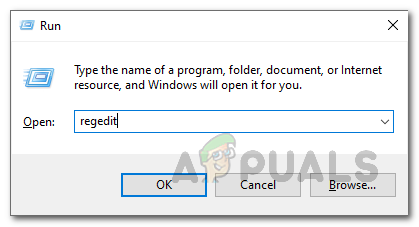
- First of all, open up the Run dialog box by pressing Windows key + R.
- Then, in the Run dialog box, type in regedit and hit the Enter key.
Opening Registry Editor - On the UAC prompt, click the Yes button.
- This will open up the Registry Editor window.
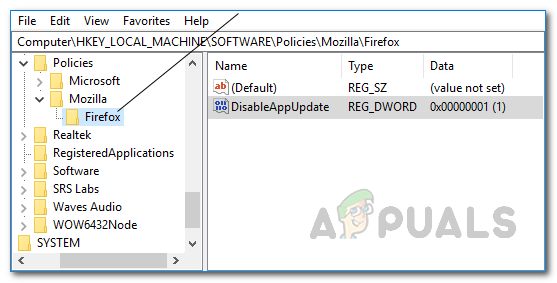
- After that, copy the path given down below and paste it in the Registry Editor’s address bar at the top.
HKEY_LOCAL_MACHINE\SOFTWARE\Policies\Mozilla\Firefox
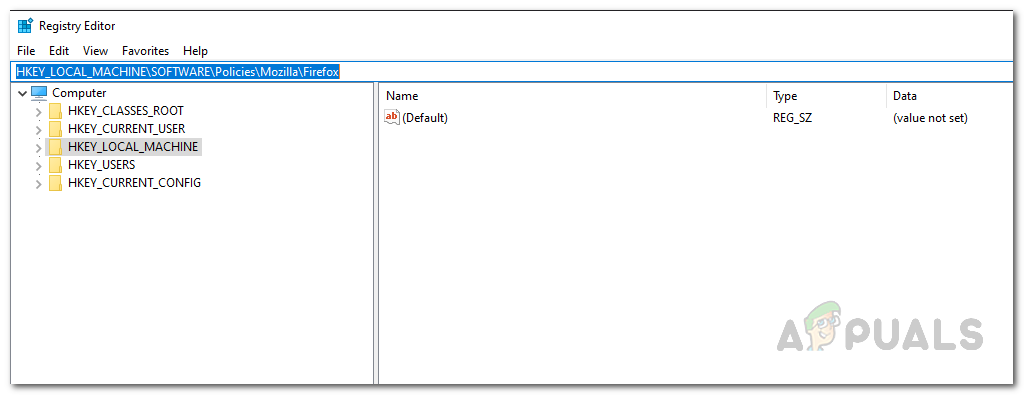
Navigating to Firefox Policies in Windows Registry - Once there, right-click on the Firefox folder and click Delete from the drop-down menu to delete it.
Deleting Firefox Policy Keys - After doing that, you can close the Registry Editor. Go ahead and open up Firefox again to see if the problem is resolved.
Delete Policies.JSON File from Firefox Installation Directory
As it turns out, there are actually two ways that can be used to customize Firefox by applying policies. One of these ways is using the policies.json file that is located in the Firefox installation directory residing inside the distribution folder. By default, if there are no policies applied, you won’t see a distribution folder. Or, if the policies aren’t applied through the policies.json file, then you won’t see it there as well even if certain policies are applied to your Firefox browser. In any case, you will have to delete the file inside the directory to resolve the problem. To do this, follow the instructions given down below:
- First of all, open up the File Explorer window.
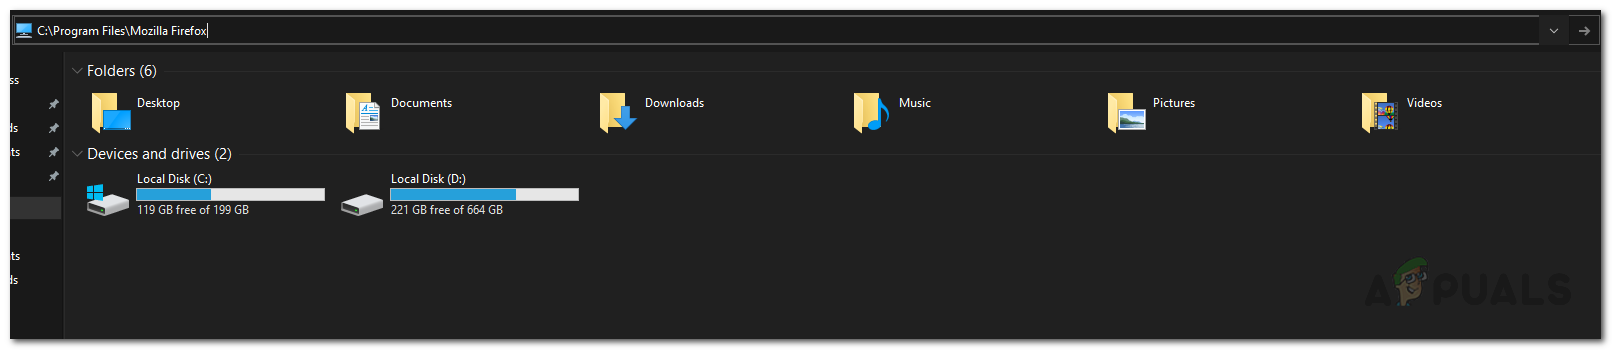
- Then, navigate to the directory where Firefox is installed. By default, you will find at the following path:
C:\Program Files\Mozilla Firefox
- To make it easy, you can just copy the path above and paste it in the address bar and then hit Enter.
Navigating to Firefox Installation Directory - Inside the Mozilla Firefox folder, look for a distribution folder.
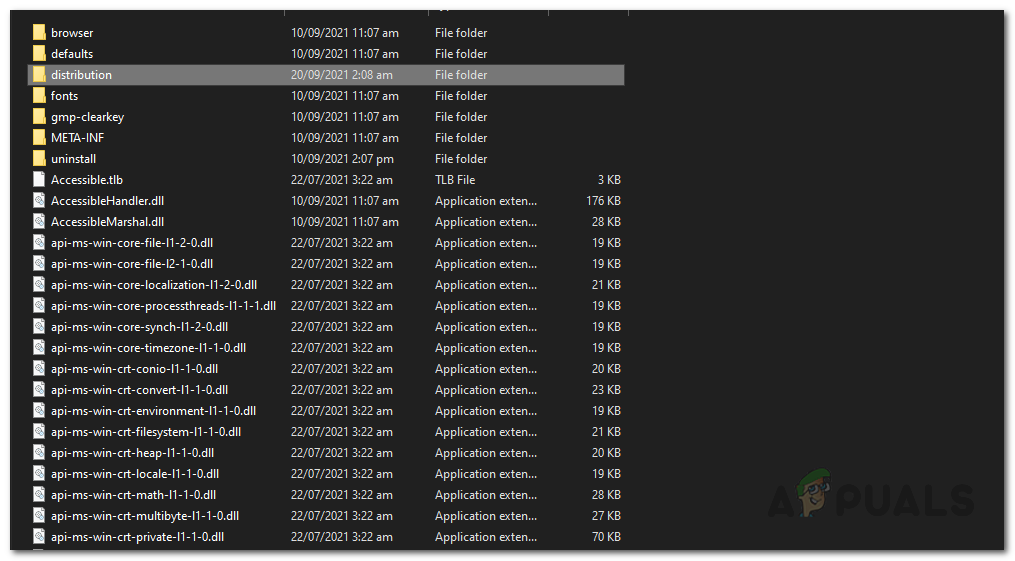
Locating distribution Folder in Firefox Installation Directory - If you find the folder, go ahead and delete it. Alternatively, you can also choose to only delete the policies.json file by opening up the distribution folder.
- Once you have done, open up Firefox again to see if the problem is still there.
Start Firefox in Safe Mode
In some cases, the problem may not be due to a third-party extension that you have installed on your browser. While extensions or add-ons are really useful, sometimes some of them can cause an issue with your browser. In such a case, you can start Firefox in safe mode to see if the problem is still there. In case the problem doesn’t exist in safe mode, that means a third-party add-on is a culprit. If this case is applicable, you will have to remove the add-ons one by one to see which one was actually causing the problem.
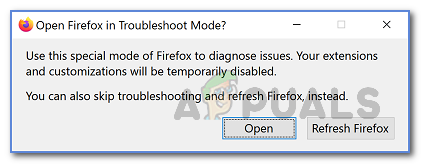
As it turns out, on newer versions of Firefox, the safe mode has been renamed to Troubleshoot mode but the operation and functionality stay the same. To start your browser in safe mode or troubleshoot mode, hold the SHIFT key on your keyboard while starting Firefox. On the dialog box that appears, click the Open button. In some cases, it may be named Start in Safe Mode. Once you have opened it up, see if the problem is there. If not, you can restart your Firefox normally and then start removing extensions one by one to isolate the culprit. Good luck.