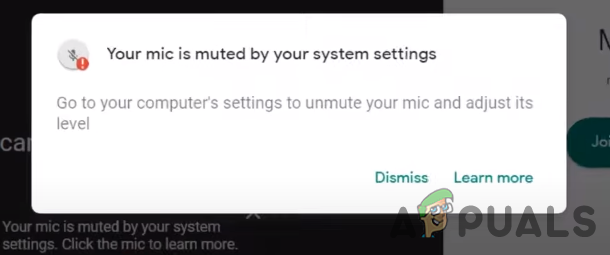
How to Fix “Your Mic is muted by System settings” on Google Meet?
Unmuted microphone, improper sound settings, and outdated drivers are the most common culprit triggering the Error: Your Mic is muted by System settings. The error appears on the screen when you try to unmute your microphone on Google Meet.
There are many reasons for this error to occur; we have listed some down below:-
- Outdated Microphone Drivers- An outdated microphone driver generally cause issues regarding no sound, recording fails, or a mute microphone.
- Unmuted Microphone- There are many settings in Windows that offer to block microphone access to the applications, and occasionally these settings may be disabled by your mistake and block the entry of a microphone to the application.
- Corrupted Microphone Drivers- Sometimes, the issue can be occurred due to a corrupted or missing driver. To fix this, update your Microphone drivers.
- Broken Microphone- Make sure your microphone is in a working condition. If your microphone gets broken from the inside, you have to change or repair it.
- Improper Sound Settings- Improper sound settings can prevent sound from coming. To fix this you have to reset microphone settings by following the below steps.
Before applying troubleshooting methods, ensure that your microphone cable is connected to the computer properly. You can check the microphone status by going to the control panel.
1. Check Microphone Properties
As far as we know that microphones occasionally get muted from the properties. So make sure that your microphone is enabled from the properties. If your external or internal mic keeps muting, it will prevent the sound from coming and lead you to the Error: Your Mic is muted by System settings.
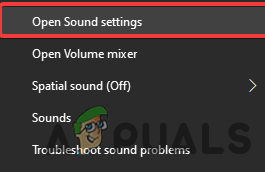
- To check microphone status, right-click on the Speaker Icon and click on Open Sound Settings
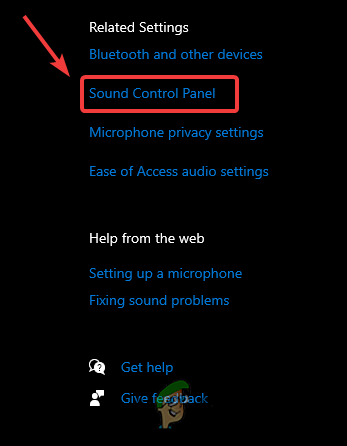
Sound Settings - Click the Sound Control Panel under Related Settings
Open Sound Control Panel - Once the sound panel loads up, go to the Recordings tab and select Microphone then click Properties
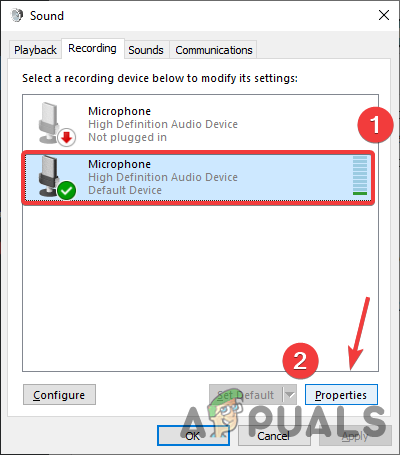
Open Microphone Properties - Click Levels from the top bar, if the microphone is muted then unmute it by clicking on the red circle icon.
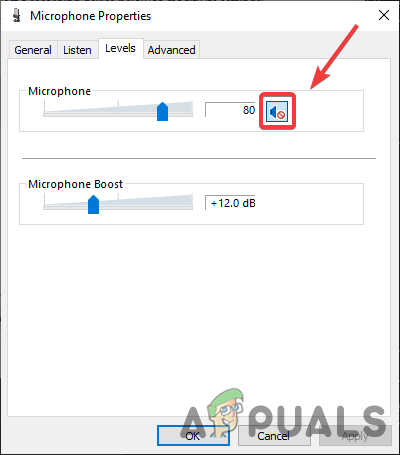
Unmute Microphone
2. Update Microphone Drivers
Outdated, missing, and corrupted drivers can cause Error: Your Mic is muted by System settings. You can quickly fix this issue by updating the microphone driver.
- To update your microphone driver, right-click Start Menu and select Device Manager from the list of options
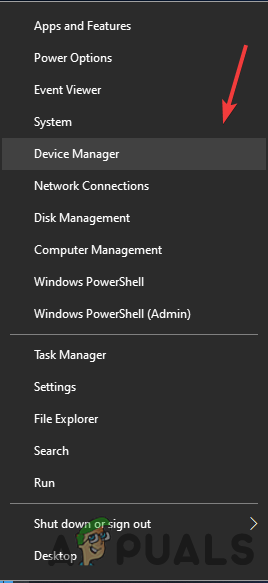
Open Device Manager - Once the device manager is opened, expand the Audio Inputs and Outputs menu
- Right-click Microphone out of all devices and click Update Driver
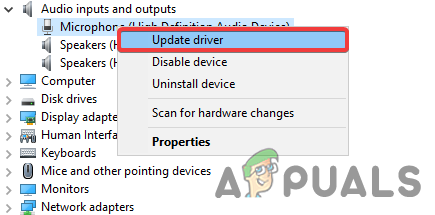
Update Microphone Driver - Click Search Automatically For Drivers
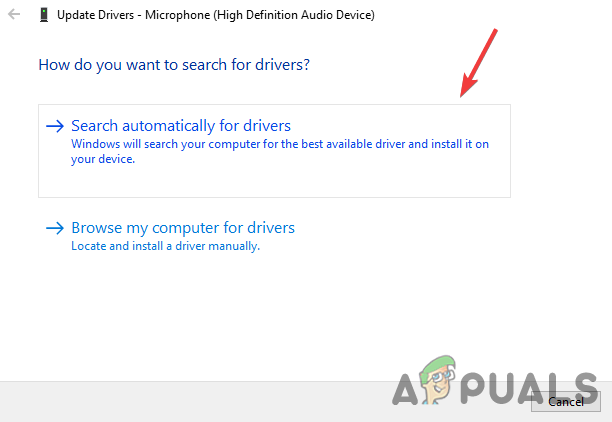
Search Automatically For Driver Note: If your Windows can’t find the driver then install the latest driver from the manufacturer’s website.
- Once it is finished, update your microphone driver and check if the error persists.
3. Reset Microphone Settings
Windows stores the permissions that you have given to the applications. Your microphone permission or the sound might be disabled from the settings, and it might be the culprit for this issue. You can fix this issue by resetting the microphone settings from the Windows Settings.
Below are instructions that will help to reset the microphone:-
- Open Settings by pressing the Windows + I keys simultaneously on the keyboard
- Go to the Systems Settings, and click Sound from the left sidebar
- Scroll down to the bottom, and click App Volume and Device preference under Advanced Sound Options
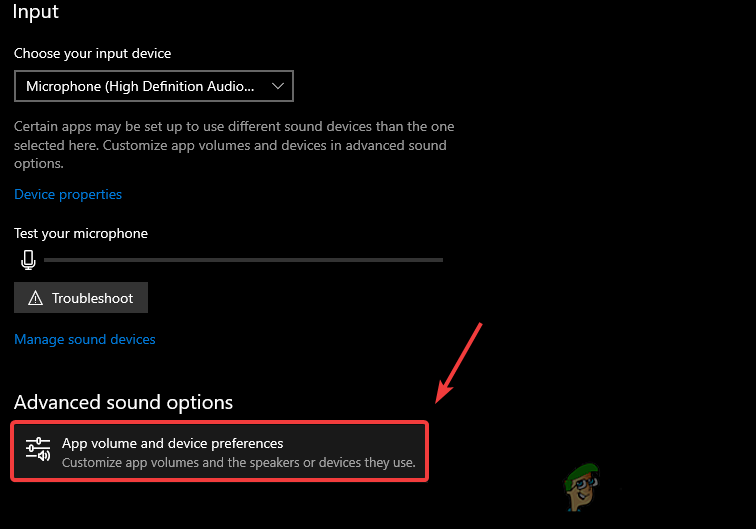
Advanced Sound Settings to Reset Microphone Settings - Click on the Reset button from the bottom and check if the error persists.
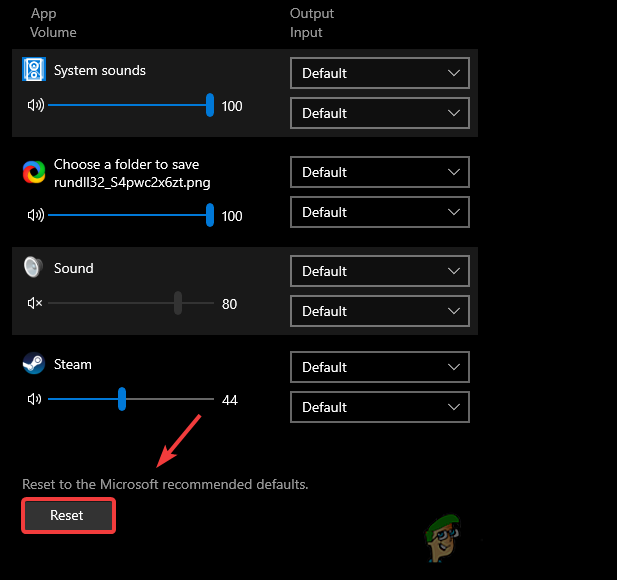
Resetting Microphone Settings
4. Allow Microphone on Chrome
A setting on chrome allows users to use their microphones on the websites. If the microphone permission is disabled from the chrome, you can no longer use it until you enable the microphone from the chrome settings.
- To allow the microphone access, open chrome and click on the three dots from the top right
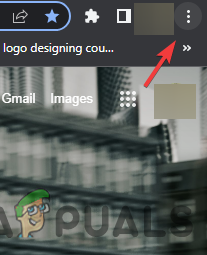
Click three dots - Select Settings from the listed options
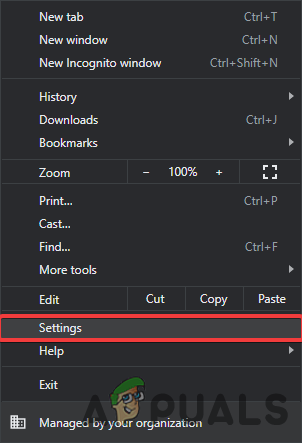
Open Chrome Settings - Click Privacy and Security from the left sidebar
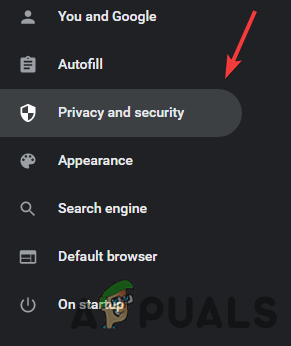
Open Privacy and Security Settings - Click Site Settings under Privacy and Security

Navigating to Site Settings - Now scroll down to the Permissions and click Microphone
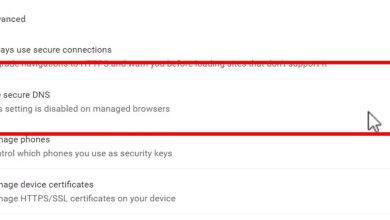
- Make sure the option called Sites Can Ask to Use Your Microphone is enabled.
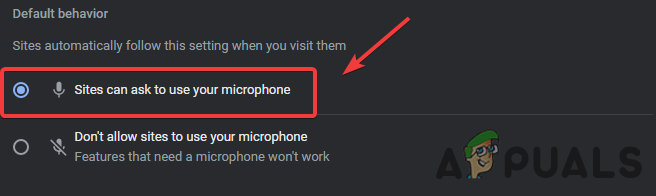
Allow Microphone on Chrome
5. Enable Microphone from Privacy Settings
In some situations, the microphone can be disabled from the Privacy Settings. If your Windows is not detecting the microphone, you may need to permit the apps to use a microphone.
Follow the steps to enable Microphone from privacy settings:-
- Click the Start Menu and type Settings in the search bar
- Open Settings, and navigate to Privacy
- Click Microphone under App Permissions
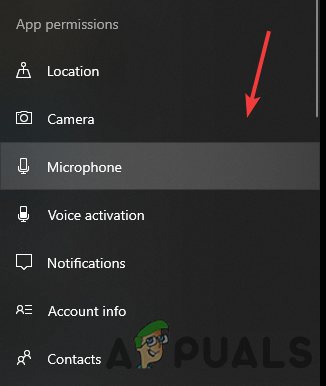
Click Microphone - Now Turn on the button named Allow Apps to Access Your Microphone
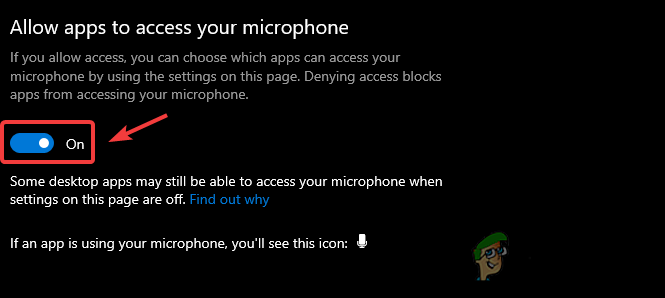
Allow Apps to Access Your Microphone - Once done check if the Error: Your Mic is muted by System settings is resolved.
6. Run Microphone Troubleshooter
If all the above solutions did not work, you could use the Windows troubleshooting utility, which allows users to identify and fix the problems like not detecting the microphone and missing driver.
Below are the instructions to run the microphone troubleshooter:-
- Open Settings by pressing the Windows + I keys at the same time.
- Navigate to Update & Security and click Troubleshoot from the left pane
- Click Additional Troubleshooters and select Recording Audio
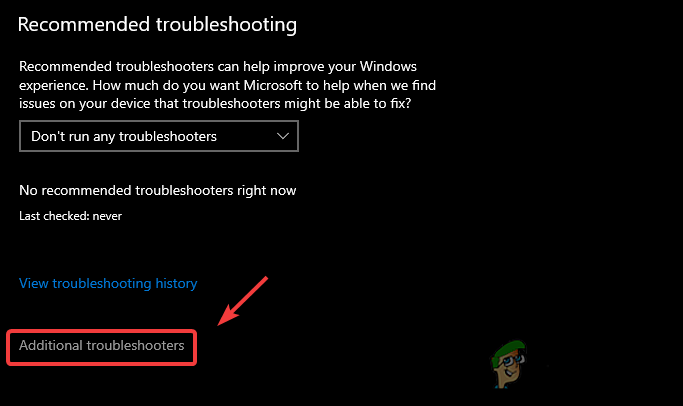
Opening Additional Troubleshoot Settings - Click Run the Troubleshooter
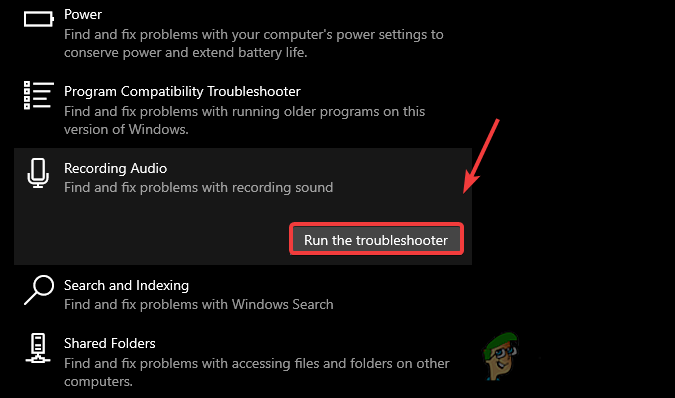
Run the Troubleshooter - Select Current Microphone device and click Next
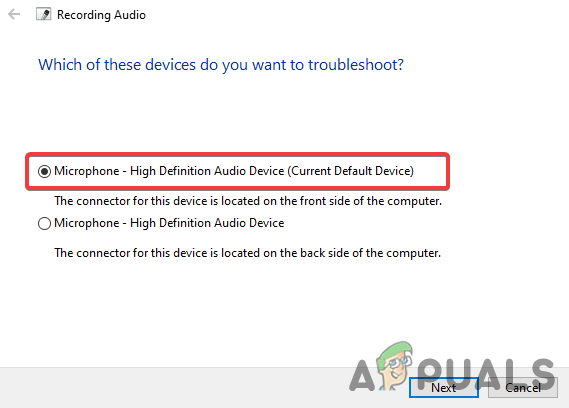
Select Microphone to Start the Process - It will start to identify the problem once it is finished click Apply fix to fix the error.
If you are still experiencing the error, you may need more solutions on the Microphone not working and hopefully, this will help.