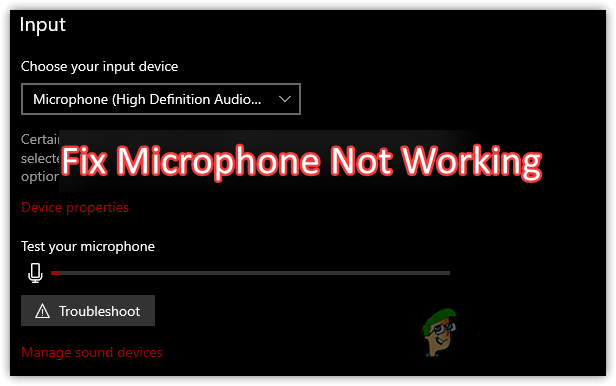
How to Fix Microphone Not Working in Windows 11/10?
We often face trouble after plugging the microphone into the computer or a laptop as it does not work. This issue often occurs when the apps or computer does not have access to use your microphone. You can also face this issue if you have multiple microphone devices connected to your computer and none of them is set as a default communication.
1. Allow Apps To Use Your Microphone
This issue often occurs when the microphone is disabled for the apps that require access. However, when this option is disabled, you cannot use your microphone or even see the green lines in the sound control panel that indicates that your microphone is working. Therefore, to fix this, you need to allow the apps to access the microphone from the privacy settings. You can follow the steps below to do that:
- Right-click the Start Menu from the bottom left
- Click Settings from the list of options

Opening Windows Settings - Once the Settings is opened, go to Privacy
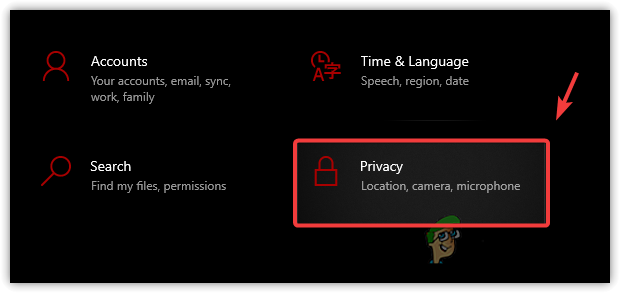
Navigating To Privacy Settings - In the left pane, scroll down to the App Permissions
- Select Microphone and then click on Change under Allow Access To The Microphone On This Device
- If this option is already enabled, then turn on Allow Apps To Access Your Microphone
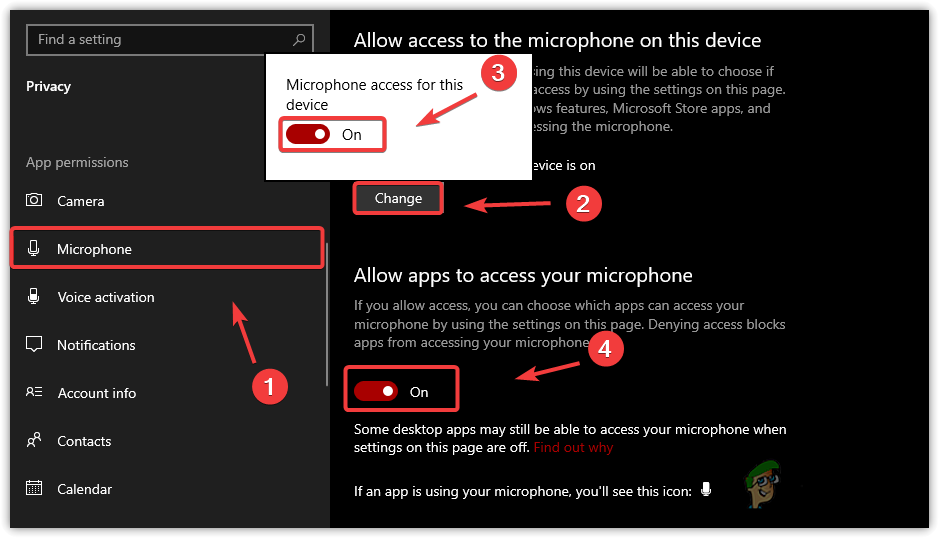
Enabling Microphone From Privacy Settings - Once done, scroll down to the listed apps and make sure the application you use has microphone access. If it does not have microphone access, give it by toggling on the button next to the application.
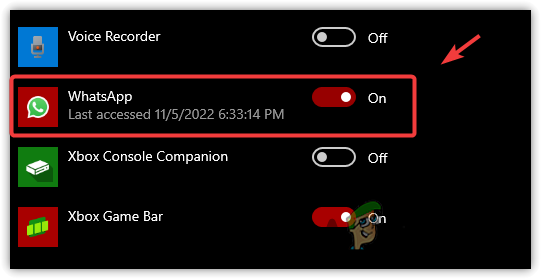
Giving Microphone Access To The Specific Application
2. Troubleshoot Your Microphone
If there is a problem with your microphone settings, like if your microphone is disabled from the sound control panel or some other misconfigured settings applied to your microphone, then running the microphone troubleshooter will help fix your microphone not working issue. Below are the steps you can follow to fix your microphone:
- Click Start Menu and type Settings
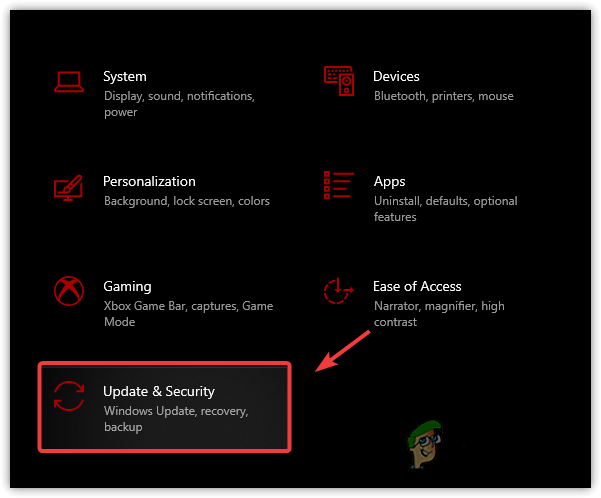
Launching Windows Settings - Open the settings and head to the Update & Security
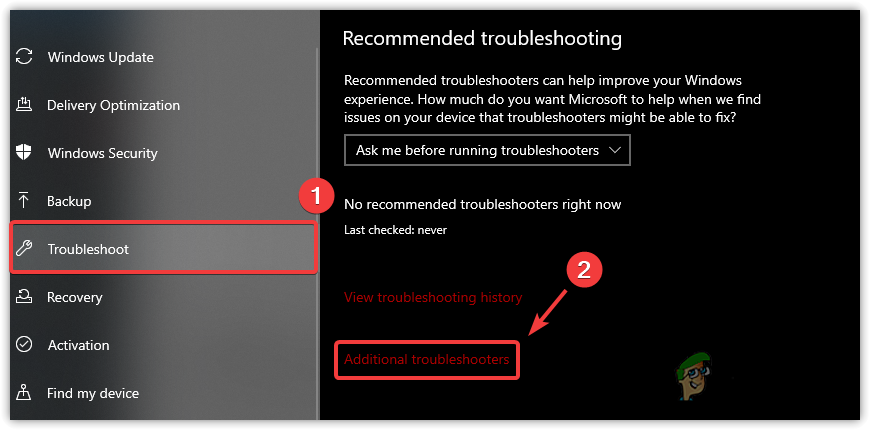
Heading To The Windows Update Security Settings - Click Troubleshoot from the left sidebar
- Then, click Additional Troubleshooters
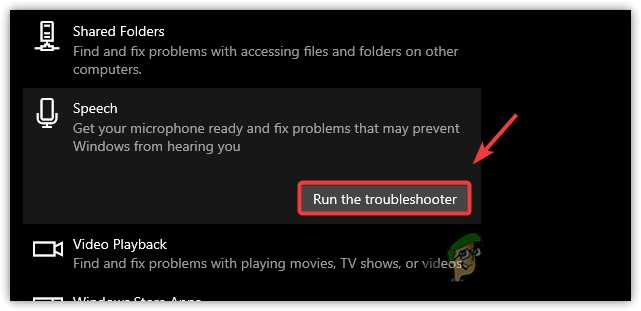
Heading To The Additional Troubleshooters - Scroll down to the bottom and then select Speach troubleshooter
- Click Run The Troubleshooter
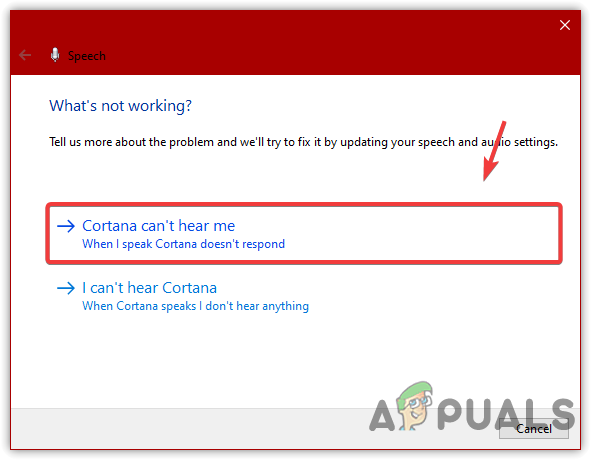
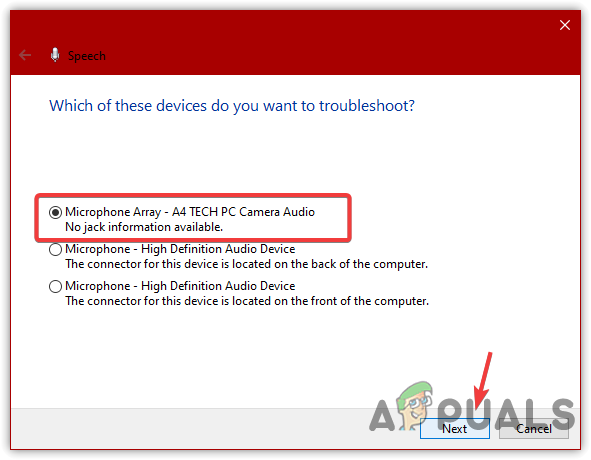
Running Speach Troubleshooter - Once the troubleshooter starts, it will ask for a problem, and you need to click on Cortana Can’t Hear Me
Selecting Cortana Can’t Hear Me - Then you need to select the Microphone causing the issue and then click Next
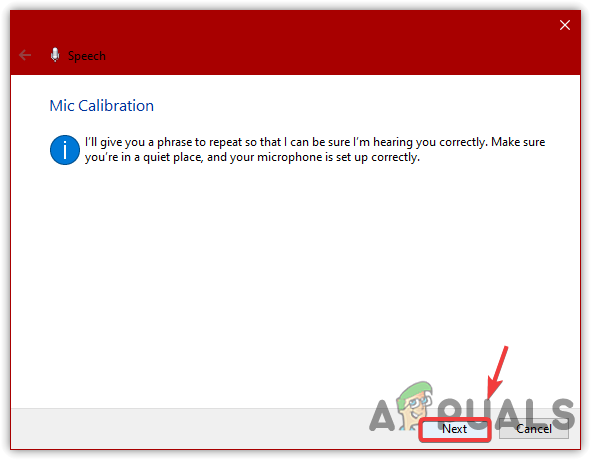
Selecting Causing Microphone - After that, click on Set up The Mic
- If it detects the problem, it will automatically fix them
- Click Next to check the Microphone
Clicking Next to Check Your Microphone - Once done, check your microphone start working again. if it’s not, proceed with the following methods.
3. Make Sure Your Microphone Is Enabled And Set As A Default
You could also encounter this issue if your microphone is disabled from the sound settings. In this case, you need to enable it. However, if you have a laptop and are using another external microphone for some reason, then your microphone might not be working due to connected multiple input devices. In this case, you can set a device that you want to use as a default communication which will be used whenever you speak into your microphone. To do so:
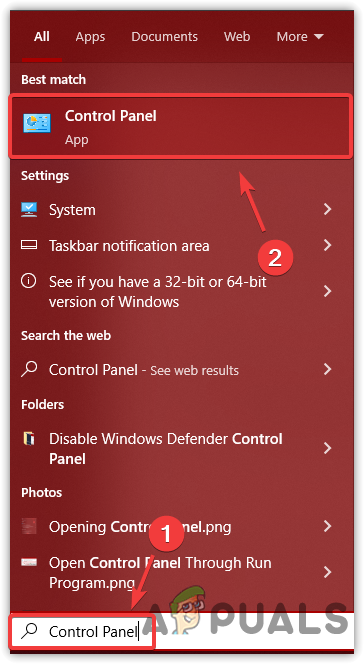
- Open Control Panel by searching from Start Menu
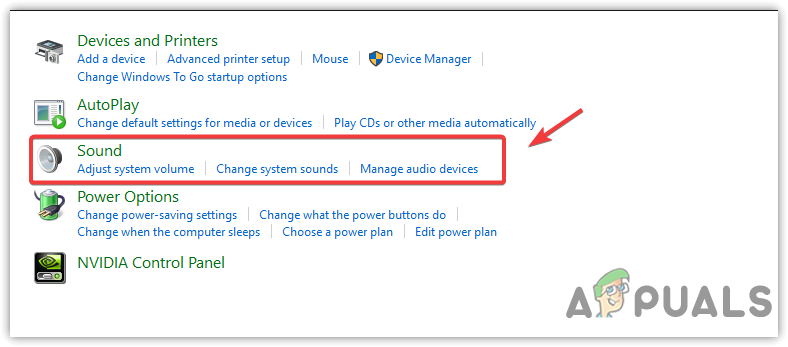
Opening Control Panel From Start Menu By Searching - Once the control panel is opened, go to Hardware And Sounds, then Sounds
Opening Sound Control Panel Settings - Go to Recordings from the top, right-click on the Microphone and then click Set As Default Communication Device
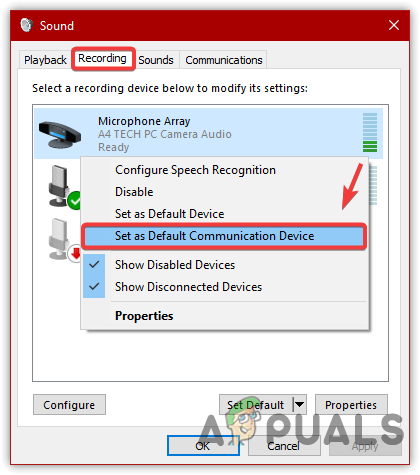
Setting A Microphone As A Default Communication Device - Click Apply and check if the microphone is working. If it is, you will see the green lines on the microphone, which indicates that your microphone is working
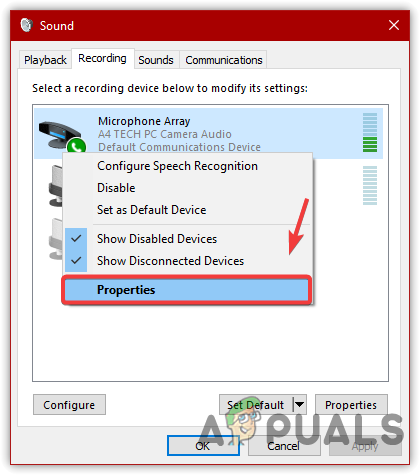
- If the green lines are not blinking, then right-click on the microphone and go to Properties
Opening Microphone Properties - Then, go to Levels and then make sure the microphone slider is set to 100
- Once done, click OK and check if the microphone is working.
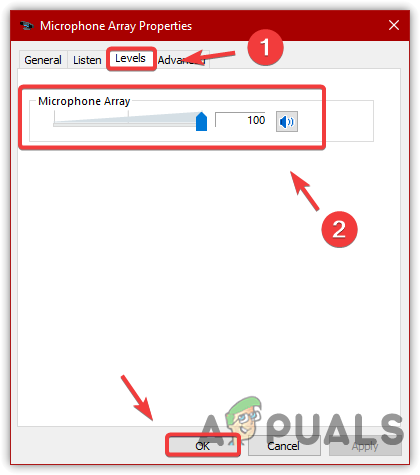
Increasing Microphone Sensitivity
4. Disable Exclusive Mode
Another case that can lead you to this issue is having exclusive mode enabled on the microphone. Exclusive mode allows the apps to take exclusive control of the microphone, which means all other applications cannot use your microphone if one application is currently using it. If you choose to disable this option, then all of the application that requires microphone access can use your microphone device at the same time, which might fix this issue.
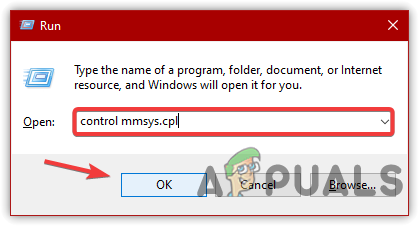
- To disable exclusive mode, press the Windows + R keys to launch the Run Program
- Type control mmsys.cpl to open the sound control panel
Navigating To Sound Control Panel - Navigate to the Recordings from the top and right-click the Microphone device
- Then, click Properties and go to Advanced to view the further settings
Navigating To Microphone Properties - Under the Exclusive Mode, check the Allow Applications To Take Exclusive Control Of This Device
- Once done, click Apply and then OK for the changes to take effect

Disabling Exclusive Mode To The Microphone - Once done, check if your microphone is not working issue is resolved.
5. Update or Use a Generic Microphone Driver
There is a possibility that your current driver for the microphone device is corrupted, which happens very rarely. Windows always have a generic driver for the input devices. In my case, I can use a generic driver instead of my microphone driver. So if my microphone driver gets corrupted in the future, I can use a generic driver.
Updating the driver will do the same because if your driver is not working properly due to some reasons, then updating the driver will work as a reinstalling. Therefore, try both solutions as one of them might work for you.
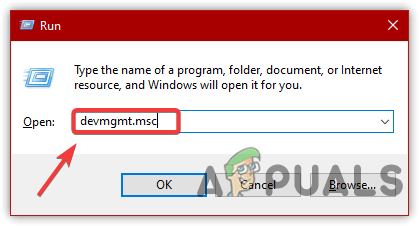
- Open the Run Window by pressing Win + R at the same time
- When its done, type devmgmt.msc in the search box and click OK to open Device Manager
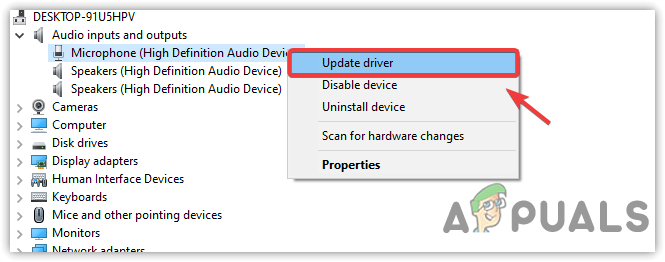
Opening Device Manager From The Run Command - Once done, now expand the Audio Inputs And Outputs
- Right-click on your microphone driver
- Then, click Update Driver
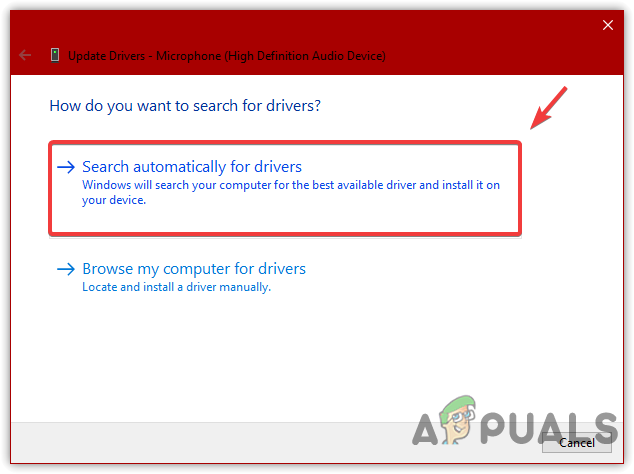
Updating Microphone Driver - Select Search Automatically For Drivers. If the latest driver is found, install it
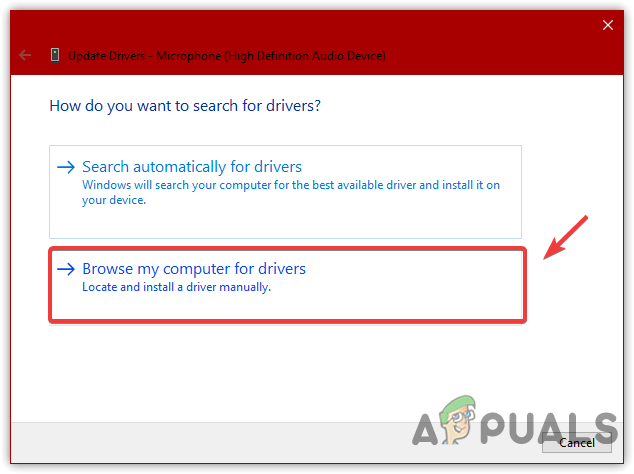
Searching Automatically For Drivers - After that, check if the issue is fixed. If it’s not fixed, then right-click the microphone driver from the device manager
- Click on Update Driver. This time, select Browse My Computer For Drivers
Selecting Browse My Computer For Drivers - Choose Let Me Pick From A List Of Available Drivers On My Computer
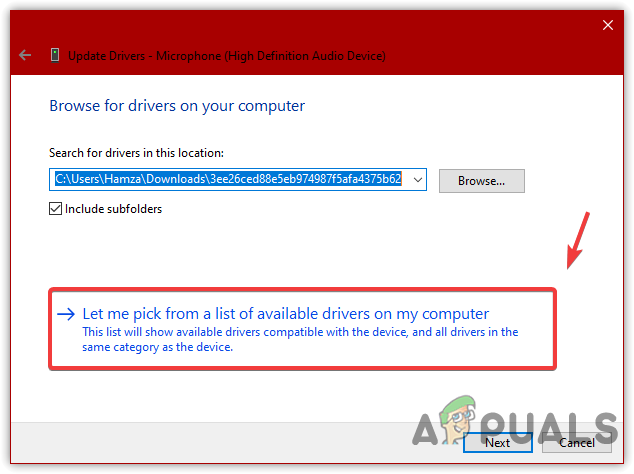
Selecting Driver From The List Of Available Drivers - After that, select Generic Software Device and click Next
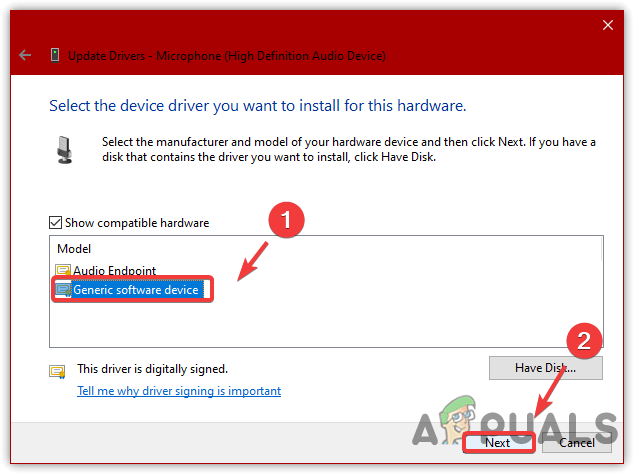
Installing Generic Audio Driver - Wait for the installation to complete, then check if it fixes the microphone issue is fixed.
6. Try Re-Connecting Your Bluetooth Headset
If you have a Bluetooth headset connected to your computer but are not able to receive audio from the microphone, then you can try re-connecting your Bluetooth headset in order to fix connecting issues. Here are the steps:
- Click the Start Menu and then click on the Settings icon
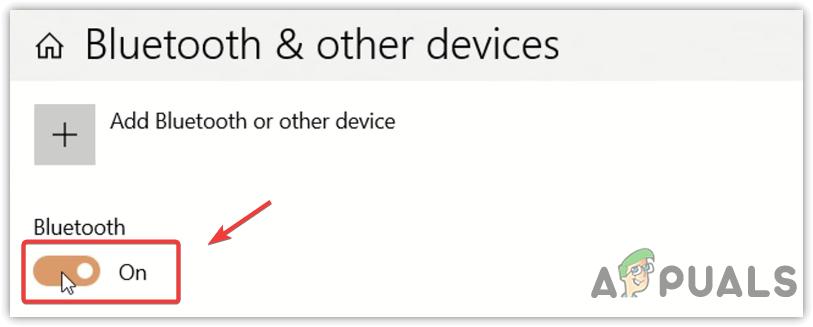
- Once the settings is opened, navigate to Devices > Bluetooth And Other Devices
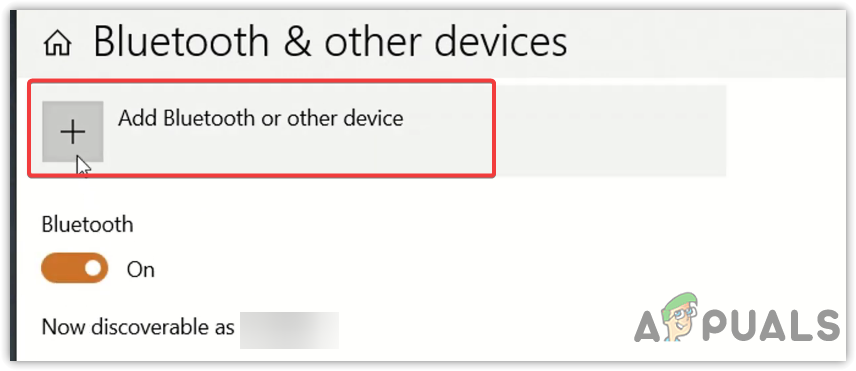
- Turn on the Bluetooth
Turning The Bluetooth On - Select the headset Bluetooth device under Audio and then click Remove Device
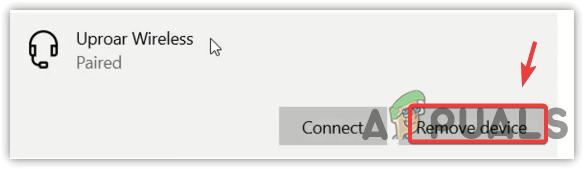
Removing Bluetooth Headset Device - Then, click on Add Bluetooth or Other Device
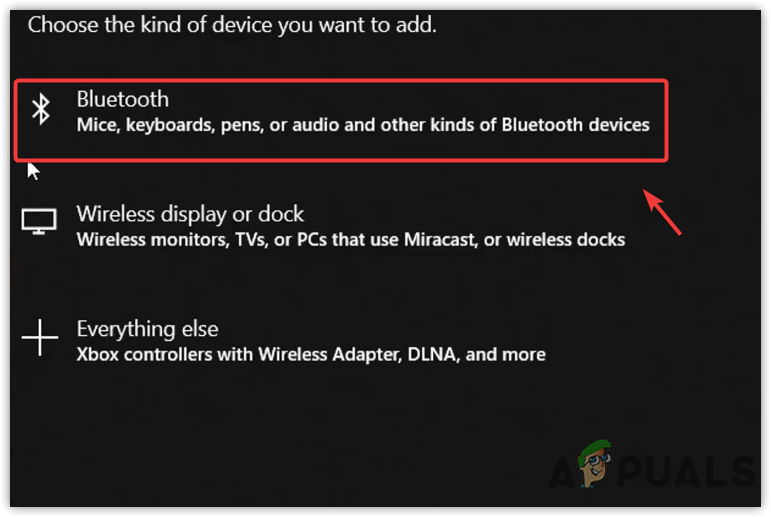
Adding A Bluetooth Device - Select Bluetooth and then wait for the Bluetooth devices around you to be loaded
Adding A Bluetooth Device - Once all the devices are loaded, select your headset Bluetooth device and wait for it to be connected
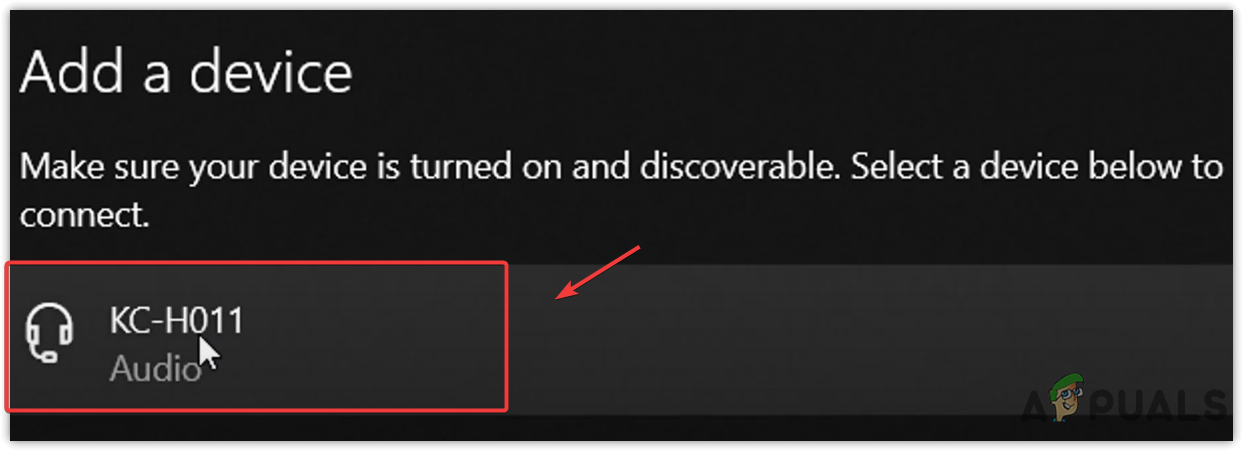
Connecting Bluetooth Headset - Once it is connected, check if your issue is fixed.
7. Reinstall Your Microphone Driver
If the above method fails to fix your issue, we recommend reinstalling your microphone driver using the DDU application. But before that, ensure you do not have multiple drivers for a microphone because this might confuse Windows in choosing which driver should use for the microphone. You can see the audio drivers from the device manager. If that’s the case, you can use DDU to uninstall all the microphone drivers, but if you do not have multiple drivers, still reinstall your microphone driver with the DDU application.
DDU or Display Driver Uninstaller is an application that allows its users to uninstall audio and GPU drivers along with the registry files. Follow the steps written below to reinstall audio drivers:
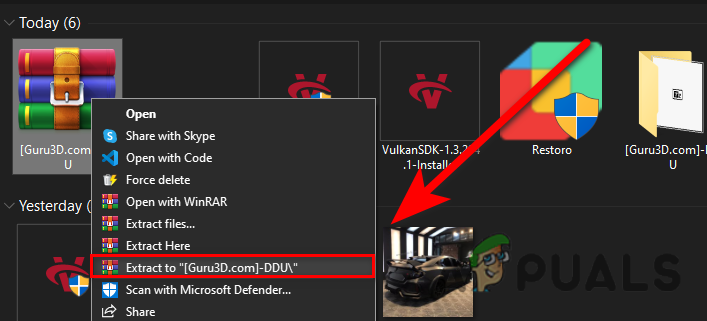
- Download Display Driver Uninstaller through your browser
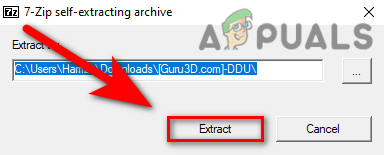
- After that, open the Downloads directory and right-click the DDU zip folder and click Extract to DDU
Extracting DDU Zip Folder To A Current Directory - Once it is finished, navigate to the folder and double-click the DDU application
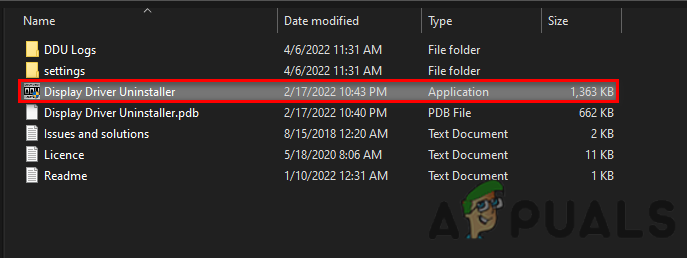
- Click Extract and then navigate to the extracted DD folder
Extracting DDU Application To A New Folder - Run the Display Driver Uninstaller application
Running DDU Application - Select Audio from the Device Type menu on the right pane
- After that, select the Device under Audio and then click Clean And Do Not Restart
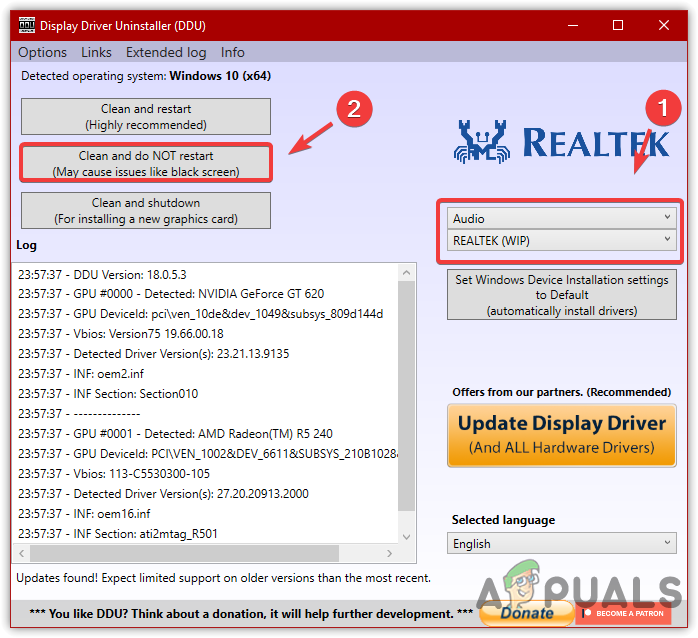
Uninstalling Audio Driver - After uninstalling, go to your microphone manufacturer’s or Realtek website to install the driver
8. Uninstall Microphone Booster Applications
If the issue persists after trying all the above solutions, it could be due to using third-party applications to enhance the microphone. If you have installed this type of application that is used to enhance the microphone, then uninstalling it could be a better option. However, if you do not want it to uninstall, then make sure that the application is not preventing the microphone from working.
9. Make Sure The Headphone Is Compatible
There is a possibility that your headset is not compatible with your computer or laptop. If we take an example, there are two possible scenarios that can lead you to incompatible hardware issues.
If you have a computer or laptop with one 3.5mm headset port which is very rare, and you have a headset with 2 jacks. The other case is if you have 2 female jacks but your headset has only one male jack. In both cases, you might need to buy either a headphone splitter jack cable or a new compatible headset.
If anyone is still having this issue, I just went through it all and nothing worked – I tried updating all the drivers, restarting, tried all the troubleshooters, tried different USB ports (this was on a Blue Snowball ICE USB mic plugged into an ASUS mobo running Windows 10 and Realtek drivers) – nothing was working and my PC could see the mic, listen to the mic and picked up the sound but it wouldn’t record to any software – Audacity, Premiere Pro, Windows sound recorder – nothing would pick up the input. I was about to go buy a sound card or just take the mic back and give up BUT…..check this out….buried somewhere on a forum I found the answer;
In Windows 10, hit the windows key or start, and type in “Privacy” – open privacy settings and on the left, glance down to the heading “App Permissions” and you’ll see about 4th or 5th one down is “MIcrophone” Go to “Allow apps to access your microphone” and flick the button to “On” – now go back and try to record and it should work.
If it doesn’t and you’ve tried everything else you may have a different problem but this worked for me after 3 days of trying everything else. GOOD LUCK!