Fix: “Can’t connect to your DHCP server” Error in Xbox
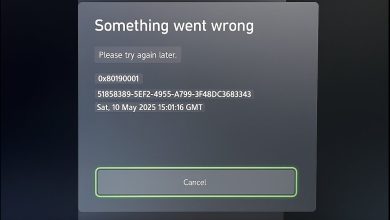
The Xbox Can’t Connect to DHCP Server Issue is an error that many users have encountered when attempting to bring their console online. When launching the console and trying to connect to the internet, this error message appears on the screen and prevents them from completing the process. The error code forbids them from engaging in any online activity. This issue is encountered on both old-gen (Xbox 360, Xbox One) and current-gen Xbox (Xbox Series S/X) consoles.

The main cause of this issue is a network problem. This can be caused by the MAC address if you have changed it from automatic in the past. Another reason could be the inability of the internet to connect due to incorrect IPv4 settings. Additionally, you should check your router, as its current settings could be problematic.
Here is a list of methods that will help you resolve this Xbox issue:
1. Clear your alternative MAC address.
This issue may be caused by the alternative MAC address that you set in the past. This is a router/modem-related issue affecting your network connection. The MAC address you set might have become problematic, making your Xbox unable to connect to the DHCP server.
In this case, you should be able to resolve this issue by clearing the Alternative MAC address from your Xbox settings.
Here is a guide that will show you how to do it:
- From the home screen, press the Xbox button on your controller to open the Guide menu.
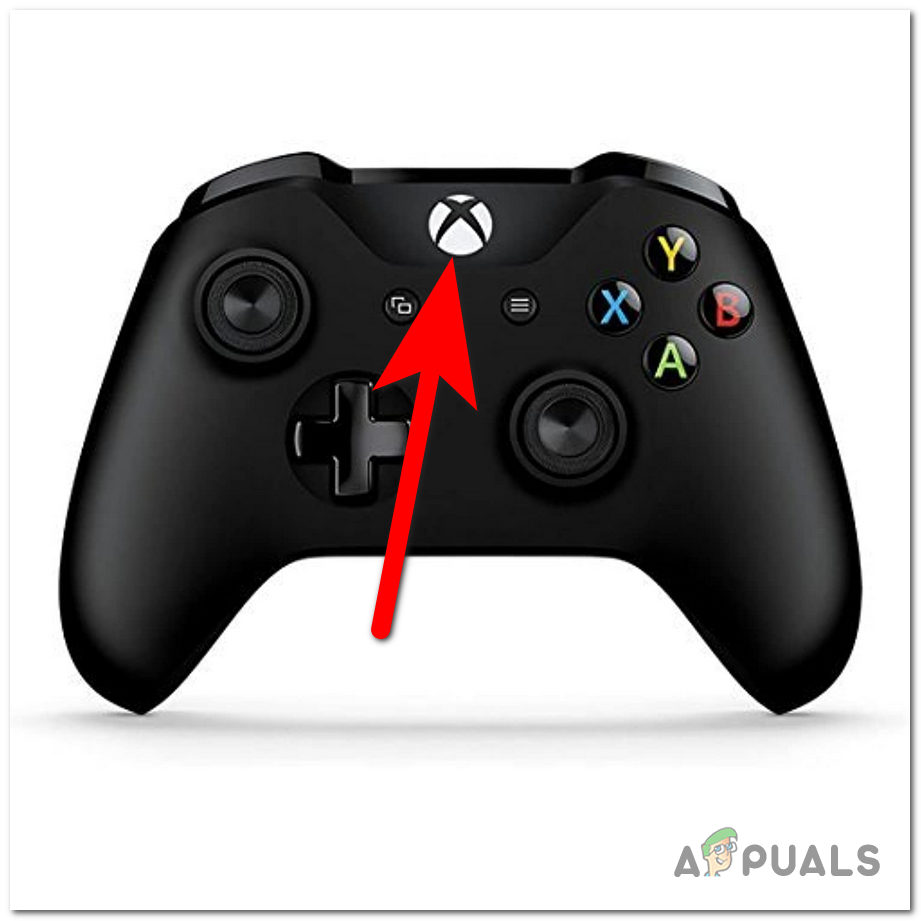
Opening the Guide menu - Navigate to the Settings section and select the Settings menu.
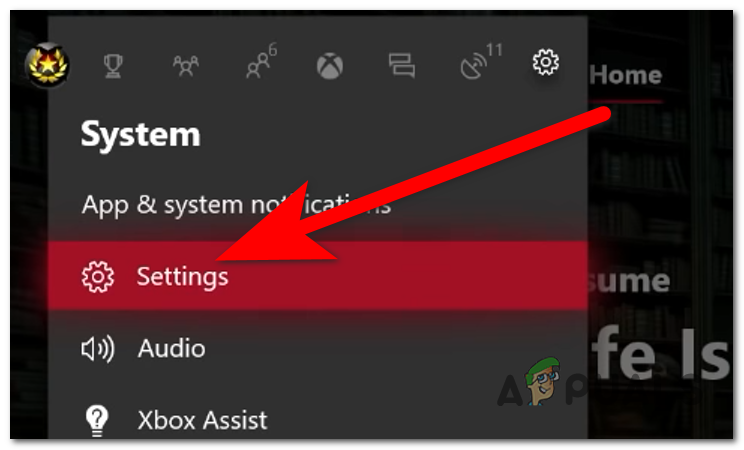
Accessing the Xbox Settings - Select the General tab and access the Network settings section.
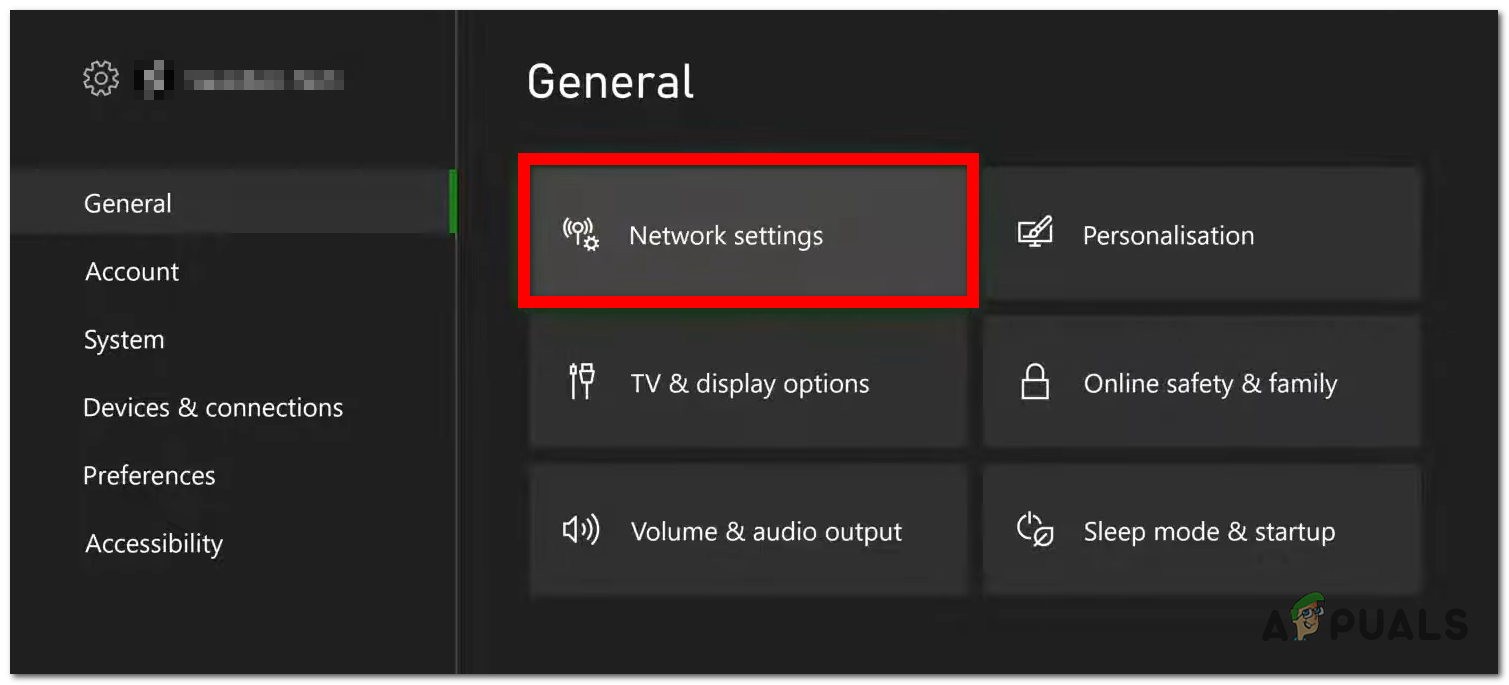
Opening the Network settings - Next, access the Advanced settings.
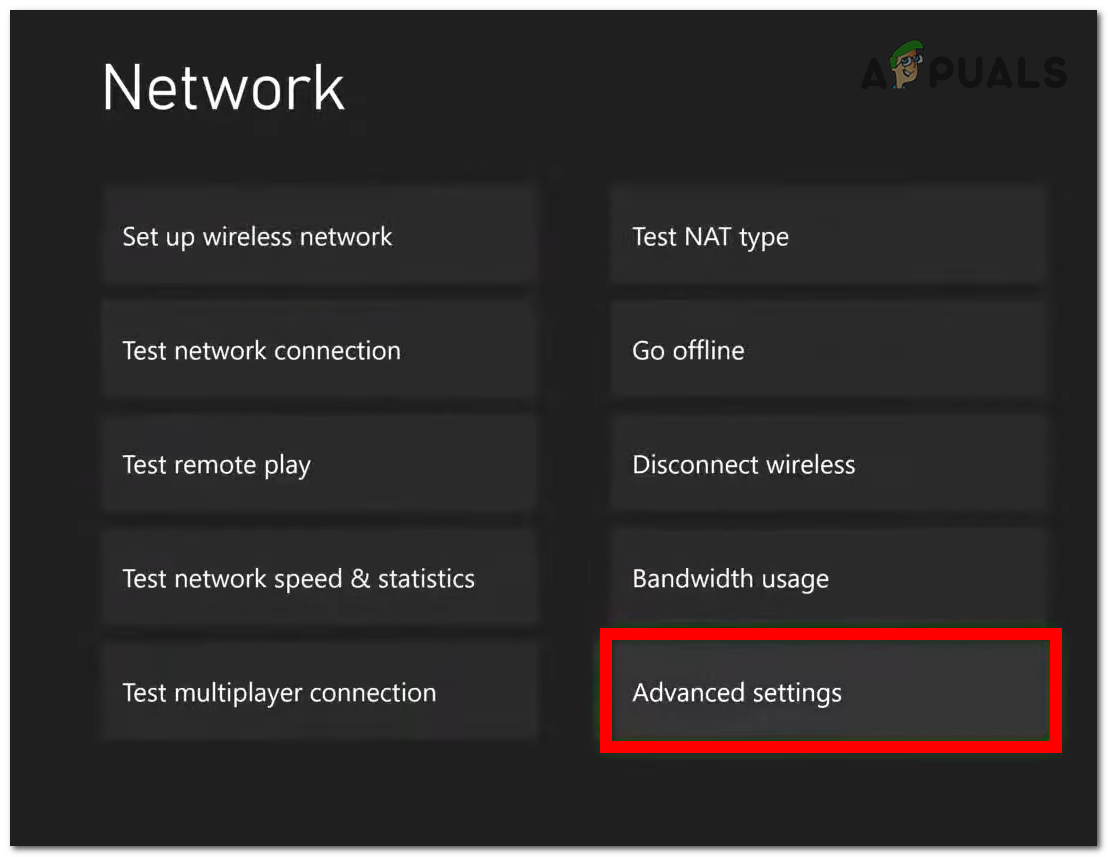
Accessing the Advanced settings - Now select the Alternative MAC address button.
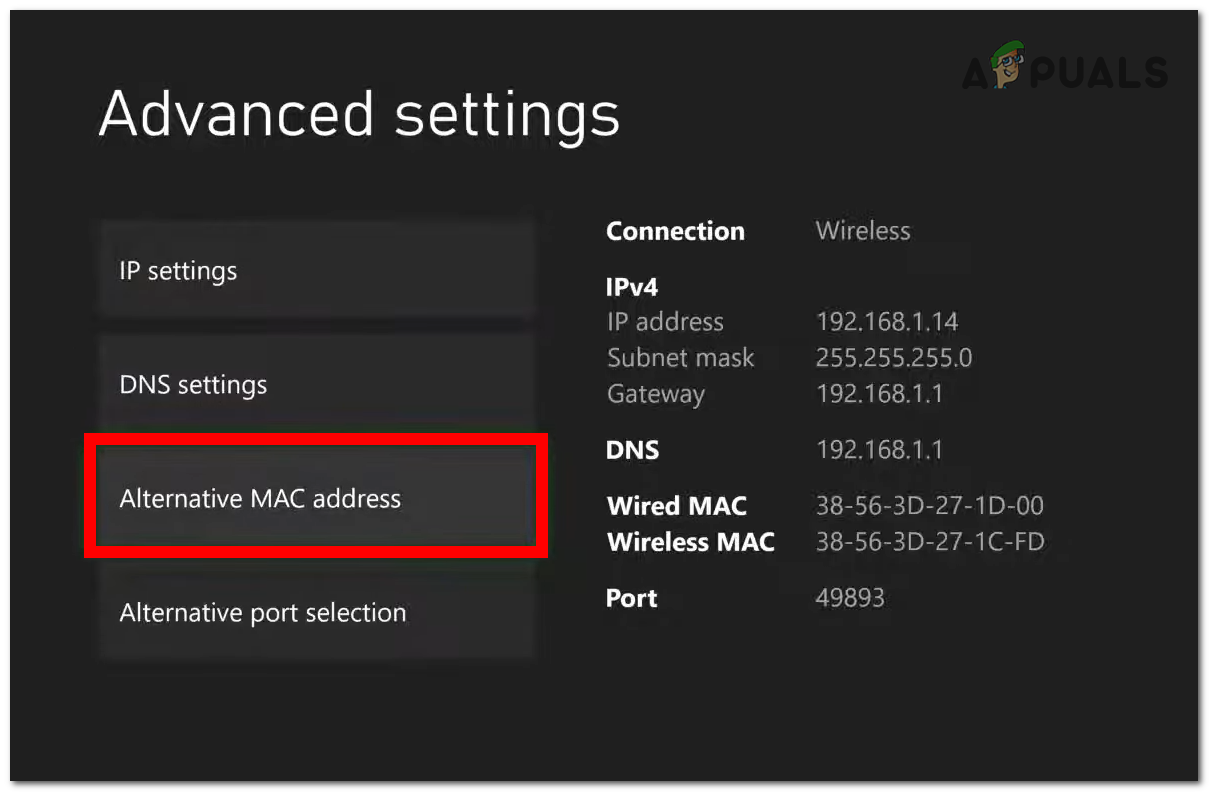
Selecting the Alternative MAC address - Select the Clean button to reset the MAC address to the default.
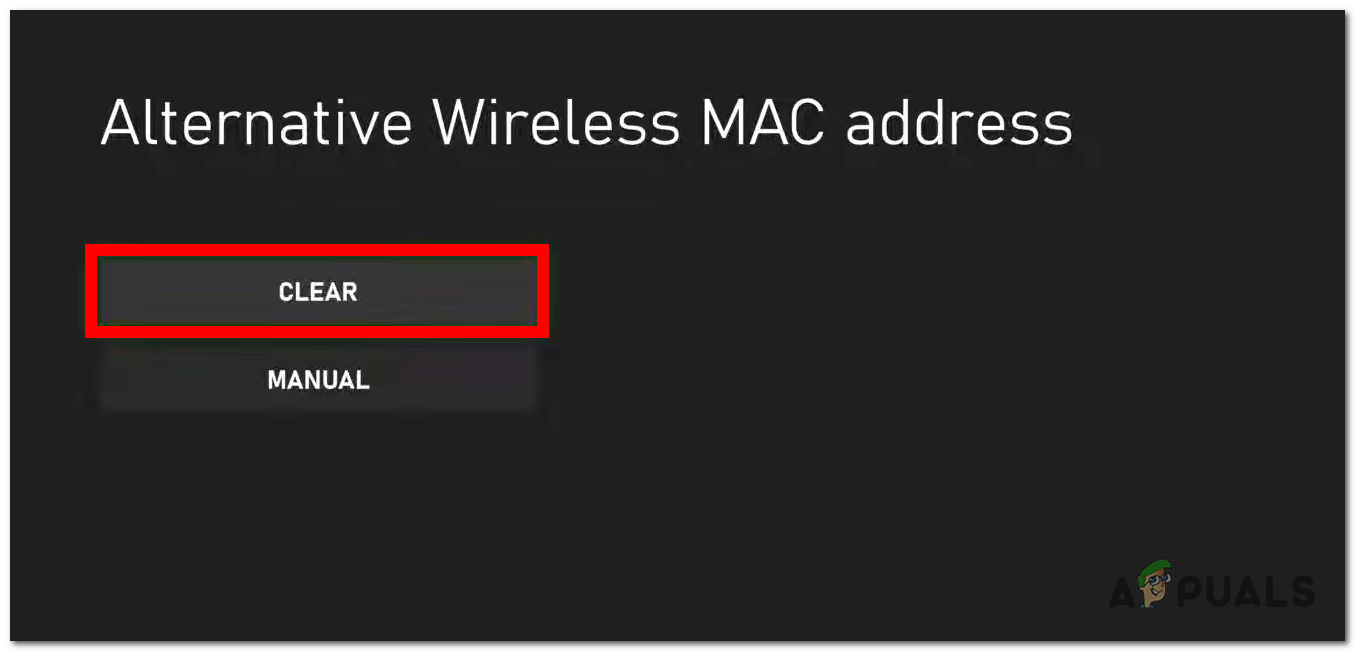
Clearing the Alternative MAC address - Reset your console and see if the Xbox can’t connect to the DHCP server issue has been fixed.
2. Set the IPv4 settings on your Xbox.
Another cause could be that the internet connection is unable to connect to the DHCP server. This can happen because the IPv4 settings on your Xbox connection are not the same as those for your network connection.
First, you need to find the correct IP and IPv4 addresses for your network connection. After that, go back to your Xbox console and change both the IP and DNS settings to the correct ones.
Here are the steps on how to do this:
- Connect the Ethernet cable from your console to the computer. If you are using Wi-Fi, make sure to connect to the correct network connection.
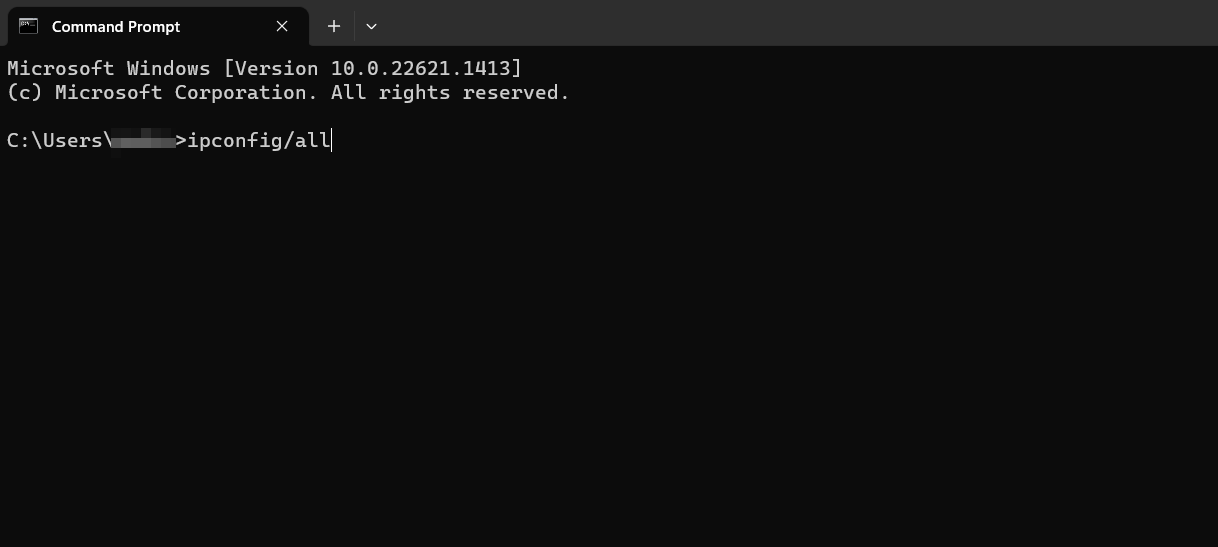
- Go to your PC and press the Windows key + R to open a Run dialog box. Type ‘cmd‘ inside the search bar and press Enter to open the Command Prompt.
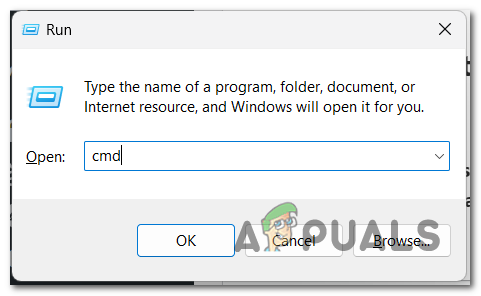
Opening the Command Prompt - Type ‘ipconfig/all‘ inside the Command Prompt, and then press Enter to see all the details related to your network connection.
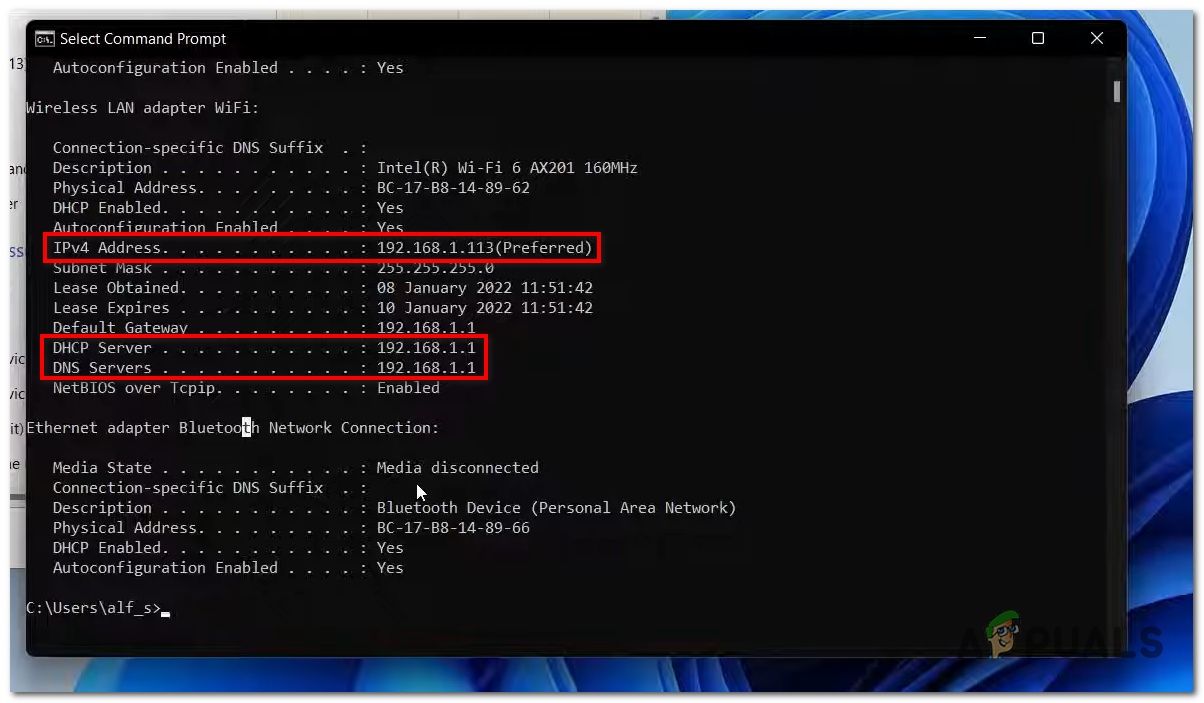
Using the Command Prompt - If you are using an Ethernet connection, go to the Ethernet Adapter Bluetooth Network connection. In the other case, go to the Wireless LAN Adapter WiFi.
- You will need the IPv4 Address, DHCP Server, and DNS Servers. Take a picture of them or copy them somewhere.
Saving the network connection addresses - Now, go back to your Xbox console and reconnect it to the internet connection that you have used on your computer.
- Go back to the Network settings and access the Advanced settings.

Selecting the Advanced Settings - Access the IPv4 Settings and select Manual.
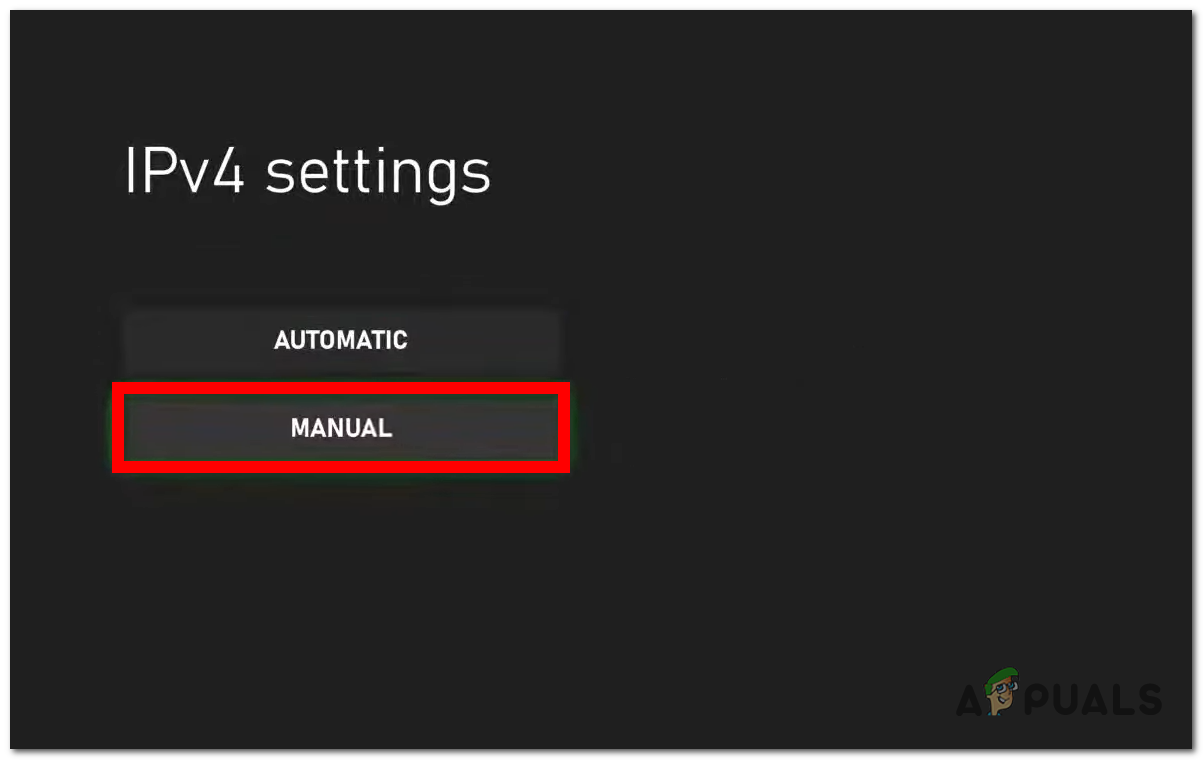
Selecting the Manual IPv4 Settings - Now you need to insert the exact IPv4 Settings address that you saw on your computer.
- You will then be asked for the DHCP server; please insert it as well.
- Select the DNS Settings and choose Manual, then enter the DNS Settings for your computer.
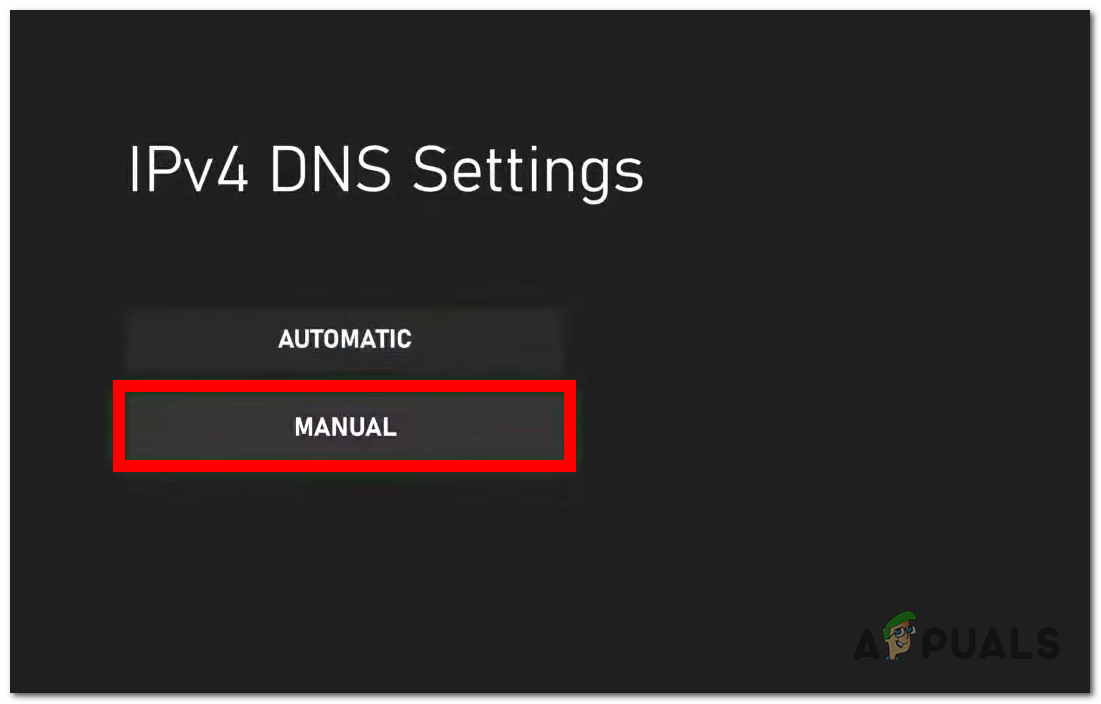
Inserting the DNS Settings - Test the connection to see if that was enough to fix your issue.
- You may encounter the error again. Repeat the test connection process three or four times.
- If that isn’t enough either, turn off the console and unplug the Ethernet cable. Leave it like that for a few minutes, then turn the console back on.
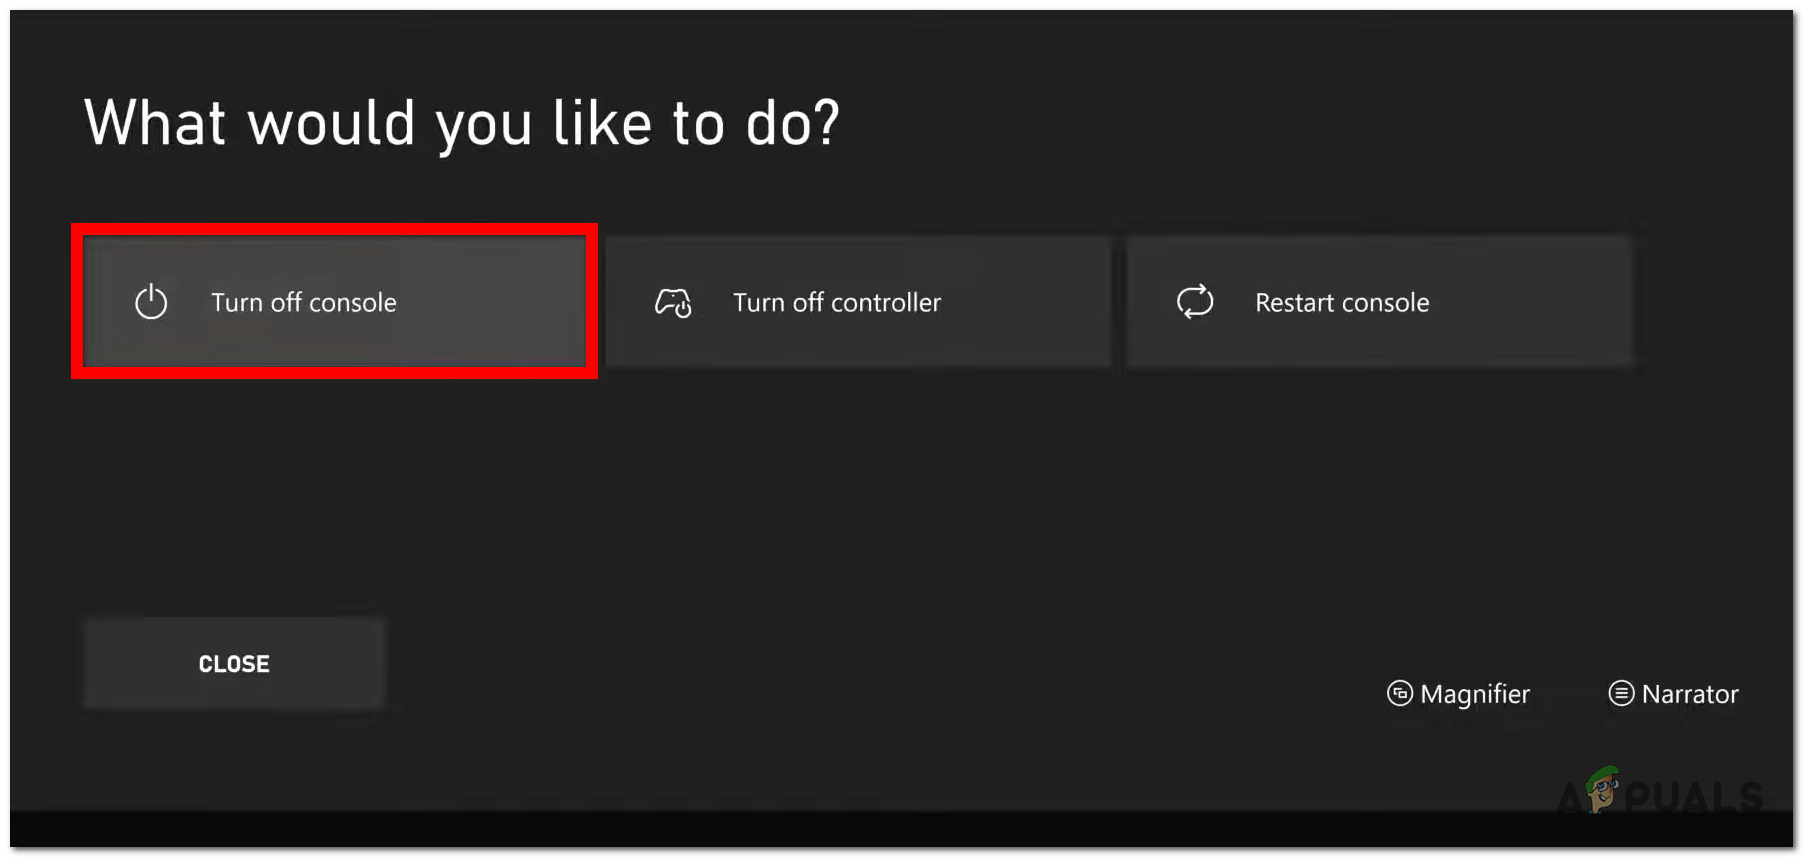
Turning off your Xbox console - Plug the Ethernet cable back into the console once it has turned on.
- If the issue still appears, go back to Advanced Settings.
- Set the IP and DNS settings back to Automatic. This time, it will assign the correct addresses.
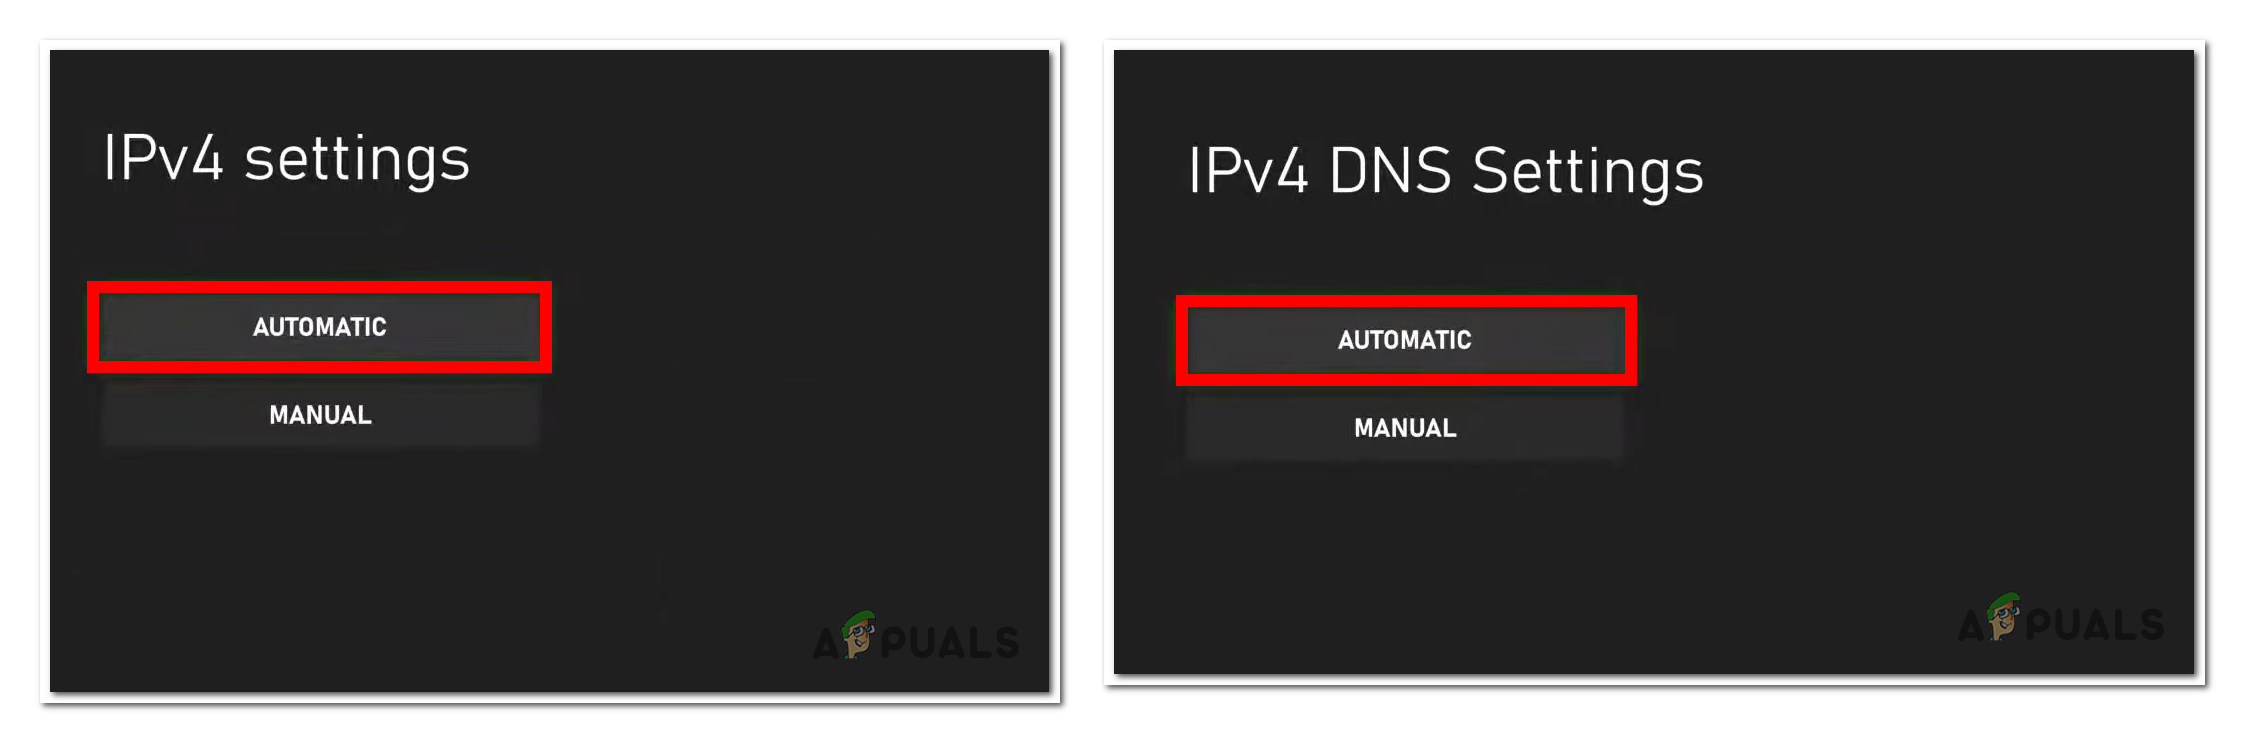
Setting the IP and DNS Settings on Automatic - Test your connection, and the ‘Xbox Can’t Connect to DHCP Server’ issue should be fixed.
3. Restart or reset your router.
This Xbox issue could also be caused by your own router or modem. This could occur because your router/modem is unable to connect to the DHCP server due to a problem that is currently affecting it.
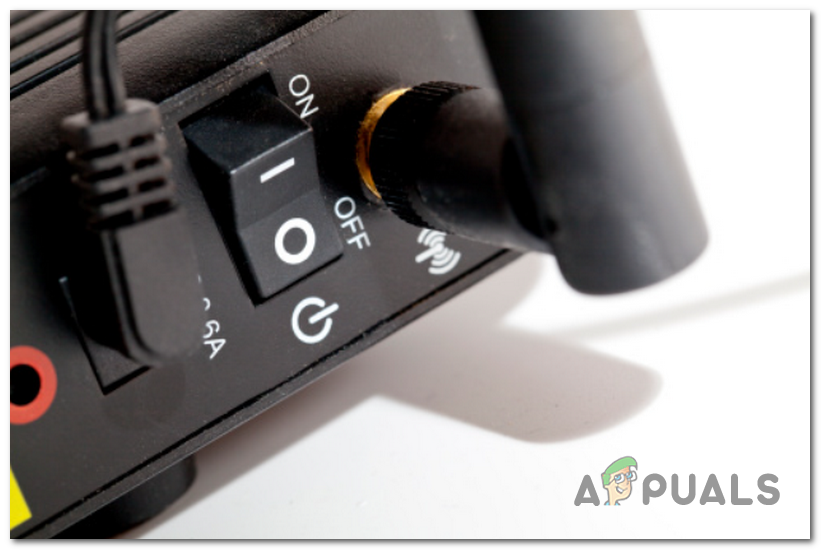
You should be able to fix this issue by performing a simple network restart. This process won’t affect your network connections or the network credentials. All you need to do is press the ON/OFF buttons on your router and leave it turned off for about 20 seconds.
In case your router does not have this button, you can simply restart it by removing the power cable to force a refresh. After a few seconds have passed, turn it on again to see if the problem has been fixed.
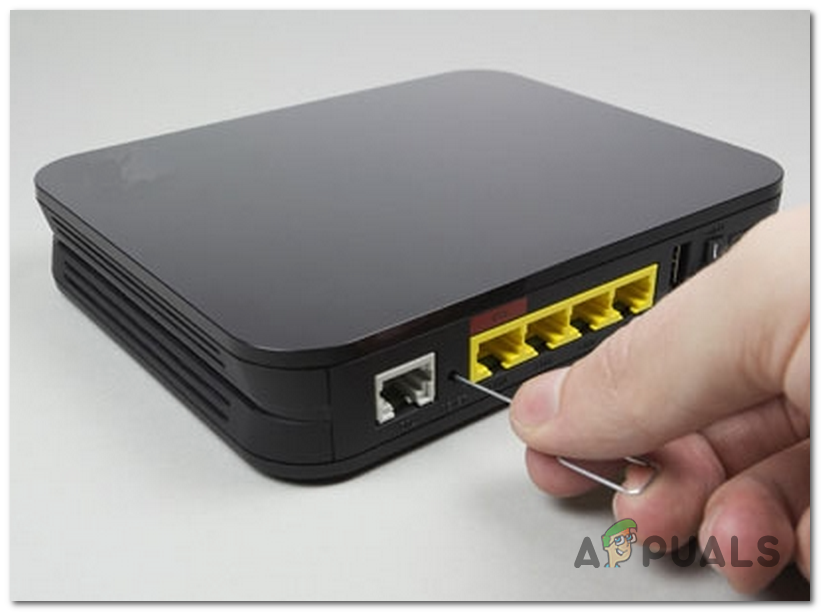
If you have done it and the error still appears, the next thing you should do is reset the router/modem. This process will reset all the custom login credentials that you have set in the past, reverting them back to the default values.
Note: Most router manufacturers use ‘admin‘ as both the username and password.
To reset the router, you will need a needle or a toothpick to be able to press the button. Use the tool to press the Reset button, and hold it down for about 10 seconds. You should see that all the LEDs will flash simultaneously, indicating that the reset process has been completed.
All that is left to do is to configure your router again. Once you manage to get it to work, connect your Xbox to it and see if the ‘Can’t Connect to DHCP Server’ issue has been finally resolved.