How to Troubleshoot Windows Update Error 0x80070057?
Solutions to Resolve Error Code 0x80070057
Error 0x80070057 indicates that Windows updates have failed. This error may occur due to a variety of reasons, such as corrupt Windows update components, previous updates that failed and as a result, caused corruption within the system files required to package and unpackage update packages, as well as apply them.
The error is often accompanied by a message that reads, “There were some problems installing updates, but we’ll try again later. If you keep seeing this and want to search the web or contact support for information, this may help – (0x80070057).” Alternatively, the error may present a slightly different message, such as “Something went wrong.”
In this guide, we have compiled several methods that have proven successful for a large number of Windows users. Please review all the methods, as they are regularly updated. Based on experience, it’s possible that you may need to revisit this page due to multiple restarts while implementing the methods. To facilitate quick access, consider emailing the link to this page to yourself or bookmarking it. Before proceeding, disable any proxies (if in use) and consider temporarily disabling your antivirus software.
1. Run an SFC Scan
SFC scan is a built-in Windows utility, that goes through protected system files to identify any incorrect versions or corruption. By executing an SFC scan, your computer independently seeks out and replaces problematic files with the correct versions directly from Microsoft. This process can heal the update mechanism by restoring the integrity of the system files necessary for a successful update application.
- Execute the SFC scan.
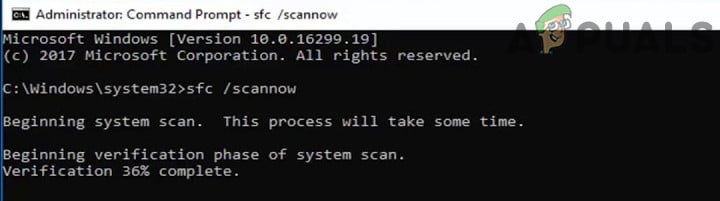
SFC Command - Completely restart your computer and check if the update error has been resolved.
2. Run SFCFix
SFCFix is a specialized utility that tackles complex file corruption issues that SFC cannot resolve. By running SFCFix, it thoroughly scans and repairs critical Windows components, potentially fixing the 0x80070057 error when SFC alone is insufficient. This targeted approach can be the key to restoring update functionality.
Download and launch the SFCFix.exe file. Follow the command prompt instructions by pressing any key until the process is complete.
3. Editing the Registry
Editing the registry can address error 0x80070057 by changing registry entries that directly influence Windows Update processes. Tweaking certain keys can remove blockages, allowing updates to download and install without further issues. Remember, this method is like fine-tuning an engine for optimal performance, but with the caution due to the sensitivity of the registry.
- Press the Windows key and R together.
- Type in notepad and select OK.
- In Notepad, copy and paste the following:
Windows Registry Editor Version 5.00

[HKEY_LOCAL_MACHINE\SOFTWARE\Microsoft\WindowsUpdate\UX]
"IsConvergedUpdateStackEnabled"=dword:00000000
[HKEY_LOCAL_MACHINE\SOFTWARE\Microsoft\WindowsUpdate\UX\Settings]
"UxOption"=dword:00000000
- Go to File → Save As.
- Choose the file type as All Files and save this as wufix.reg on your desktop.
- Make sure the file is named exactly as wufix.reg because the *.reg extension allows the system to process this file through the registry editor. Execute the file and confirm the prompts.
After running the program, verify if it has resolved the issue. If not, download the Windows Update Reset script and run it as an administrator. [Download Here] (Right-click and select ‘Save As’). Save it to your desktop, then right-click on it and choose Run As Administrator.
4. Windows 10 Anniversary Update Failing Due to Error 0x80070057
Error 0x80070057 commonly occurs in Windows 10 when the system is unable to verify downloads. This problem often comes after users update from Windows 7 to Windows 10 and encounter updates applied prior to the Anniversary Update. It is plausible that significant corruption within the update store is blocking the Anniversary Update’s installation.
- Press the Windows Key and R. Type ncpa.cpl and select OK.
- Right-click on your Wireless LAN Adapter or Ethernet LAN Adapter and select Disable. Re-enable the adapter by right-clicking on it after the update verification is complete.
Additionally, following the installation of the Anniversary Update, some users have encountered frequent freezes and crashes on their Windows 10 devices. If this applies to you, refer to the guide: Anniversary Update Crashes.
5. Removing CloudFogger
CloudFogger, designed for encryption and securing cloud files, installs filter drivers that might disrupt Windows system calls needed for these operations. Uninstalling CloudFogger can remove these conflicts, thus smoothing out the update process or system functions that were being blocked.
- Press Windows key + R, type appwiz.cpl, and click OK. On Windows 8.1 or later, you can also press the Windows key + X and choose Programs/Apps and Features.
- Locate CloudFogger in the list, then double-click it. Follow the uninstaller prompts to complete the process.
- Reboot your computer and verify if the problem is resolved.
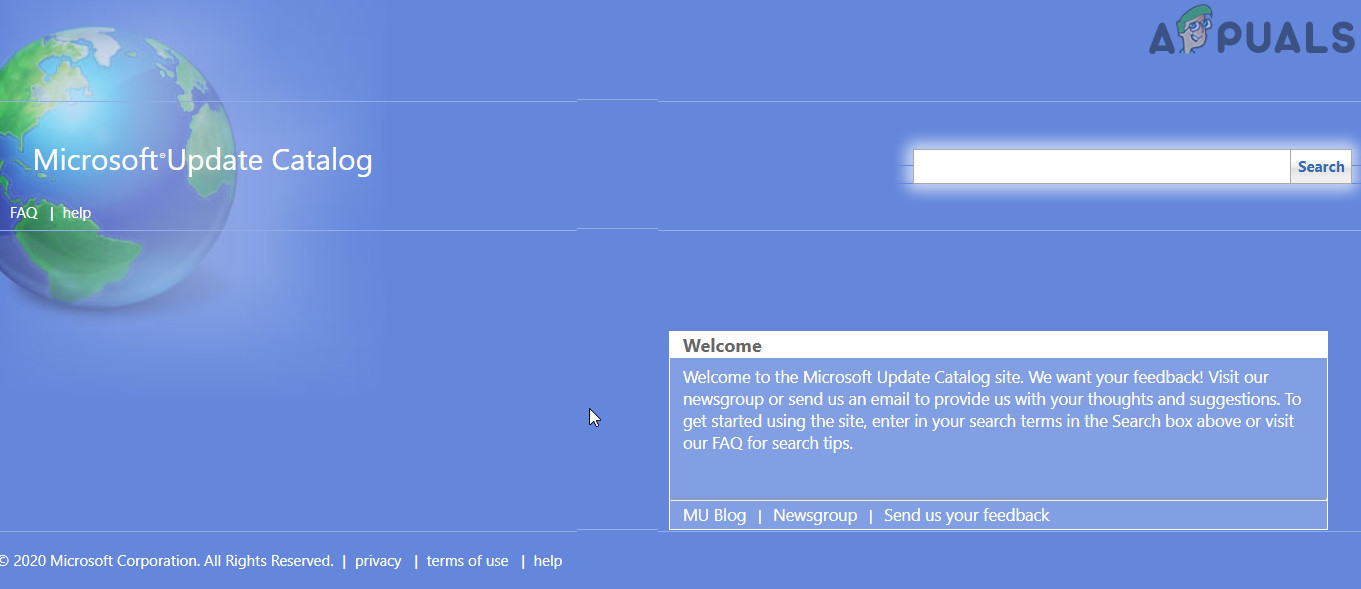
6. Update through the Microsoft Update Catalog
If Windows Update is unable to install any updates, you can download the updates manually to your computer and install them. Visit the Microsoft Update Catalog and download the latest cumulative update to a location you can access easily.
After downloading the update, close all applications, right-click on the update package, and select Run as Administrator. Once the update is installed, perform a complete restart of your computer and check if the issue has been resolved.
7. Update BIOS
If none of the mentioned solutions have helped, updating your BIOS to the latest version may resolve the problem. The BIOS is a critical component in your computer that interfaces with both hardware and software. If your BIOS has issues or is outdated, potentially being incompatible with the current OS version, you might face update errors.
Warning: Proceed at your own risk, as updating the BIOS can be hazardous. Improperly updating your BIOS may permanently damage your system.
- Update Lenovo BIOS.
- Update HP BIOS.
- Update Dell BIOS.
Error 0x80070057 is also related to the “Credential Manager” on Windows 10. If you are encountering this error with the Credential Manager, please refer to the guide on ‘Incorrect Parameter’ for instructions on fixing it. You may also try using the Windows Update Troubleshooter.
Thanks Kevin. My issue is fixed.