Fix: “Try Again Later.” Error on Windows Store
Some Windows users are reporting that every time they attempt to install something via the Microsoft Store, they end up seeing the error message ‘Something happened at our end. Try again later.’ This problem is mostly reported to occur on Windows 11.

After investigating this issue thoroughly, we realized that there are actually several different underlying causes that might cause this behavior on Windows 10 and Windows 11. Here’s a list of potential culprits that you should investigate:
- Common inconsistency – As it turns out, Microsoft has already released a series of hotfixes for this particular issue. If the problem occurs due to some inconsistency that has already been resolved by Microsoft via a series of fixes, you can fix your problem simply by running the Windows Store apps troubleshooter and applying the recommended fix.
- Windows Store app is de-registered – According to several affected users, this issue can also occur due to a scenario in which the main Windows Store app is deregistered. In this case, you can fix this problem by re-registering the app via an elevated CMD or Powershell terminal.
- Corrupted Windows Store component – An underlying corruption issue rooted in the cache files of Windows Store can also cause this type of error when attempting to install apps. In this case, you can fix the issue by resetting the entire Windows Store component along with every associated dependency.
- Dependency services are stuck in a limbo state – There are a couple of services that are actually critical to the well functioning of the Windows Store component. Several affected users were able to fix the issue by making sure that every relevant Windows service & associated dependency is not stuck in a limbo state.
- Dependency services are disabled – There are a couple of services (Microsoft Store install, Windows Update & Background Intelligent Transfer Services) that might trigger this error if they are disabled. In this case, you can fix the issue by reconfiguring these services to start automatically at every startup.
- Corrupted Windows Store cache folder – Corruption affecting the Windows Store cache can also be an underlying cause of why this error might be occurring. In this case, you can get the issue fixed by clearing the cache manually.
- IPv6 interference – Although this shouldn’t be an issue, a lot of users have confirmed that they can’t download anything via the Microsoft Store while IPv6 is active. A lot of affected Windows users have confirmed that the issue was fixed after they migrated to IPv4.
- Recent system change – As it turns out, a recent system change can indirectly cause an issue with the Store component. This is especially plausible if you recently installed a new Windows Store update. Several users have managed to get around this problem by utilizing a previously saved system snapshot.
- VPN or Proxy interference – If you’re using a VPN or Proxy server, there’s a chance the used protocol is disallowed so the Microsoft Store refuses the connection. Several users dealing with this issue have confirmed that the error went away completely after they disabled their VPN or proxy setup.
- System file corruption – There are certain scenarios where system file corruption is responsible for breaking the Windows Store component. If this scenario is applicable, the first thing you should do is deploy SFC and DISM scans in quick succession and moves towards a clean install or repair install if the problem persists.
Now that we went over every potential reason why you might experience the ‘Something happened at our end. Try again later.’ error, let’s go over a list of verified fixes that other affected users have successfully used to get to the bottom of this issue.
1. Run the Windows Store Apps troubleshooter
It turns out that Microsoft has previously made a number of hotfixes available for this specific problem. Running the Windows Store applications troubleshooter and implementing the suggested repair will solve your issue if the issue is caused by a discrepancy that has already been fixed by Microsoft through a number of fixes.
Sometimes the solution was to run the Windows Store Apps troubleshooter, which restored the Microsoft Store’s full functionality and allowed customers to install apps without encountering the ‘Something happened at our end. Try again later‘ error.
Navigating to the Troubleshoot area of Windows Settings will bring up the Windows Store Apps troubleshooter option. When you choose it, it will right away pinpoint the error’s primary cause and present a fix.
Use the troubleshooter for Windows Store apps in Windows 11 by following these simple steps:
- You must launch the Windows Settings as soon as possible. To access the Settings, use the Windows key + R and then type “ms-settings:” in the Run dialog box. By tapping the Windows key + I or the taskbar, you can also open them instantly.
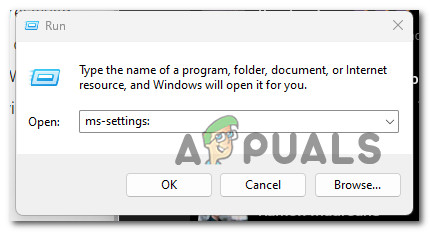
Accessing the Settings menu - Once Windows Settings have been accessed, look for System in the list on the left side of the screen. Click on this spot when you discover it.
- Next, go to the right-hand section, scroll down to the System area, find Troubleshoot, and click on it.
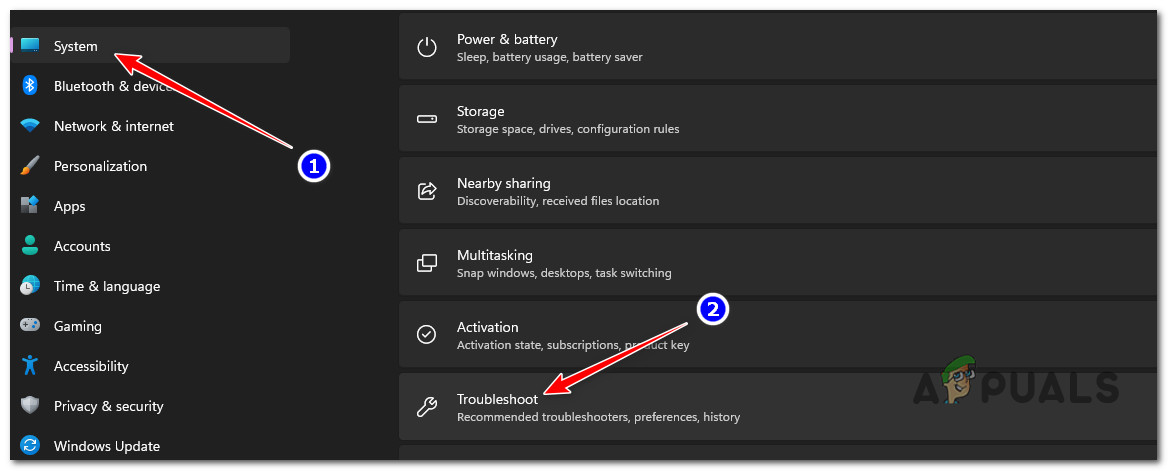
Accessing the Troubleshoot menu - To move on to the next step, you must now choose Other troubleshooters.
- Scroll down to the bottom of the screen after selecting the Other troubleshooters option to see Windows Store Apps.
- Click Run to launch the Windows Store Apps troubleshooter when you see it.
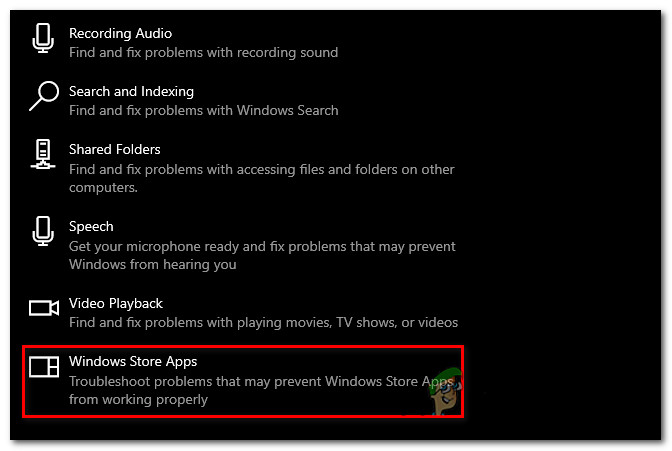
Access Windows Store apps - After you have finished troubleshooting, follow the offered instructions to finish the procedure.
- Retry the uninstall that was previously unsuccessful due to the ‘Something happened at our end. Try again later.’ error and examine if the error has been fixed.
Try the potential solution listed below if the problem is still present.
2. Re-register the Windows Store App
Numerous impacted customers claim that the main Windows Store app being deregistered may also contribute to this problem. In this situation, re-registering the program from an elevated CMD or Powershell terminal will resolve the issue.
Many people assert that one of the causes of your inability to install any UWP apps is the partially registered Microsoft Store. To fix this problem, you’ll need to run a series of commands from an elevated Powershell prompt.
Here’s how to re-register the Store app using an elevated Powershell window:
- To launch the Run dialog box, press and hold the Windows key + R.
- Type “powershell” into the newly opened window and press Ctrl + Shift + Enter to open an elevated Powershell window.
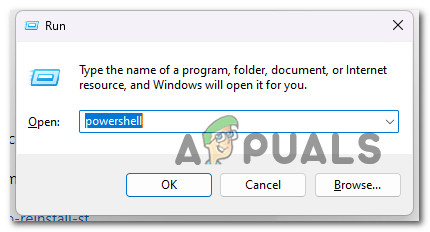
Accessing the PowerShell window - Click Yes to allow the User Account Control (UAC) window to open with administrator access.
- Type the following command into the elevated Powershell window and press Enter to re-register the Windows Store component.
Get-AppXPackage *WindowsStore* -AllUsers | Foreach "$($_.InstallLocation)AppXManifest.xml" -Register "$($_.DisableDevelopmentMode)"
- After running the script, restart your computer and try installing a UWP app once again to see if the problem has been resolved.
If you continue to see the error message “Something happened at our end,” Move on to the technique below that follows the “Try again later” error.
3. Reset the Windows Store component
When attempting to install apps, a corruption problem with the Windows Store cache files may also result in this kind of message. In this situation, rebooting the whole Windows Store component and its associated dependencies will resolve the problem.
It turns out that a type of corruption that prohibits your PC from making connections with Microsoft servers and your integrated UWP store could possibly be the cause of this issue. The bulk of the time, this problem is caused by temporary files that are stored in the cache folder.
This type of problem frequently occurs following an unanticipated machine failure or when the security scanner ends up quarantining particular items. Infrequent but possible causes of the ‘Something happened at our end. Try again later.’
Restarting Windows Store and all associated components, according to many Windows users who were having the same problem, resolved it.
Follow the steps listed below to reset the Windows Store using an elevated CMD prompt if you’re having this problem:
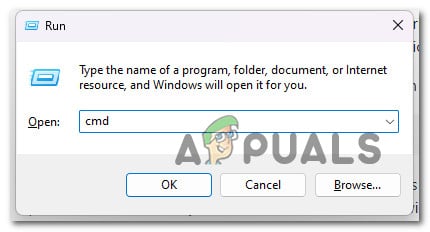
- Press the Windows key + R to open the Run dialog box. To open an administrator Command Prompt, type “cmd” into the text box and press Ctrl + Shift + Enter. When prompted by UAC (User Account Control), select Yes to give admin access.

Open an elevated CMD prompt - After you’ve managed to launch the elevated Command Prompt, enter the following command to reset the Windows Store and its dependencies.
wsreset.exe
- After the command has been successfully run, restart your computer to see if the issue has been resolved when the system starts up again.
Continue to the method below in the event that the issue is still not resolved.
4. Restart Windows Update Services & Clear Dependency Folders
There are a few services that are genuinely essential to the Windows Store component’s smooth operation. A few of the impacted users were able to resolve the problem by making sure that none of the pertinent Windows services or their related dependencies were in an unresponsive state.
If you’ve read this far into the article without finding a solution, it’s probable that the WU component or one of its dependent components is corrupt.
In this case, we urge you to reset all WU components and the WU management folders using a sequence of CMD instructions.
Note: The primary cause of this kind of issue is typically one or more WU (Windows Update) components that are currently inactive (neither open nor closed) and are indirectly influencing the store component.
If this scenario is applicable, you can fix the problem by restarting each WU component involved in the update process.
Follow the steps below to reset each Windows Update component in this situation:
- Press the Windows key + R to bring up the Run dialog box.
- Type “cmd” in the text box and press Ctrl + Shift + Enter to launch an elevated Command Prompt.
Open the CMD window - When the UAC (User Account Control) screen displays, click Yes to grant administrator rights.
- Type the following commands in the appropriate order, pressing Enter after each command, to disable any WU-related services:
net stop wuauserv
net stop cryptSvc
net stop bits
net stop msiserver
Note: Keep in mind that these instructions will stop the Windows Update Services, MSI Installer, Cryptographic Services, and BITS Services, so be careful what you tell the terminal to do.
- Use the steps listed below to empty and rename the SoftwareDistribution and Catroot2 directories after stopping all required services:
ren C:\Windows\SoftwareDistribution SoftwareDistribution.old
ren C:\Windows\System32\catroot2 Catroot2.old
Note: These are the locations where the updated files for the WU component are stored. Your operating system will be forced to create new, healthy directories if you rename these ones, and these new ones won’t be corrupted.
- After the directories have been cleared out, run the commands below to reactivate the services that had been previously disabled:
net start wuauserv
net start cryptSvc
net start bits
start msiserver
- Try to install a UWP app once more to determine if the problem has been fixed after all of these instructions have been properly carried out and each dependant process has effectively been restarted.
If the problem persists, proceed to the following possible fix below.
5. Re-configure Microsoft Store Install, Windows Update & Background Intelligent Transfer Services
There are a few services (Windows Update, Background Intelligent Transfer Services, and Microsoft Store install) that, if disabled, may result in this issue. In this situation, you can resolve the problem by setting these services to launch automatically with each startup.
Do not forget that the Windows Store component is not isolated in the sense that many service dependencies that must be enabled must be coordinated with the download component.
Several customers who have reported running into this difficulty when downloading UWP apps say that in their particular circumstance, the issue was caused by one of the following services being turned off:
- Windows Update
- Microsoft Store Install
- Background Intelligent Transfer Service
Check your Services tab to determine if any of the aforementioned services are disabled before ignoring this possible offender.
Note: To save system resources, a number of software programs for systems optimization may temporarily disable certain of these services.
Here is what you must do to ensure that these services are always available:
- To bring up the Run dialog box, press Windows key + R. To open the Services screen with Admin access, type “services.msc” into the text box and hit Ctrl + Shift + Enter.
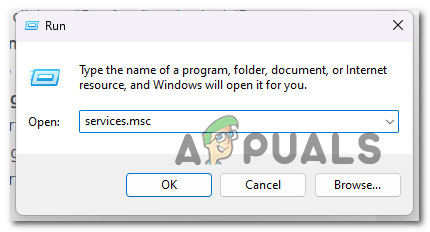
Accessing the Services screen - Start your search for the Windows Update service once you are on the Services page. When you locate it, right-click on it and select “Start” from the pop-up context menu.
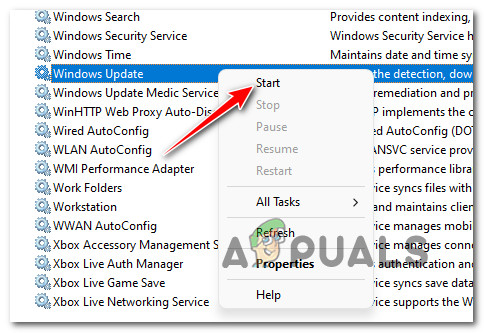
Starting the Windows Update service - Next, look for the Microsoft Store Install Service after making sure the Windows Update service is running. When you do, right-click it and once more select Start from the context menu.
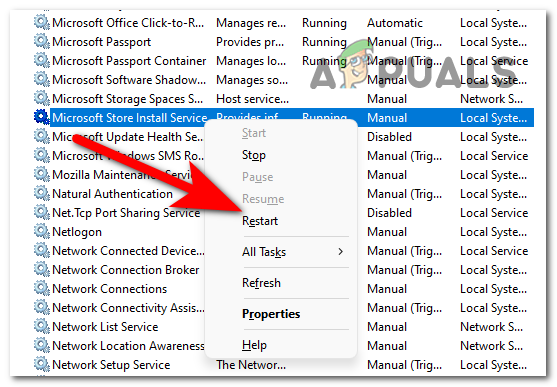
Restart the Microsoft Update service - In the end, search for Background Intelligent Transfer Service. After finding it, right-click it and select “Start” from the context menu.
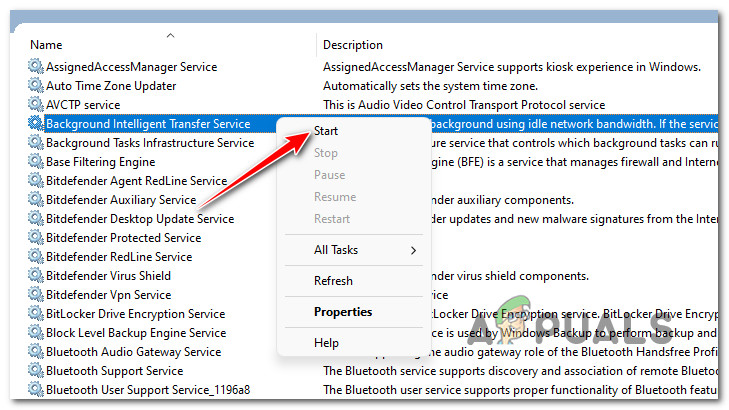
Start the Background intelligent transfer service - After making sure that each of these service dependencies is enabled, restart the Windows Store component and start a new UWP app download.
If the same kind of problem is still present, proceed to the next possible solution below.
6. Clear the Windows Store cache folder manually
Another potential root cause of this error could be a corruption that affects the Windows Store cache. By manually emptying the cache in this instance, you can resolve the problem.
According to many affected users, you may anticipate encountering this issue if the LocalCache folder of the Microsoft Store contains corrupt data that prevents the installation of pending updates. Manually deleting the LocalCache folder in this case ought to fix the issue.
If the error still persists after running the wsreset operation, follow the steps listed below to manually remove the Windows Store’s cache folder:
- Ensure that the Windows Store component is completely turned off.
- Press Windows key + R to open the Run dialog box.
- To uncover the hidden AppData folder, type “%APPDATA%” into the Run box’s text field and then press Ctrl + Shift + Enter.
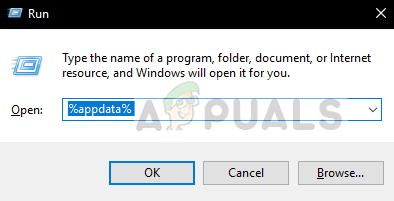
Open up the Appdata - Select the AppData folder and then navigate to the following location:
C:\Users\User_name\AppData\Local\Packages \Microsoft.WindowsStore_8wekyb3d8bbwe\
- Next, use your right mouse click to pick Delete from the pop-up option on LocalCache.
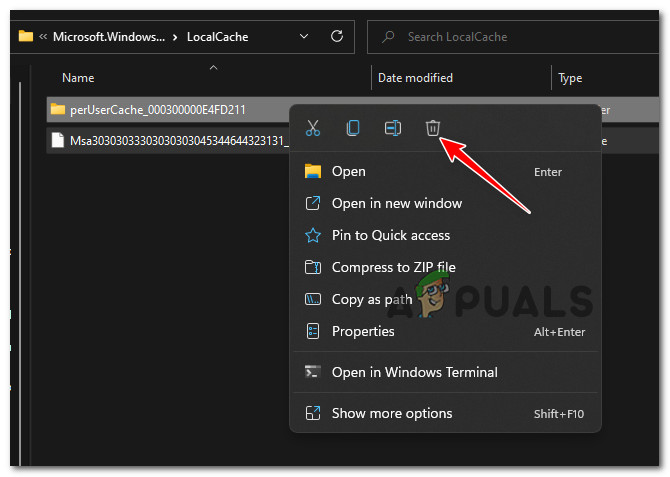
Delete the local Windows Store cache Note: Removing it will have no underlying effects because the Store component will automatically rebuild this folder the next time you run the program.
- Relaunch the Microsoft Store after deleting the LocalCache folder to check if the error has been resolved.
Continue to the next method below if you’re still having trouble with the same error.
7. Disable IPv6
Many users have confirmed that they are unable to download anything from the Microsoft Store while IPv6 is in use, even though this shouldn’t be a problem. Many impacted Windows users have attested that the problem was resolved after they switched to IPv4.
Note: The OS will favor utilizing IPv6 over IPv4 on more recent versions of Windows (Windows 10 and Windows 11).
Disable the IPv6 protocol momentarily to see if the issue has been resolved, if you haven’t already:
- Press Windows key + R to open the Run dialog box.
- The Network Connections menu will then be displayed once you type “ncpa.cpl” into the text box and press Enter.
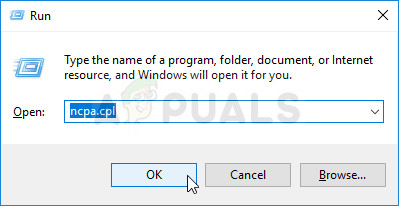
Open the Network Connection menu - In the Network Connections menu, right-click the network adapter you’re currently using, and then choose Properties from the context menu that appears.

Access the Properties screen of your active network Note: When User Account Control (UAC) prompts you to grant admin access, choose Yes.
- On the Properties page for your network adapter, click the Networking tab.
- After that, go to the bottom of the list of items and uncheck the box next to Internet Protocol Version 6 (TCP / IPv6).
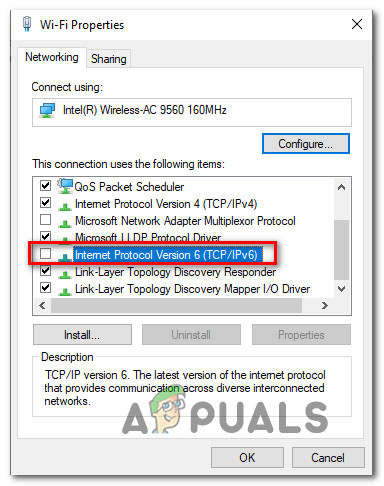
Disable the Ipv6 - Click Ok after saving your changes. Try restarting your computer to check if the issue persists.
Continue to the next option below if you’re still experiencing the same issue while attempting to download apps from the Windows Store.
8. Disable VPN or Proxy services
There’s a potential the employed protocol is prohibited if you’re using a VPN or proxy server, in which case the Microsoft Store might reject the connection. Several affected customers have confirmed that the error fully disappeared after they turned off their VPN or proxy settings.
If none of the aforementioned methods were successful for you, you might want to consider severing any connected VPN or proxy sessions that are currently active on your computer.
Proxy or VPN servers don’t operate well with Windows 11. And it turns out that a lot of anonymity services explicitly ban data exchange.
Many affected customers claimed that the only way they could resolve the issue was by disabling the proxy server or VPN client they were use.
If you fit this description, we have two separate guides that will explain how to terminate your VPN or proxy server.
8.1. Turn off the proxy server
You must manually terminate the connection if you’re using a proxy server by accessing the Proxy menu in the Window Setting menu.
Here’s what you need to do:
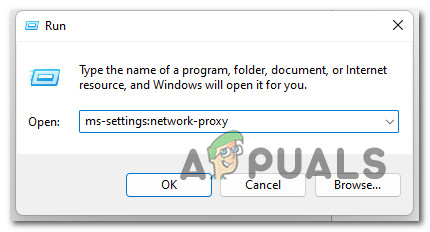
- To open the Run dialog box, press the Windows key + R.
- Next, enter “ms-settings:network-proxy” and click Enter to open the Proxy tab of the Settings app.
Accessing the Proxy server - On the Proxy tab of the Settings menu, scroll down to the Manual Proxy Setup section.
- After that, move to the right side of the screen and uncheck the box by Use a proxy server.
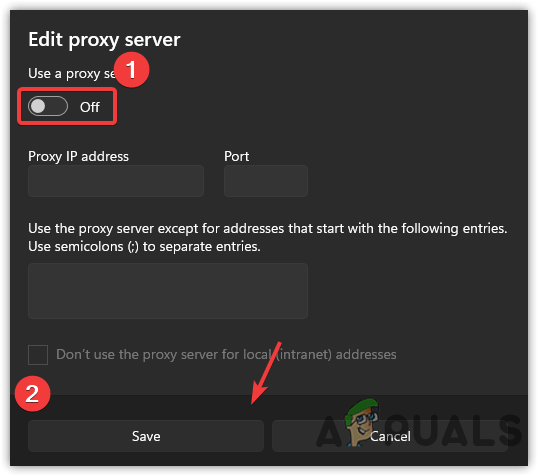
Disable the Proxy server - After you’ve successfully turned off the proxy server, restart your computer to check if the problem is resolved when it starts up again.
8.2. Turn down the VPN server
It might be possible to disable the VPN client depending on the implementation type that you’re using. In the event a desktop VPN client was installed, the VPN connection must be terminated from the specific settings menu.
As an alternative, here is a brief guide on how to uninstall a VPN connection that you have set up using a Windows 10 default buil-tin feature:
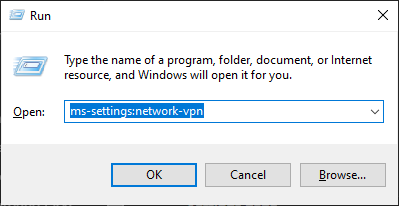
- Press Windows key + R to launch the Run dialog box before entering it.
- Next, enter “ms-settings:network-vpn” and hit Enter to launch the VPN tab of the Settings app on your Windows PC.
Accessing the VPN client - To stop your VPN from interfering with the Settings app, click your VPN in the right-hand area of the VPN connection tab, then choose Remove from the context menu.
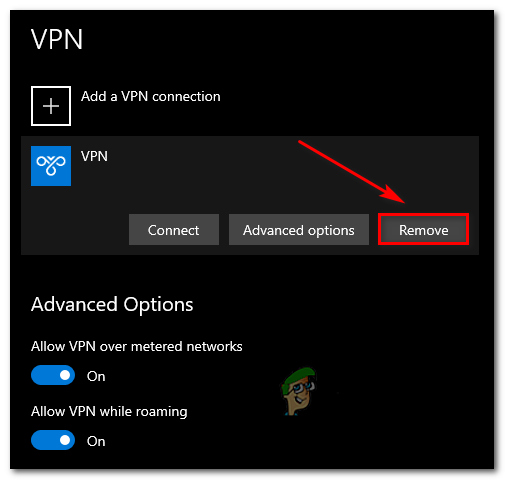
Remove the VPN connection
If this method was not applicable in your case or it didn’t fix the issue, move down to the next potential fix below.
9. Deploy DISM and SFC scans
Even if you’ve already confirmed that the Microsoft Store component isn’t the cause of this problem, it doesn’t necessarily follow that you aren’t also dealing with system file corruption.
Another reason you might anticipate dealing with this problem is a broken Windows-native dependency that Microsoft Store is unable to use.
Since there are numerous potential offenders who could be the root of this issue, we advise running SFC (System File Checker) and DISM, two built-in repair utilities (Deployment Image Servicing and Management).
We would begin by doing a straightforward SFC scan from an elevated CMD prompt.
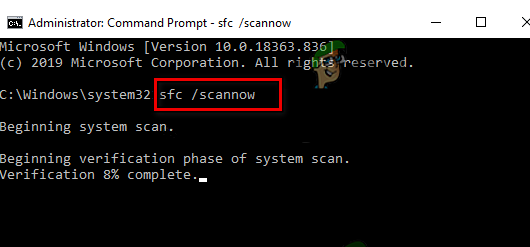
You won’t need to have an Internet connection to use this software. Each corrupted system file element that is discovered will be swapped out with a clean counterpart kept in a local folder.
When the SFC scan is finished, restart your computer and run a DISM scan the following time it boots.
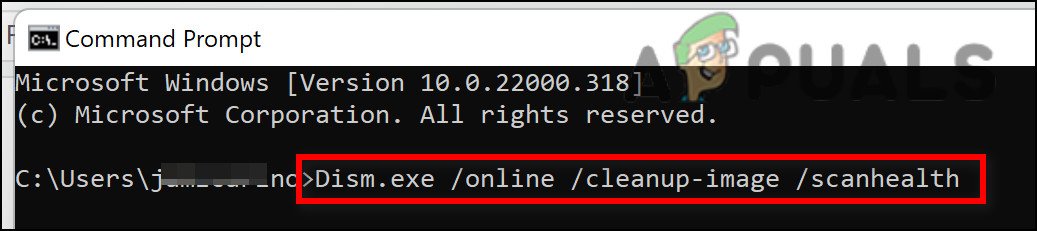
Make sure you have a solid Internet connection before beginning this scan. This is necessary because DISM uses a piece of Windows Update to obtain healthy files to swap out corrupted ones.
Once this operation is finished, try downloading a UWP app and see if the problem is now fixed.
Move on to the procedure below that is listed next if the same kind of problem is still present.
10. Use System Restore
It turns out that a recent system modification could unintentionally result in a problem with the Store component. If you recently installed a new Windows Store update, this is very likely. Several people have used a previously saved system snapshot to circumvent this issue.
If you’ve tried everything else to undo a system change that is the cause of the issue when downloading UWP programs from the store, you can roll back your machine to a prior system restore point. This has assisted numerous folks in solving their issue.
Using Windows System Restore, you can return your machine to a prior state. This can be used to fix problems like malfunctioning systems.
Follow the steps below to fix your computer and get it back in working order:
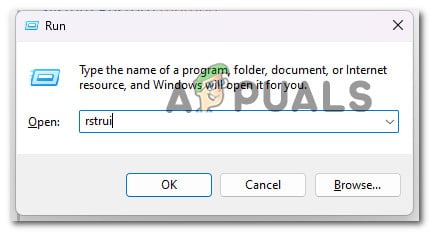
- Press the Windows key + R to start the Run command.
- Type “rstrui” in the Run box and hit Enter to start the System Restore wizard.
Open the System Restore utility - On the following screen, choose a different restore point, then click the Next button.
- Select a restore point that was made before the time you detected high resource usage, then click Next once more.
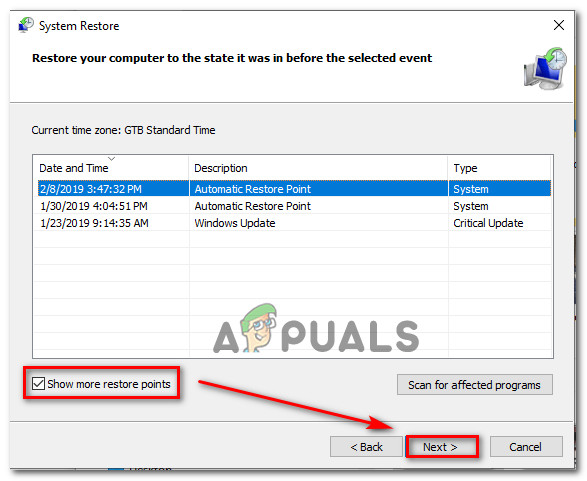
Open the System Restore utility - Click Finish when the restoration procedure has started, then watch as your computer restarts.
- Restart Windows 11 to determine whether the issue has been resolved.
Go to the likely solution below if the same kind of issue is still present.
11. Perform a repair install or clean install
If none of the aforementioned techniques worked for you, you can infer that you have a faulty installation of Windows 11 that cannot be fixed using standard ways.
You can always choose to perform a clean installation, but bear in mind that doing so will result in the deletion of all personal information, games, apps, and documents currently present on the OS drive (unless you back up the data in advance).
Opting for a repair install (in-place repair) approach is preferable (if you want to save as much personal data as possible).
It should be noted that performing a repair installation will allow you to maintain all of the personal media, games, and programs that you currently have installed.


When all else fails:The workaround is-:CREATE A NEW USER, TO LOGIN TO THE COMPUTER WITHThis way at least you get to use whatever software you bought without losing
your programs or re-installing Windows or some bollocks.Some programs you already have will be usable on the other login as well. Switching logins takes less than 15secs.Also this solution is 9 times faster than this entire page of repairs, reading, learning, deleting, checking etcetc.It turns out once there is a corruption of some sort with the ‘user’ profiles, no amount of mucking about will fix it.I spent 5 hours in total with a level 3 MSoft Help engineer & this was the last thing we tried. It worked.