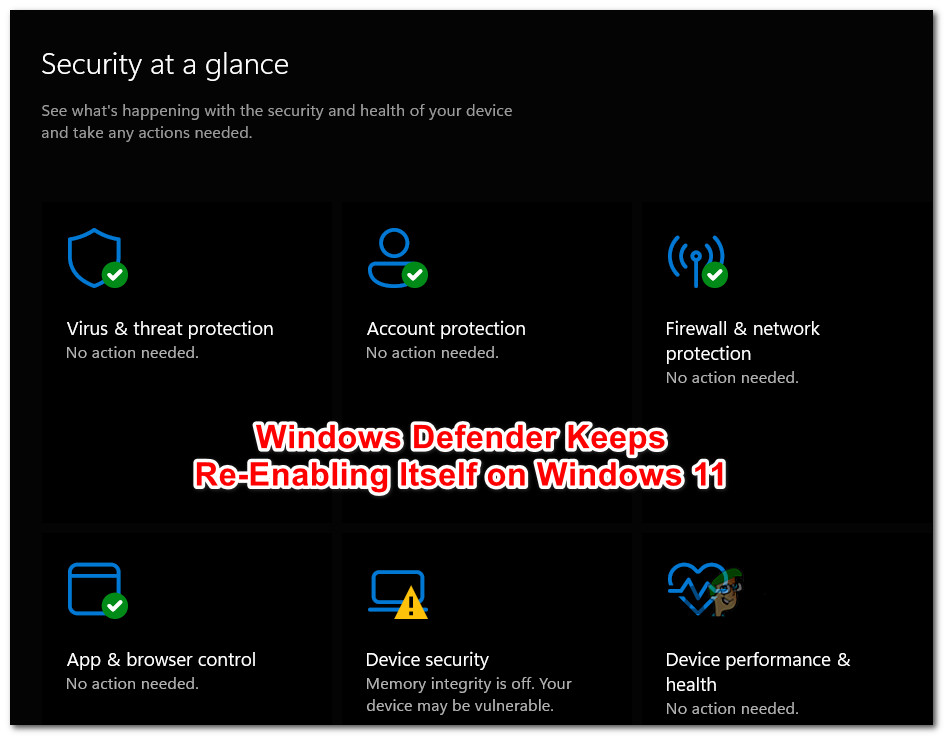
[FIX] Windows Defender Keeps Re-Enabling on Windows 11
Some Windows 11 users are reporting that Windows Defender keeps re-enabling itself even if they’re actively taking steps to disable it. This weird issue is only reported to occur on the latest OS release from Microsoft (on Windows 11).
We’ve investigated this issue thoroughly and realized that there are actually several different underlying causes that might be at the root of this issue. Here are several culprits that you should be on the lookout for:
- Windows Defender is the default antimalware program on Windows 11 – When your computer is idle or there is an external malware threat, Windows Defender may automatically switch on if the default option is set to “on.” One way to avoid this automated action is to install a 3rd party antimalware program to take the place of Windows Defender.
- 3rd party antivirus has expired – If you have previously installed a 3rd party antivirus but its license has expired, Windows 11 is ‘smart’ enough to figure out that your PC is not protected and enable the built-in AV component (Windows Defender) in order to prevent a security breach. In this case, you’ll need to renew your 3rd party AV license or install a new 3rd party antivirus suite if you want to prevent Windows Defender from re-enabling itself.
- Windows Update security patch was recently installed – The vast majority of security updates carried on via Windows Updates will have the unintended consequence of re-enabling Windows Defender. Microsoft explains that this action is required in order to update the tamper protection code that’s essential to the efficacy of Windows Defender. One way to avoid this action is to disable automatic Microsoft updates on your Windows 11 computer.
- Tamper protection is turned on – The only built-in function of Windows 11 that is capable of dynamically switching your Windows Defender on is tamper protection. When Windows Defender detects an attempt to install malware or access data on your computer, it may switch on automatically if tamper protection is enabled. Turning this feature off will prevent this from happening.
Now that we went over every potential cause of this issue, let’s go over a series of verified methods that other users have successfully used to make sure that Windows Defender remains disabled on Windows 11.
1. Disable Tamper protection
Tamper protection is one of Microsoft Defender’s most important features.
The tamper protection function in Windows security effectively safeguards your machine against external infiltration or any cyber threats conducted at your antivirus application.
When Windows Defender detects an attempt to install malware or access data on your computer, it may switch on automatically, even if you have an antivirus product installed.
Most Windows devices running Windows 10 or above have tamper protection enabled by default.
As a result, any attempt to permanently disable or update security settings on Windows 10 devices and above may need disabling tamper protection first.
If you want to go this route, follow the instructions below to disable tamper protection on your Windows Defender:
Important: Keep in mind that purposefully disabling the tamper protection feature means that you will leave your PC exposed to malware threats that would otherwise be avoided. Our recommendation is to only pursue this method if you have a 3rd party AV alternative installed and active on your PC.
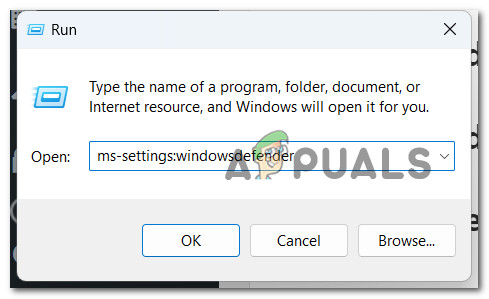
- Press Windows key + R to open up a Run dialog box.
- Next, type ‘ms-settings:windowsdefender’ inside the text box, then press Ctrl + Shift + Enter to open up Windows Security with admin access.
Access the Windows Defender on Windows 11 - When you’re prompted by the User Account Control, click Yes to grant admin access.
- Once you’re inside the settings menu of Windows Security, click on Virus & threat protection.
- From the next cluster of menus, click on Virus & threat protection settings.
- Finally, scroll down through the list of settings and turn the toggle associated with Tamper Protection to Off.
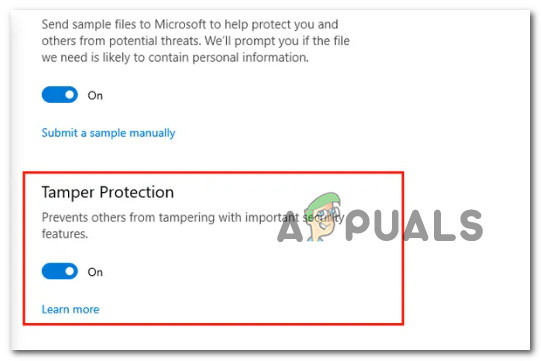
Disable the Tamper protection - After Tamper Protection has been disabled, reboot your PC and see if the Windows Defender remains disabled.
If Windows Defender still re-enables itself without a reason or you want to explore a different way of resolving the issue, move down to the next method below.
2. Disable Windows Defender via the Group Policy Editor
Perhaps the most effective way of ensuring that Windows Defender remains disabled is to establish a local group policy that will ensure that the built-in security suite remains disabled despite any pressures from Windows Update.
However, keep in mind that you won’t be able to enforce this method on every Windows 11 version.
In order to get this done, you’ll need to use the Local Group Policy Editor (Gpedit) – This is a utility that’s not present by default in the Home and Education versions of Windows 11.
You can, however, install Gpedit manually on Home and Education Windows 11 versions by following a series of steps.
Once you’ve made sure that Gpedit is installed and available on your Windows 11 version, follow the instructions below to establish a custom group policy that will keep Windows Defender disabled at all times:
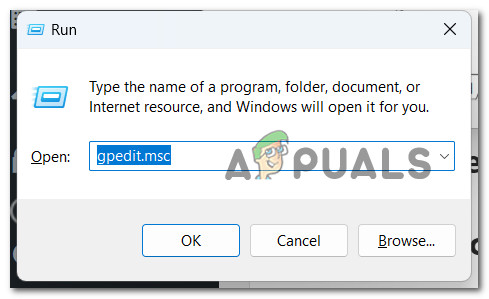
- Press Windows key + R to open up a Run dialog box.
- Next, type ‘gpedit.msc’ inside the text box, then press Ctrl + Shift + Enter to open up the Local Group Policy Editor with admin access.
Open the Local Group Policy Editor on Windows 11 - At the User Account Control, click Yes to grant admin access.
- Once you’re finally inside the Local Group Policy Editor, use the menu on the left-hand side to navigate to the following location:
Computer Configuration/Administrative Templates/Windows Components/Windows Defender Antivirus
- After you arrive in the correct location, move over to the right-hand pane and look for the Turn off Microsoft Defender Antivirus policy.
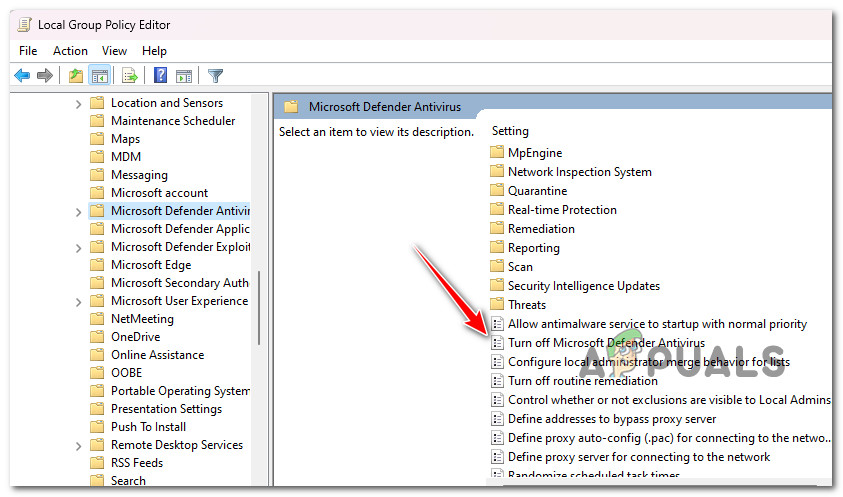
Access the Turn Off Windows Defender Antivirus Policy - When you see it, double-click on it to open it.
- From the Turn off Microsoft Defender Antivirus policy, change the toggle to Enabled and click Apply to save the changes.
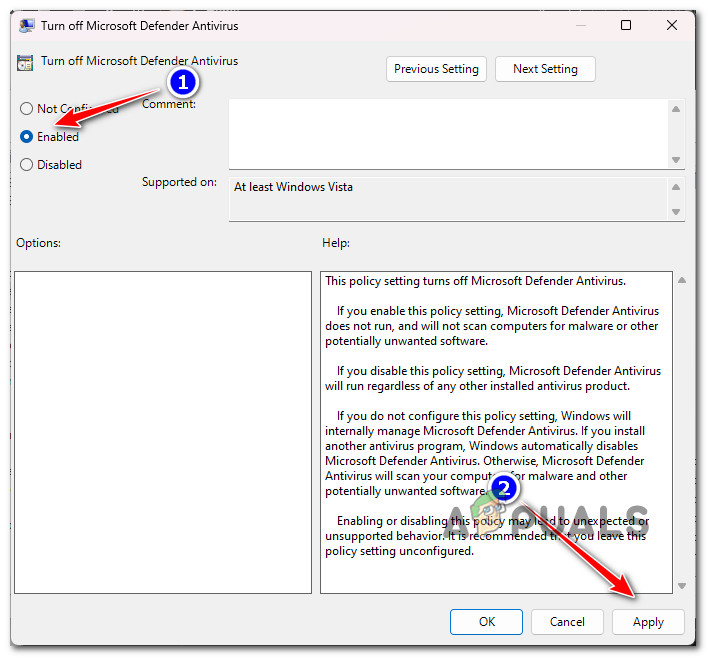
Disable Windows Defender - Once this policy is enabled, Windows Defender should remain disabled at all times.
If the problem is still not fixed or you’re looking for a different way of ensuring that Windows Defender remains disabled, move down to the next method below.
3. Disable Windows Defender via Registry Editor
If you want to avoid setting up a local policy that will keep Windows Defender at all times or the Local Group Policy Editor is not available on your Windows 11 edition, one alternative way is to use the Registry Editor.
Several affected users have confirmed that they successfully used a modified registry value to ensure that Windows Defender remains disabled despite the pressures from Windows Update.
Note: Our recommendation is to perform a registry backup before following this method. This will allow you to restore your Registry cluster back to a healthy point in situations where you make a mistake during the procedure below. Follow these steps to back up your Registry in advance.
If you want to disable hard-disable Windows Defender using Registry Editor, follow the instructions below:
- Press Windows key + R to open up a Run dialog box.
- Next, type ‘regedit’ inside the text box, then press Ctrl + Shift + Enter to open up the Registry Editor with administrative privileges.
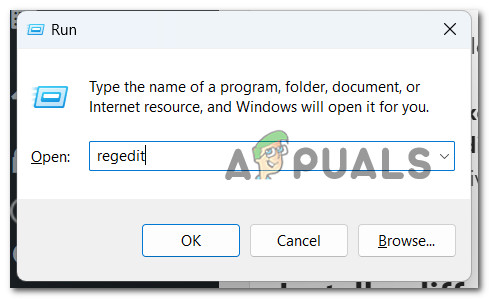
Open up the Registry Editor - At the User Account Control (UAC), click Yes to grant admin access.
- Once you’re inside the Registry Editor, use the left-hand menu to navigate to the following location:
HKEY_LOCAL_MACHINE\SOFTWARE\Policies\Microsoft\Windows Defender
Note: You can either navigate to this location manually or you can paste the location directly into the nav bar at the top and press Enter to get there instantly.
- After you arrive at the correct location, right-click on the Windows Defender key, then click on New > Dword (32-bit) Value.
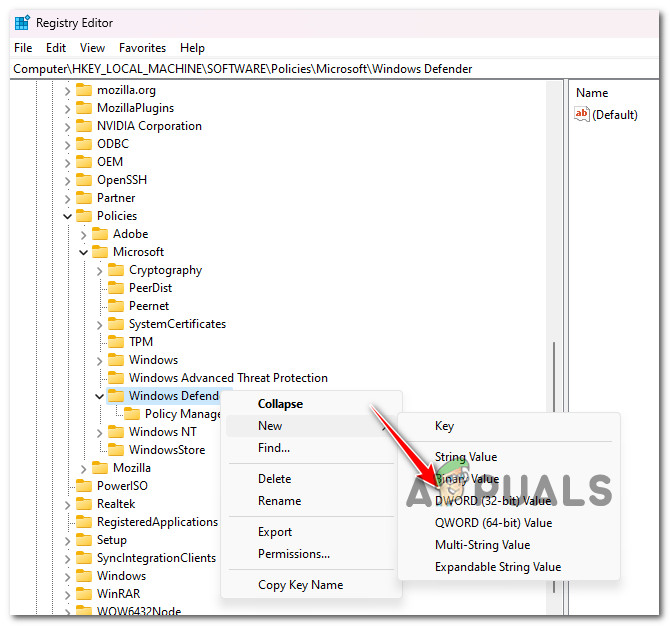
Create a new Dword value - Once the new Dword value is created, name it DisableAntiSpyware and press Enter to rename it.
- Double-click on the newly created DisableAntiSpyware, set the Base to Hexadecimal, then change the value to 0 before clicking Ok to save the changes.
- After you make this change, reboot your PC to enforce this change, then see if Windows Defender remains disabled once the next startup is complete.
If you’re still noticing that Windows Defender enables automatically at random times or you’re looking to solve this problem without using Registry or Gpedit tricks, try the next method below.
4. Renew the license of your 3rd party antivirus
If you previously installed a third-party antivirus but the license has expired, Windows 11 will detect that your PC is not protected and will turn on the built-in antivirus component (Windows Defender) to avoid a security breach.
In order to prevent Windows Defender from re-enabling itself, you’ll need to renew your 3rd party AV license or install a new 3rd party antivirus package.
Note: This method is only applicable in case you already have a 3rd party antivirus installed, but its license has expired.
If you don’t have an antivirus installed but you are considering this alternative, move down to the next method below.
5. Install a different 3rd party antivirus
If the default setting is set to “ON,” Windows Defender may turn on automatically when your machine is idle or there is an external malware threat. Installing a third-party antimalware application to replace Windows Defender is one approach to avoid this automatic activity.
Windows Defender, as defined by Microsoft Support, is meant to safeguard your computer from malware and other dangers.
Even if you have turned off real-time protection, Windows Defender will switch on automatically if you do not have an antivirus product installed on your machine.
This can also happen if you uninstall your antivirus application or if your antivirus program expires, in which case your computer will be vulnerable to dangers.
However, after installing third-party software, Microsoft Defender should immediately stop itself.
So if you’re on the market for a 3rd party suite, consult this article for a few viable alternatives.
6. Disable Windows Updates
The vast majority of security updates installed through Windows Updates will unintentionally re-enable Windows Defender. This activity is necessary, according to Microsoft, in order to update the tamper protection code, which is critical to Windows Defender’s performance.
Disabling automatic Microsoft updates on your Windows 11 machine is one approach to avoid this behavior.
For example, there are updates for Windows 10 and above systems that prevent Windows Defender from shutting off once an antivirus product is installed.
Upgrades linked to tamper prevention are an excellent example of such updates. These upgrades can keep Windows Defender from shutting off if you install another antivirus program.
If you’re looking for specific instructions on disabling Windows Updates, follow the instructions below:
Important: This method is not recommended since it will leave your system exposed to malware threats. Only follow the instructions below as a last resort or if you really know what you’re doing
- Press Windows key + R to open up a Run dialog box.
- Next, type ‘services.msc’ inside the text box, then press Ctrl + Shift + Enter to open up the Services utility.
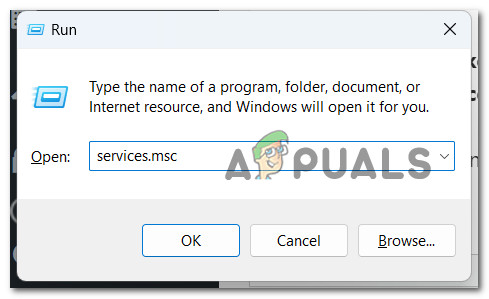
Open up the Services screen - When you’re prompted by the User Account Control, click Yes to grant admin access.
- Once you’re inside the Services screen, scroll down through the list of services and locate the Windows Update entry.
- Next, right-click on the Windows Update entry and click on Properties.
- Inside the Windows Update Properties menu, access the General tab, then change the Startup Type to Disabled before clicking on Apply to save the changes.
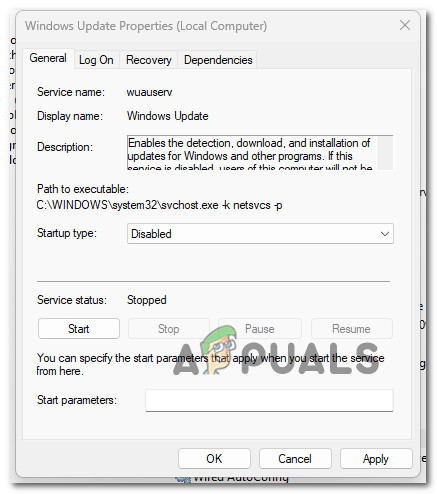
Disable the Startup type of Windows Update - Save the changes, reboot your PC and wait for the next startup to complete.


