How To Fix Windows Defender Greyed Out on Windows 10/11?
Some users report that the Windows Defender component is completely greyed out and inaccessible after installing a pending update. Affected Windows 10 and 11 users report that they can’t re-enable Windows Defender regardless of their approach. They’re forced to use their PC while it’s vulnerable to malware infections.
After we’ve investigated this issue thoroughly, we realized that there are several different underlying causes that might produce this behavior on Windows 10 and Windows 11. Here’s a shortlist of potential culprits that you should investigate:
- 3rd party interference – As it turns out, there is quite a large number of 3rd party applications that might ‘trick’ Windows Defender into turning your Antivirus suite. This typically happens with 3rd party AV scan suites that don’t have a real-time AV protection feature. In this case, achieving a clean boot state is the quickest way to confirm that you’re dealing with some kind of 3rd party AV interference.
- Remnant registry data – Another scenario that could be the root cause of this issue is when your Registry contains remnants of a previous 3rd party AV that is tricking Windows Defender into turning itself off. Other users suffering from this same problem have managed to fix the issue by running CCleaner to clear any registry inconsistency.
- System file corruption – Some impacted users claim that a certain kind of system file corruption may cause this problem. Other Windows users reported similar issues with the Windows Defender component, but they were fixed as soon as SFC and DISM scans were run. In more serious circumstances, you’ll need a clean or repair install.
- Missing security infrastructure – As it turns out, this particular issue can also occur due to a missing security infrastructure that your Windows installation is missing. Other users dealing with the same issue confirmed that it was entirely fixed once they ran the Microsoft Safety Scanner and applied the recommended fix.
- The hotfix is not installed – As it turns out, Microsoft has already released a series of hotfixes aimed at eradicating this issue on both Windows 10 and Windows 11. To treat this issue, install every pending Windows update (including feature & cumulative updates) until you bring your Windows version up to date. On Windows 10, there’s also the option to install the update responsible for fixing this issue via MUC (Microsoft Update Catalog).
- Windows Defender is disabled by Gpedit policy – If you previously messed around with the Gpedit.msc utility, it’s possible that Windows Defender is currently disabled by a local group policy (Turn off Windows Defender antivirus). In this case, you can resolve the issue by disabling the local group policy that currently keeps the built-in antivirus disabled.
- GUI issue – According to some affected users, you might also see all your options related to Windows Defender due to a GUI inconsistency. If this scenario is applicable, you can forcibly enable Windows Defender using an elevated CMD command.
- RPC and WMI services are disabled – As it turns out, one of the most common culprits that will cause this type of error (especially on Windows 10) are a few Windows Defender-dependent services (Remote Procedure Call and Windows Management Instrumentation) that are disabled and inaccessible. Enable both of these services to fix the issue.
Now that we have gone over every potential reason why you might be stuck with this behavior on Windows 10 and 11, let’s go over a series of verified fixes that other Windows users have successfully deployed:
1. Enable RPC and WMI services
As it turns out, one of the most common culprits that will cause this type of error (especially on Windows 10) are a few Windows Defender-dependent services (Remote Procedure Call and Windows Management Instrumentation) that are disabled and inaccessible.
Several affected users have confirmed that once they used the Services utility to enable both of these services, the Windows Defender was no longer greyed out after they restarted their PC.
Follow the instructions below for specific steps on how to enable the RPC and WMI services:
- Press the Windows key + R to open up a Run dialog box.
- Next, type ‘services.msc’ and press Ctrl + Shift + Enter to open up the Services screen with admin access.

Access the Services screen - Click Yes to grant admin access when prompted by the User Account Control (UAC).
- Once inside the Services screen, scroll down through the list of services and locate the Remote Procedure Call (RPC) service.
- After you locate it, right-click on it and choose Properties from the context menu.
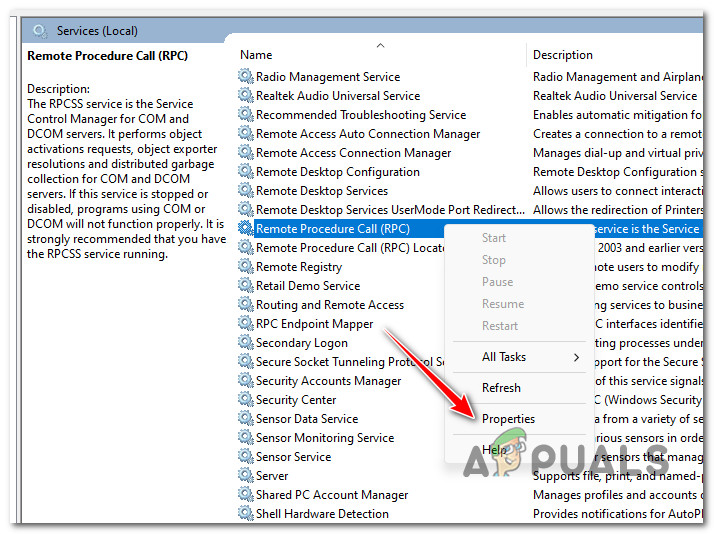
Access the properties screen of RPC - From the Properties screen of RPC, ensure the Startup type is set to Automatic and press the Start button to ensure that the service is running.
- Repeat steps 5 and 6 above with the Windows Management Instrumentation service and ensure it’s enabled.
- Reboot your PC and see if the problem is now fixed.
If the problem is still not fixed, move to the next method below.
2. Perform a clean boot
To diagnose the problem and confirm if a 3rd party suite is forcing the Windows Defender to shut down, you should start by achieving a clean boot state.
As it turns out, situations (particularly with lesser-known AV scanners) will prompt the Windows Defender to turn itself off because another 3rd party AV component is installed.
However, if the 3rd party AV suite you have installed doesn’t include real-time anti-malware protection and it’s just a manual scanner, you are leaving your PC vulnerable to infections.
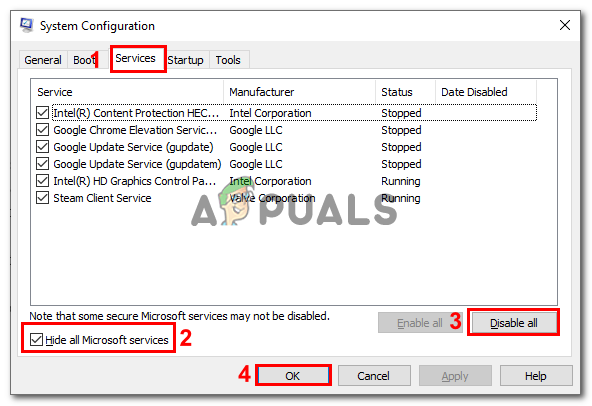
Due to many possible offenders (processes and starting items) that might be at fault for this problem, doing a clean boot procedure would be the best line of action.
If you do a clean boot procedure, only the necessary starting services and processes will be allowed to function, forcing your Windows to boot up without any interference from a third-party AV suite.
Go to the suggested fix below if reaching a clean boot state doesn’t address the issue.
3. Run the Microsoft Safety Scanner
This particular issue can also occur due to a missing security infrastructure that your Windows installation is missing. Other users dealing with the same issue confirmed that it was entirely fixed once they ran the Microsoft Safety Scanner and applied the recommended fix.
To fix this issue, simply download the Microsoft Safety Scanner from the official website and put it to work.
Note: After you run this tool, you will notice it referencing Windows Defender in the log it generates in the background. This is typically a good indicator that the issue is getting resolved. If you’re still using a traditional HDD, expect this operation to last more than 10 – 15 hours (depending on your HDD size. Using an SSD, you’ll likely complete the operation in two hours.
Follow the instructions below to download, install and use the official version of the Microsoft Safety Scanner:
- Downloading the Microsoft Safety Scanner should be your initial action. From the official Microsoft website, you may accomplish this. To download, select the system-appropriate button according to your bit version of Windows.
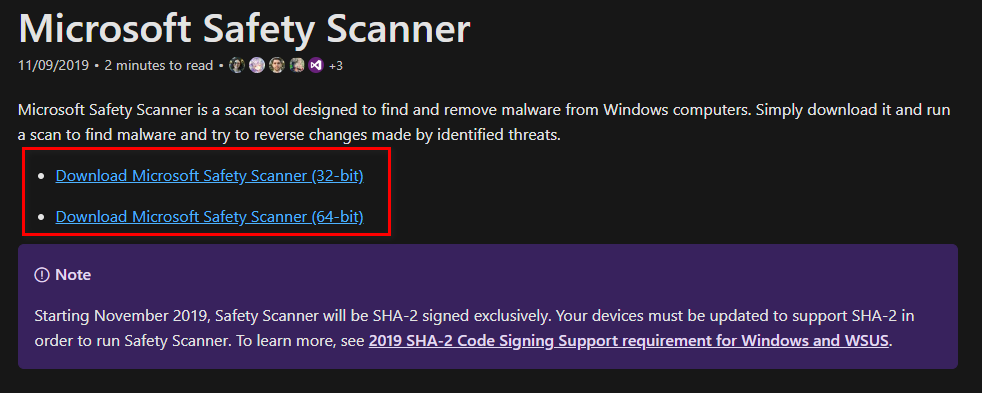
Download the correct bit version of Microsoft Safety Scanner - After the scanner has fully downloaded, launch it and confirm using User Account Control that you want to enable modifications to be made to your PC.
- Next, adhere to the directions to reach the next screen. then be sure you select a full computer scan. then move on by clicking Next.
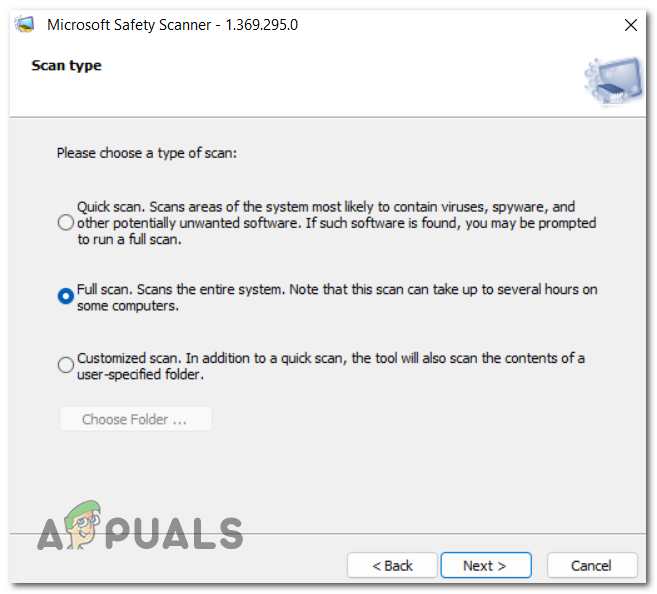
Choosing the Full scan Note: Depending on whether you’re using a newer or a traditional SSD, the scan might take between 2 and 20 hours.
- It will take some time before the scan is finished. If any malware is discovered after that, it will be removed.
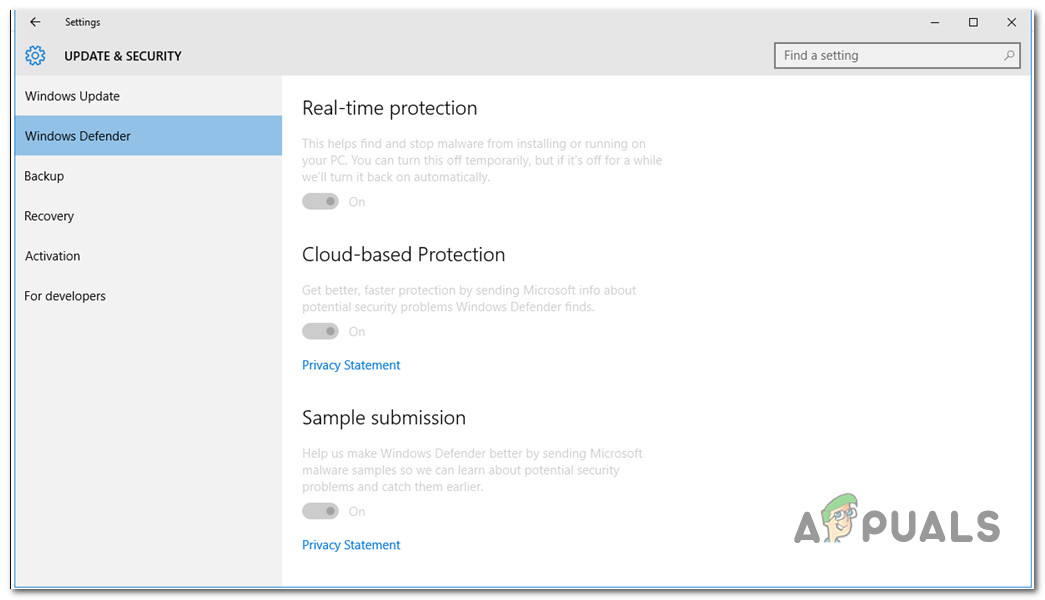
- You should also check Windows Defender to see whether your issue has been resolved once you are finished with it.
If Windows Defender and every sub-feature are still greyed out, move down to the next method below.
4. Update your Windows to the latest build
Microsoft has already released a series of hotfixes aimed at eradicating this issue on both Windows 10 and Windows 11. To treat this issue, install every pending Windows update (including feature & cumulative updates) until you bring your Windows version up to date.
Several affected users have confirmed that this method was confirmed to fix the broken functionality of Windows Defender on both Windows 10 and Windows 11.
Follow the instructions below to make sure that your Windows build is up to date:
Note: The instructions below are confirmed on both Windows 10 and 11.
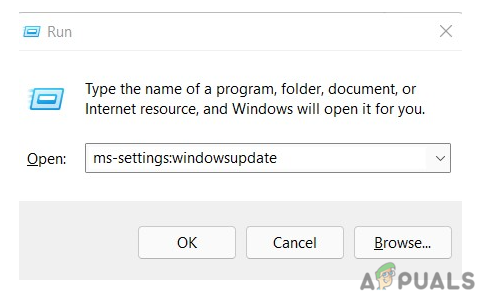
- The Run dialog box will appear when you press Windows + R.
- In the text box, enter “ms-settings:windowsupdate” to open the Windows Update tab of the Settings application.
Access the Windows Update component - You could now get a User Account Control window requesting you to allow extra rights unless you fiddled with the default UAC settings. To provide admin access in this situation, select Yes.

Check for updates - After downloading the update locally, choose Install Now to begin the installation process.
- Once every update is installed, restart your computer to see if the problem has been resolved.
Note: If you have a lot of pending updates waiting to get installed, you might be prompted to restart before every update is installed. In this case, do so as instructed but return to this screen once the next startup is complete to bring your Windows to build up to date.
If the problem is still not fixed even after installing every pending Windows update, move down to the next method below.
5. Install KB2267602 update manually (Windows 10 ONLY)
If you’re on Windows 10, you should know that Microsoft already pushed an antivirus definition update that also ended up fixing this Windows Defender glitch. If the method above didn’t help you, the next thing you can do is install the KB2267602 update manually using the Microsoft Update Catalog.
You may install the update using the Microsoft Update Catalog (without involving the local WU component). This implies that employing this strategy may completely avoid any faulty dependencies that may cause this behavior.
Important: This fix is only confirmed to work on Windows 10. Skip this method entirely if you are experiencing this issue on Windows 10.
What you must do is as follows:
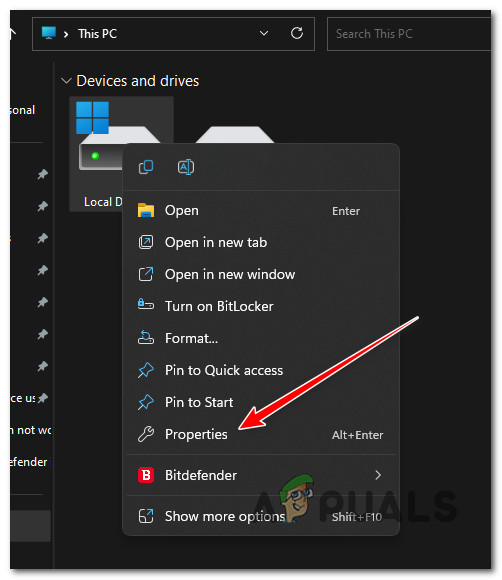
- You must be familiar with your operating system architecture before continuing (32-bit or 64-bit). If you don’t already have it, open File Explorer, right-click This PC, and then select Properties from the drop-down option that appears.
Access the Properties screen - To determine your OS architecture, click the About system tab, scroll down to Device specs, and look for the System type.
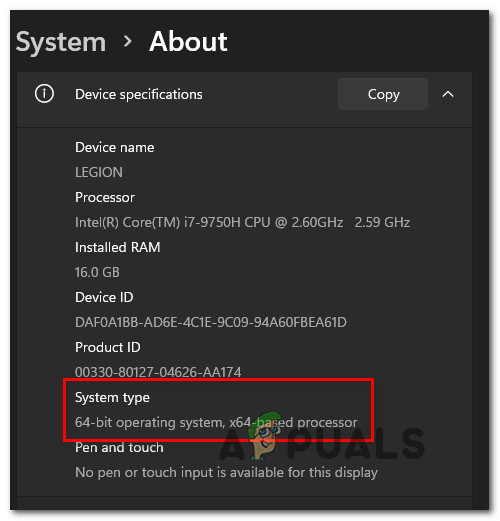
Checking the system architecture Note: You must download the 64-bit update if your system is 64-bit and the 32-bit Windows Update counterpart if your system is 32-bit.
- Look for the problematic update (KB2267602) on the Microsoft Update Catalog’s main page using the search box in the top-right corner.

Search for the update manually via MUC - Next, check the architecture to find the relevant WU listing you need to download. Click Download to download the update locally once you’ve found the right one.
- Next, navigate to the location where the update was downloaded (most likely in the Downloads folder), open the .msu (or .ini) installation package, and follow the on-screen prompts to install the update locally.
- Lastly, restart your computer to verify whether the problem has been resolved.
If Windows Defender remains disabled, move to the next method below.
6. Use CCleaner to clear remnant registry data
Another scenario that could be the root cause of this issue is when your Registry contains remnants of a previous 3rd party AV that is tricking Windows Defender into turning itself off. Other users suffering from this same problem have managed to fix the issue by running CCleaner to clear any registry inconsistency.
Our recommendation is to use CCleaner to remove both the temporary files and perform a check on your registry.
Note: If you’re not fond of Ccleaner, consider alternatives like BleachBit, CleanMyPc, Restoro, Fortect etc.).
Follow the instructions below to use CCleaner to remove temporary and remnant registry data that might ‘trick’ Windows Defender into remaining disabled:
- Go to the CCleaner official website and click the download link.

Downloading Ccleaner - The download should begin automatically when you click the download button, which will take you to a website. You will also find instructions demonstrating the CCleaner installation process.
- Click the downloaded installer in the lower-left corner of your screen, then select Install.
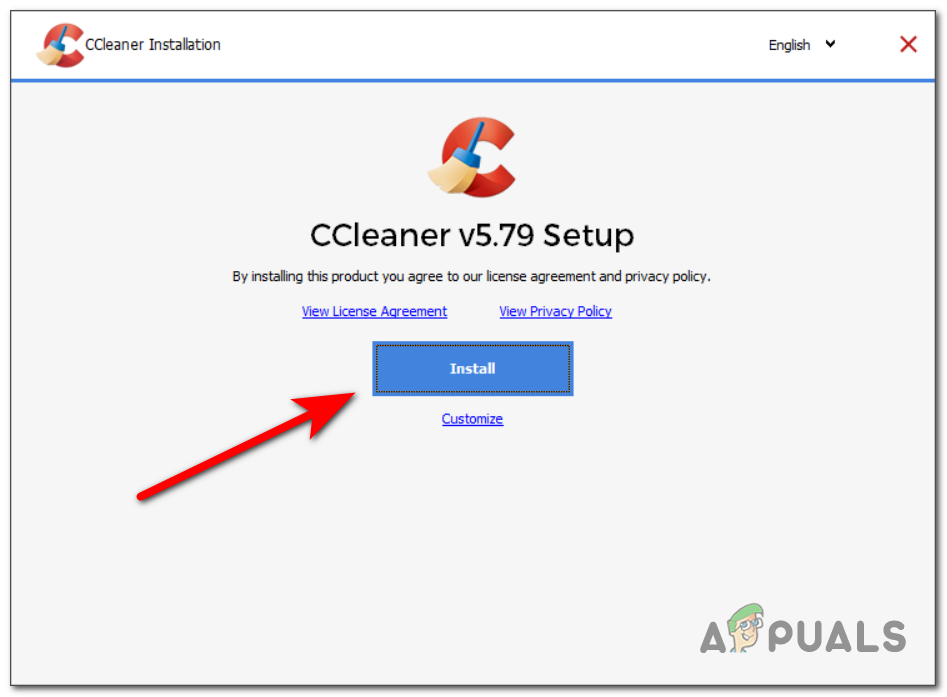
Downloading Ccleaner - Click Decline to prevent the installation of unwanted software if the installer asks you to install junk like CCleaner Browser.
- To start the application when the installation is finished, click Run CCleaner.
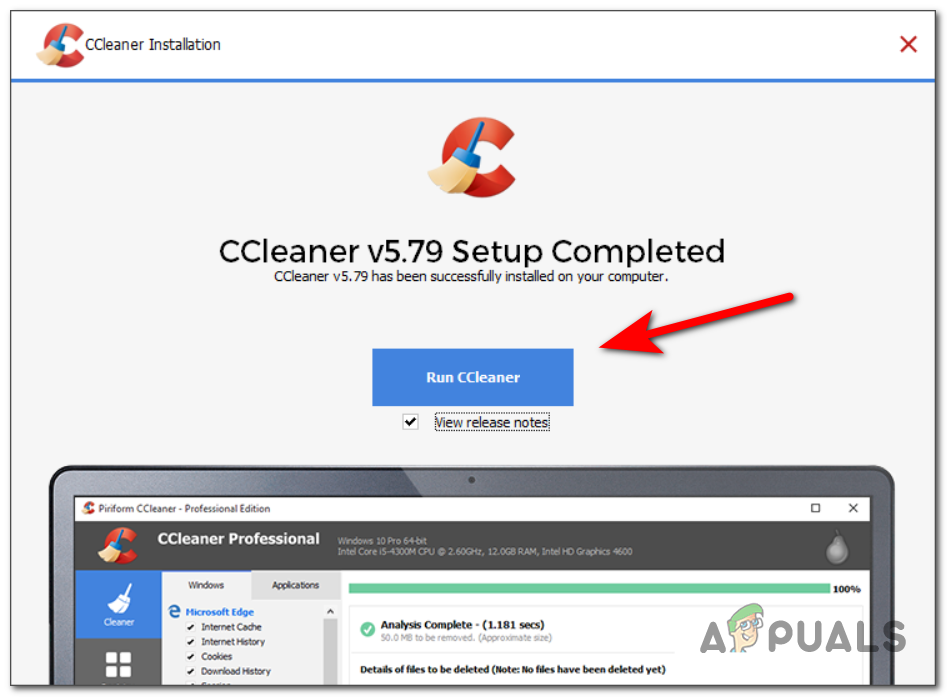
Running Ccleaner - To view the advantages of utilizing this application, click Next when the CCleaner has opened, then select Health Check on the left side.
- Next, click Get Started to investigate your computer’s files.
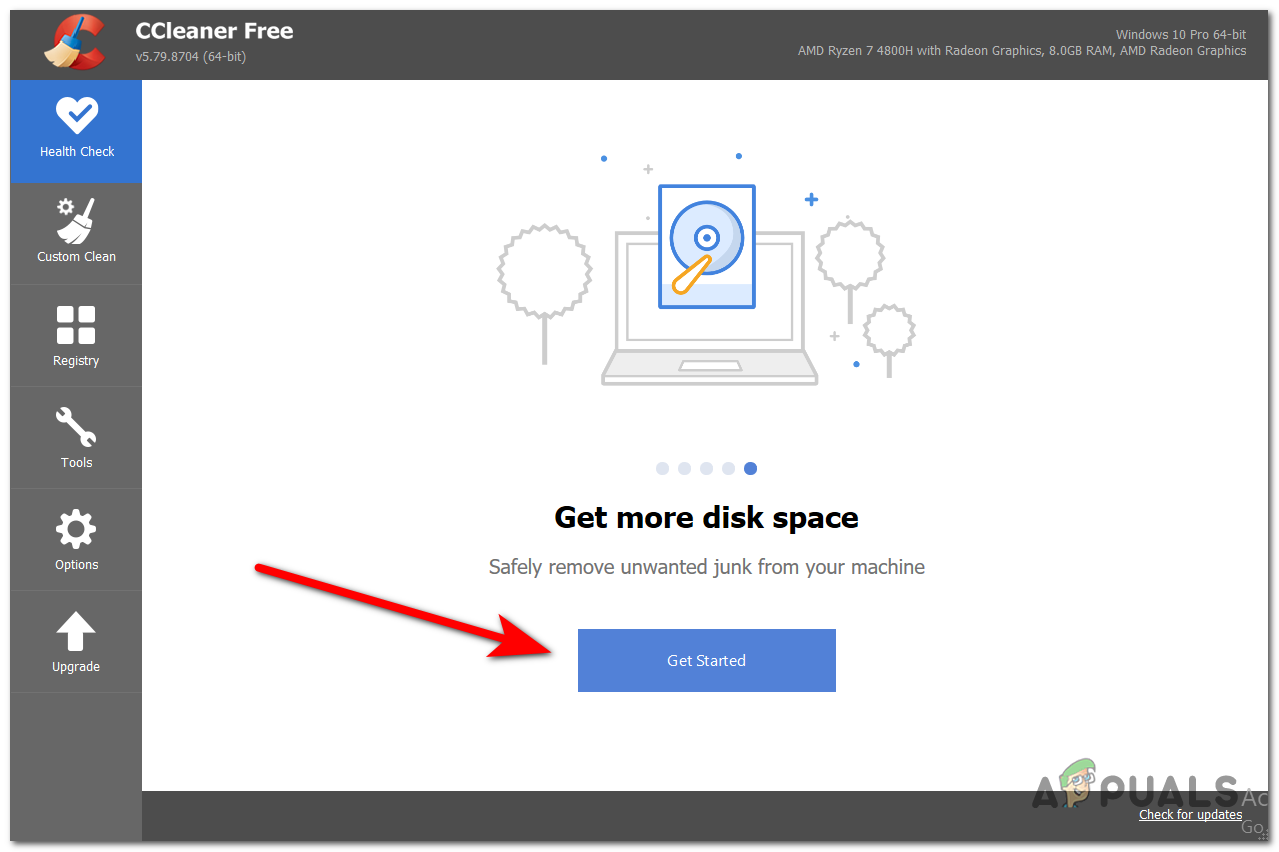
Deploy a health check - After that, select Make it better and wait for it to be done.
- Click Custom Clean when you’ve finished with the Health Care section. You may choose what the application will assess and then clean from a list on the left.
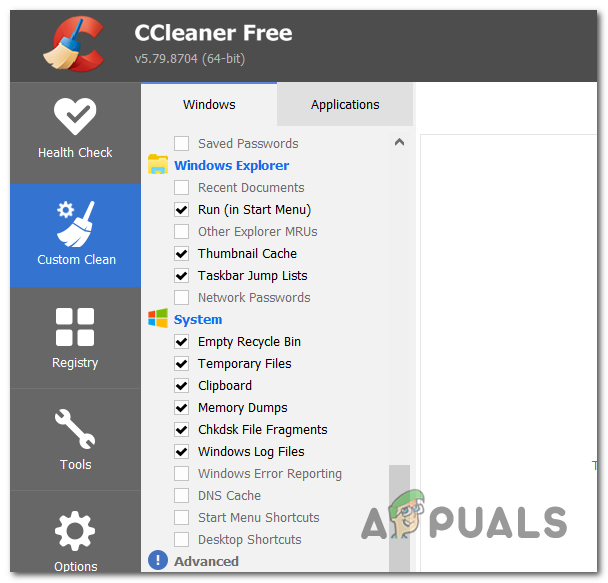
Deploying a custom clean - After selecting Analyze, click Run Cleaner to eliminate all the unwanted files.
- Once the scan is complete, click on Registry, then follow the on-screen instructions to clean remnant registry items that are no longer used.
If the problem is still not fixed, move to the next method below.
7. Force enable Windows Defender
If none of the methods so far have allowed you to fix Windows Defender and force it to enable, you also have the option to force it to enable from an elevated Command prompt.
This method should allow you to forcibly enable Windows Defender as long as there isn’t another 3rd party AV installed and the issue is rooted in a GUI element.
Note: You’ll need to ensure that the commands below are run with administrative privileges; otherwise, they won’t work.
Follow the instructions below to enable Windows Defender forcibly:
Note: The instructions below will work on both Windows 10 and Windows 11.
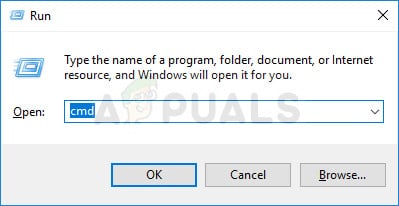
- Press the Windows key + R to open up a Run dialog box.
- Next, type ‘cmd’ inside the Run dialog box, then press Ctrl + Shift + Enter to open up an elevated CMD prompt with admin access.
Open up an elevated CMD window - Click Yes to grant admin access at the User Account Control (UAC).
- Once you’re inside the elevated CMD prompt, type or paste the following command to enable Windows Defender forcibly:
REG DELETE "HKLM\SOFTWARE\Policies\Microsoft\Windows Defender" /v DisableAntiSpyware
- Once this command has been processed successfully, reboot your PC and see if the problem is now fixed.
If Windows Defender is still greyed out, move to the next method below.
8. Enable Windows Defender via Gpedit.msc
If you are an administrator on your Windows 10 or Windows 11 PC, you can also configure the operational state of Windows Defender via the Local Group Policy Editor.
If you are using a Windows Enterprise or PRO edition (Windows 10 / 11), you should be able to use the Group Policy editor to toggle Windows Defender on and off.
Note: If you are using a Home or Education edition of Windows 10 or 11, you can follow these instructions to install the Local Group Policy Editor on top of your Windows installation.
Important: The Group Policy setting should only be employed (temporarily) if Windows Defender’s CPU usage makes the computer unworkable or if Defender fails to shut down immediately when a third-party AV program is installed. Instead of leaving the Group Policy modification in place when Defender refuses to cooperate with another AV program, the problem should be properly fixed by removing the third-party product, using its removal tool, and then reinstalling it. Maintaining the modification will prohibit you from using Defender’s new Limited Periodic Scanning feature, which will undoubtedly prove to be a useful addition for users of third-party AV software.
If you want to use the Local Group Policy Editor to attempt and force the enabling of Windows Defender, follow the instructions below to do so on Windows 10 or Windows 11:
- Press the Windows key + R to open up a Run dialog box. Next, type ‘gpedit.msc’ and press Ctrl + Shift + Enter to open up the Local Group Policy Editor.

Open up the Gpedit Utility - Click Yes to grant admin access when prompted by the User Account Control (UAC).
- Once you’re inside the Local Group Policy Editor, use the side menu on the left to navigate to the following location:
Computer Configuration\Administrative Templates\Windows Components\Windows Defender Antivirus
- Once inside the correct location, double-click on the Windows Defender Antivirus folder, move over to the right-hand pane, and double-click on Turn off Windows Defender Antivirus.
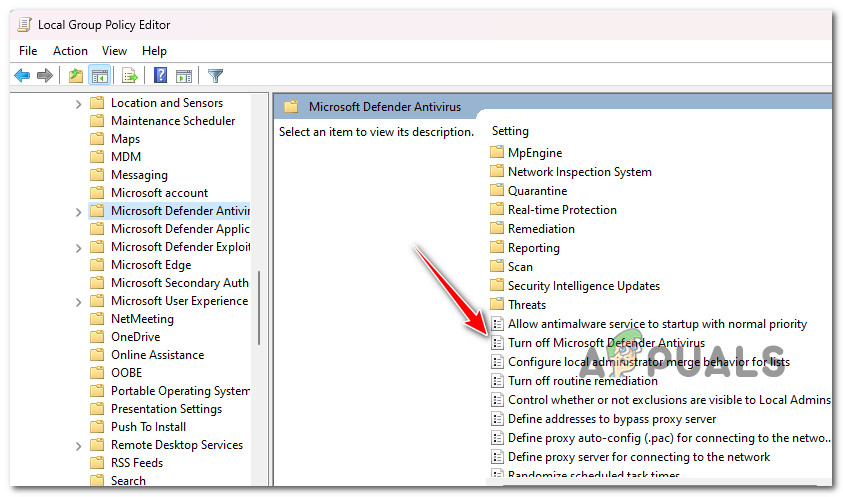
Opening the Turn off Windows Defender antivirus policy - Once you’re inside the settings of the Turn off Windows Defender antivirus policy, set it to Disabled or Not Configured before clicking Apply to save the changes.
- Reboot your PC and see if Windows Defender is now enabled.
If the problem is still not fixed, move to the next method below.
9. Deploy SFC & DISM Scans
If you’ve come to this stage without being able to come up with a practical solution, you should investigate the possibility of system file corruption affecting your Windows Defender dependencies.
Unless you want to go the third-party route, it would be prudent to use a few built-in tools (SFC and DISM).
Note: These two built-in tools can be used to resolve system file corruption that may prevent your OS from addressing dependencies used by Windows Update – System File Checker and Deployment Image Servicing and Management.
The best place to begin is with a System File Checker scan because it can be done without an ongoing internet connection.
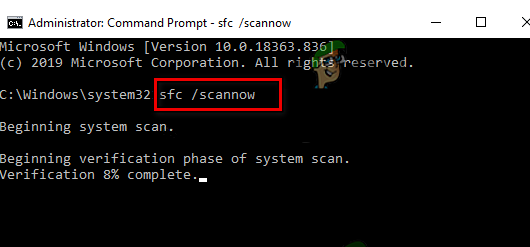
Note: System File Checker uses a locally stored cache to swap broken system file components with functional ones. This process shouldn’t be halted until it’s finished to avoid making more logical errors. If you’re using an outdated HDD rather than a more modern SSD, this process might take up to an hour or more, depending on your read and write speeds.
Important: DO NOT CLOSE the window before the procedure is complete if the System File Checker scan stalls while running. It’s completely normal.
Once the SFC scan is complete, restart your computer to see whether the voice mixer issue has been fixed.
If the problem is still there, run another DISM scan.
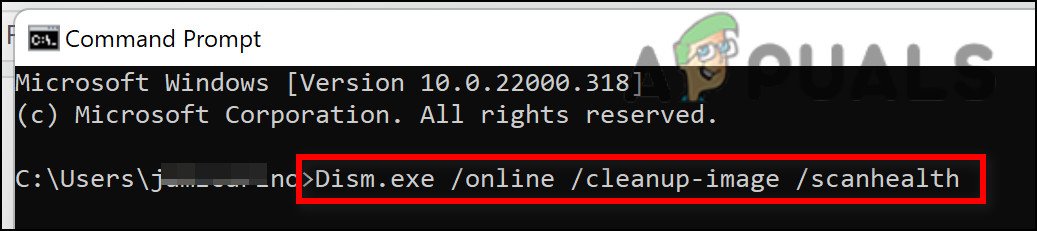
Before starting this process, take note: Since DISM uses a portion of Windows Update to replace corrupted files with equivalents free of corruption, make sure your Internet connection is steady.
After finishing the SFC and DISM checks, restart your computer to see whether Windows Defender is still greyed out and inaccessible.
If the problem persists, proceed to the last proposed fix below.
10. Perform a clean install or repair install
If none of the preceding solutions in this article helped you with your problem, one more solution is available. You might consider that certain corrupted system files are to blame for your inability to restart the Windows Defender component.
The best course of action at this point is to simply replace every system file with a counterpart that you know is healthy and free of corruption because many system files in this circumstance meet the description of the offender.
One of two approaches will work for this:
- Clean install – Try this if you need an immediate remedy. The major disadvantage of a clean installation of Windows is that, unless you make a backup of your data beforehand, it will wipe all of your personal files and apps that are now kept on the same disk as your operating system. This is because a fresh installation of Windows will let you change every system file without using installation CDs.
- Repair install (in-place repair) – If you have some spare time, we advise employing an in-place repair rather than a repair install. The main benefit of this method is that, although taking a bit longer and requiring the proper Windows 11 installation DVDs, all of your personal data, games, and programs are preserved.


