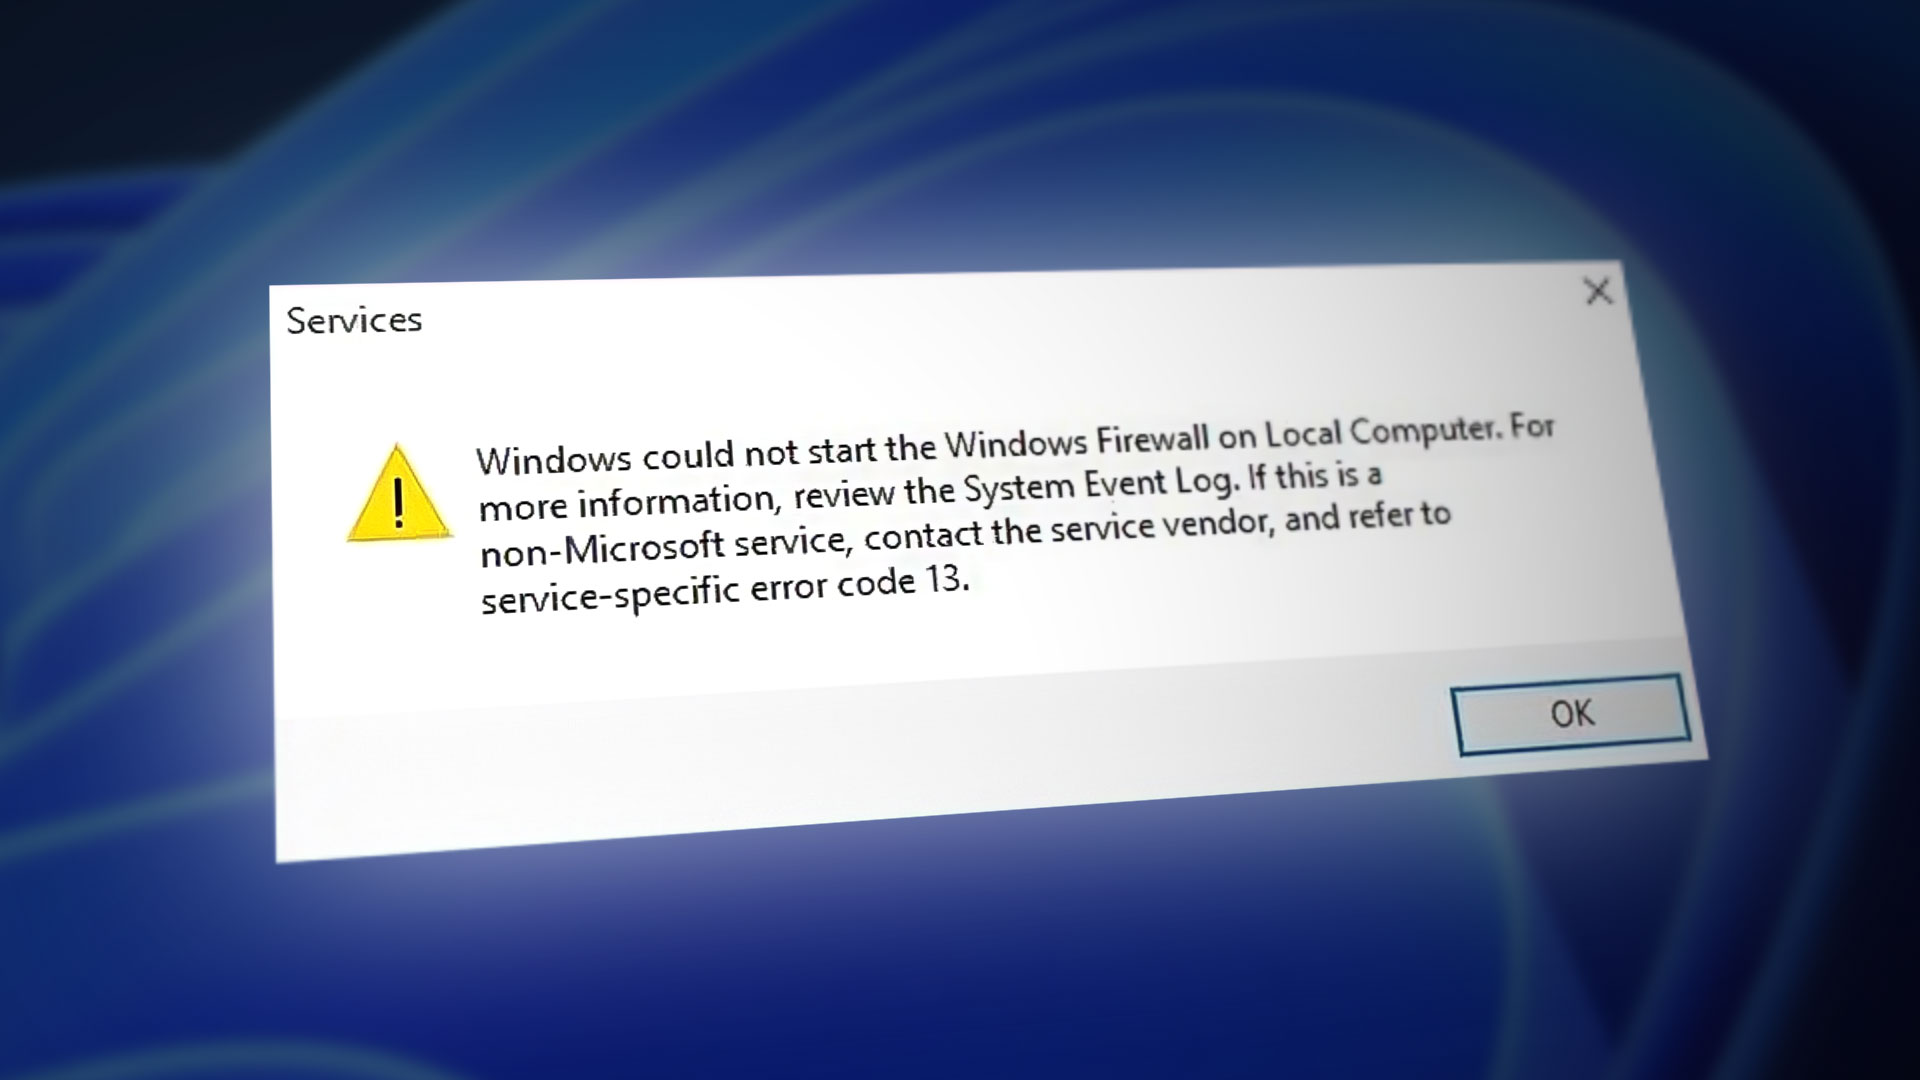
Fix: Windows Could Not Start the Windows Firewall on Local Computer
When you attempt to run the Windows Firewall service, you may encounter another error message stating, “Windows Could Not Start the Windows Firewall on Local Computer.” This issue frequently occurs due to incorrect firewall rules in the registry editor or when your account lacks permission to run the Windows Defender Firewall service.
Make sure you don’t have any third-party antivirus software installed on your Windows. If there is any, then you need to uninstall it because Windows overrides the third-party antivirus firewall instead of your Defender Firewall. Hence, before proceeding to the following methods, ensure the antivirus software is uninstalled.
1. Delete firewall rules from the Registry Editor.
The first thing you need to do is delete the incorrect firewall rules from the registry editor. Incorrect firewall rules can be created by third-party antivirus software or pirated malware applications to disable the Windows Firewall from functioning. Hence, delete the firewall rules folder from the registry editor by using the following instructions.
Before following the steps, ensure that you back up your registry files, as they can be used later if you make a mistake in the registry editor.
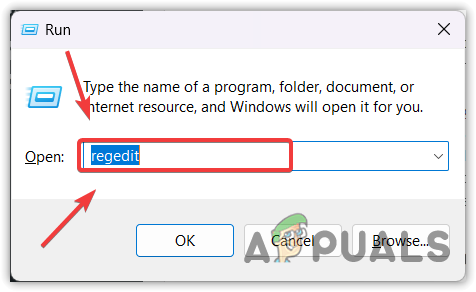
- Press the Win + R keys to open the Run Program.
- Type ‘regedit‘ and hit ‘Enter‘ to open the Registry Editor.
- Click “Yes” when prompted by UAC.
- Once you are in the registry editor, navigate to the following destination using the left sidebar.
Computer\HKEY_LOCAL_MACHINE\SYSTEM\CurrentControlSet\Services\SharedAccess\Parameters\FirewallPolicy\FirewallRules
- Right-click the FirewallRules and select ‘Delete.’
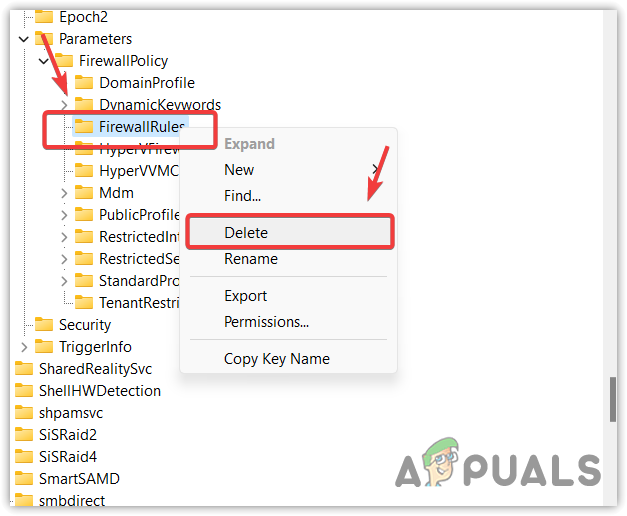
- Once it is deleted, right-click ‘RestrictedServices‘ and select ‘Delete.’

- Once done, close the registry editor and restart your computer for the changes to take effect.
- Then, navigate to the Services window and try running the Windows Defender Firewall service.
2. Configure the Windows Defender Firewall Service Permissions.
You should have permission on your account to run the Windows Defender Firewall. If you don’t have permission to run the Windows Defender Firewall, it will display an error. Therefore, configure the Windows Defender Firewall service to run under Local Service, which means the Windows Defender Firewall service will run with every account on your Windows.
To do so, follow these steps:
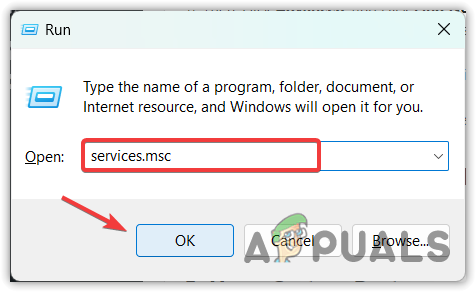
- Right-click the Start menu and select ‘Run‘ to open the Run window.

- Enter the “services.msc” command in the search box and click “OK” to navigate.
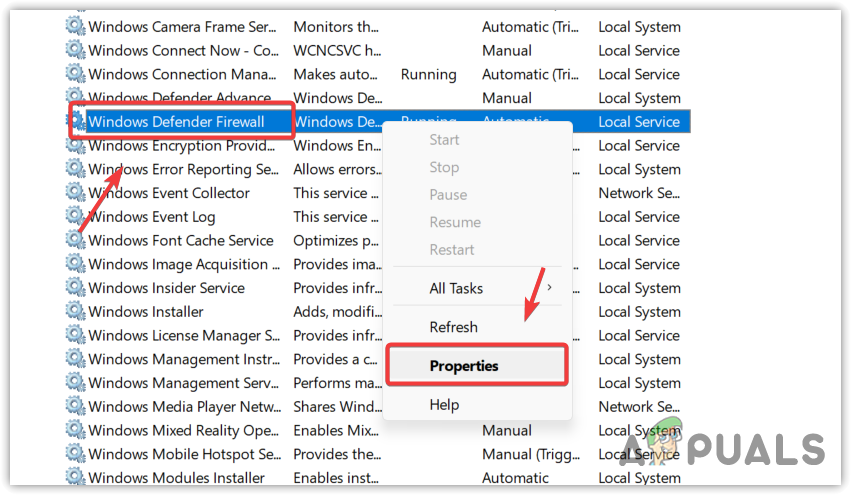
- Find the Windows Defender Firewall service and right-click on it.
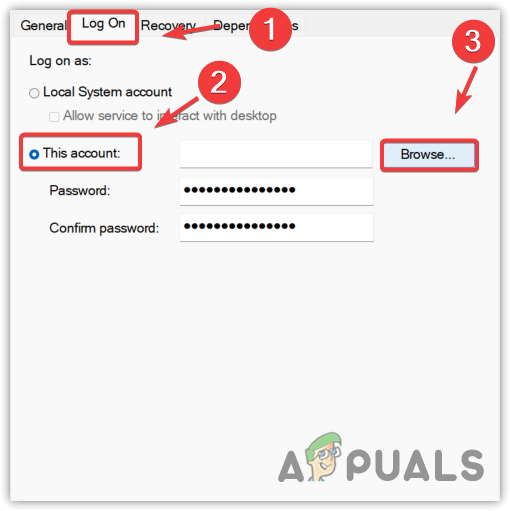
- Go to the Properties and click on ‘Log On‘ from the top.
- Select ‘This account‘ and click ‘Browse.’
- Then, click “Advanced,” and click “Find Now.
- Select ‘Local Service‘ from the search results and click ‘OK‘.
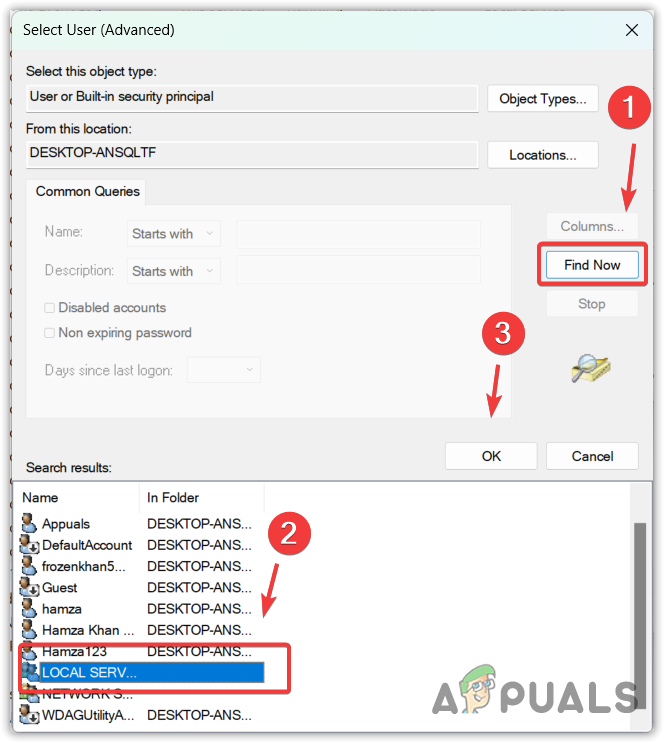
- Again, click OK.
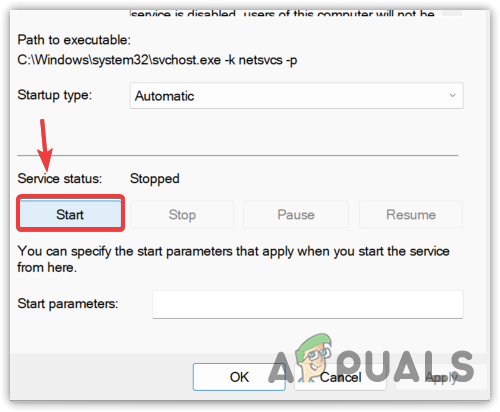
- Now, set the password for the Local Service according to your preference.
- Then, click “Apply.

- Now, go to the General tab and try starting the service by clicking the Start button.
3. Use the Windows Firewall Troubleshooter.
Windows Firewall Troubleshooter is a utility that allows users to automatically repair problems. Since this error is related to the Windows Defender Firewall service, it can be fixed by running the Windows Firewall Troubleshooter. To do so, follow these steps:
- First, go to the link to download the Windows Firewall Troubleshooter.
- Once it is downloaded, simply run the troubleshooter and follow the simple instructions to fix your firewall.
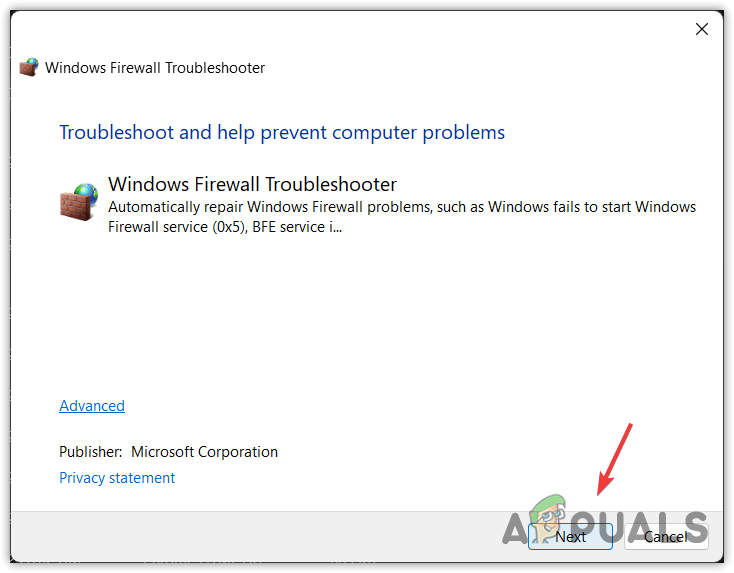
- Once completed, your Windows Defender Firewall should now automatically turn on after running the troubleshooter.
4. Reset the Windows Firewall settings to the default.
Resetting the Windows Firewall settings to their default is a method for restoring the firewall configurations applied to all network locations. If your Windows Defender Firewall service is not functioning because of incorrect settings, resetting them will resolve this issue. Follow these steps to reset the firewall settings.
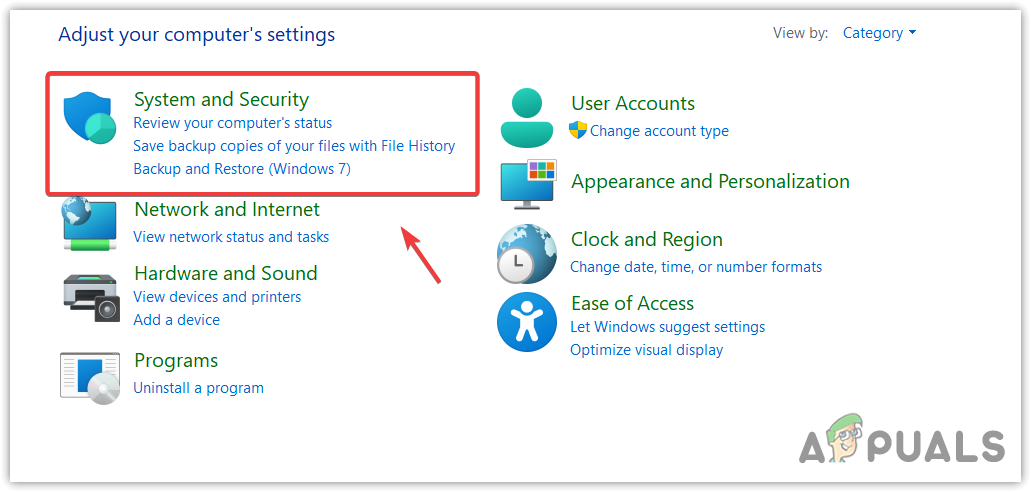
- Press the Windows key and type Control Panel.
- Launch the Control Panel and go to Windows and Security.
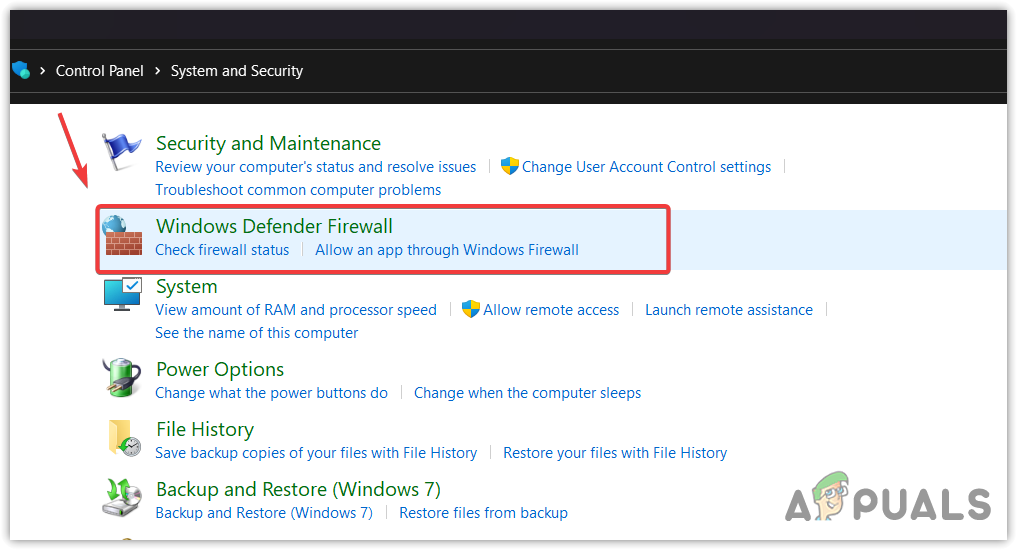
- Then, go to Windows Defender Firewall settings.
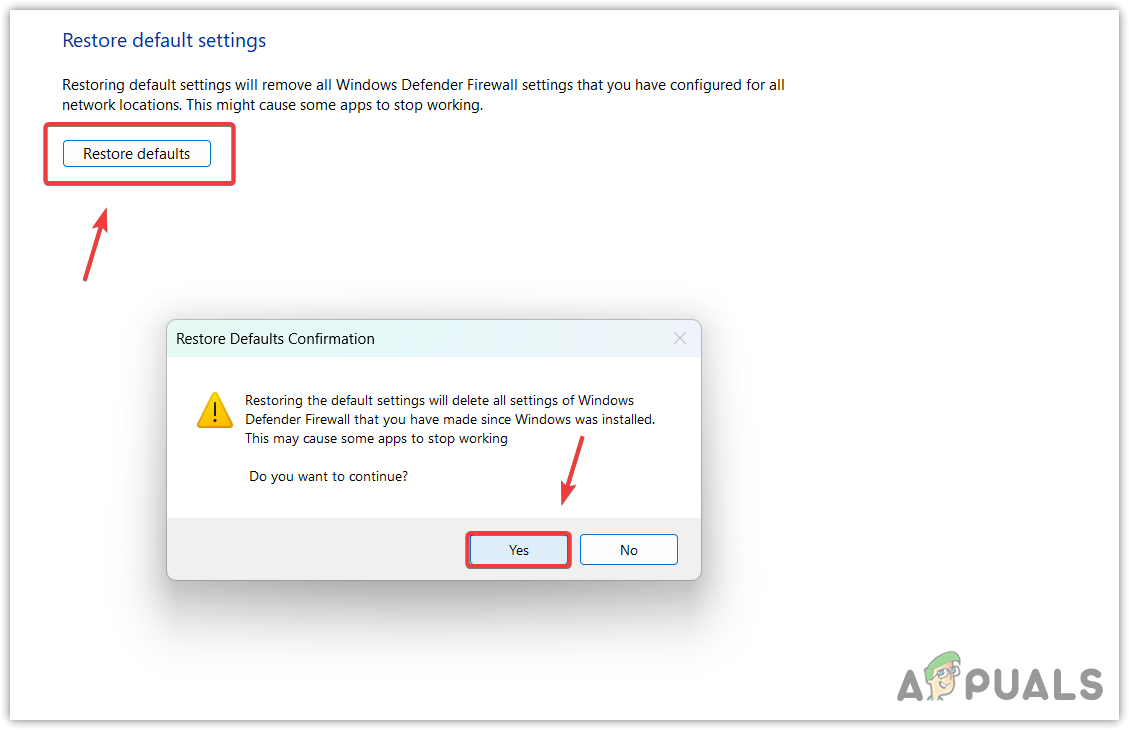
- Click Restore defaults from the left sidebar.
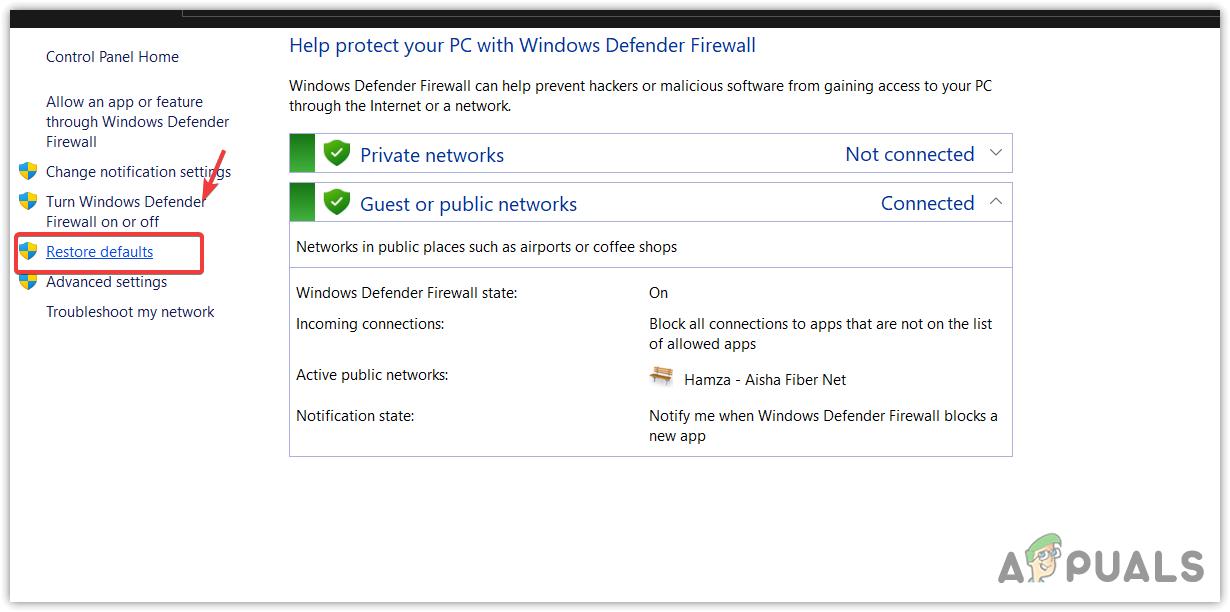
- Click ‘Restore Defaults‘ and click ‘Yes‘ to continue or confirm the action.
5. Use a System Restore.
If you are still facing the error, unfortunately, you cannot do anything from your side except use a system restore utility or reset your Windows. System Restore is a utility that allows users to create a restore point, which can be used later to restore the previous version of Windows if something unusual happens, such as encountering this type of error.
If you haven’t created a restore point in the past, consider resetting your Windows or using the best third-party antivirus software to protect your Windows.
To use a system restore utility, follow these steps:
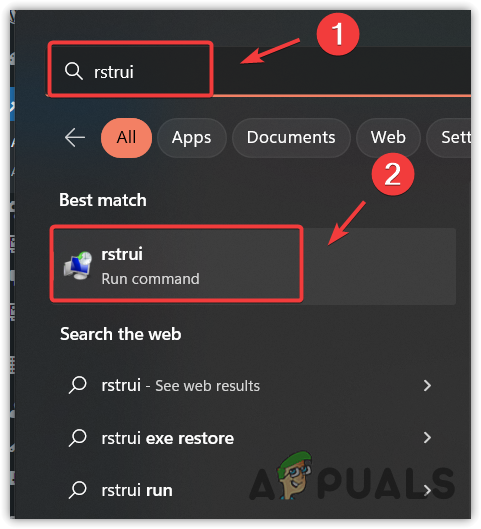
- Press the Windows key and enter ‘rstrui‘ in the search box.
- Click the ‘Rstrui‘ run command from the Start menu results to run the System Restore utility.
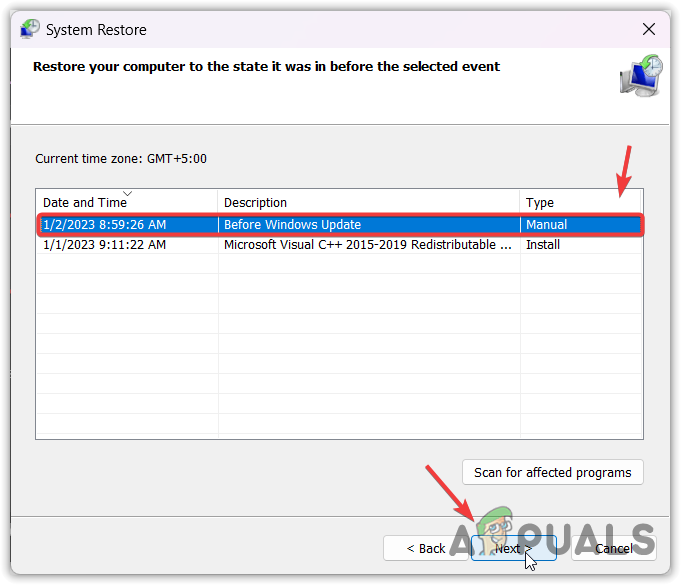
- Click ‘Next‘ and select a restore point.
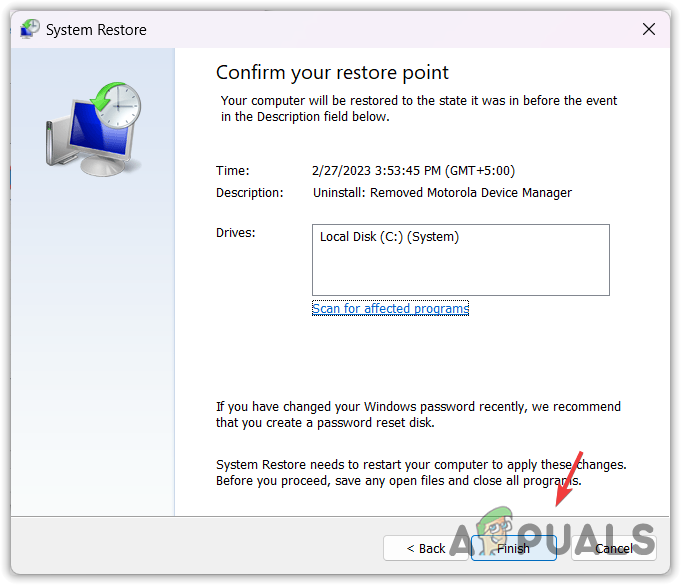
- Once again, click “Next” and then click “Finish” to restore your Windows to the previous state.
6. Reset your Windows.
If you don’t have a restore point or you don’t want to use third-party antivirus software for its firewalls, then you either need to reset or reinstall Windows. These are the last two solutions that you can use to get rid of this error message.
You cannot use your Windows Firewall without fixing this error. Hence, it is recommended not to disregard this error and consider resetting or reinstalling Windows. If you plan to reset Windows, you can follow the provided steps. If your intention is to reinstall Windows, please refer to the appropriate article.
- Press the Windows key and type “Reset this PC.
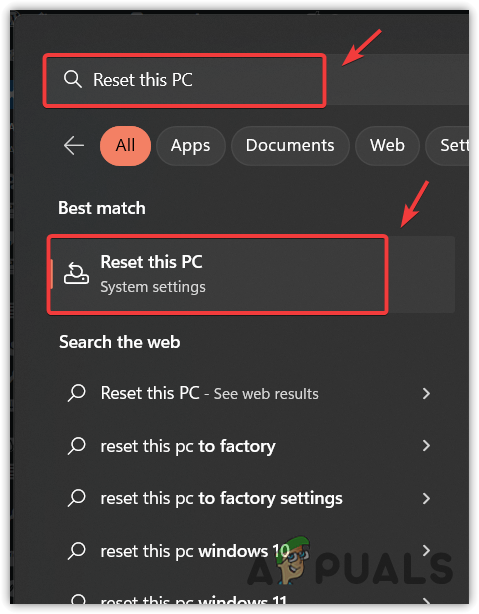
- Click on the “Reset this PC” option from the Start menu results to navigate to Settings.
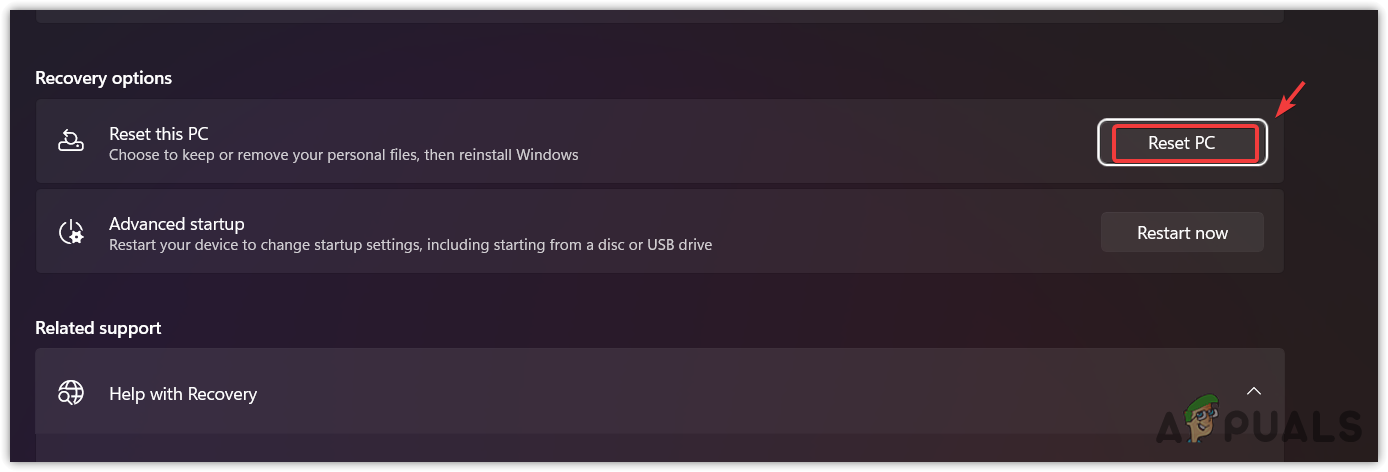
- Click “Reset PC” under the Recovery options.
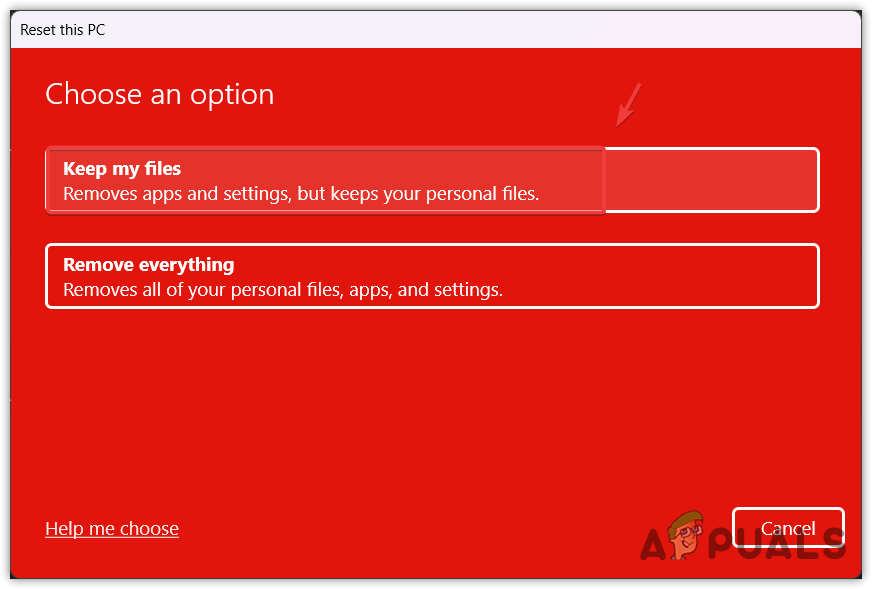
- Choose the ‘Keep my files‘ option.
Selecting the Keep my files option won’t remove your data, such as images, documents, and videos saved in the system disk. However, it will remove the applications and drivers. - Select Local Reinstall and click Next.
- Now, click “Reset” to begin resetting your Windows.
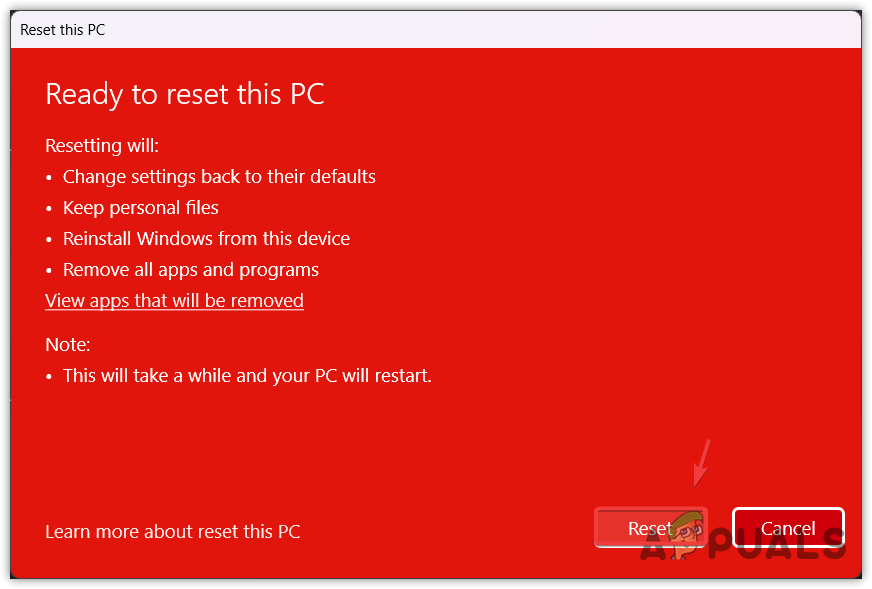
- Wait for Windows to be fully reset.
-Windows Could Not Start the Windows Firewall on Local Computer. (Error Code 13) FAQs
This error is mostly caused by incorrect firewall entries in the registry editor. Incorrect registry entries can be generated by third-party or untrusted applications.
To fix this error, go to the registry editor and delete the incorrect firewall rules folder, which might be preventing the Windows Defender Firewall from running properly. Once done, restart your computer.


