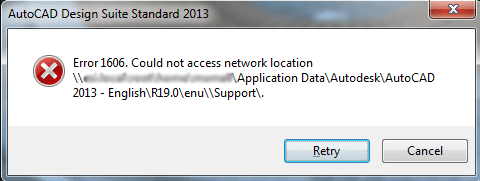
[FIX] Error Code 1606 (Could Not Access Network Location)
The Error code 1606 (Could Not Access Network Location) appears when some Windows users attempt to install or uninstall a software program. On HP computers, this problem occurs due to a bundled HP software that ends up breaking the compatibility with installations generated using WiX.
As it turns out, this particular issue will most likely originate from an issue with one of the following registry subkeys:
HKEY_CURRENT_USER\Software\Microsoft\Windows\CurrentVersion\Explorer\User Shell Folders

HKEY_LOCAL_MACHINE\Software\Microsoft\Windows\CurrentVersion\Explorer\User Shell Folders
If you’re currently encountering this issue, you can either use an automated fix or you can make the necessary changes manually to take care of the issue.
However, the Error code 1606 (Could Not Access Network Location) can also occur due to a permission inconsistency. In this case, you should be able to resolve the
Method 1: Running the Program Compatibility Troubleshooter
If you’re looking for an easy fix, you might be able to resolve the Error code 1606 (Could Not Access Network Location) by running the Program Compatibility Troubleshooter and applying the recommended fix.
Several affected users have confirmed that this operation finally allowed them to complete the installation of the program that was previously failing with this error.
This method involves the usage of a built-in Fix-it tool that can be accessed via the Classic Control panel interface. You can access it and use it regardless if you’re on Windows 7, Windows 8.1 and Windows 10.
Follow the instructions below to run the Program Compatibility Troubleshooter:
- Press Windows key + R to open up a Run dialog box. Inside the text box, type ‘control.exe’ and press Enter to open up the classic Control Panel interface.
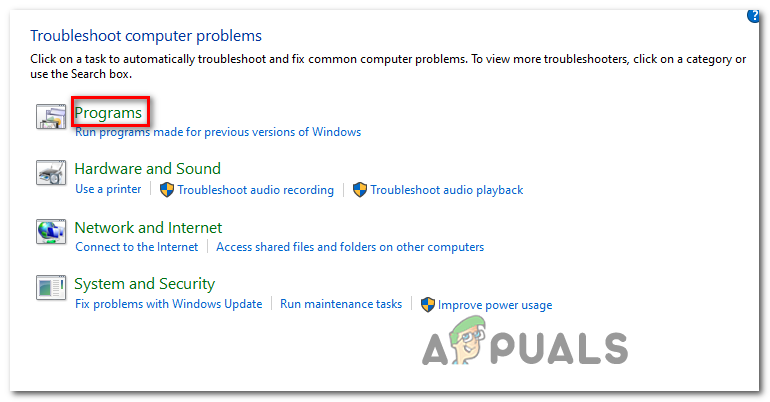
Running Control Panel - Once you’re inside the Classic Control Panel interface, click on the Troubleshooting tab from the list of sub-items.
- Inside the Troubleshooting tab, click on Programs from the list of options.
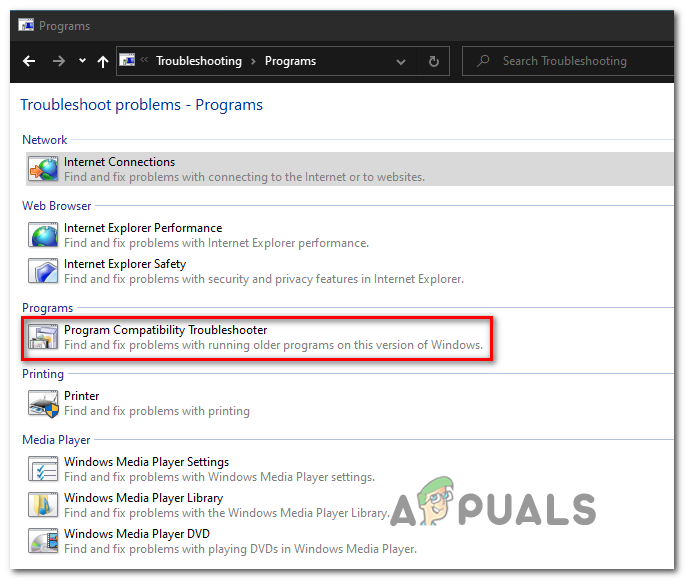
Accessing the Programs troubleshooter - Inside the Troubleshoot problems – Programs window, right-click on Program Compatibility Troubleshooter and choose Run as administrator. If you’re asked by the UAC (User Account Control) to provide admin access, click Yes.
Accessing the Program Compatibility Troubleshooter - At the first screen of the Program Compatibility Troubleshooter, click on Advanced, then check the box associated with Apply repairs automatically.
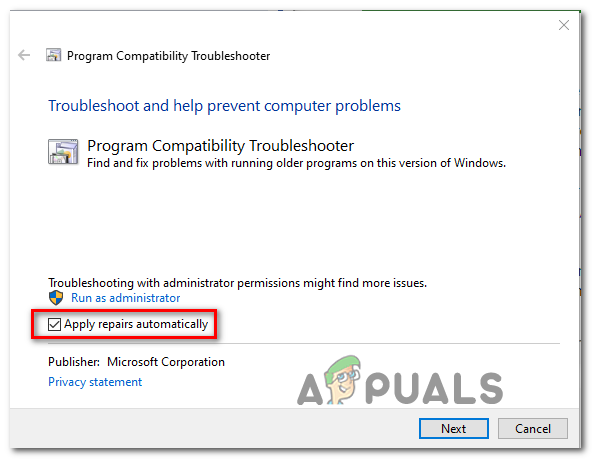
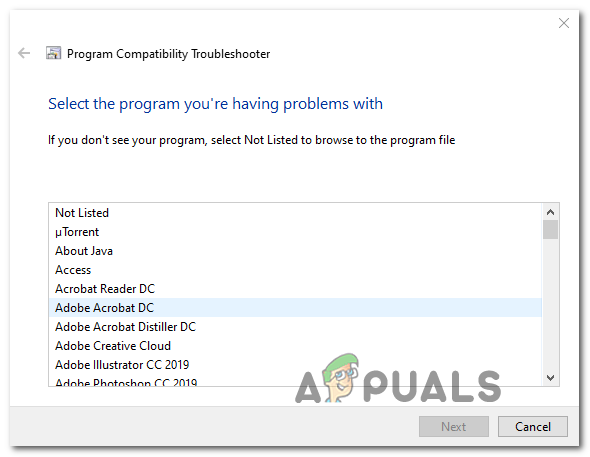
Configuring the troubleshooter to apply repairs automatically - Wait until the initial scan is complete, then use the next screen to select the program/installer that you’re having problems with. If the program or installer is not on that list, select Not listed, then browse to the path of the executable automatically.
- Once you have selected the tool/installer that’s giving you issues, click on Try recommended settings
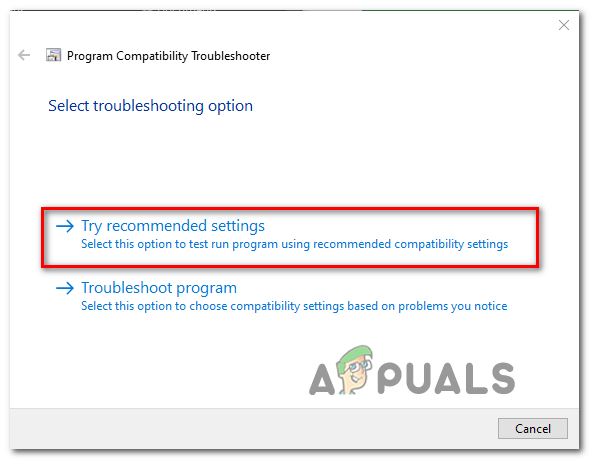
Applying the recommended settings - After the recommended settings have been applied, repeat the action again, and see if the Error code 1606 (Could Not Access Network Location) is now resolved.
In case the same problem is still occurring, move down to the next potential fix below.
Method 2: Modifying the Registry Key
If the automated fix above didn’t work, you can also try to remedy the issue manually by changing the value of a few registry keys related to the Shell Folders. As it turns out, this problem appears due to a bogus entry in the registry, most commonly related to crud left behind by an operating system imaging software.
If this scenario is applicable, you should be able to fix the problem by using a Registry Editor to locate the InstallLocation value and modify it so that it’s no longer pointing to a non-existent location.
If you are comfortable with using Registry Editor to resolve the issue manually, follow the instructions below:
- Press Windows key + R to open up a Run dialog box. Next, type ‘regedit’ inside the text box and press Enter to open up the Registry Editor. When prompted by the User Account Control (UAC), click Yes to grant admin access.

Running the Registry Editor - Inside the Registry Editor, use the menu on the left-hand side to navigate to the following location:
HKEY_LOCAL_MACHINE\SOFTWARE\Microsoft\Windows\CurrentVersion\Explorer\Shell Folders
Note: You can either navigate there manually or you can paste the location directly into the navigation bar and press Enter to get there instantly.
- Once you get to the correct location, move over to the right-hand section, and double-click on Common Documents.
- After you’ve successfully opened the Edit String window, check the location under Value Data to see if it actually points to a valid location. If it doesn’t, paste the default location for documents (C:\Users\Public\Documents)
- Save the changes, close the Registry Editor and restart your computer to see if the problem is now resolved.
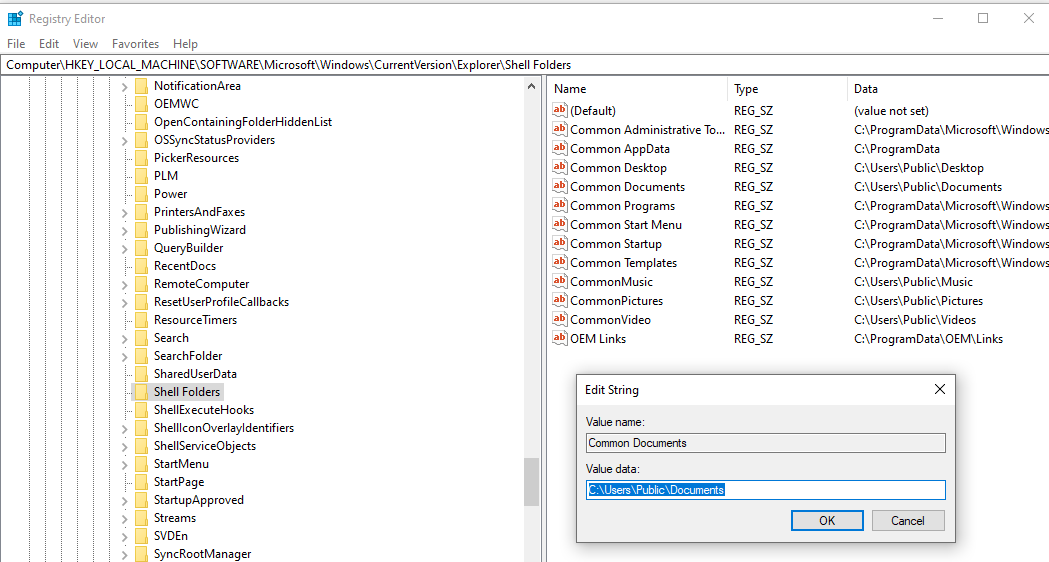
Modifying the location of the Common Documents
If the problem is still not resolved and you’re still encountering the Error code 1606, move down to the next potential fix below.
Method 3: Modifying the permissions of Public\Documents
If none of the potential fixes above have worked for you, chances are you’re actually dealing with a permission issue that prevents the installer you’re trying to run from copying contents in the Document folder.
Several affected users facing the same problem have confirmed that they managed to get the issue resolved by modifying the permissions of C:\Users\Public\Documents and C:\Users\Public\Public Documents to ensure that the active user account that’s seeing the error has Full Control.
If you’re unsure on how to do this, follow the instructions below:
- Open File Explorer and navigate to C:\Users\Public.
Note: If you cannot see the hidden folders, use the ribbon bar at the top to click on View, then check the box associated with Hidden Items.

View Hidden Items option is checked - Once you’re inside the Public Folder folder, right-click on Public Documents and choose Properties from the context menu.
- Inside the Properties menu, select the Security tab then select the active user account and click on the Edit button below.
- Next, use the Permissions menu to check all the Allow boxes before saving the changes.
- Once you’ve successfully granted full control to the Public Documents folder, repeat steps 1 to 4 for C:\Users\Public\Documents.


My error was fixed. Thank you with